
StableDeffusion 環境構築 for WEBUI(2022.10.21執筆版)

概要
StableDeffusion 環境構築 for WEBUI
ブック作成時の参考URL
0:事前準備
・ZIPファイル解凍ツール(多分既存でOK)
・HuggingFaceアカウント
・8GB以上のVRAMを持つNVIDIAのグラボ搭載してること
・Gitのインストール(必要な人は導入すること
1:必要ファイル準備
・学習済みモデルデータの取得
※要HuggingFaceアカウント、適当なgmailとかで取れた。
CompVis/stable-diffusion-v-1-4-original · Hugging Face(以下パス)より学習済みモデルデータ取得
https://huggingface.co/CompVis/stable-diffusion-v-1-4-original
sd-v1-4.ckptをダウンロード

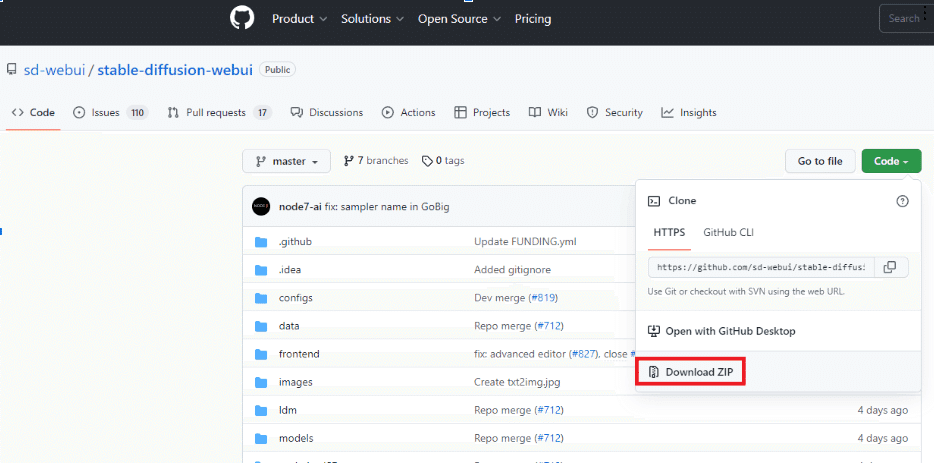
・ソースコードの取得~準備
Sutable Diffusion web UIソースを取得。
GitHub - hlky/stable-diffusion(以下パス)よりコードを取得する。https://github.com/sd-webui/stable-diffusion-webui
・minicondaインストーラの取得
Miniconda — conda documentation(以下パス)よりインストーラを取得https://docs.conda.io/en/latest/miniconda.html
※取得するインストーラは自分の環境のアーキテクチャに合わせる。Win10の64bitで実施した。

2:環境構築
・取得ファイルは任意フォルダにまとめておく

・sd-v1-4.ckptのリネーム
ダウンロードした「sd-v1-4.ckpt」を「model.ckpt」にリネームする。
変更前:sd-v1-4.ckpt

変更後:model.ckpt

・stable-diffusion-webui-master.zip解凍
ダウンロードした「stable-diffusion-webui-master.zip」を任意のフォルダに解凍する。
※ここが実行フォルダになるみたい。

・model.ckptの移動
解凍してできたフォルダの以下パスに、リネームした「model.ckpt」を移動する。
\stable-diffusion-webui-master\models\ldm\stable-diffusion-v1

・「environment.yaml」の編集
以下パスにある「environment.yaml」をエディタで開いて編集する。
※pipコマンドで取得するデータのフォルダ名を変更する。
yumとかaptgetみたいなもんらしい。
\stable-diffusion-webui-master\models\ldm\stable-diffusion-v1\environment.yaml

・name: ldm → name: ldo
デフォルト設定から変更してるんだと思うよ。


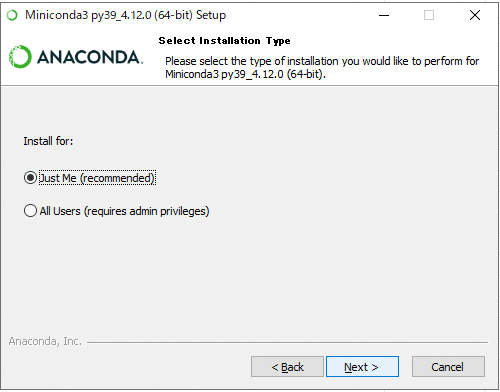
・Minacondaインストール
ダウンロードした「Miniconda3-latest-Windows-x86_64.exe」を実行してインストール
>NEXT

>I Agree

>Just Me(任意だと思う)
>インストール先はデフォルトのパスがいいみたい。任意フォルダやデフォルト設定フォルダだと、コマンド編集する必要がある。

※c:\ProgramData 不可視になっているとデフォルト設定だとエクスプローラーで見れないがファイルは存在する
※インストール先のフォルダに空白があるとワーニングが出る。

>チェックは任意、上だけチェックでいいと思う。。。パス設定だし…。

>NEXT

>チェック外してFINISH

・Gitの導入
Gitよりインストーラを取得(Win版)
https://git-scm.com/download/win

ダウンロードフォルダの「Git-2.38.1-64-bit.exe」を実行する。
※ここでは64bit版

デフォのままNEXTでいいはず

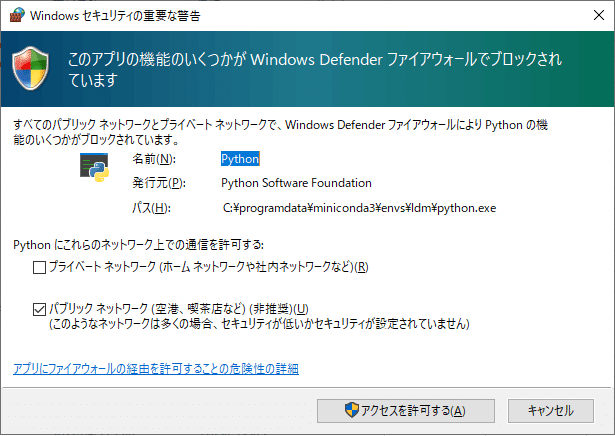
・webui.cmdの実行
解凍フォルダの「webui.cmd」を実行する。

実行したらこんな感じ(ネット上からデータ取得してる)

この辺出たら許可してあげて
3:実行
・webui.cmdの処理が完了したときに出力されるURLをブラウザで開く

後は遊ぶだけ。終わり。

おまけ:
多機能のWEBUI版はここから
https://github.com/AUTOMATIC1111/stable-diffusion-webui
※これを使うとモデルデータ複数の切り替えが楽