ControlNet-LLLite学習メモ②

2023/08/26追記
そもそも環境構築を間違っていたので、学習できてないのは当たり前でした。
環境構築に関してはこちらの記事をご参照ください。
https://note.com/tori29umai/n/ne3b5b8ba9084
結論から言いましょう。今回は失敗編です。今回もと言うべきかな。うふふ。
失敗の原因はおそらく本番環境とは違う環境で学習の為のオリジナル画像を出力したことでしょう。まぁ私がわるい。
ベースモデル作成
前回の記事でControlNet-LLLiteを学習させるにはデータセットをControlNet-LLLiteのベースにするモデルから出力した画像が良い、ということが判明しました。
なので『質の高い1000枚の線画画像を生成AIから直接出力するモデルを作る』ことにこだわり――たかったのですが、そこそこの所で妥協しました。
レシピとしては確かlineart、flat_color、monochrome、white_toonの概念を忘れさせたno_collorというLECO製LoRA:-2
negative概念を覚えさせたLECO製LoRA:-2
上記からDLした
test-flat:2
test-noline:-2
の配合でXeLblend1にマージしました。以下自分用メモ。
no_collor:-2,neg4all:-2,test-flat:2,test-noline:-2
その際色々調べたので以下は自分用メモ。
https://note.com/tori29umai/n/n33bec5aba718
https://twitter.com/tori29umai/status/1694144688440455184
LECOでSDXLモデルを学習する|とりにく @tori29umai #note https://t.co/MDTbXUfJln
— とりにく@毎日体重計に乗れ (@tori29umai) August 23, 2023
とりあえず書きました。この方法が一番楽ちんだと思います
というわけでXeLblend1をベースにした若干線画がくっきりしたモデルで線画っぽい画像を出力し、それから綺麗な線画を抽出していきます。
データセット作成
①1girl、1boy、背景の画像をそれぞれランダムにStable Diffusion web UIから出力することにしました。多分これが敗因。ちゃんとsd-scripts内にあるsdxl_gen_img.pyでデータ作成するべきでした。
サイズは一律1024*1024。1200枚出力。GPUがめっちゃ熱くなりました。
本当はdiffusersで出力した方が本番環境に近くてよいと思うのですが(diffusersでアプリ開発するのが本命なので)、出力画像を偏らせないためにpromptをランダムにするスクリプトを組むのが面倒で、『Dynamic Prompts』というweb UI拡張を使用しました。
詳細は以下を参照。
具体的には以下のようなフロンプトを使用。
Prompt
{{(monochrome,no color, flat color,line art,white tone,full body :1.5),(masterpiece,best quality,ultra detailed:1.7),1girl, white hair, __bangs__ __camera__ __facial__ __hairM__ __clothesM__ __look__ | (monochrome,no color, flat color,line art,white tone,:1.5),(masterpiece,best quality,ultra detailed:1.4), 1boy,man, solo, white cloth, white hair __camera__ __facial__ __look__ __men_fashions/ensembles/all__ }{__scene__| white_background} |(monochrome,no color, flat color,line art,white tone,:1.5),(masterpiece,best quality,ultra detailed:1.7), __scene__ (scenery:1.7)}negative
(low quality, worst quality, color, black cloth,patterned cloth,bad anatomy,long_neck,long_body,longbody,deformed mutated disfigured,missing arms,extra_arms,mutated hands,extra_legs,bad hands,poorly_drawn_hands,malformed_hands,missing_limb,floating_limbs,disconnected_limbs,extra_fingers,bad fingers,liquid fingers,poorly drawn fingers,missing fingers,extra digit,fewer digits,ugly face,deformed eyes,partial face,partial head,bad face,inaccurate limb,cropped:1.7),out of focus,ugly,error,JPEG artifacts,low resolution,blurry,bokeh使ったワイルドカードは以下。
背景生成のワイルドカードは自作しました。
mountain
river
forest
cave
flower field
sea
lake
waterfall
castle
desert
park
garden
porch of a Japanese house
japanese-style room
shrine
temple
classroom
living
kitchen
bedroom
cafe
hospital
church
library
office
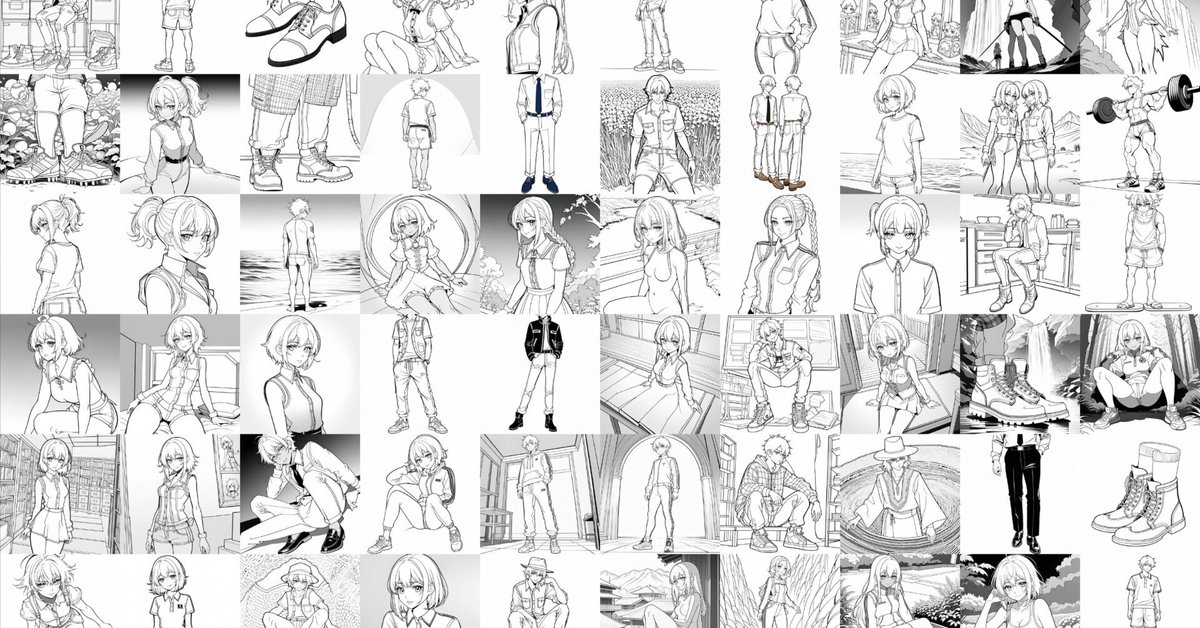
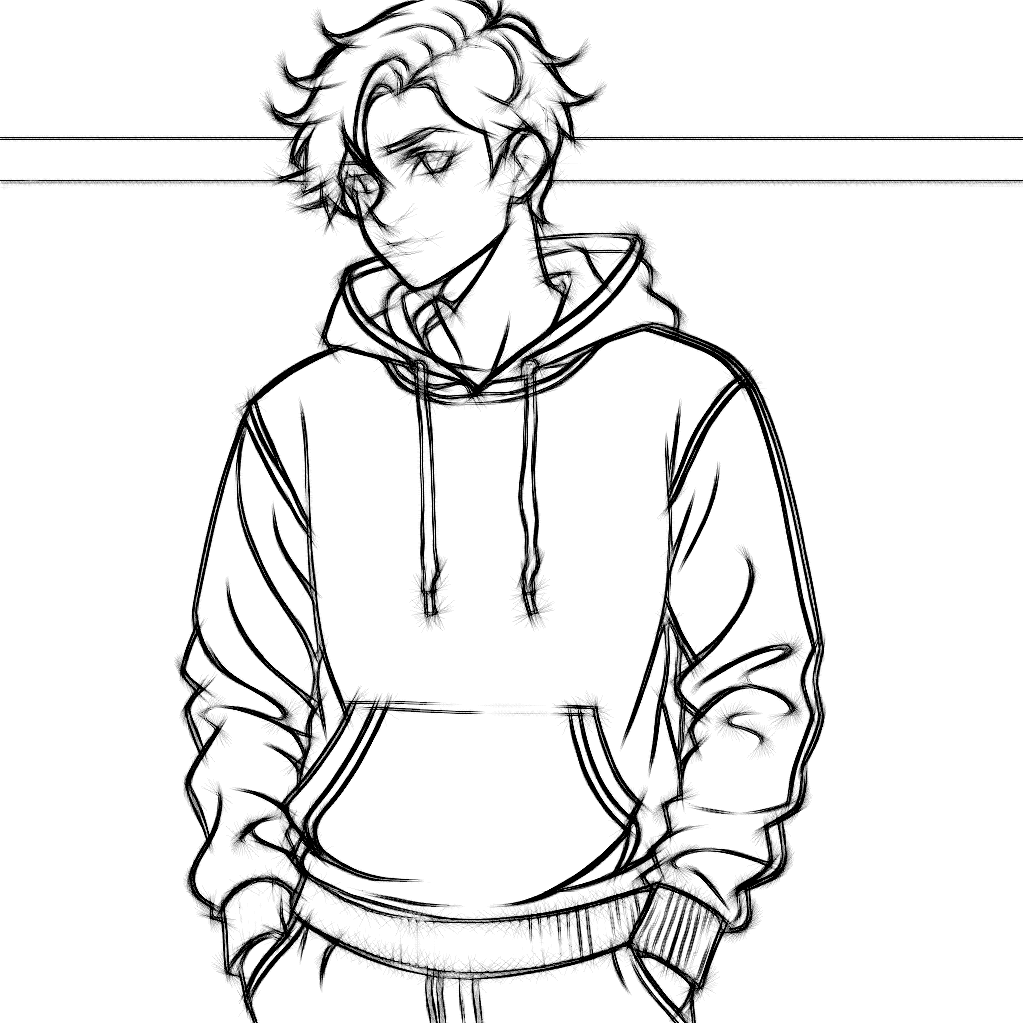
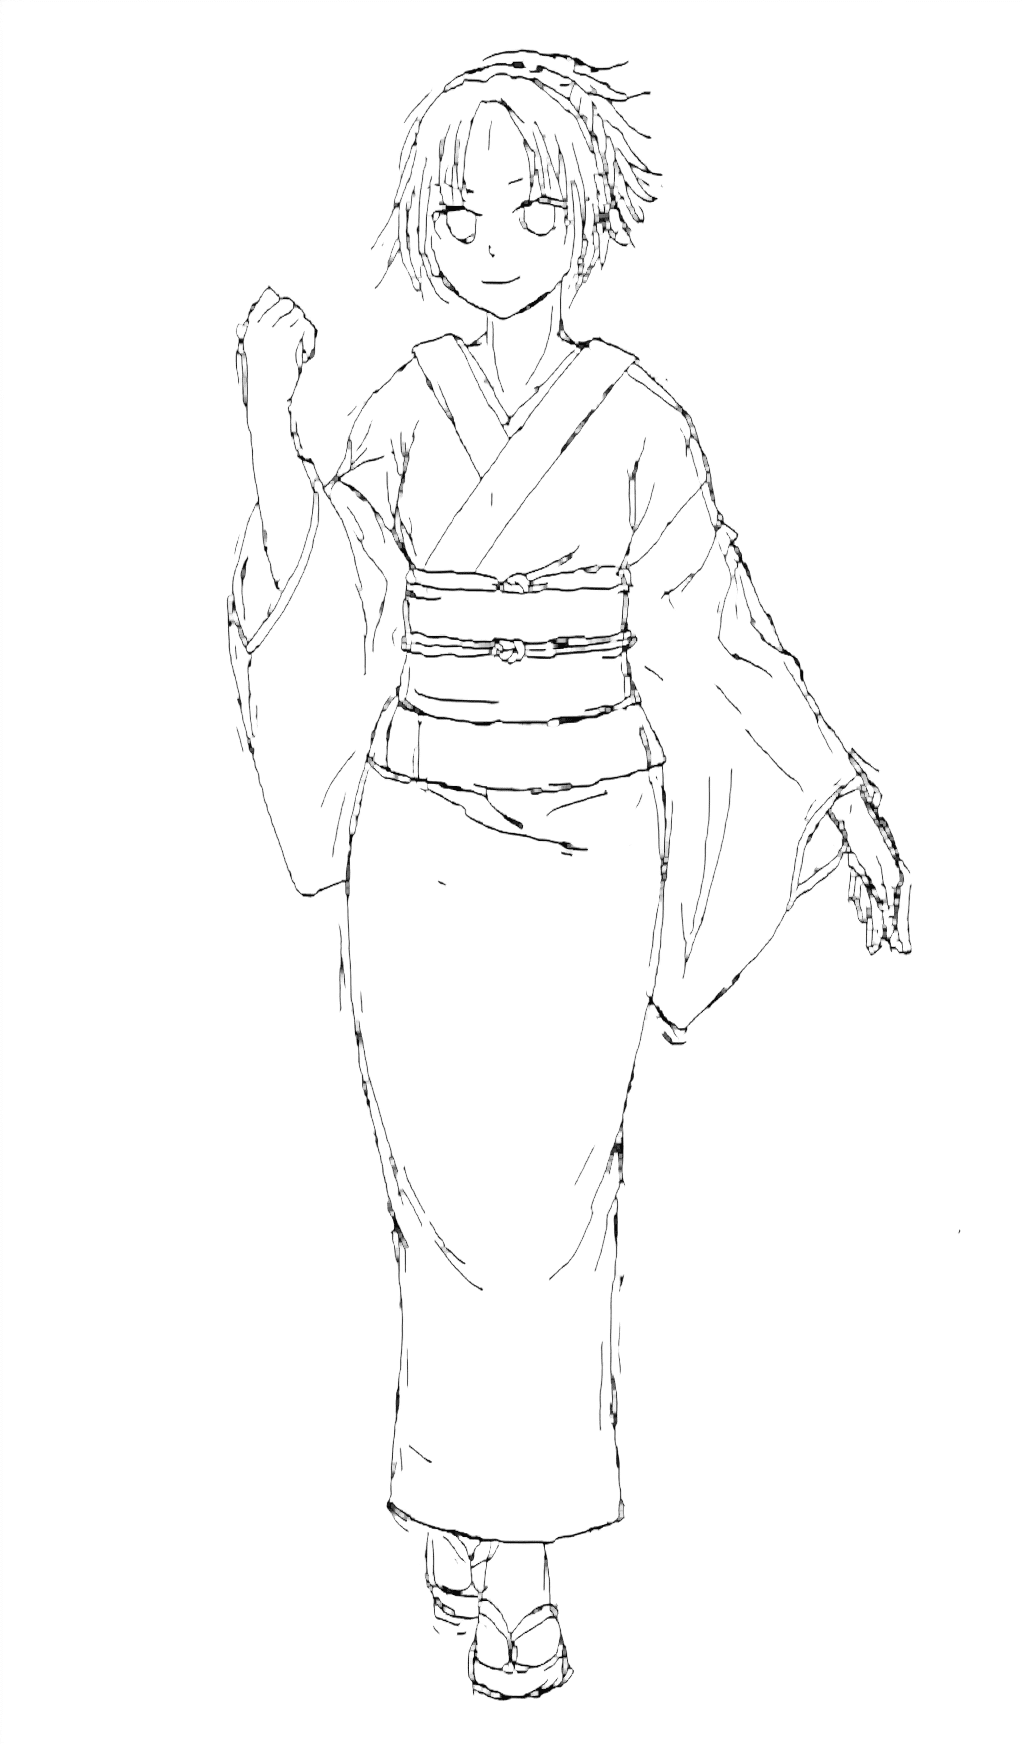
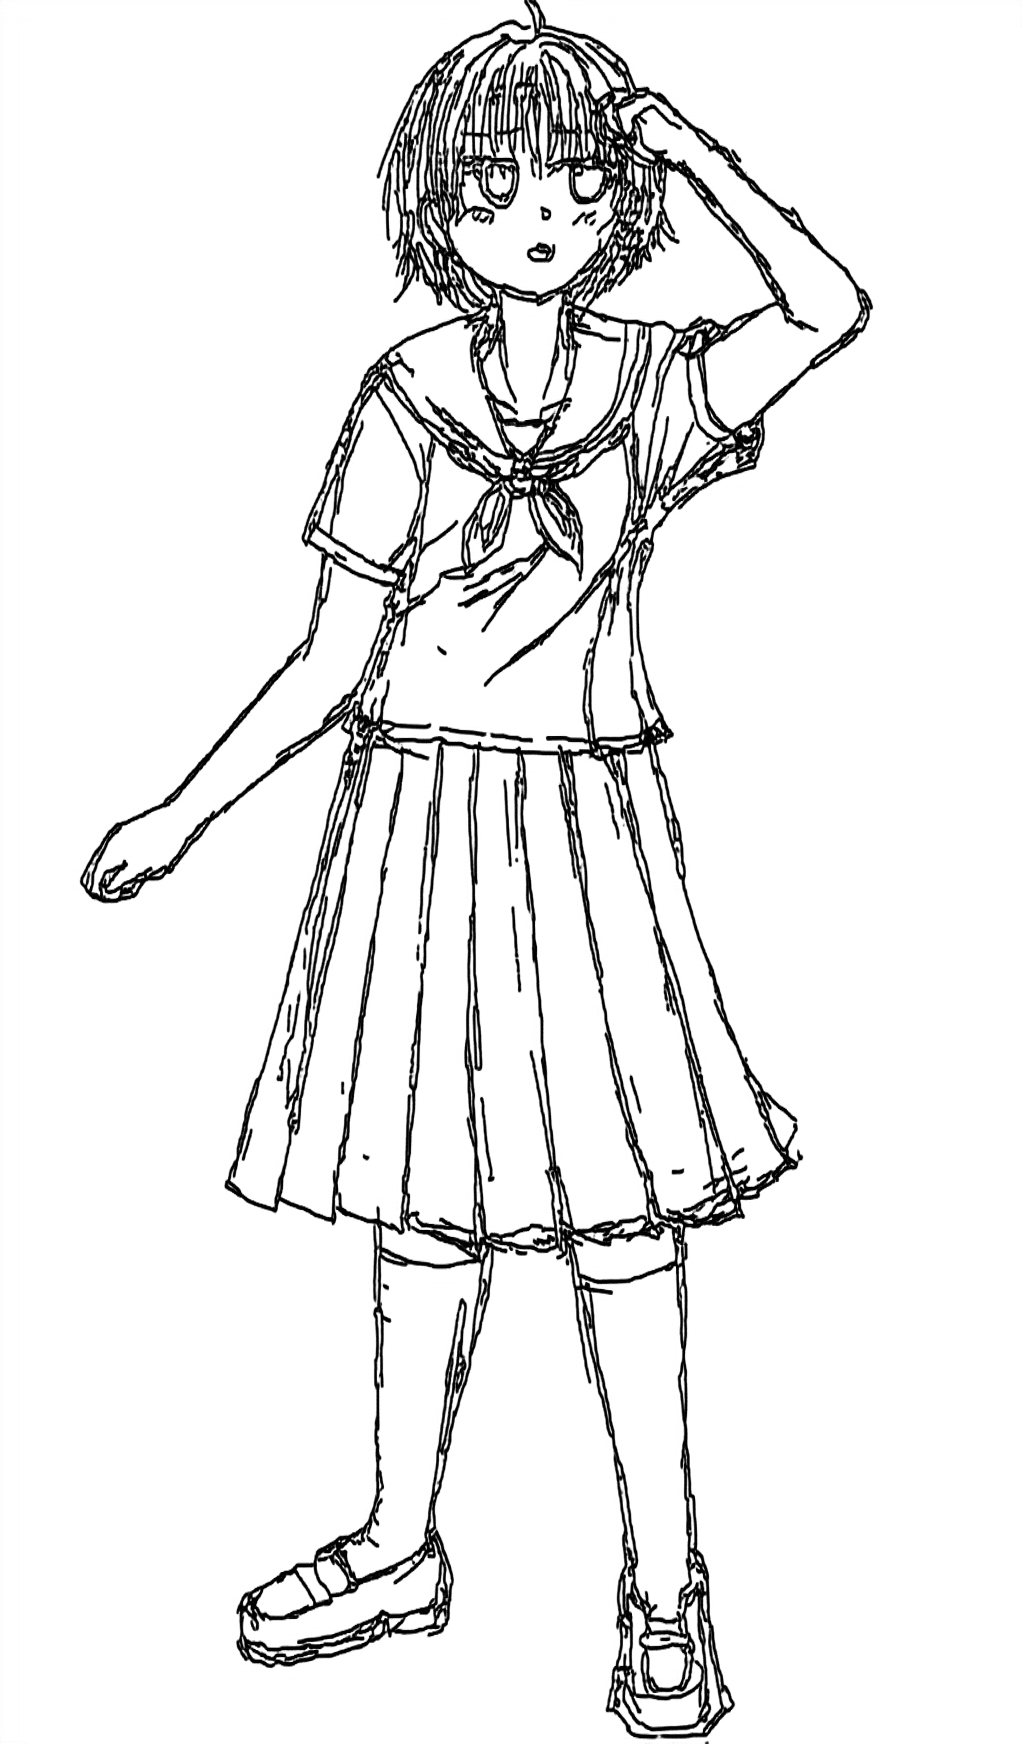
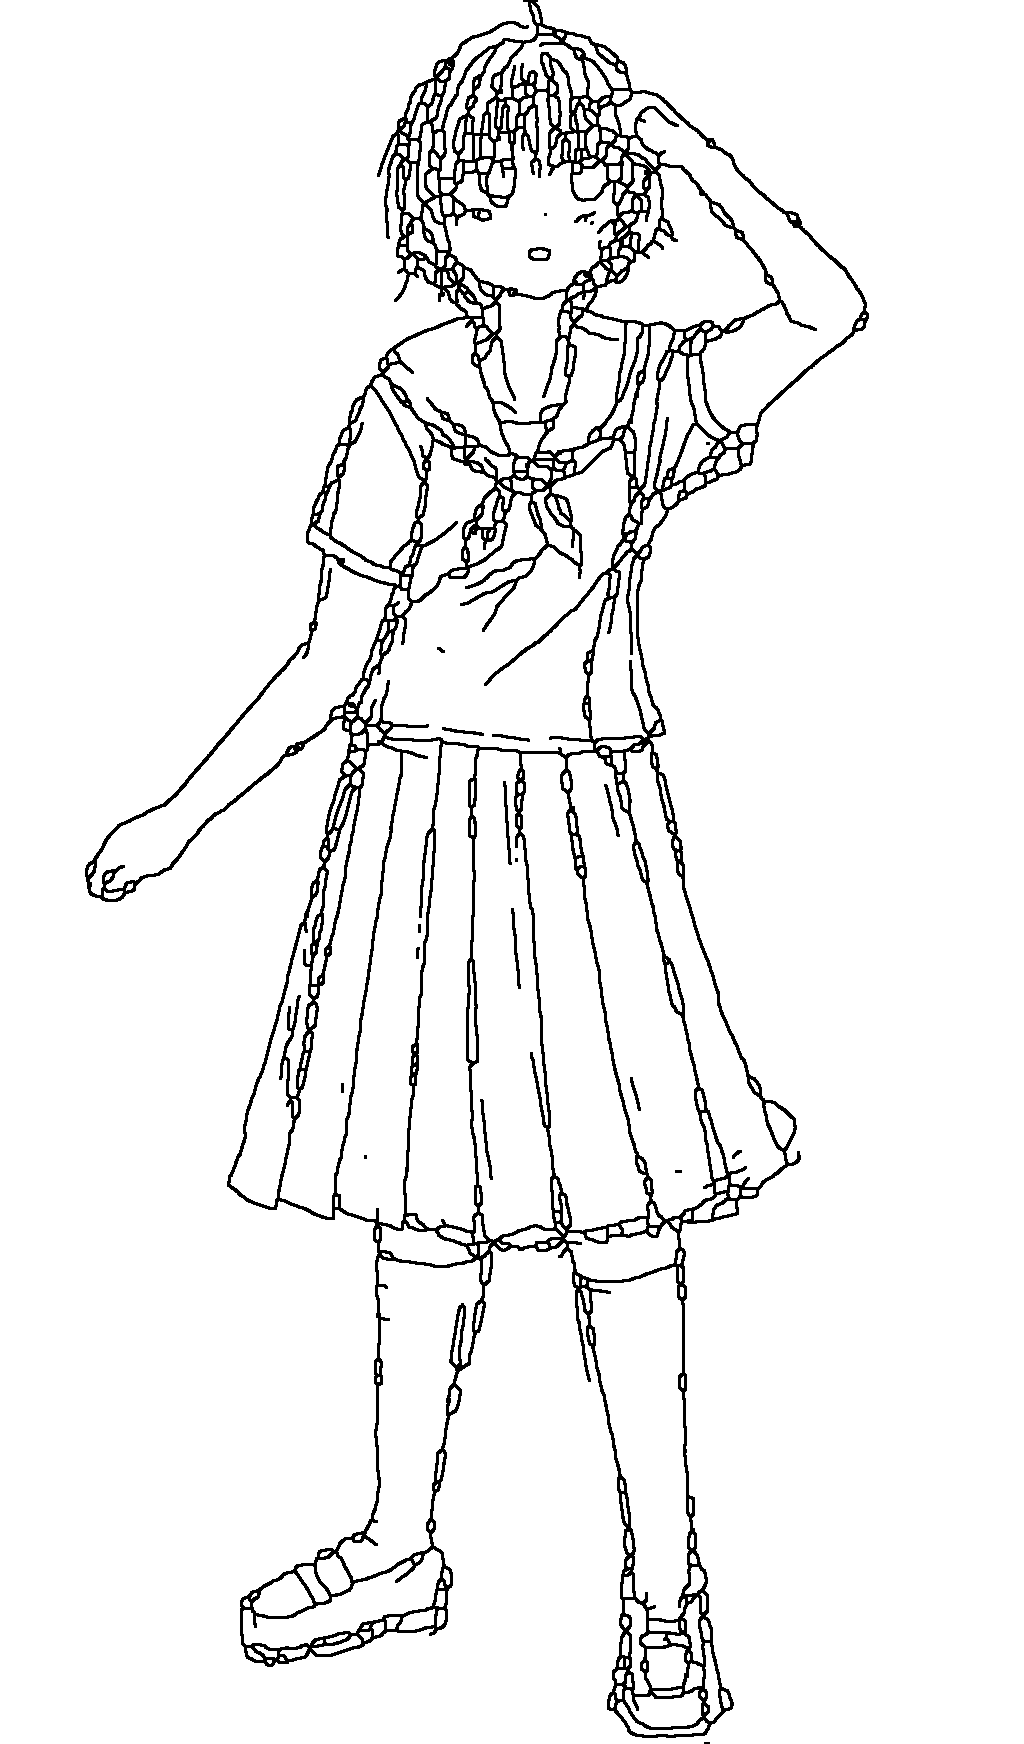
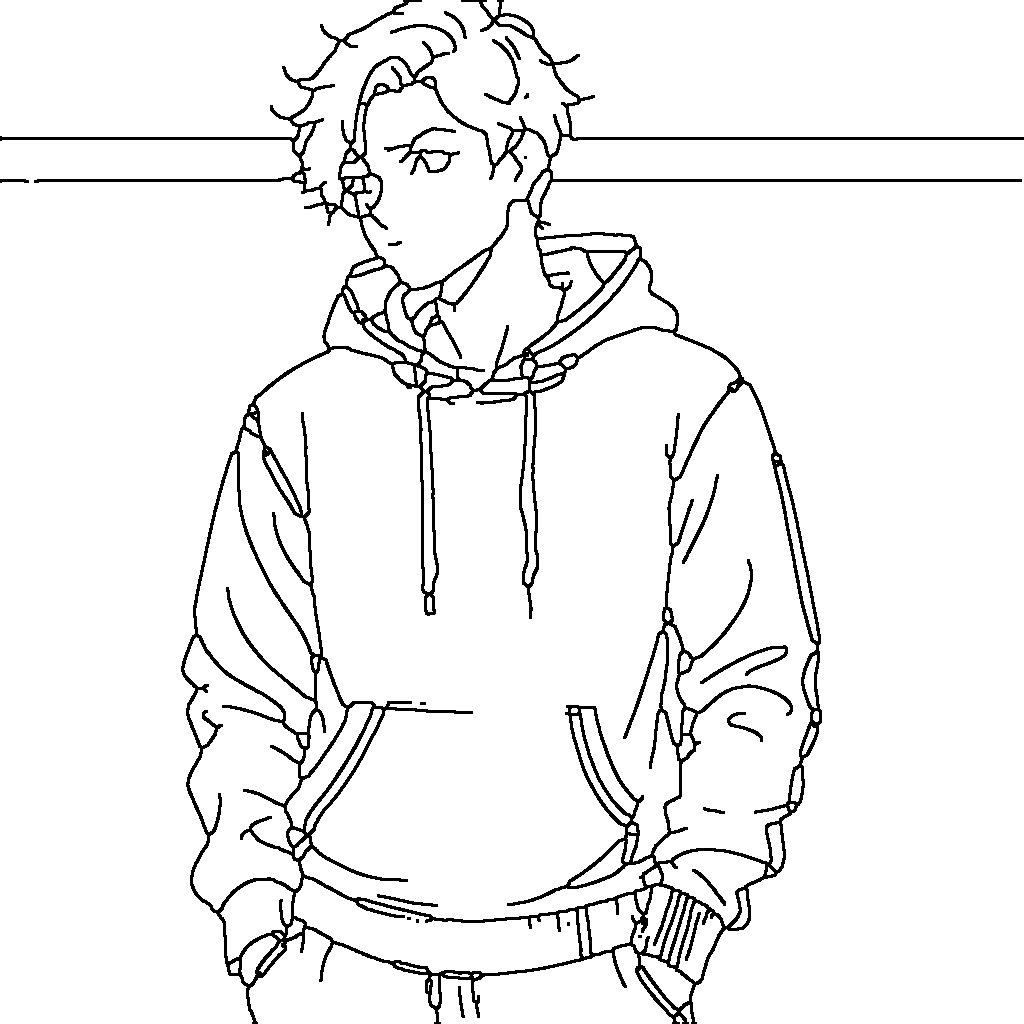
library出力した画像はこんな感じ。
たまに変な画像も紛れ込んでいるので意味があるかはわかりませんが、露骨に変なのは取り除きました。(それでも結構妥協しましたが
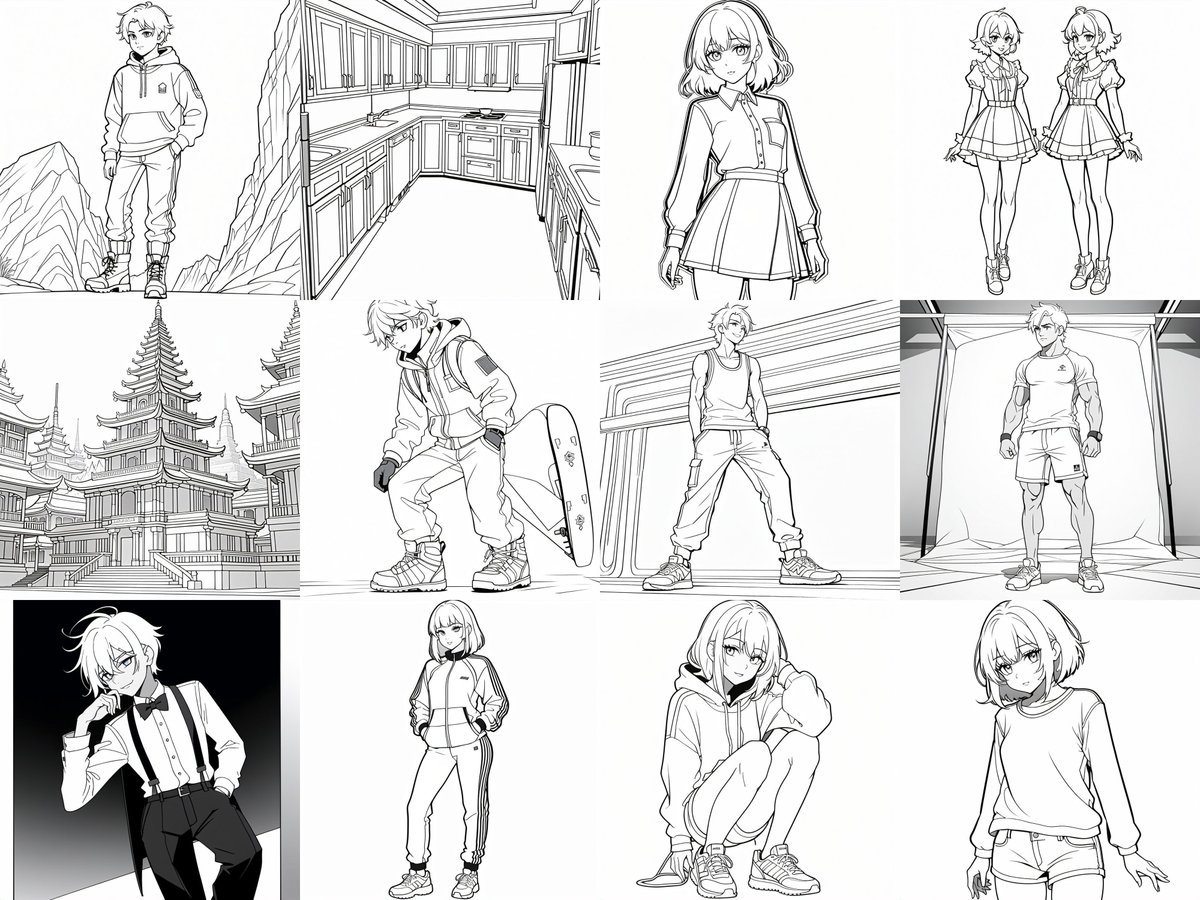
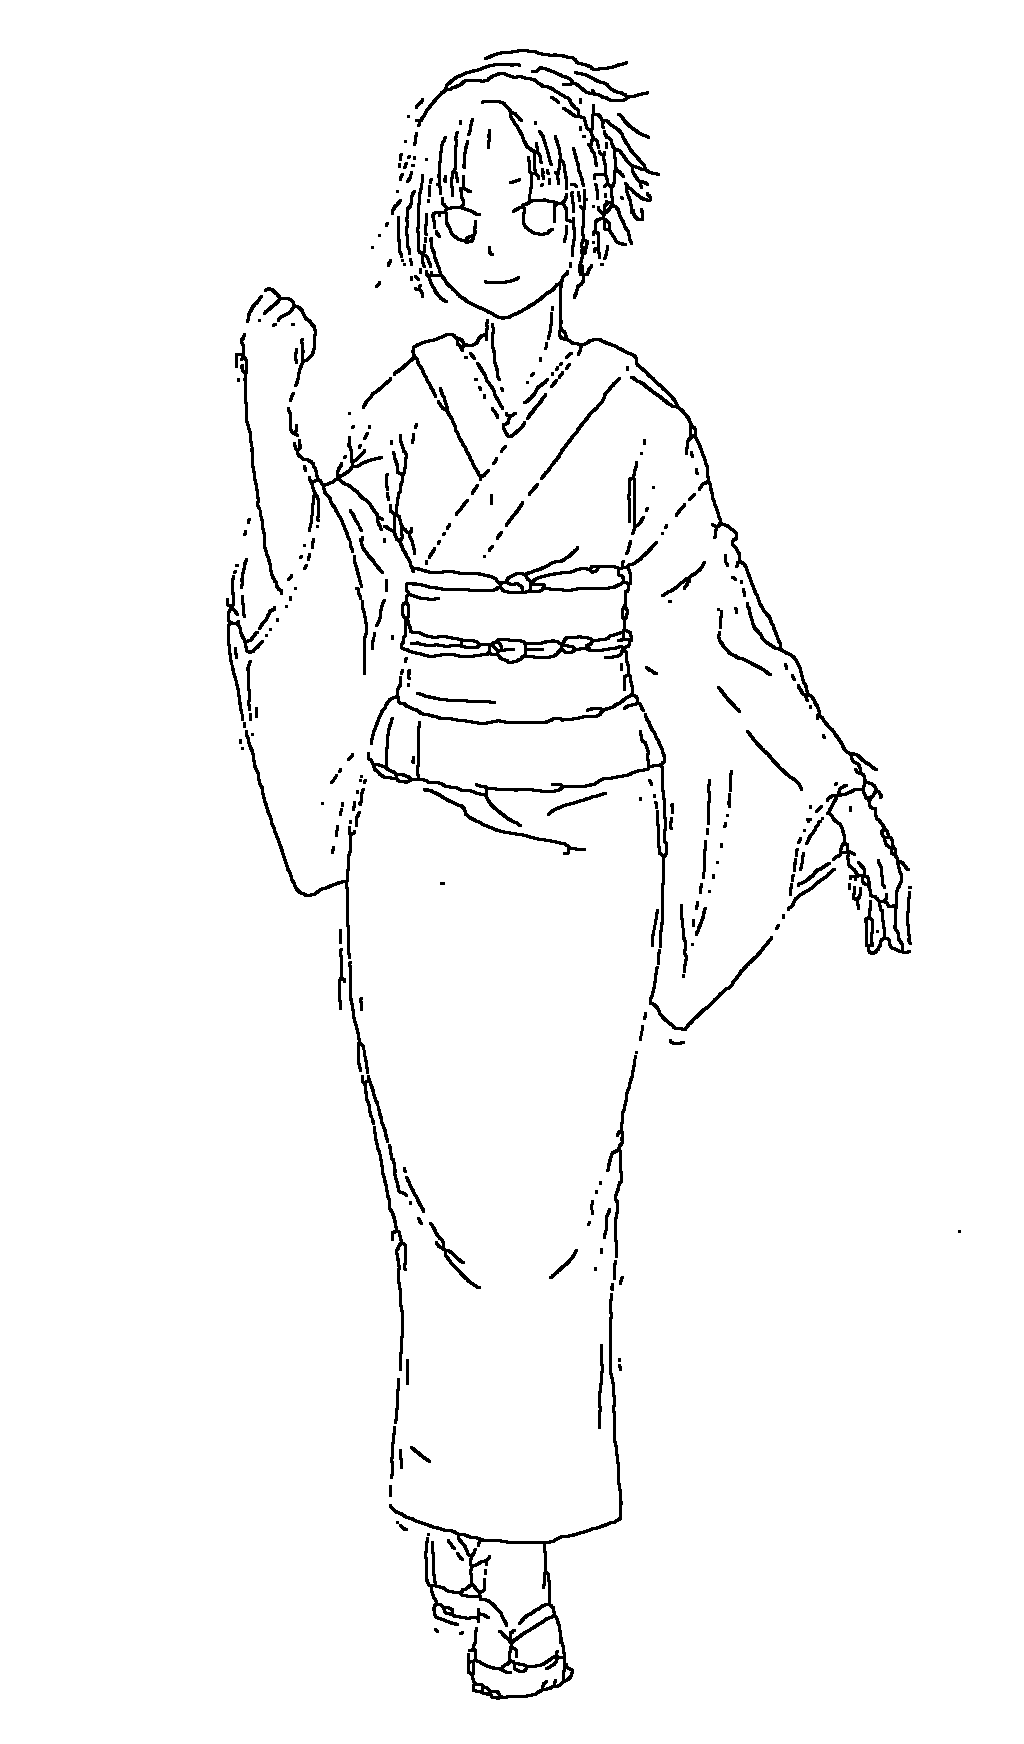
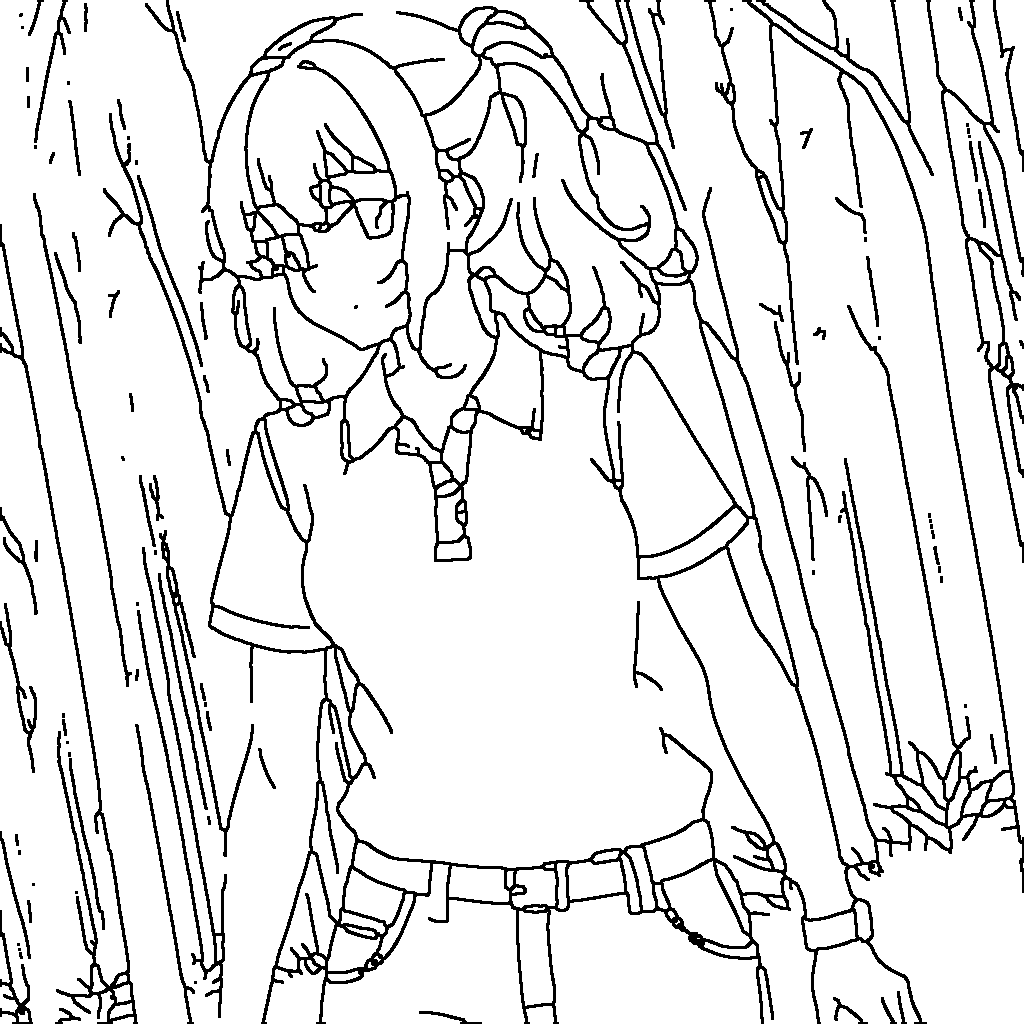
②出力した画像のグレースケールな部分を取り除きくっきりした白黒線画にします。
前回のMangaLineExtraction_PyTorchを利用するコードを再利用します。
よしよし。いい感じにくっきりしました
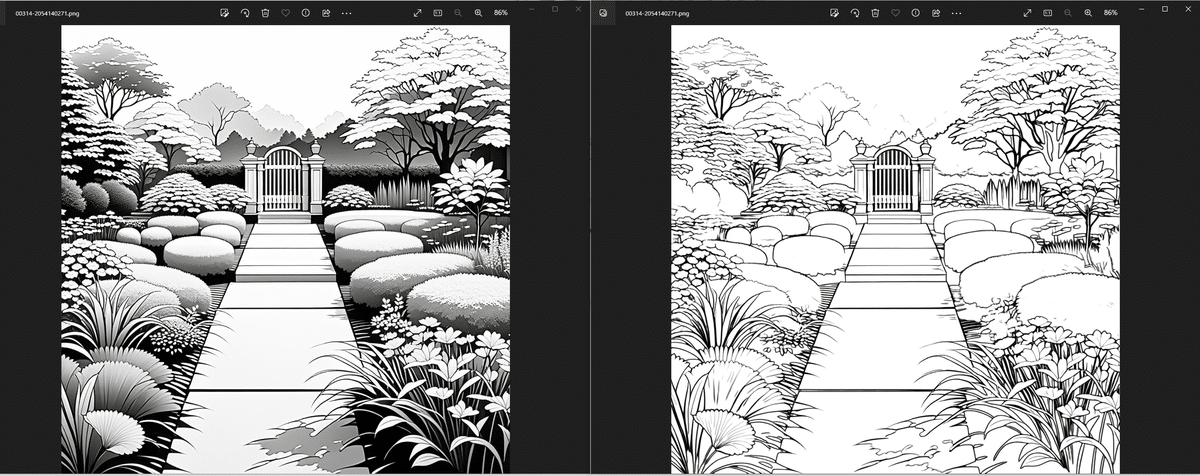
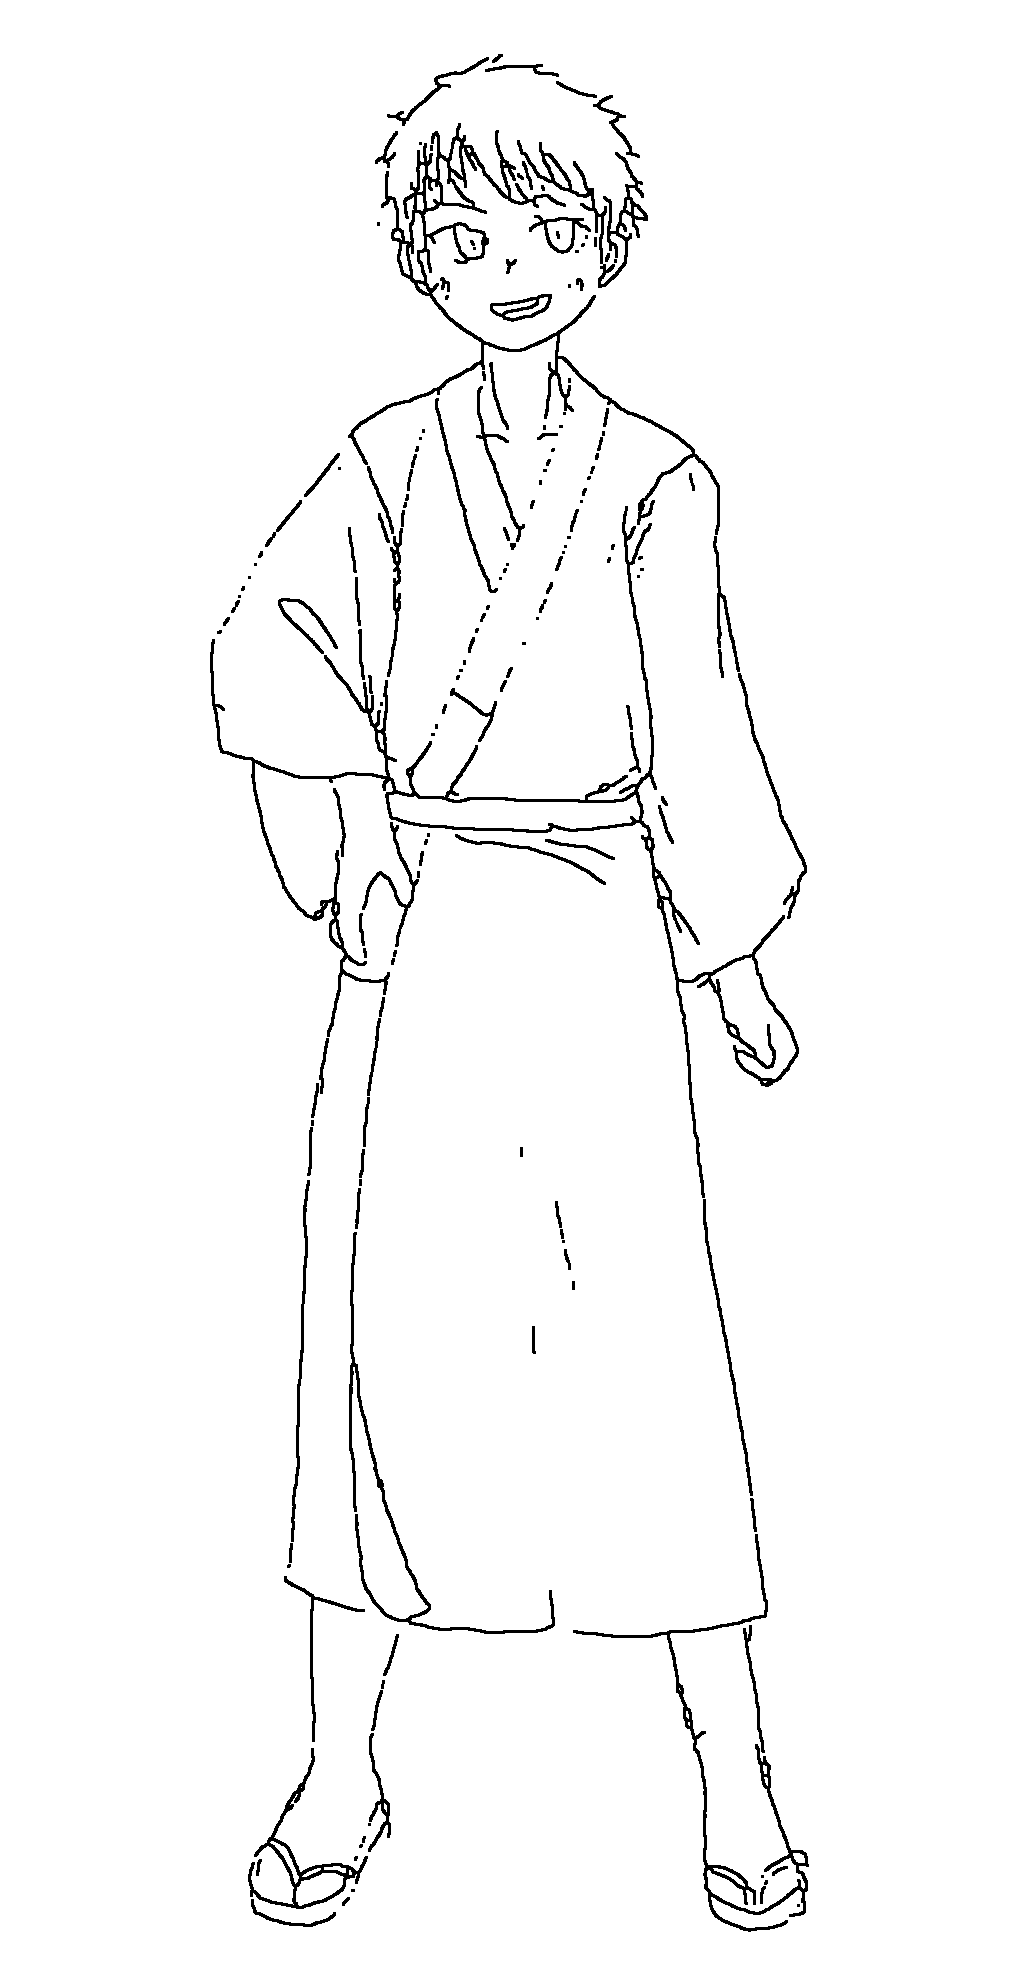
③画像をラフっぽく加工する。
Pythonでもできそうでしたが考えたくなかったので既存の画像加工ソフトを使いました。
よしよし、大分それっぽくなってきました。さてこの画像群を学習・・・といいたいところなのですが、絵を描く人ならわかるんですけど、アナログに描いたラフってこう、線の太さやら濃度とかバラついてたりするじゃないですか?
それらのバラつきを無くしたいと思い、それぞれこのような加工をほどこしてみました。使ったのは以下。あと自前の雑スクリプト。
まず、informative-drawingsのcontour_styleで雑に線を抽出。
python LineConvert.py --name acontour_style --dataroot "D:\desktop\Line1" --results_dir "D:\desktop\Line2" --size 1024 --load_size 1024 --crop_size 1024LineConvert.py
# -*- coding: utf-8 -*-
#!/usr/bin/python3
import cv2
import numpy as np

import argparse
import sys
import os

import torchvision.transforms as transforms
from torchvision.utils import save_image
from torch.utils.data import DataLoader
from torch.autograd import Variable
import torch

from model import Generator, GlobalGenerator2, InceptionV3
from dataset import UnpairedDepthDataset
from PIL import Image
import numpy as np
from utils import channel2width

parser = argparse.ArgumentParser()
parser.add_argument('--name', required=True, type=str, help='name of this experiment')
parser.add_argument('--checkpoints_dir', type=str, default='checkpoints', help='Where the model checkpoints are saved')
parser.add_argument('--results_dir', type=str, default='results', help='where to save result images')
parser.add_argument('--geom_name', type=str, default='feats2Geom', help='name of the geometry predictor')
parser.add_argument('--batchSize', type=int, default=1, help='size of the batches')
parser.add_argument('--dataroot', type=str, default='', help='root directory of the dataset')
parser.add_argument('--depthroot', type=str, default='', help='dataset of corresponding ground truth depth maps')

parser.add_argument('--input_nc', type=int, default=3, help='number of channels of input data')
parser.add_argument('--output_nc', type=int, default=1, help='number of channels of output data')
parser.add_argument('--geom_nc', type=int, default=3, help='number of channels of geometry data')
parser.add_argument('--every_feat', type=int, default=1, help='use transfer features for the geometry loss')
parser.add_argument('--num_classes', type=int, default=55, help='number of classes for inception')
parser.add_argument('--midas', type=int, default=0, help='use midas depth map')

parser.add_argument('--ngf', type=int, default=64, help='# of gen filters in first conv layer')
parser.add_argument('--n_blocks', type=int, default=3, help='number of resnet blocks for generator')
parser.add_argument('--size', type=int, default=512, help='size of the data (squared assumed)')
parser.add_argument('--cuda', action='store_true', help='use GPU computation', default=True)
parser.add_argument('--n_cpu', type=int, default=8, help='number of cpu threads to use during batch generation')
parser.add_argument('--which_epoch', type=str, default='latest', help='which epoch to load from')
parser.add_argument('--aspect_ratio', type=float, default=1.0, help='The ratio width/height. The final height of the load image will be crop_size/aspect_ratio')

parser.add_argument('--mode', type=str, default='test', help='train, val, test, etc')
parser.add_argument('--load_size', type=int, default=512, help='scale images to this size')
parser.add_argument('--crop_size', type=int, default=512, help='then crop to this size')
parser.add_argument('--preprocess', type=str, default='resize_and_crop', help='scaling and cropping of images at load time [resize_and_crop | crop | scale_width | scale_width_and_crop | none]')
parser.add_argument('--no_flip', action='store_true', help='if specified, do not flip the images for data augmentation')
parser.add_argument('--norm', type=str, default='instance', help='instance normalization or batch normalization')

parser.add_argument('--predict_depth', type=int, default=0, help='run geometry prediction on the generated images')
parser.add_argument('--save_input', type=int, default=0, help='save input image')
parser.add_argument('--reconstruct', type=int, default=0, help='get reconstruction')
opt = parser.parse_args()
print(opt)

opt.no_flip = True

if torch.cuda.is_available() and not opt.cuda:
    print("WARNING: You have a CUDA device, so you should probably run with --cuda")

def count_image_files(directory):
    count = 0
    for root, dirs, files in os.walk(directory):
        for file in files:
            if file.endswith(".png") or file.endswith(".jpg") or file.endswith(".jpeg"):
                count += 1
    return count


def thinning(image_path, output_path):
    # 画像の読み込み
    image = cv2.imread(image_path, 0)  # グレースケールで読み込む

    # 反転処理
    inverted = cv2.bitwise_not(image)

    # カーネルの定義
    kernel = np.ones((2, 2), np.uint8)

    # 収縮処理 (線を細くする)
    erosion = cv2.erode(inverted, kernel, iterations=2)

    # 反転処理
    result = cv2.bitwise_not(erosion)

    # 結果の保存
    cv2.imwrite(output_path, result)

###################################

with torch.no_grad():
    # Networks

    net_G = 0
    net_G = Generator(opt.input_nc, opt.output_nc, opt.n_blocks)
    net_G.cuda()

    net_GB = 0
    if opt.reconstruct == 1:
        net_GB = Generator(opt.output_nc, opt.input_nc, opt.n_blocks)
        net_GB.cuda()
        net_GB.load_state_dict(torch.load(os.path.join(opt.checkpoints_dir, opt.name, 'netG_B_%s.pth' % opt.which_epoch)))
        net_GB.eval()

    netGeom = 0
    if opt.predict_depth == 1:
        usename = opt.name
        if (len(opt.geom_name) > 0) and (os.path.exists(os.path.join(opt.checkpoints_dir, opt.geom_name))):
            usename = opt.geom_name
        myname = os.path.join(opt.checkpoints_dir, usename, 'netGeom_%s.pth' % opt.which_epoch)
        netGeom = GlobalGenerator2(768, opt.geom_nc, n_downsampling=1, n_UPsampling=3)

        netGeom.load_state_dict(torch.load(myname))
        netGeom.cuda()
        netGeom.eval()

        numclasses = opt.num_classes
        ### load pretrained inception
        net_recog = InceptionV3(opt.num_classes, False, use_aux=True, pretrain=True, freeze=True, every_feat=opt.every_feat==1)
        net_recog.cuda()
        net_recog.eval()

    # Load state dicts
    net_G.load_state_dict(torch.load(os.path.join(opt.checkpoints_dir, opt.name, 'netG_A_%s.pth' % opt.which_epoch)))
    print('loaded', os.path.join(opt.checkpoints_dir, opt.name, 'netG_A_%s.pth' % opt.which_epoch))

    # Set model's test mode
    net_G.eval()


    transforms_r = [transforms.Resize(int(opt.size), Image.BICUBIC),
                   transforms.ToTensor()]


    test_data = UnpairedDepthDataset(opt.dataroot, '', opt, transforms_r=transforms_r,
                mode=opt.mode, midas=opt.midas>0, depthroot=opt.depthroot)

    dataloader = DataLoader(test_data, batch_size=opt.batchSize, shuffle=False)

    image_count = count_image_files(opt.dataroot)
    digits = len(str(image_count))  # 桁数を取得
    ###################################

    ###### Testing######

    full_output_dir = opt.results_dir

    if not os.path.exists(full_output_dir):
        os.makedirs(full_output_dir)

    for i, batch in enumerate(dataloader):
        if i > image_count:
            break;
        img_r = Variable(batch['r']).cuda()
        img_depth = Variable(batch['depth']).cuda()
        real_A = img_r

        name = batch['name'][0]

        input_image = real_A
        image = net_G(input_image)
        filepath = os.path.join(opt.results_dir, '%s.png' % name)
        save_image(image.data, filepath)
        thinning(filepath, filepath)

        if opt.predict_depth == 1:
            geom_input = image
            if geom_input.size()[1] == 1:
                geom_input = geom_input.repeat(1, 3, 1, 1)
            _, geom_input = net_recog(geom_input)
            geom = netGeom(geom_input)
            geom = (geom+1)/2.0  ###[-1, 1] ---> [0, 1]

            input_img_fake = channel2width(geom)
            save_image(input_img_fake.data, os.path.join(opt.results_dir, '%s_geom.png' % name))

        if opt.reconstruct == 1:
            rec = net_GB(image)
            save_image(rec.data, os.path.join(opt.results_dir, '%s_rec.png' % name))

        if opt.save_input == 1:
            sys.stdout.write('\rGenerated images %0{}d of %0{}d'.format(digits, digits) % (i, image_count))

        sys.stdout.write('\rGenerated images %0{}d of %0{}d'.format(digits, digits) % (i, image_count))

    sys.stdout.write('\n')

それらを以下のスクリプトでフラットな線画にする。
flatline.py
import cv2
import numpy as np
from PIL import Image
import os
import glob


def denoise_image(image):
    # Convert image to RGB if it has an alpha channel
    if image.mode == 'RGBA':
        image = image.convert('RGB')

    image = np.array(image)

    # Ensure the data type is uint8
    if image.dtype != np.uint8:
        image = (image * 255).astype(np.uint8)

    denoised_image = cv2.GaussianBlur(image, (7, 7), 0)
    return Image.fromarray(denoised_image)

def binarize_image(image):
    image = image.convert('L')
    image_np = np.array(image)
    _, binarized = cv2.threshold(image_np, 0, 255, cv2.THRESH_BINARY + cv2.THRESH_OTSU)
    return Image.fromarray(binarized)

def skeletonize_and_dilate_image(image):
    # Convert to grayscale and then binarize the image
    image = image.convert('L')
    image_np = np.array(image)
    _, binarized = cv2.threshold(image_np, 0, 255, cv2.THRESH_BINARY + cv2.THRESH_OTSU)

    # Invert colors (thinning function expects white lines on black background)
    inverted = cv2.bitwise_not(binarized)

    # Skeletonize
    skeleton = cv2.ximgproc.thinning(inverted, thinningType=cv2.ximgproc.THINNING_ZHANGSUEN)

    # Dilate to make the line 3 pixels wide
    kernel = np.ones((3, 3), np.uint8)
    dilated = cv2.dilate(skeleton, kernel, iterations=1)

    # Re-invert colors to black lines on white background
    dilated = cv2.bitwise_not(dilated)

    return Image.fromarray(dilated)

def process_images_in_directory(input_directory, output_directory):
    if not os.path.exists(output_directory):
        os.makedirs(output_directory)

    for file_ext in ['png', 'jpg']:
        for input_path in glob.glob(f'{input_directory}/*.{file_ext}'):
            file_name = os.path.splitext(os.path.basename(input_path))[0]
            output_path = os.path.join(output_directory, file_name + '.png')

            image = Image.open(input_path)
            denoised_image = denoise_image(image)

            binarized_image = binarize_image(denoised_image)

            skeletonized_image = skeletonize_and_dilate_image(binarized_image)

            skeletonized_image.save(output_path, format='PNG')

# Parameters
input_directory = 'D:/desktop/test2'   # Path of the input directory
output_directory = 'D:/desktop/test3'
# Call the main function to execute the processing
process_images_in_directory(input_directory, output_directory)
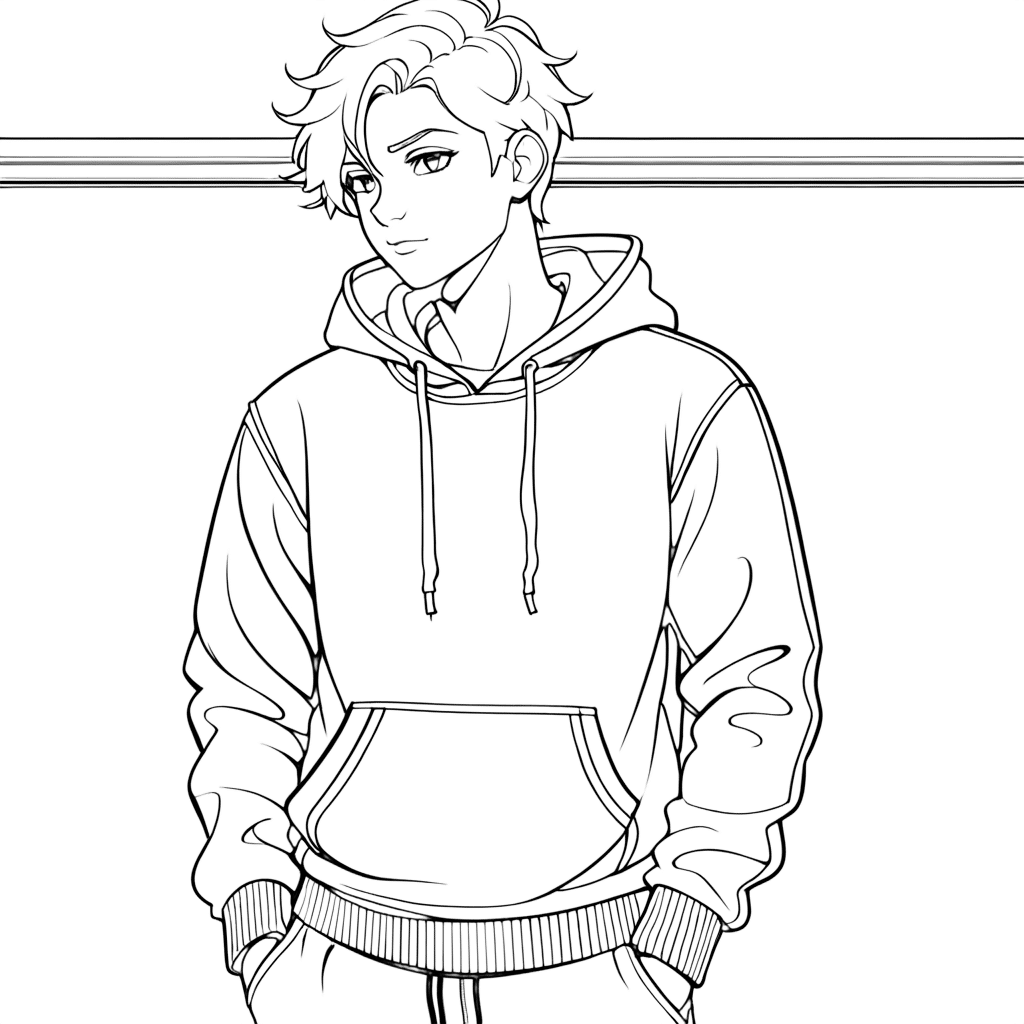
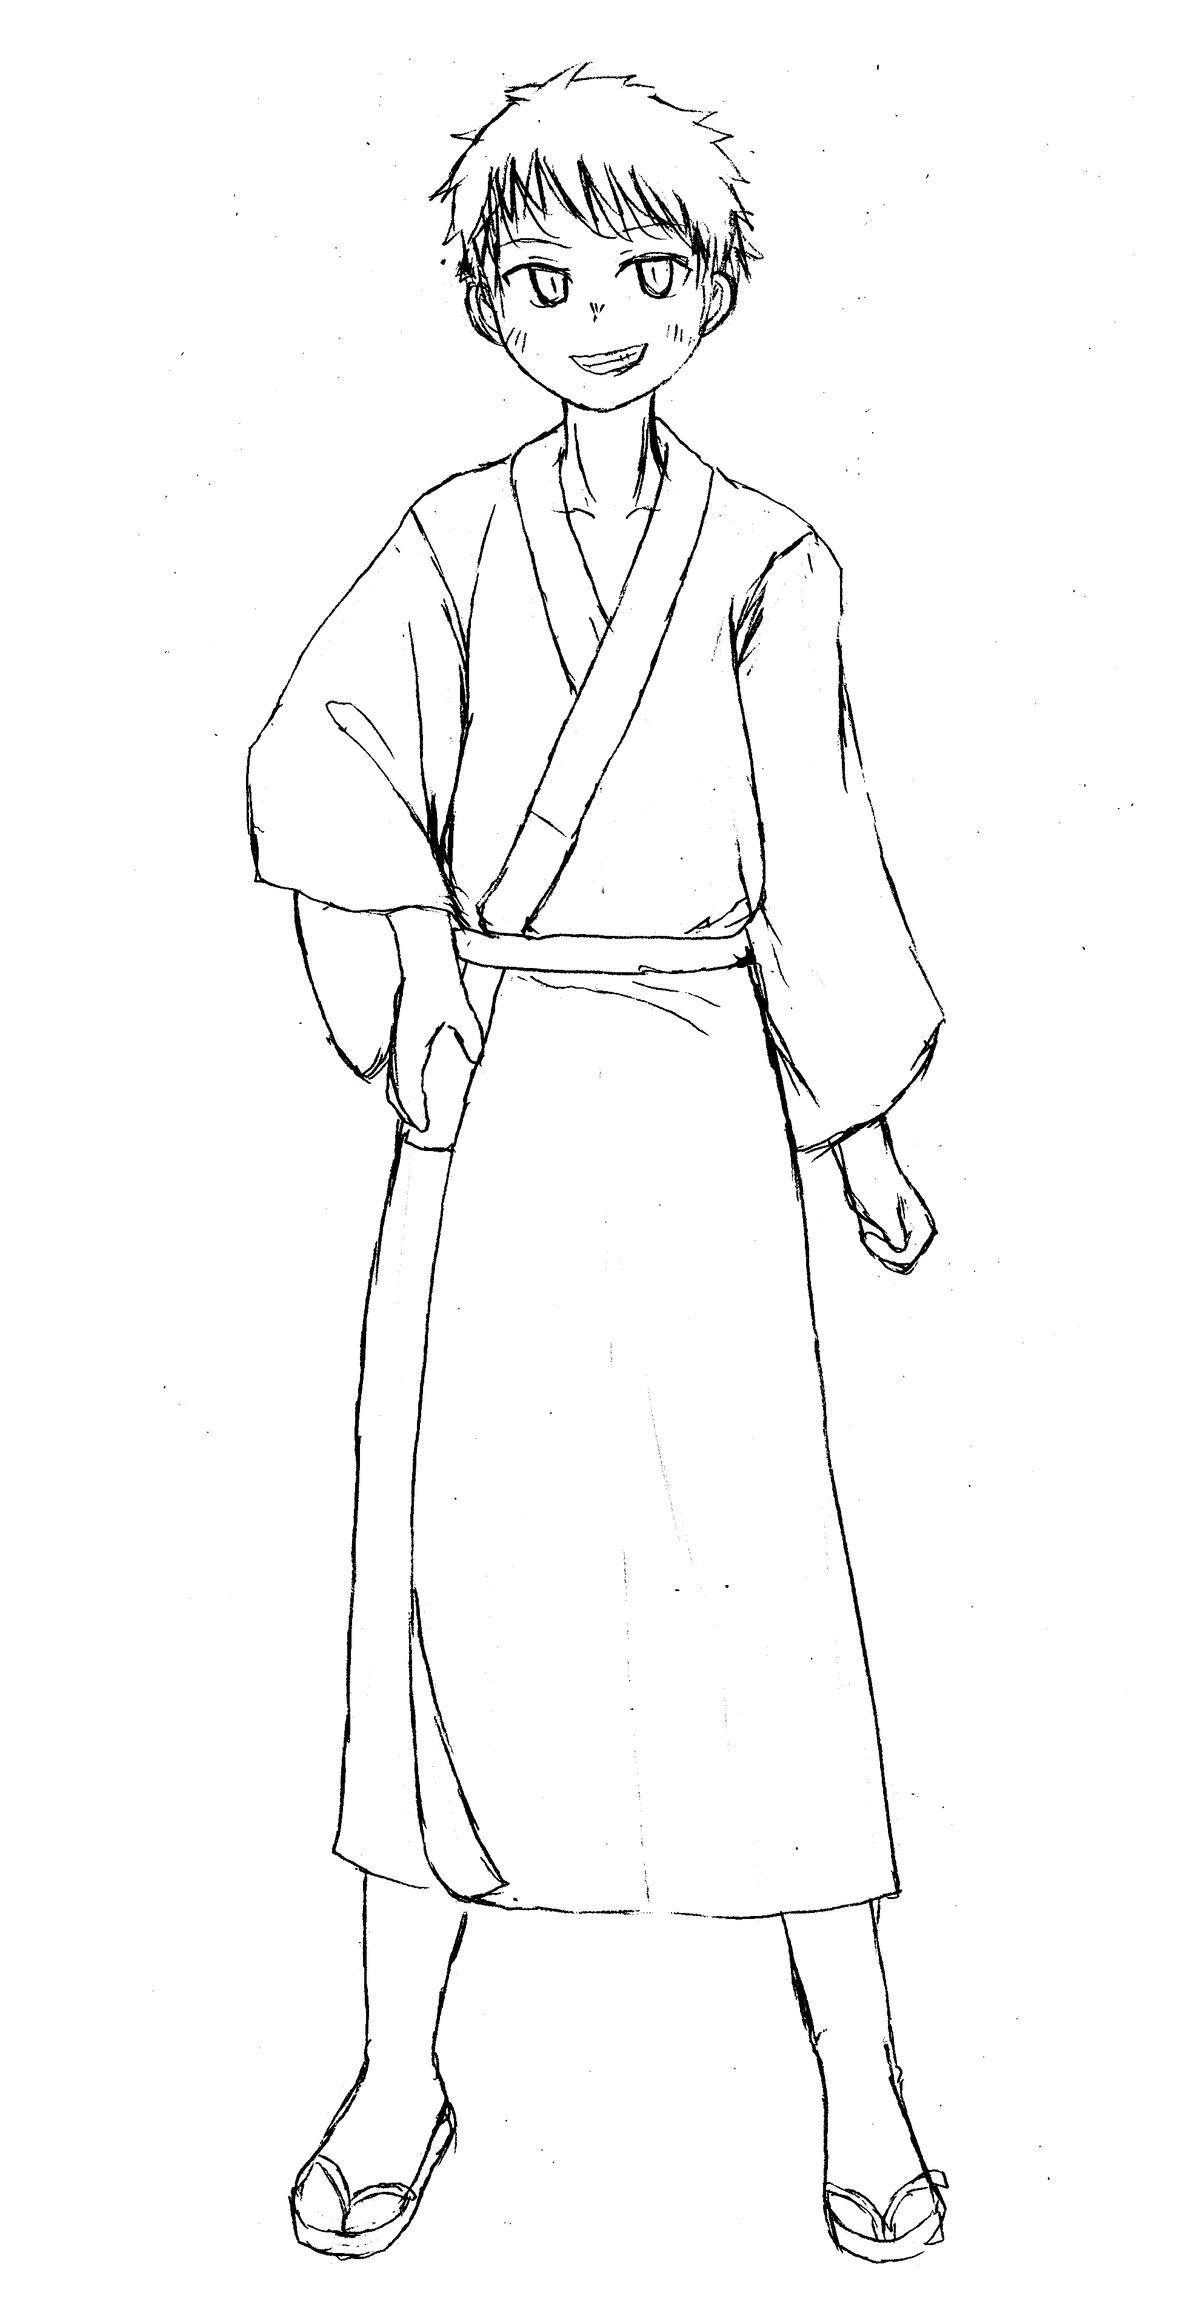
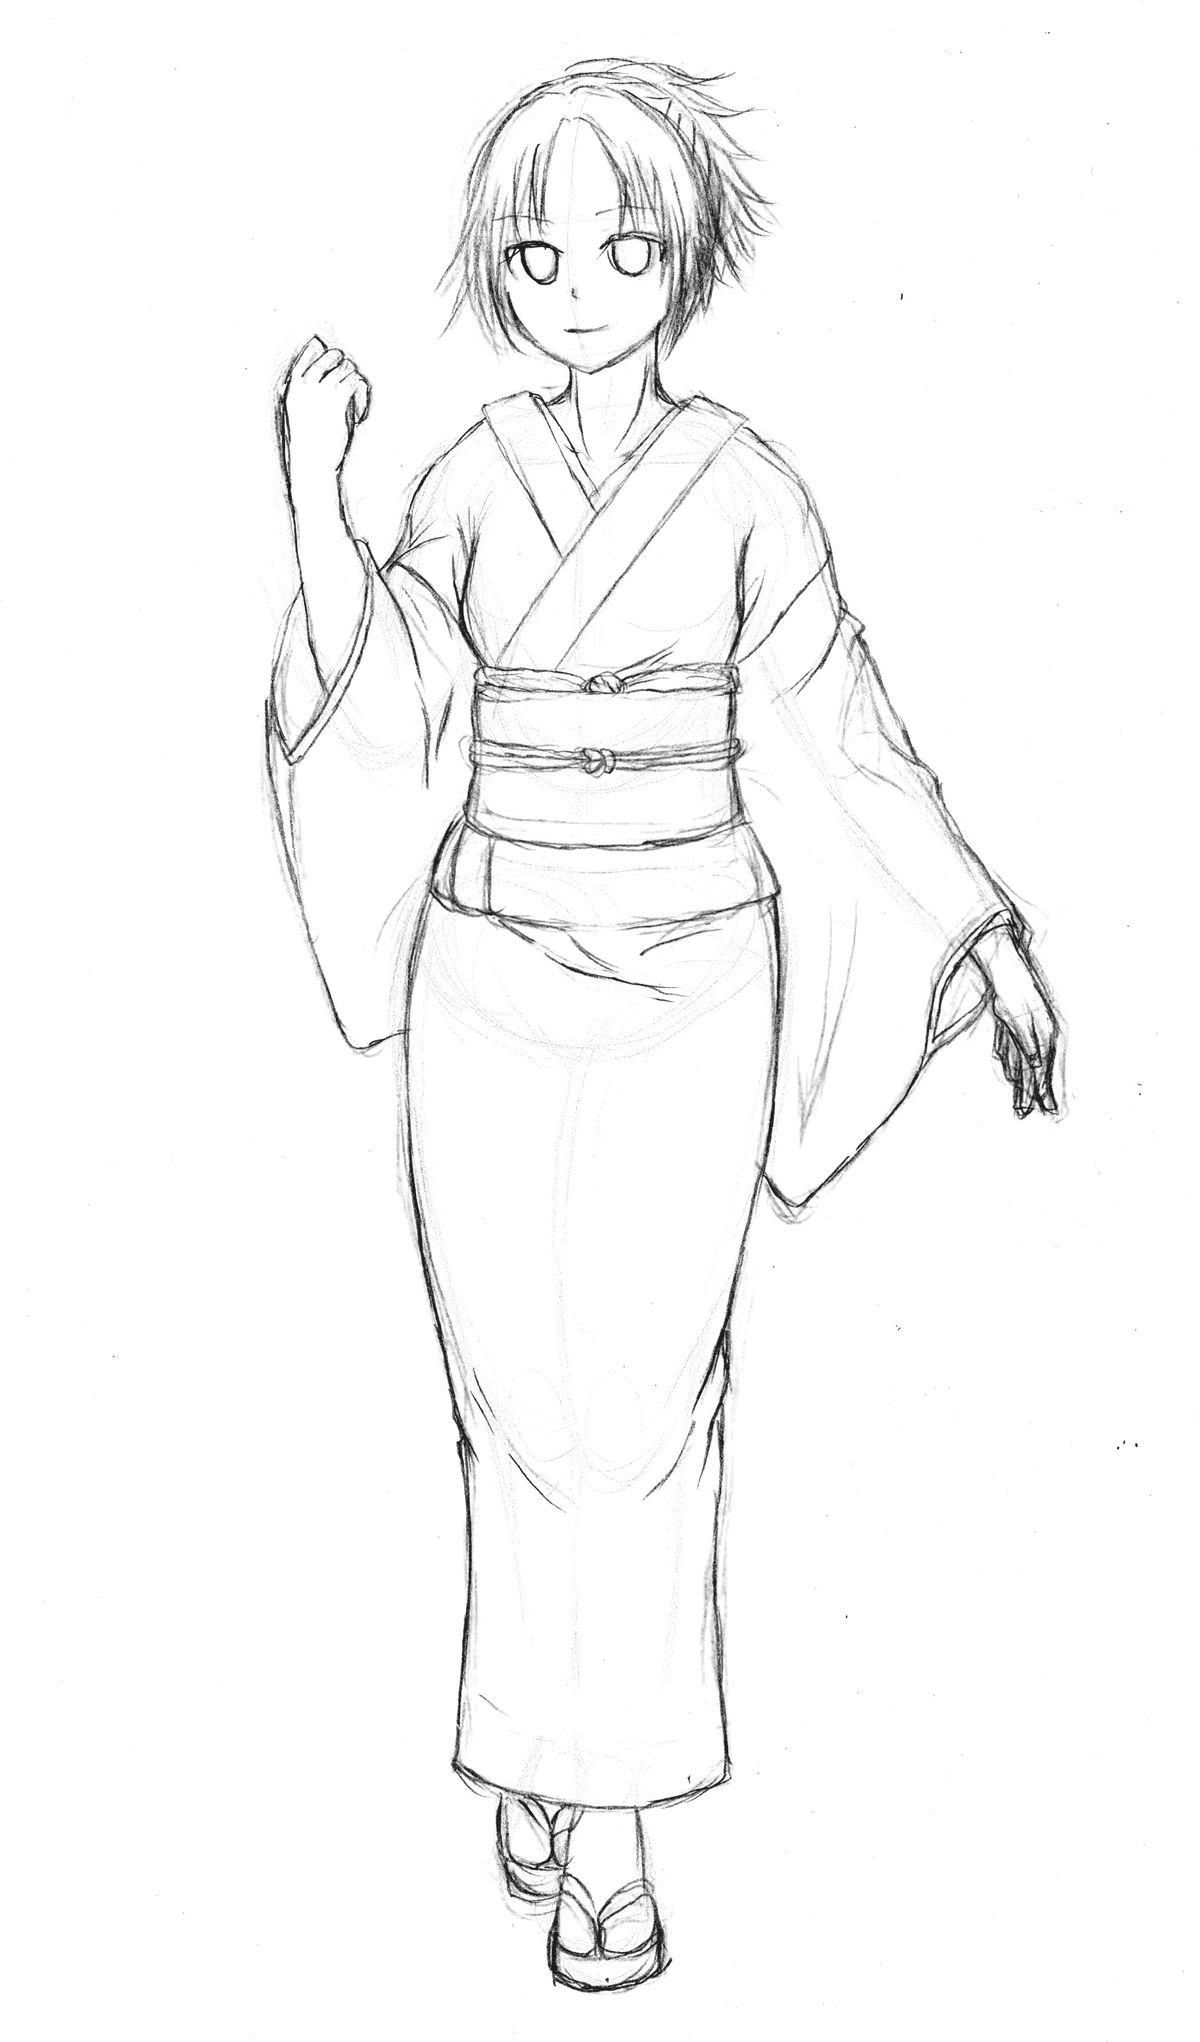
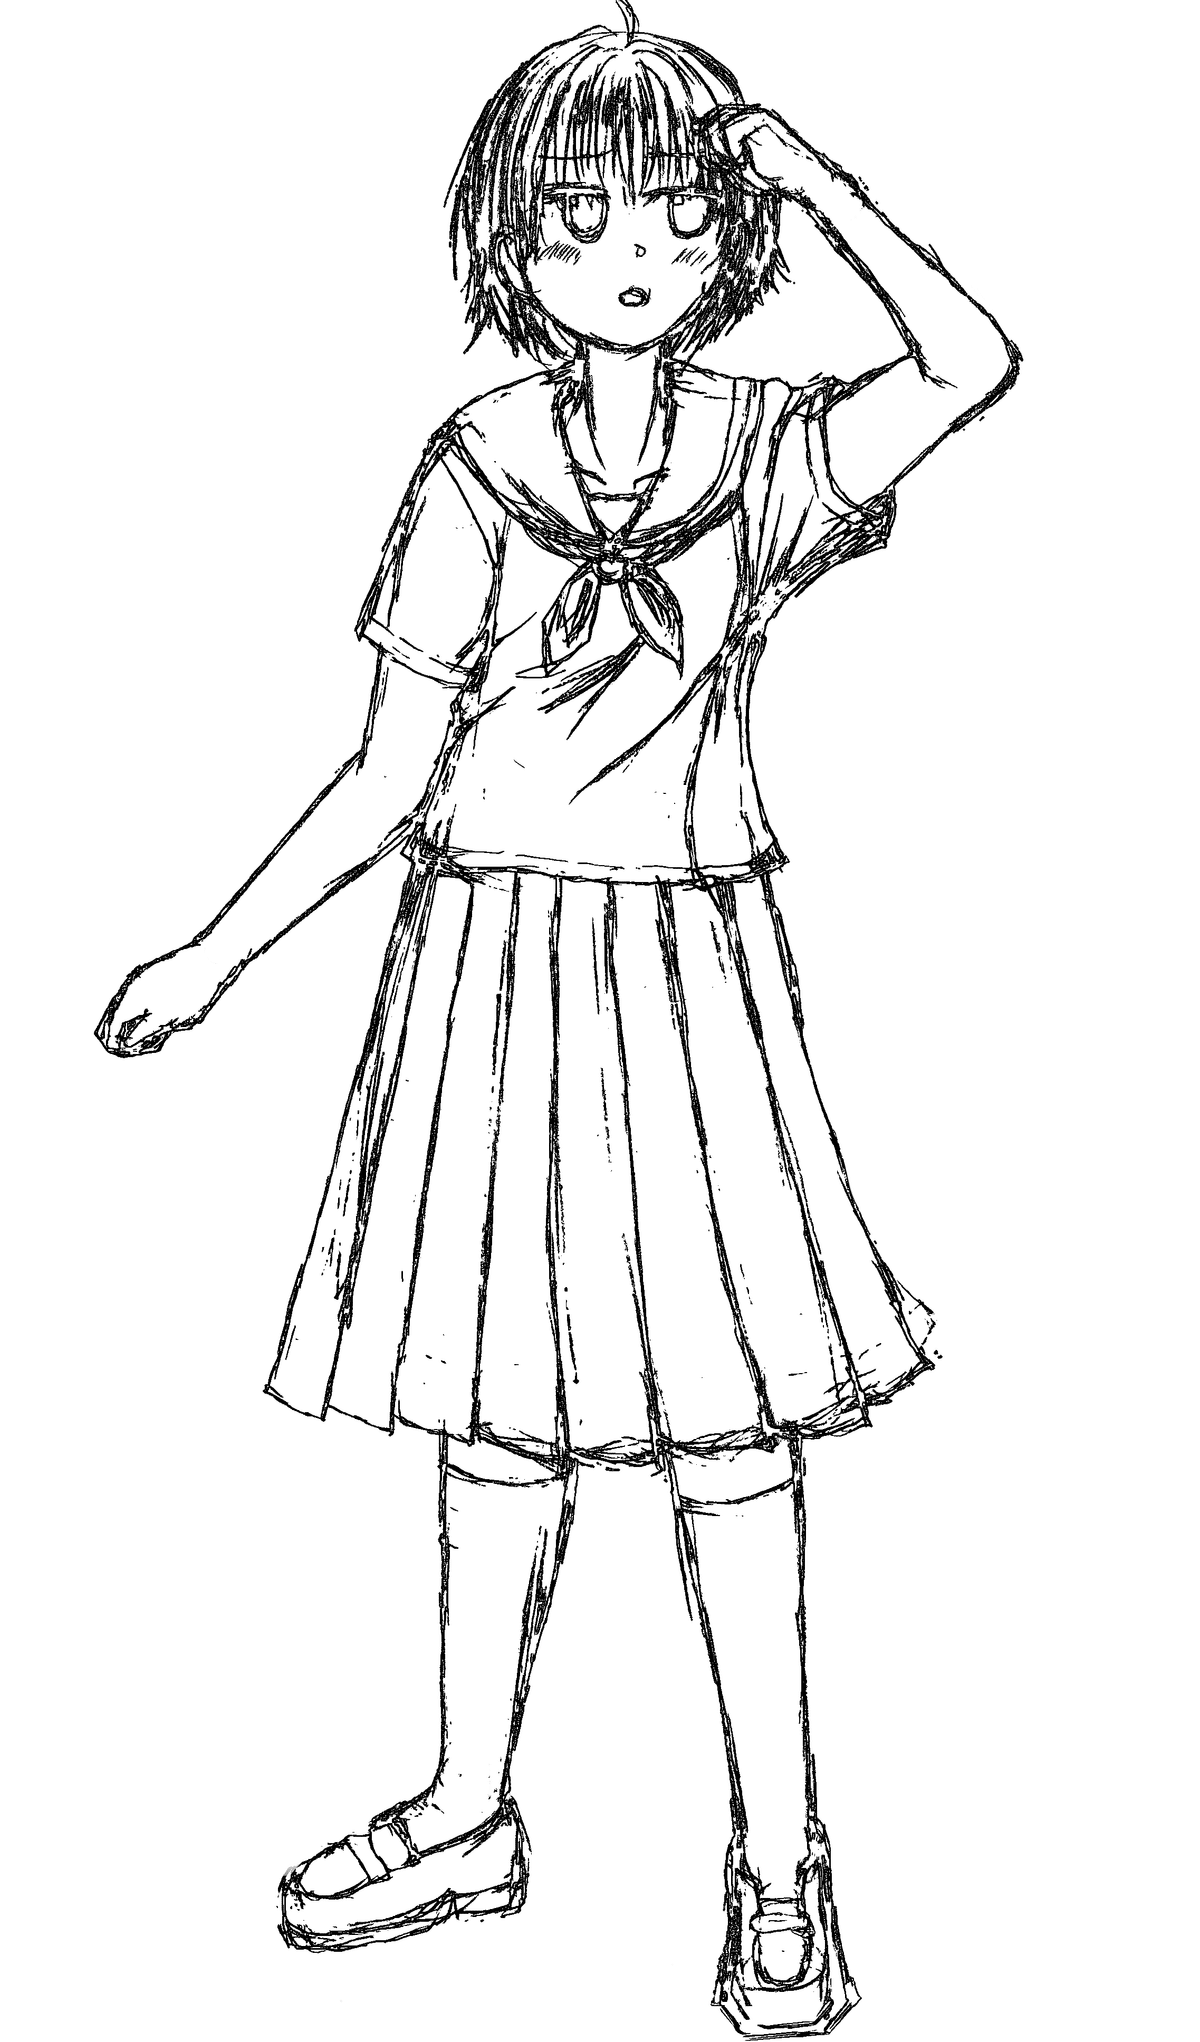
だいぶラフが統一化されましたね。では学習用のラフ画像も同じ感じになるように加工しました。(informative-drawingsはなくフラット化スクリプトだけ使用))
実際の運用想定と同じ感じに画像が加工されました。
適当にSD拡張のタガーで線画にタグをつけて、txtファイル出力!ではこれらの画像を使って学習していきましょう!!!
↑タグファイルは生成時のpromptを使うべしとのことです・・・!!!!
結論:失敗しました。
駄目だ―!!!!!
— とりにく@毎日体重計に乗れ (@tori29umai) August 23, 2023
今回こそはと思ったけど学習失敗でした。
SDが吐き出した1枚目を2枚目に加工してこれをオリジナルに、3枚目を制御用画像にControlNet-LLLite学習したんですが、これが多分ダメだった・・・!!
たぶん、1枚絵をオリジナル、3枚目を制御用にするべきでしたね・・・!!! pic.twitter.com/FEUCgQ5R6w