DApps開発 環境構築 - Gethのインストールからアカウントの作成まで (macOS)
イーサリアムクライアントのGeth (Go Ethereum) をMacにインストールします。
以下をやってみました。
・HomebrewでGethをインストール
・Gethがインストールできているか確認
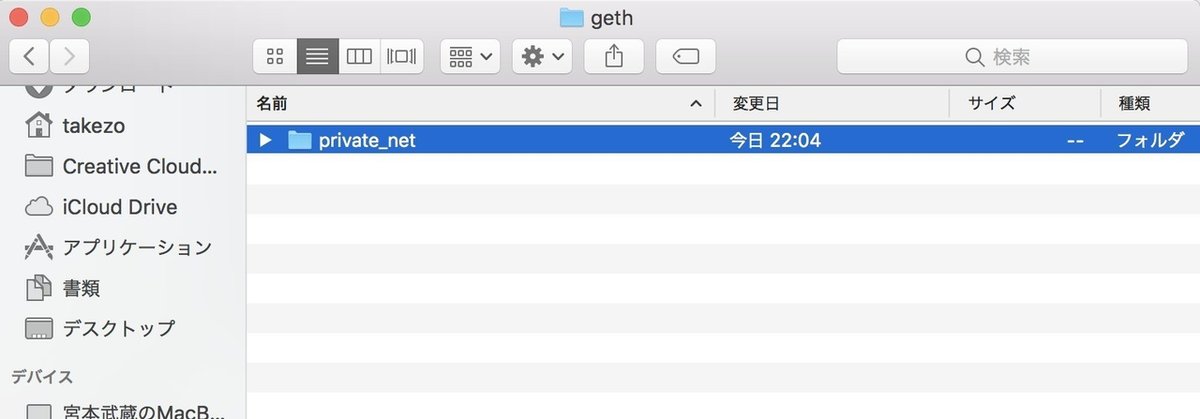
・Gethフォルダの作成
・Genesisブロックを作成
・gethを初期化
・Gethを起動させる
・Geth のコンソールを開いて、アカウントの作成
すでにHomebrewをインストールしていたので、Homebrew を用いたGethのインストールを実行しました。
※MacのひとはHomebrewを入れておくとパッケージ管理には楽です。
Gethをインストールする · Ethereum入門book.ethereum-jp.net
// 最初、いかのエラーがでたので、それをじっこうしてから、Homebrewでインストール!
// Error: You have not agreed to the Xcode license. Please resolve this by running:
  sudo xcodebuild -license accept

$ sudo xcodebuild -license accept

// 以下の2つを実行する
$ brew tap ethereum/ethereum
$ brew install ethereum
- Gethがインストールできているか確認する。which gethでファイル場所が帰ってきてたら大丈夫です。
$ which geth
/usr/local/bin/geth
- Gethフォルダの作成
$ mkdir ~/geth- Genesisブロックを作成していきます。
①gethフォルダ直下に「private_net」フォルダを作成する。

②「genesis.json」 ファイルを以下の内容で作成して、先ほどのprivate_net」フォルダに保存します。
{
 "config": {
   "chainId": 33,
   "homesteadBlock": 0,
   "eip155Block": 0,
   "eip158Block": 0
 },
 "nonce": "0x0000000000000033",
 "timestamp": "0x0",
 "parentHash": "0x0000000000000000000000000000000000000000000000000000000000000000",
 "extraData": "",
 "gasLimit": "0x8000000",
 "difficulty": "0x100",
 "mixhash": "0x0000000000000000000000000000000000000000000000000000000000000000",
 "coinbase": "0x3333333333333333333333333333333333333333",
 "alloc": {}
}
- gethを初期化する
$ geth --datadir ~/geth/private_net/ init ~/geth/private_net/genesis.json

// 以下のような文字列が表示されれば、初期化成功!
INFO [08-05|22:21:51.472] Successfully wrote genesis state
- Gethを起動させる (mac OS)
"Welcome to the Geth JavaScript console!" とでてれば、起動成功!
$ geth --networkid "10" --nodiscover --datadir ~/geth/private_net
--rpc --rpcaddr "localhost" --rpcporrt "8545" --rpccorsdomain "*"
--rpcapi "eth,net,web3,personal" --targetgaslimit "20000000"
 console 2.. ~/geth/private_net/error.log
- Geth のコンソールを開いて、アカウントの作成
コマンドの実行結果として外部アドレスが出力されます。
// geth起動して コンソールも立ち上げる
$ geth console

//以下でアカウントを作成する。"password"には好きな文字列を入力する
> personal.newAccount("password")
"0x17f3f893e878c8fc5c9fbc4807796c6db1fd4556"
※ パスワードは忘れないようにしてください。
※アカウントの確認はこちらでできます
> eth.accounts
["0x17f3f893e878c8fc5c9fbc4807796c6db1fd4556"]

// 配列でindexを指定して、個別で確認できます
> eth.accounts[0]
"0x17f3f893e878c8fc5c9fbc4807796c6db1fd4556"
以上で、gethのインストールからアカウントの作成までできました。
こちらの書籍を参考にしてます!
-------------------------------------------
TwitterでDApps開発に関することや、ブロックチェーン界隈のことなどつぶやいてます。
