WordPressでThemeの子テーマを作る方法 の 備忘録
0.前説
※この説明では、遠隔にあるサーバ(OS: FreeBSD)をリモートで操作しているため、Telnetクライアント として「PuTTy」と SFTPクライアント として「FileZilla」を使用しています。SMBで入れる ローカル環境 や Windowsサーバーの場合は、もっと簡単にできるかもしれません。
1.インストールディレクトリに移動
Wordpressのインストールディレクトリに移動 ※このディレクトリは個々人で、それぞれ違います。
cd /www/my_wp_dir/2.テーマフォルダに移動
cd /wp-content/themes/3.子テーマ フォルダの作成
mkdir my_chiled_theme4.子テーマフォルダに移動して style.css ファイルの作成
cd  my_chiled_theme
vi  style.css
style.css の内容
/*
Theme Name: %子テーマ名%
Template: %親テーマ名%
*/
今回、自分は、「blogus」というテーマを使いたかったため
以下のように書きました。
/*
Theme Name: blogus no child
Template: blogus
*/
5.functions.php ファイルの作成
vi functions.phpfunctions.php の内容
%フルパス%のところは、サーバー内部のフルパスです。
<?php
add_action( 'wp_enqueue_scripts', 'theme_enqueue_styles' );
function theme_enqueue_styles() {
wp_enqueue_style( 'parent-style', get_template_directory_uri() . '/style.css' );
wp_enqueue_style( 'child-style',  get_stylesheet_directory_uri() . '/style.css',  array('parent-style')   , filemtime( '%フルパス%/wp-content/themes/my_child_theme/style.css')  );
}
?>
6.screenshot.jpg ファイルの作成
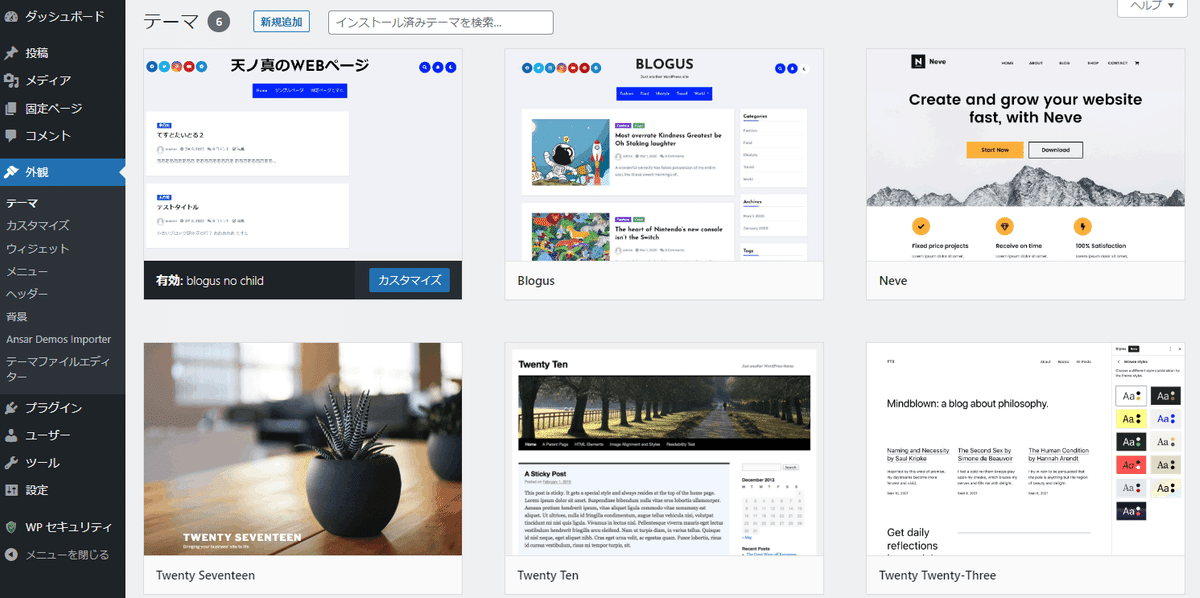
無くても困りませんが、上記のファイルと同じフォルダに、適当な画像(ブログ画面のスナップショットなど)を「screenshot.jpg」という名前で作成しておくと、wordpress の管理画面で、自分の作った子テーマに画像がつきます。
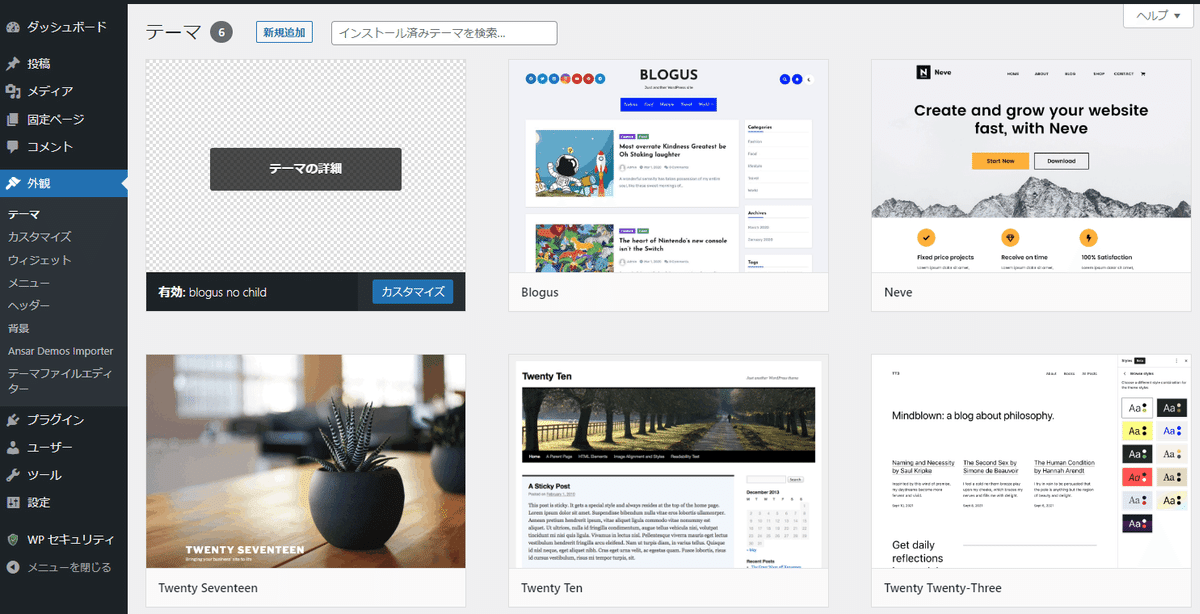
※screenshot.jpg を置く前

※screenshot.jpg を置いた後

