MMDtoCascadeur 初心者Tips集

(※随時更新予定のメモです※体系化されたものではないです)
黒猫目薬さんの資料
黒猫目薬流・TDPT~Cascadeur~MMD読み込み手順 - BowlRoll
こちらに目を通した方を前提としたメモになります。
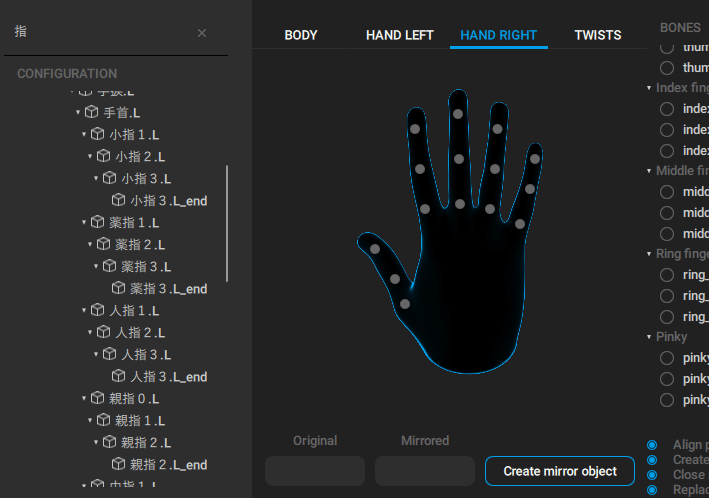
①リギング
・Quick rigging tool設定時にちょっと楽になる検索方法
MMDのボーンあてはめの時に
検索を末端にしてフィルターかけると表示しやすくなって検索しやすいよ
「足先」、「指」などがおすすめ。肩P.Rは割り振っていません
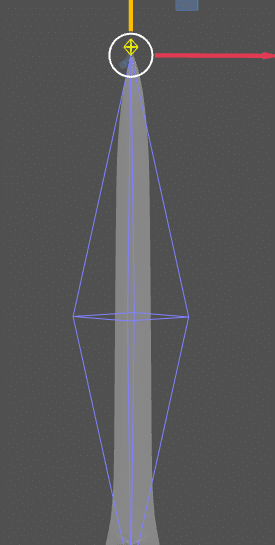
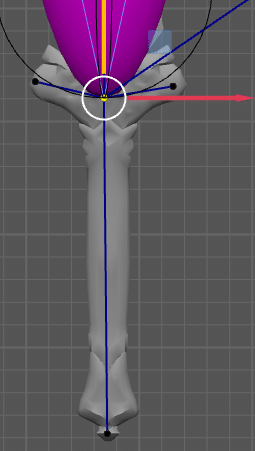
※剣とか小物系のジョイント追加
1,”Cpmmands”→”Add”→”Joint”
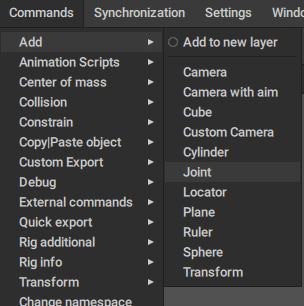
※二個目のジョイントは、ジョイントを先に追加して、起きたい場所に移動させてから親子づけ
※二番目のジョイントについて。親子づけする前に、先に追加したい場所に移動させておく。そのあとに親子づけしてください。※
2.「QUICK RIGGING TOOL」にてジョイントを”weapon_r”に装着
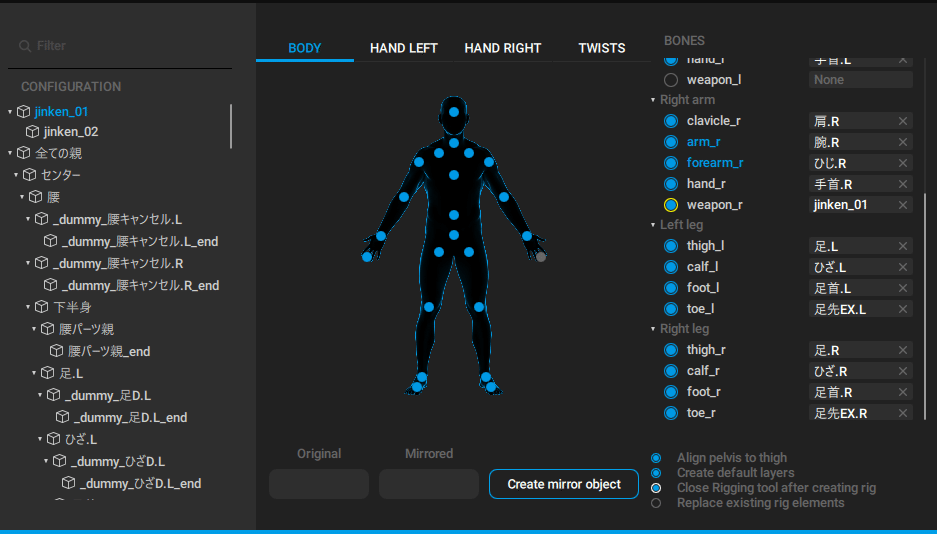

3.「ADD RIG ELEMENTS」を押下
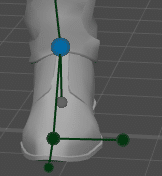
4.「Additional point」を追加(コントロールの支点のようなものを追加する)
4-1.まず剛体を選択してから(選択すると例として下記のような色になる)
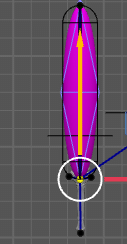
4-2.「Additional actions」タブの「Point contllorer」でAddする
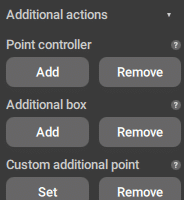
4-3.こんな感じで新しく黒丸が剛体の近くにできるので、適当につけたい場所に設定する
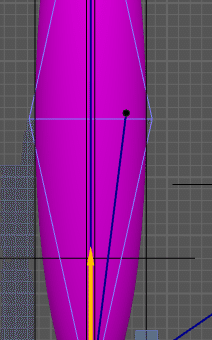
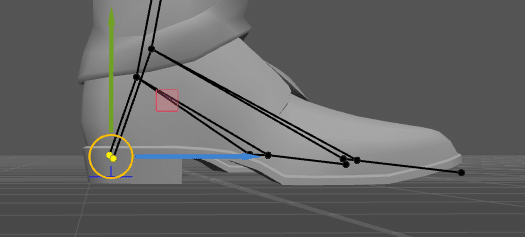
5.(小物の)剣の重心を追加する
重心はデフォルトだと剛体の真ん中部分に設定されるが、特定の小物(武器など)の重心は柄の部分であることもあるため、今回は剣における重心の位置を変更する
5-1.「Show prototypes inner objects」をオンにする

すると、下に画像参照項目が表示される
6.剛体を移動させて重心の位置を調整する
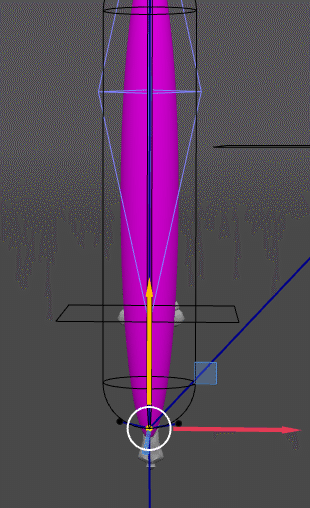

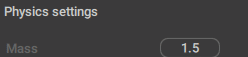
剛体の形状を変えたいときは下記画像(Physics settingsタブのEllipsoid)の数値を変更する

剛体の重さはMass項目で設定
②アニメーション
・青●(固定ポイント)の解除
この青●の解除ですけどShift+Zでできない人は
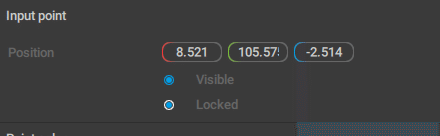
※あと足首の固定は基本はShift+Zでは解除されないそうです。
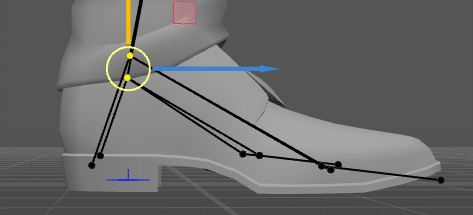
・地面に足がめりこみ防止(かかとが地面に沈むのを防ぐ)
黒猫目薬さんの資料にもある箇所ですが、こちらで固定する場所によって挙動が変化したのでメモします。
(黒猫さんの資料にあるAdd Trackで固定してもうまくいかない)
詳しくは黒猫目薬さんの資料
黒猫目薬流・TDPT~Cascadeur~MMD読み込み手順 - BowlRollにもあるのですが、ここのボーンは固定で動かしたくない、などあった場合、
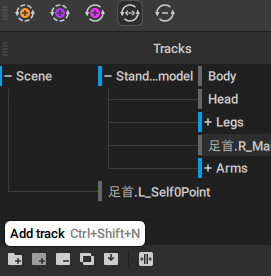
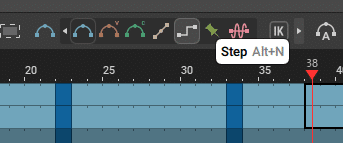
①固定したいポイントを選択
②Add trackを押下
③下記画像のタイムラインより動かしたくない部分を選択し、
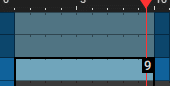
④補完にステップを選んでください。