
仮想マシンにkali linuxをインストールして日本語化までやってみる

・最終目標
仮想マシン上にkaliをインストールして日本語化まで導入する
・kali linuxについて
Kali linuxは、セキュリティテストやペネトレーションテストのために作られたlinuxディストリビューションです。様々なツールが搭載されており、ペネトレーションテストやセキュリティ脆弱性診断・学習などのために利用されているDebian系列のOSです。
・代表的なツール
Kali linuxでは多くのツールがありますが、その中でよく使われている何個かのツールを紹介します。
1.Nmap
ホスト検索・ポートスキャニング・OS探知・IDS回避/spupingなどができるツール
2.Lynis
セキュリティ監査テストやシステム強化のためのツールです。脆弱性診断やペネトレーションテストにも活用できます。
3.WPScan
WordPressの脆弱性診断のためのツール
4.Aircrack-ng
Wifiネットワークのセキュリティを評価するツールです。パケットキャプチャや攻撃を評価できるツール
5.BeEF
Webブラウザの脆弱性診断ができるツール
6.BurpSuite
HTTP(s)/WebSocketsプロクシーや記録などが可能なツールです。有料バージョンではより多くの機能が使えます
・仮想マシンについて
仮想マシンとは、コンピュータ上に仮想的に作られた独立したコンピュータシステムのことを指します。仮想マシンを利用することにより、1台のコンピュータ上で複数のOSやアプリケーションを実行することができます。これにより異なるプラットフォームや環境同士でのアプリケーションのテストや開発、さらにはセキュリティ対策などにも役立ちます。
・インストール手順
VMwareをダウンロード
最初に仮想マシンから構築していく、今回は「VMware」を使用する
下記のサイトからインストーラーをダウンロードする
インストーラーを起動します、特に変更点はないのでそのままインストール。
Kaliのisoファイルをダウンロード
下記のサイトから「kali linux64bit版」をダウンロードする
VMwareを設定する
VMware Workstationを起動して新規仮想マシンを作成を選択

参照を押して、DLしたkali-linux-2022.4-installer-amd64を選択して次へ

変更点ないので次へ

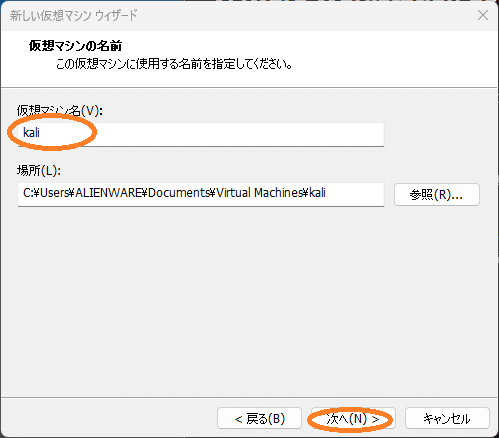
名前は何でもいいですが、わかりやすくkaliにしておきます
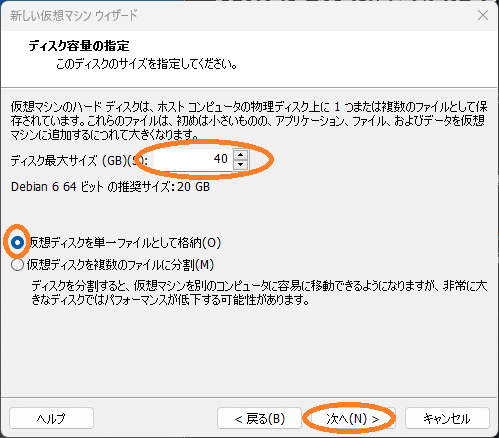
kali公式では必要ディスクサイズ20GBと書かれていますが、追加で提供されるツールや個人ファイルもあると思うので今回は40GBにしておきます

完了を押すとkaliが追加されるのでダブルクリックで起動します

Graphical installを選択Enter

言語、場所、キーボードを日本に設定

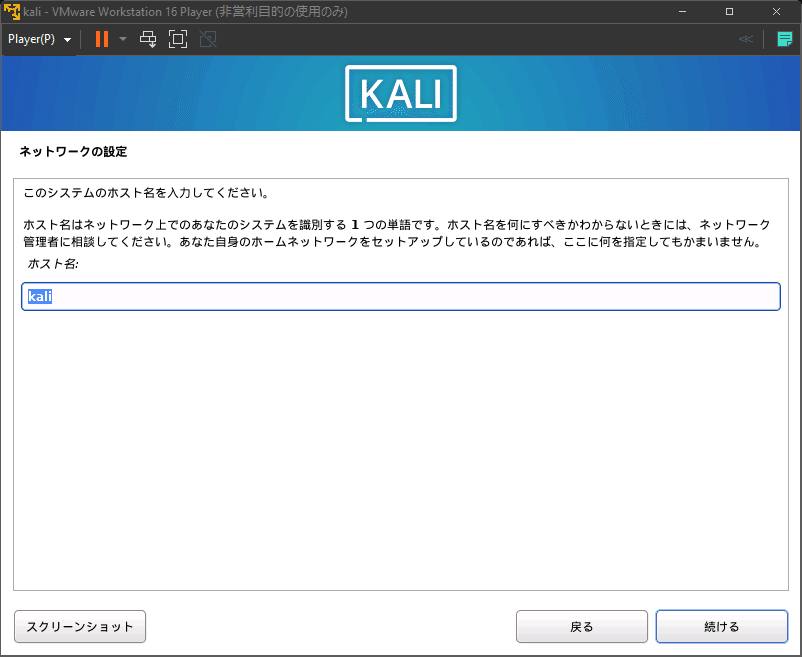
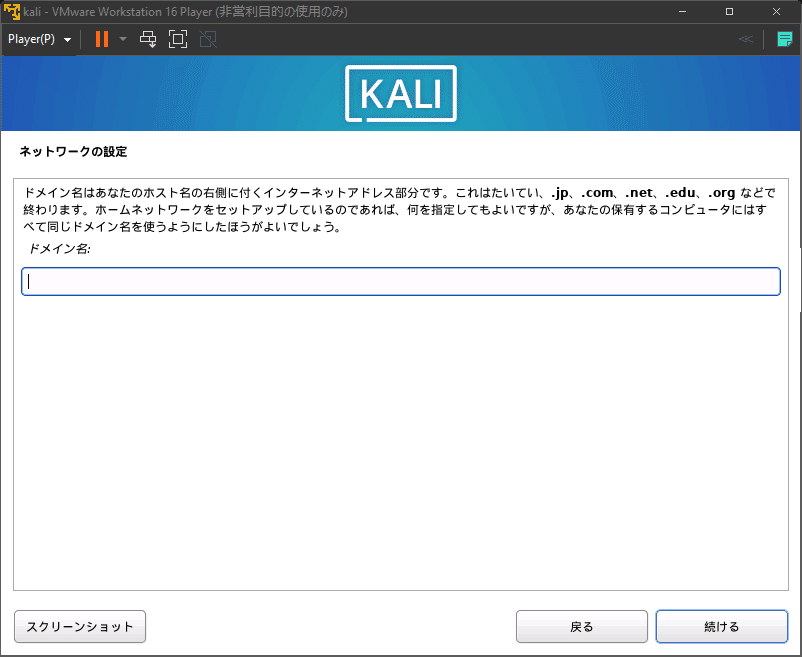
任意のホスト名、ドメイン名を入力
(説明にもありますが指定しなくても大丈夫)
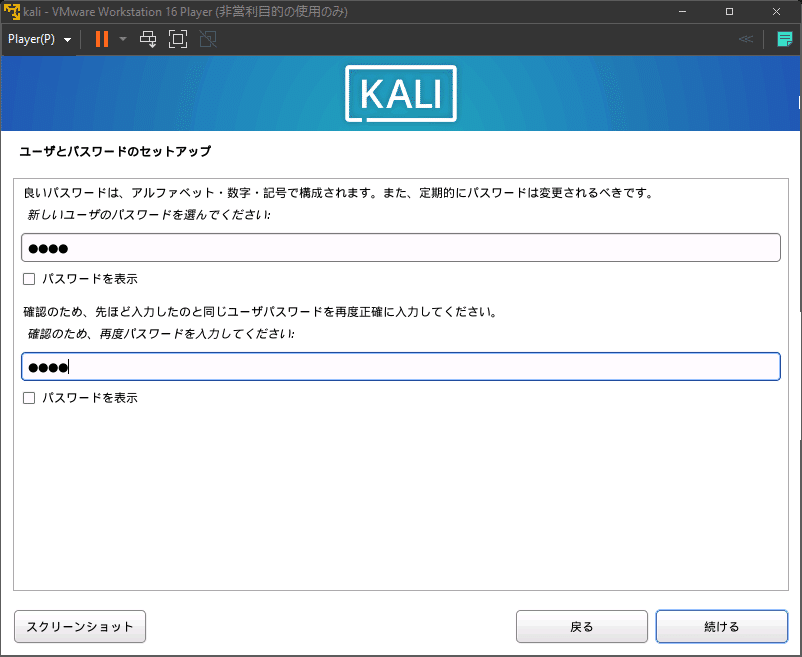
ユーザー名、パスワードを入力


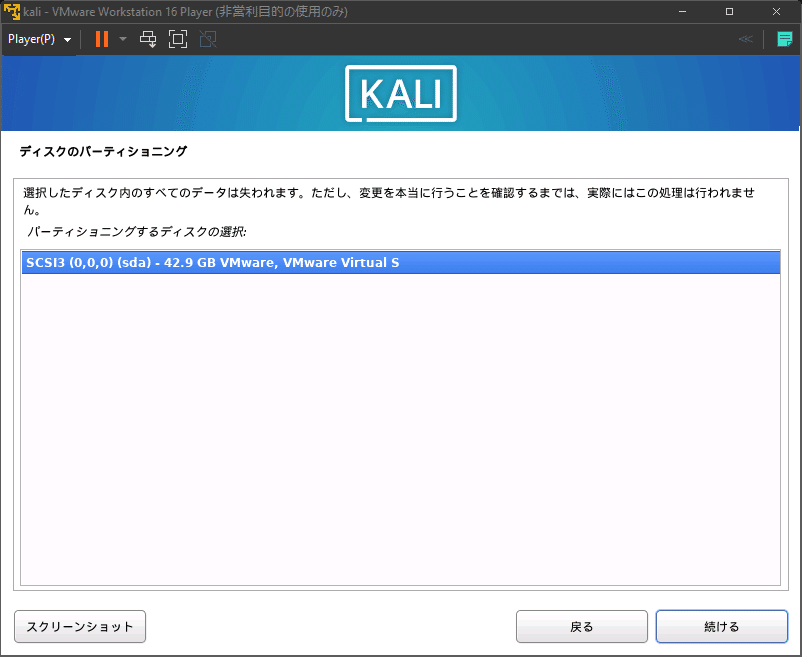
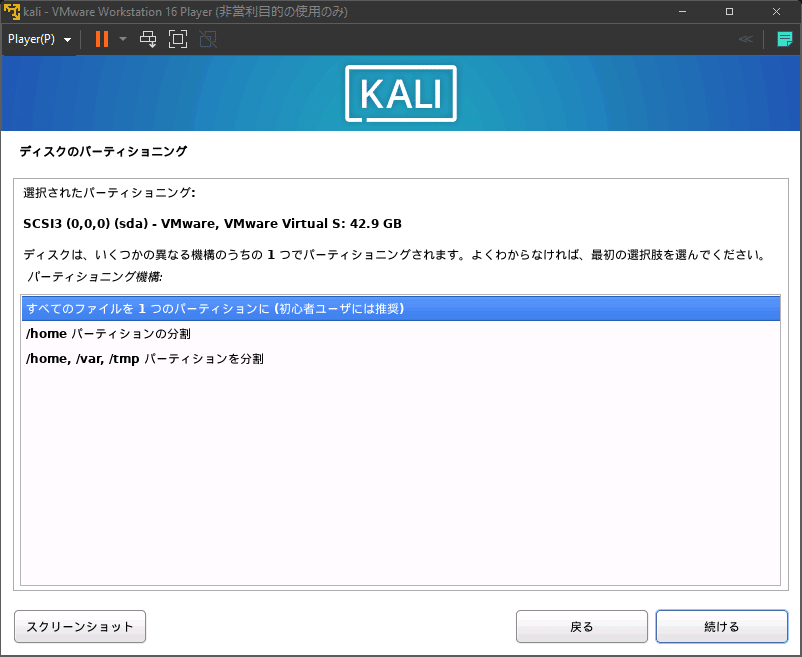
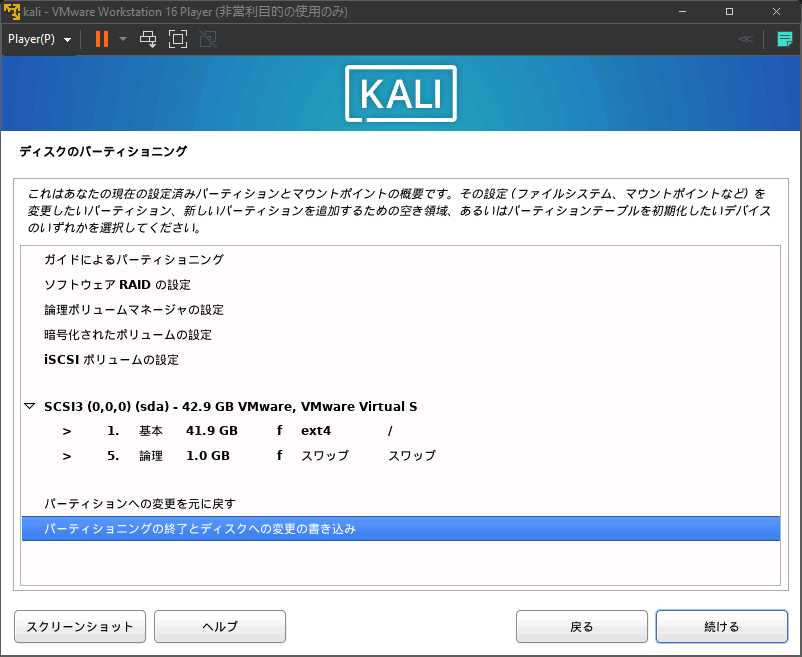
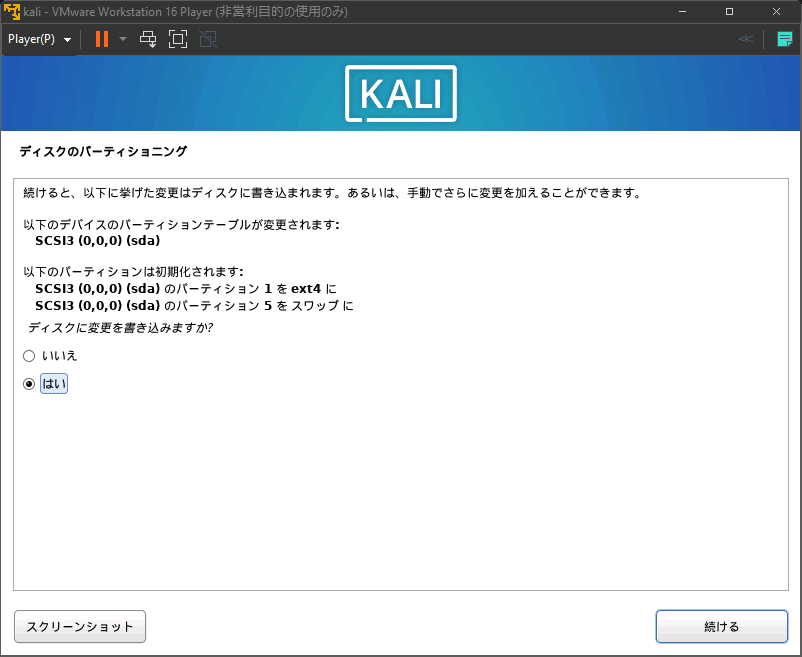
パーティショニングですがこれもすべてデフォルトで大丈夫です

ここもデフォルトで大丈夫ですが、後に手動で必要なツールだけをダウンロードする場合はCollection of toolsのチェックボックスを外してください


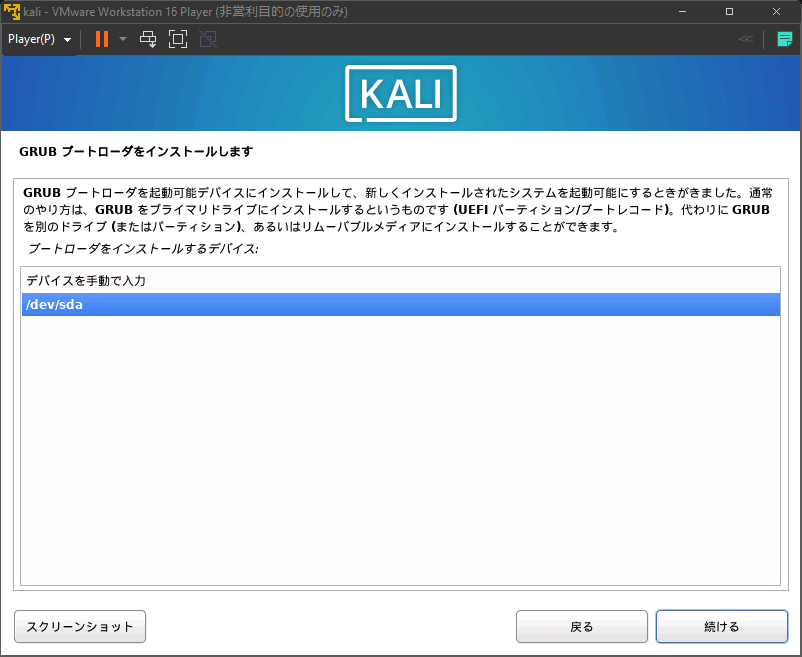
GRUBのインストール先は/dev/sdaに
パーティションを分けていた場合/sda /sdb /sdcのようにインストール先を変えることができます


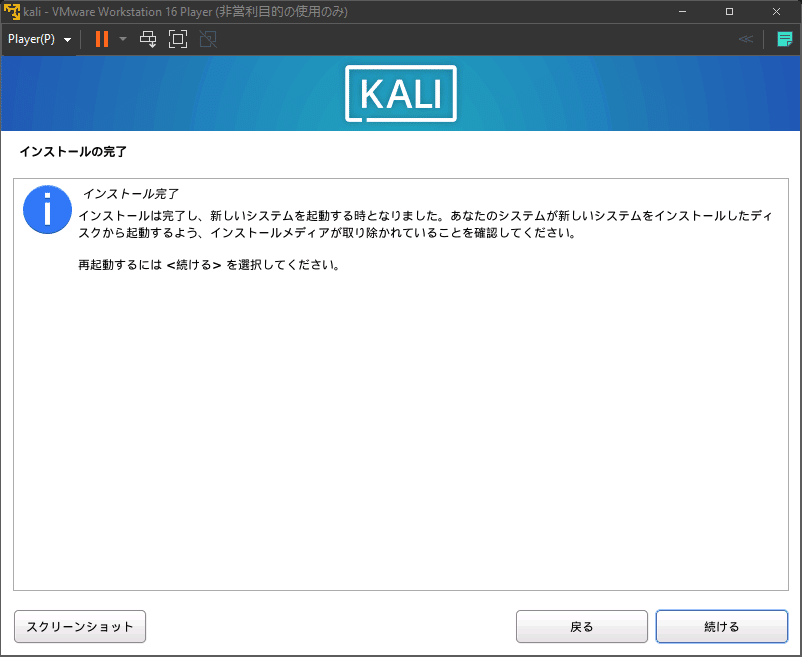
インストールが完了すると再起動を求められます
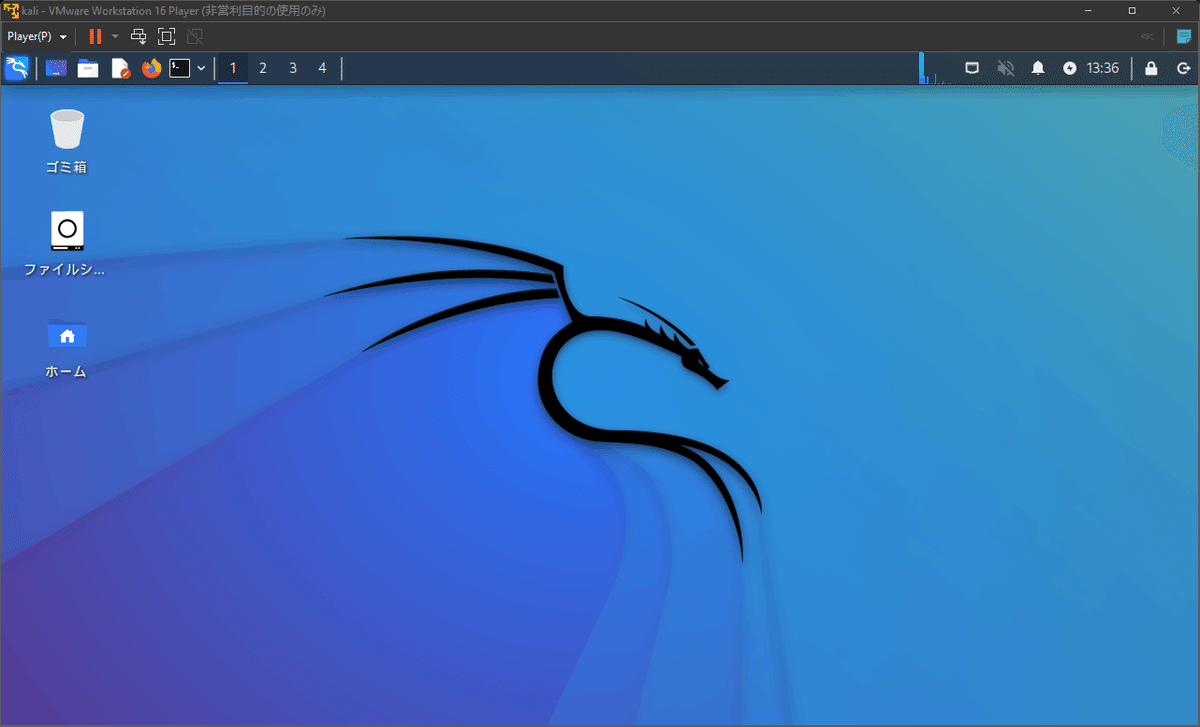
起動後ユーザー名、パスワードを入力するとログインできます

パッケージを最新の状態にするためにterminalを開いて下記の文字列を入力します。パスワードを求められるので入力してからEnterを押します
※入力したパスワードは画面に表示されません
sudo apt upgrade
sudo apt update
・日本語入力の導入
インストール直後だと日本語入力ができないので日本語環境をインストールします。terminalに以下の文字列を入力してEnter
sudo apt install -y task-japanese task-japanese-desktop次にibus-anthyをインストールして設定画面を開きます
sudo apt install ibus-anthy
sudo im-config
OKをクリック
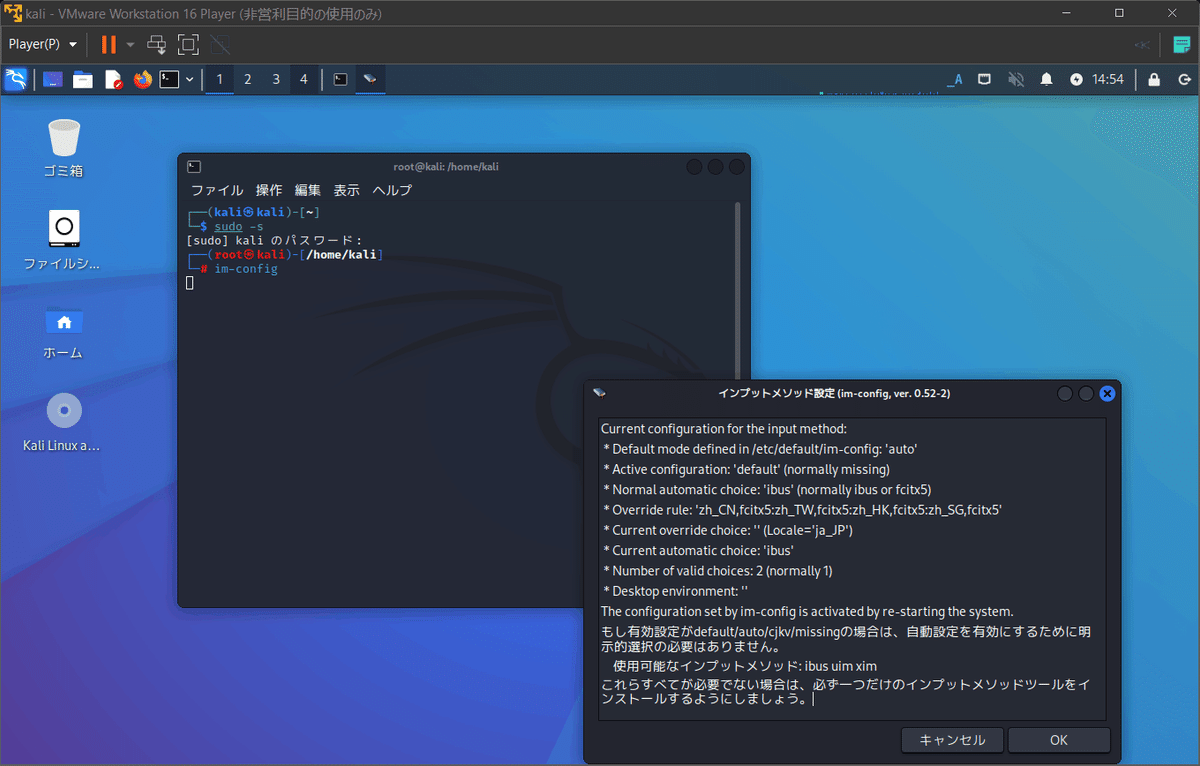
はいをクリック

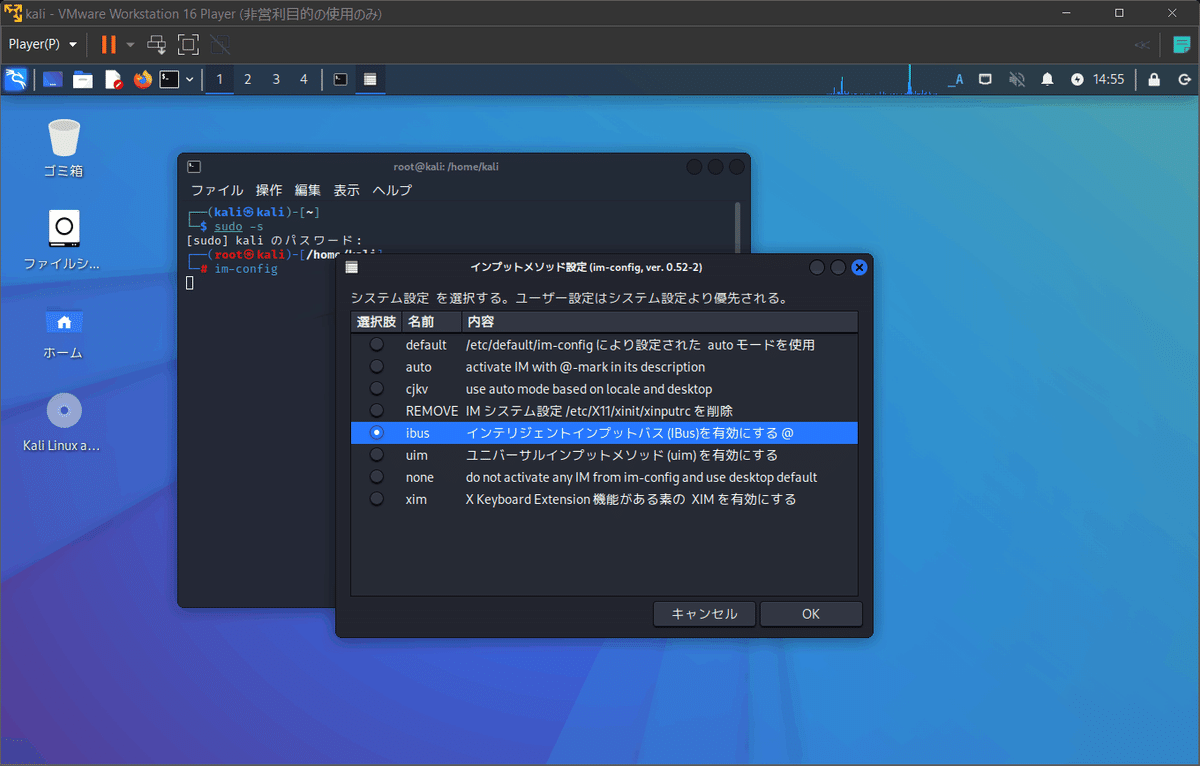
ibusを選択してOKをクリック
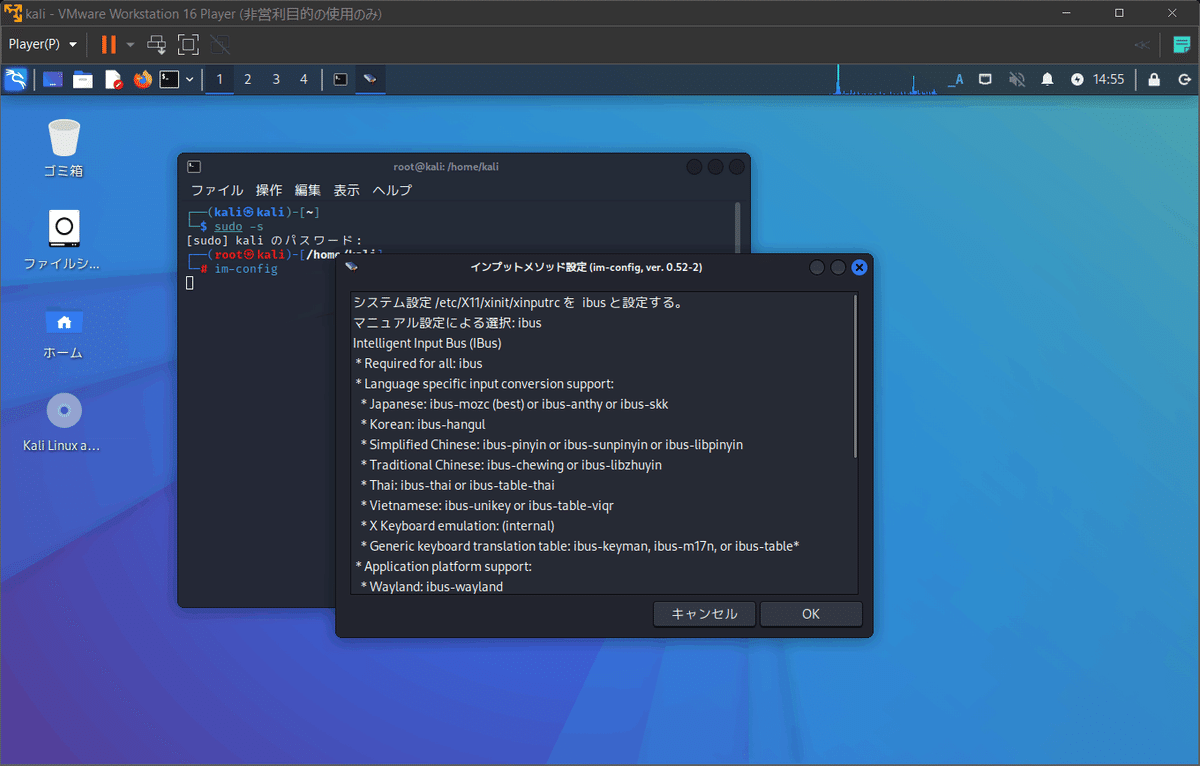
OKをクリック
一度再起動します
reboot再起動すると切り替えアイコンが表示されます
これで半角/全角キーで切り替えができるようになりました

・まとめ
今回は仮想マシンからkali linuxのインストール、日本語化までを記事にしてみました。今後はkali linuxの様々なツール紹介やローカル内で実際の攻撃などを上げていけたらいいなと思ってます。独学でセキュリティを勉強中なので間違えている点やアドバイス的なのをコメントで頂けると幸いです。