
Stable Diffusionのインストール

Google Colabを使ってStable Diffusionを使うための経費
Stable Diffusionをローカル(自分のPC)にインストールして使うこともできますがAIはGPUを使って大きなデータを処理するため非常に時間がかかります。一般的にはgoogleドライブの高性能サーバーを利用してGoogle Colabで利用するというのが一般的です。下記のサイトからGoogle Colabのサイトにアクセスします。
https://colab.research.google.com/signup/pricing?hl=ja
はじめに:説明に使用している画像は筆者がカスタマイズしたStable Diffusionを使用しているため読者の画面とは異なります。
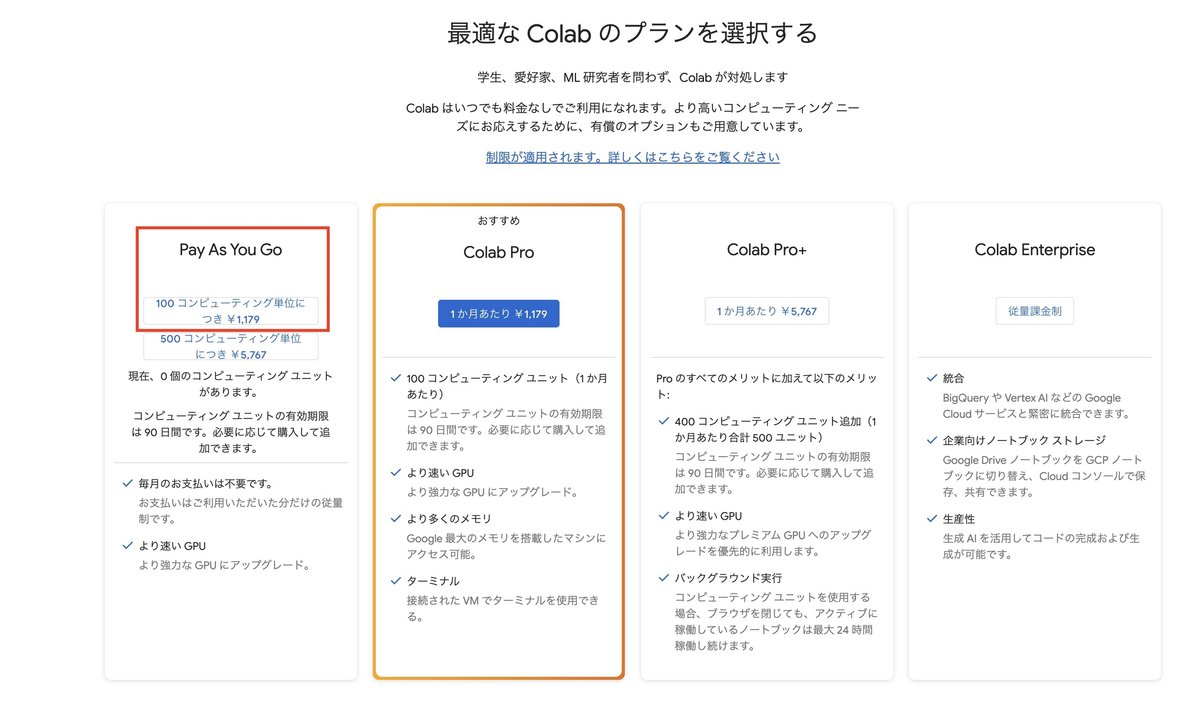
Pay As You Goの100コンピューティグ単位につき¥1,179を選択します。このプランは使用した分だけ支払うプランで100コンピューティグを使い切るまで使用できます。ある意味買取システムでサブスクのように使用しない月でも課金されることはありません。
100コンピューティグで生成するデータの重さにもよりますが筆者の場合はStable Diffusionで100点以上の画像を生成できます。

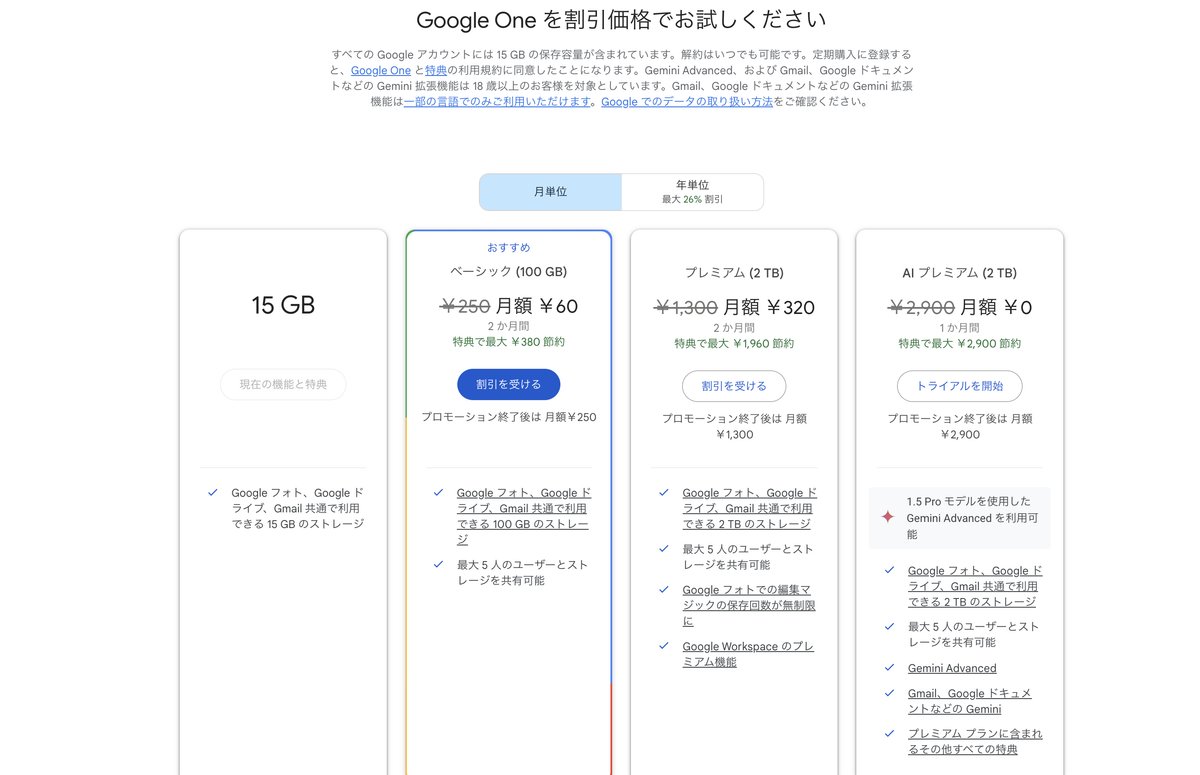
Google ColabでStable Diffusionを使って生成したデータを保存するためにストレージが必要になります。下記のサイトからおすすめのベーシックを選択します。100GBで2ヶ月間 ¥60で2ヶ月以降は月額¥250です。
注意:Google Colabを契約したGoogleアカウントと同じアカウントでGoogle Oneの契約してください。
https://one.google.com/about/plans?hl=ja&g1_landing_page=0
Google ColabでStable Diffusionを起動する
1) https://colab.research.google.com/?hl=ja
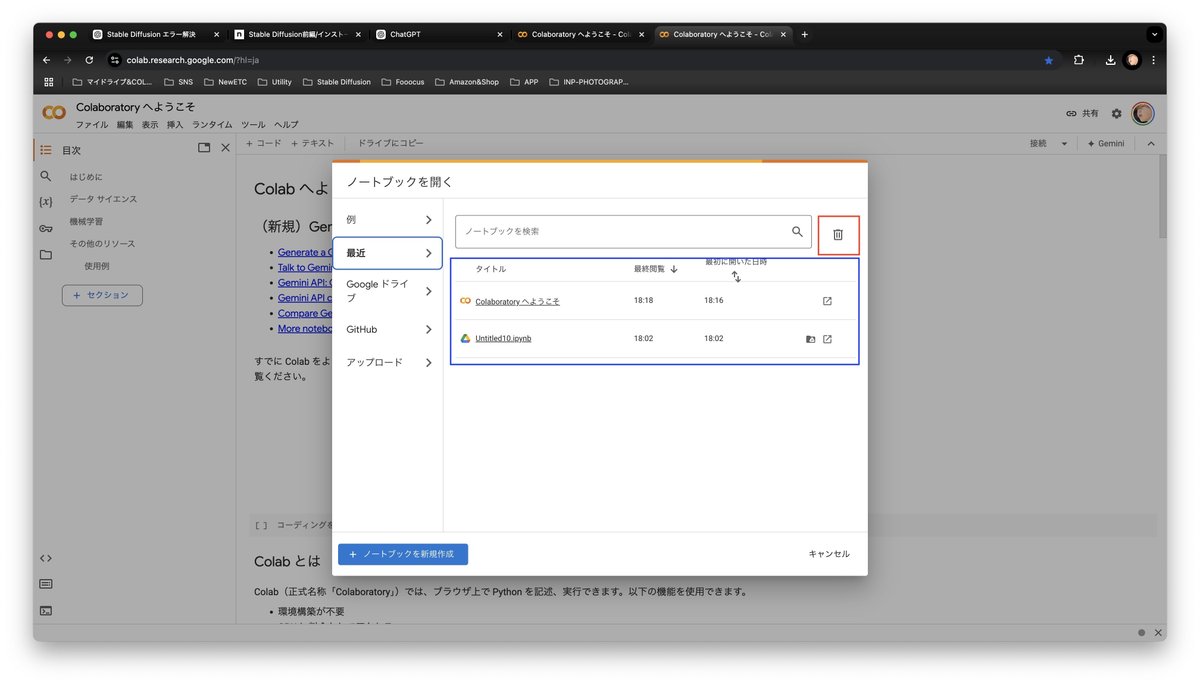
上記のURLからGoogle Colabを開きます。
履歴があったらゴミ箱をクリックします。
履歴の消去「はい」をクリックします。
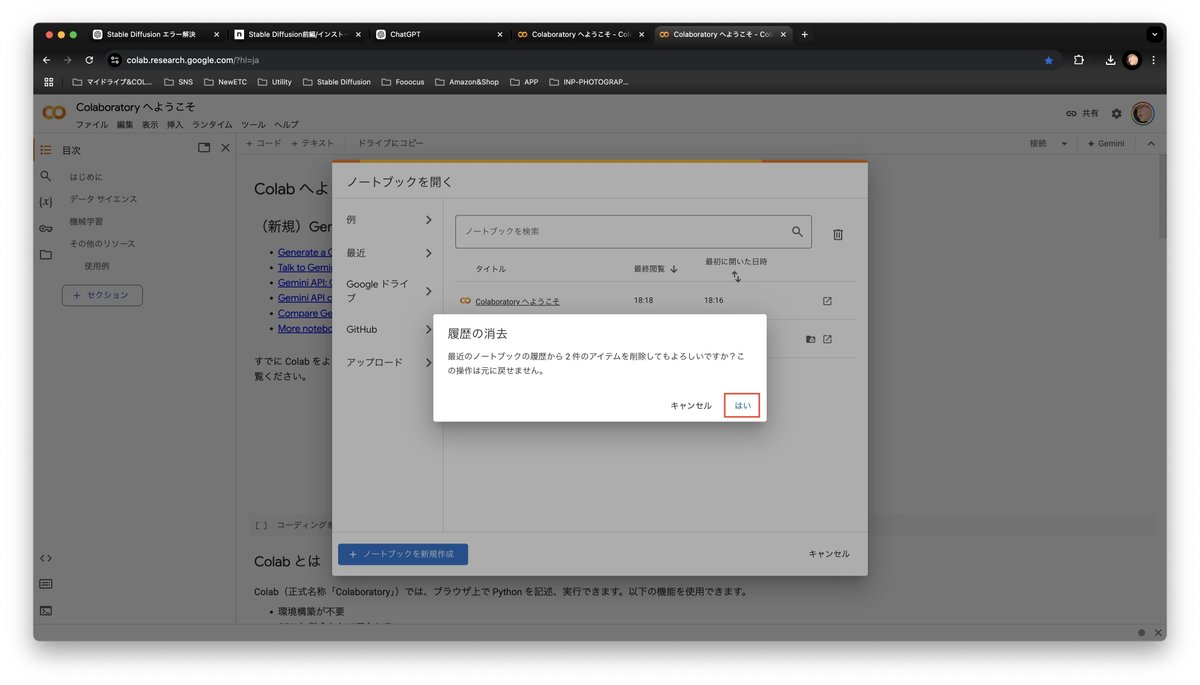
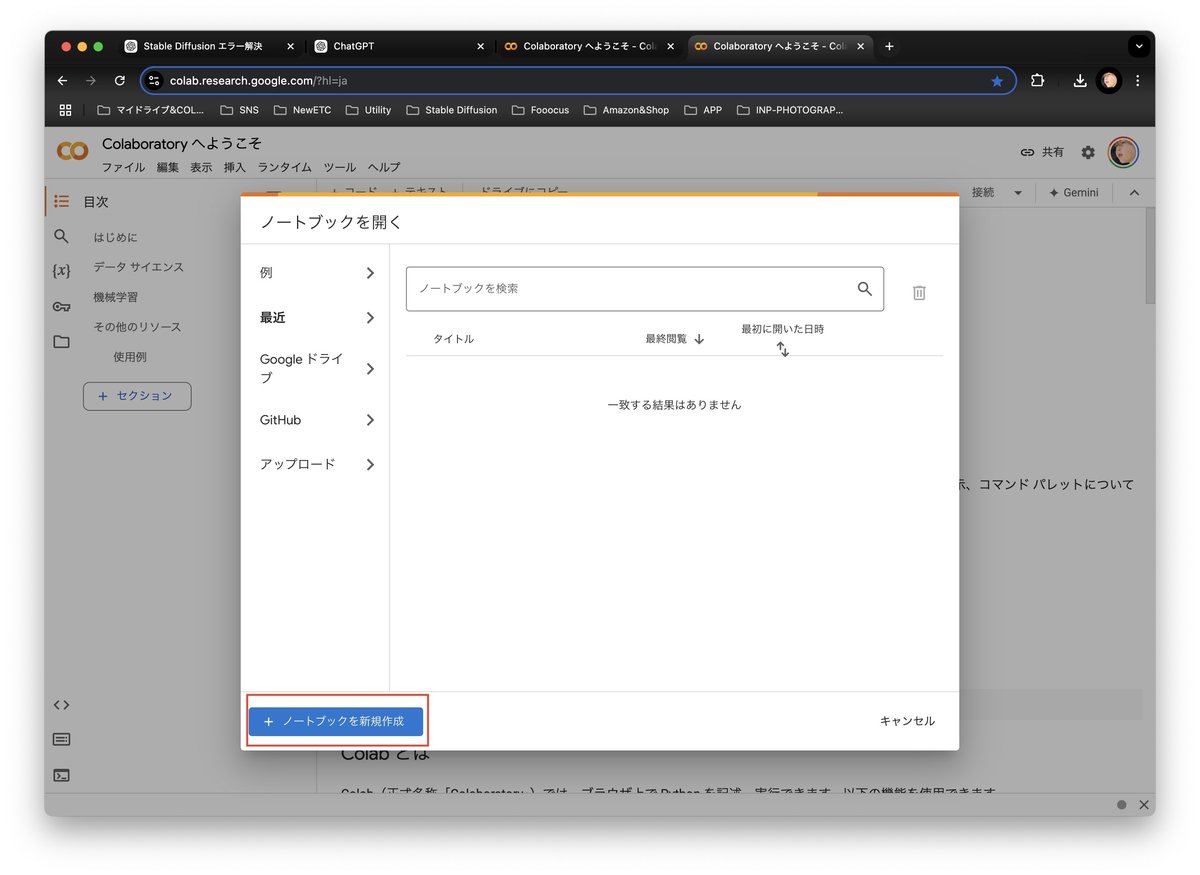
ノートブックを新規作成をクリックします。
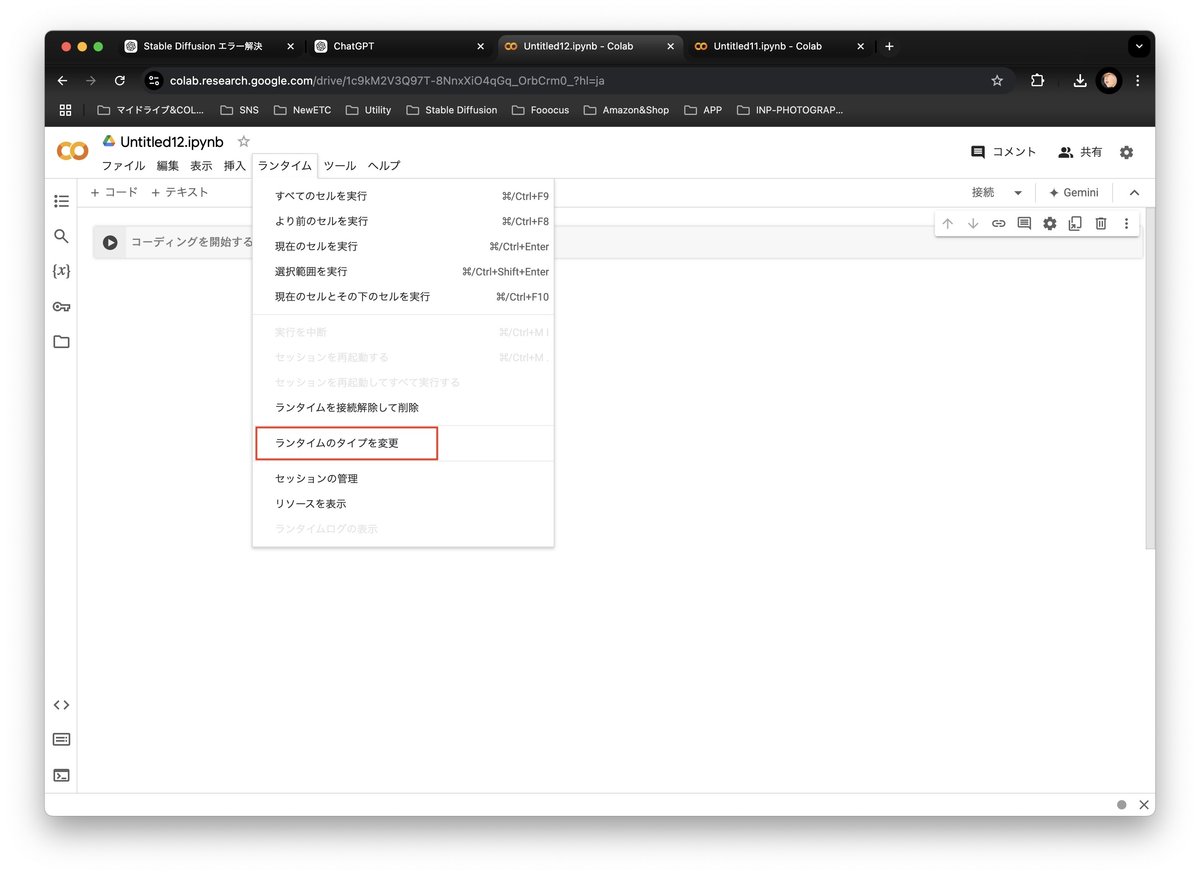
ランタイムからランタイムの変更を選択します。
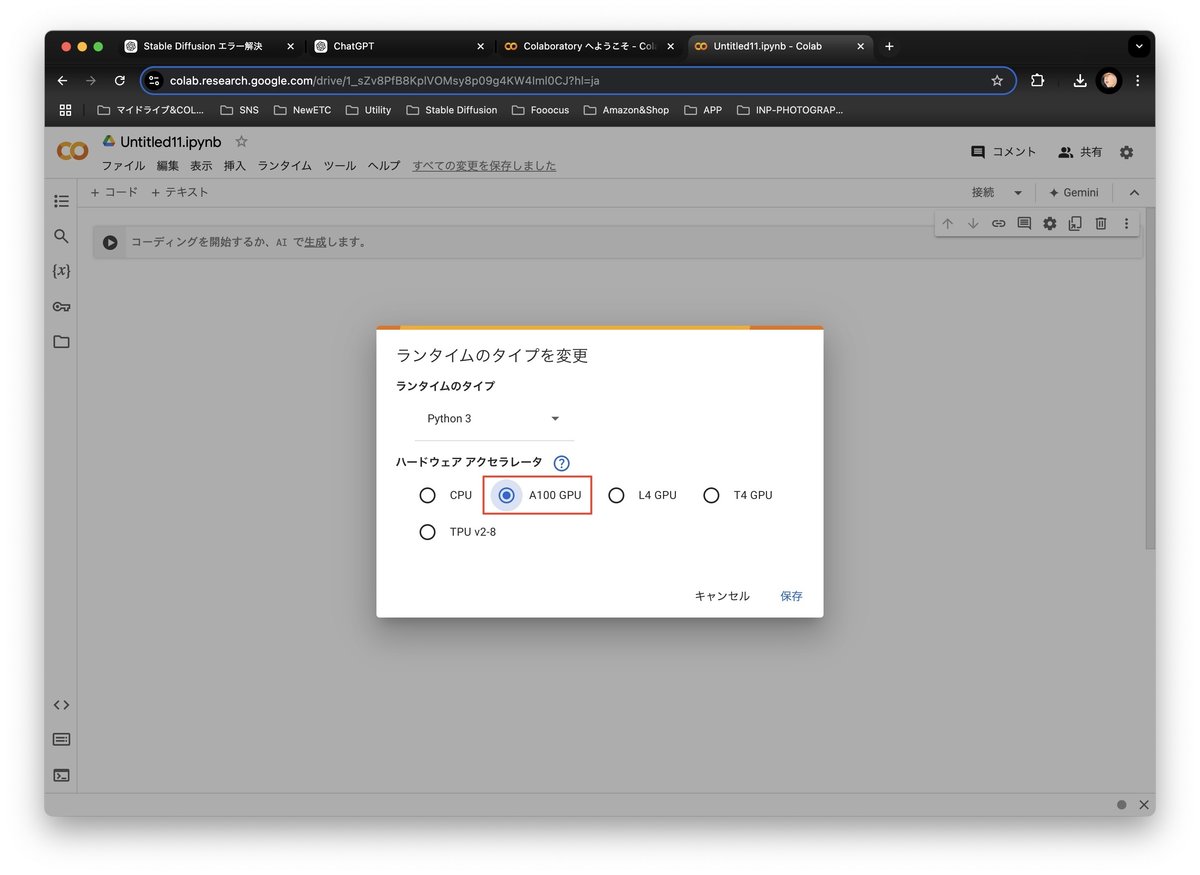
A100 GPUを選択して保存をクリックします。
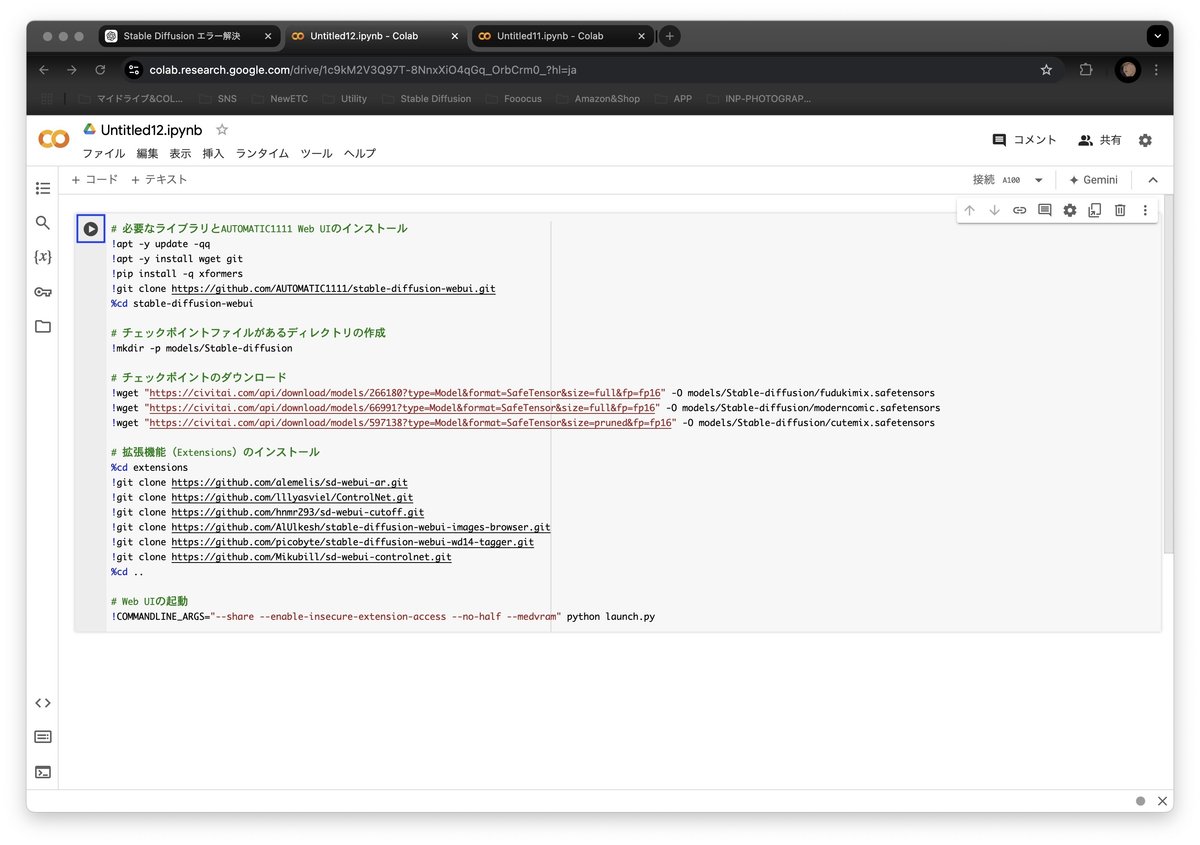
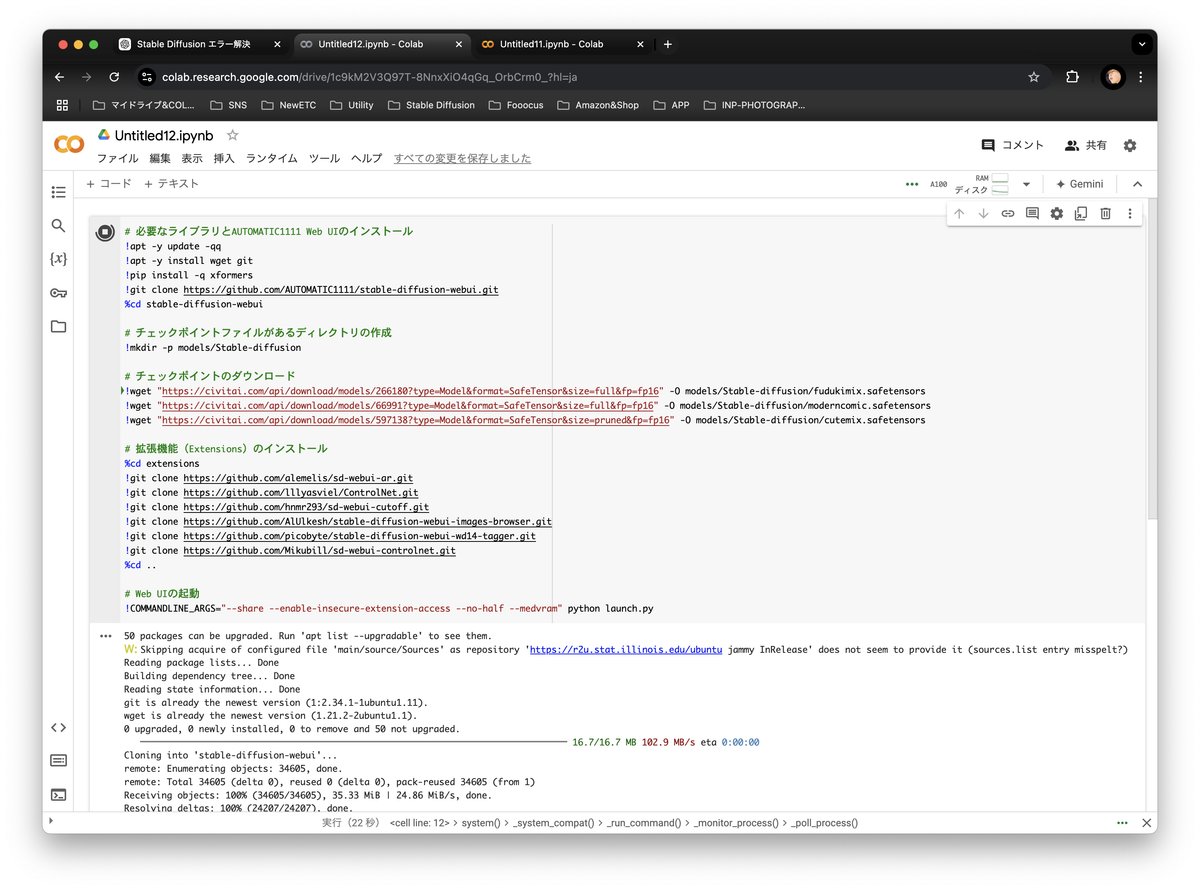
下のコードをコピーして入力します。
# 必要なライブラリとAUTOMATIC1111 Web UIのインストール
!apt -y update -qq
!apt -y install wget git
!pip install -q xformers
!git clone https://github.com/AUTOMATIC1111/stable-diffusion-webui.git
%cd stable-diffusion-webui

# チェックポイントファイルがあるディレクトリの作成
!mkdir -p models/Stable-diffusion

# チェックポイントのダウンロード
!wget "https://civitai.com/api/download/models/266180?type=Model&format=SafeTensor&size=full&fp=fp16" -O models/Stable-diffusion/fudukimix.safetensors
!wget "https://civitai.com/api/download/models/66991?type=Model&format=SafeTensor&size=full&fp=fp16" -O models/Stable-diffusion/moderncomic.safetensors
!wget "https://civitai.com/api/download/models/597138?type=Model&format=SafeTensor&size=pruned&fp=fp16" -O models/Stable-diffusion/cutemix.safetensors

# 拡張機能(Extensions)のインストール
%cd extensions
!git clone https://github.com/alemelis/sd-webui-ar.git
!git clone https://github.com/lllyasviel/ControlNet.git
!git clone https://github.com/hnmr293/sd-webui-cutoff.git
!git clone https://github.com/AlUlkesh/stable-diffusion-webui-images-browser.git
!git clone https://github.com/picobyte/stable-diffusion-webui-wd14-tagger.git
!git clone https://github.com/Mikubill/sd-webui-controlnet.git
%cd ..

# Web UIの起動
!COMMANDLINE_ARGS="--share --enable-insecure-extension-access --no-half --medvram" python launch.py
三角マークをクリックします。
コードが実行されます。
完了するまで10分位かかります。
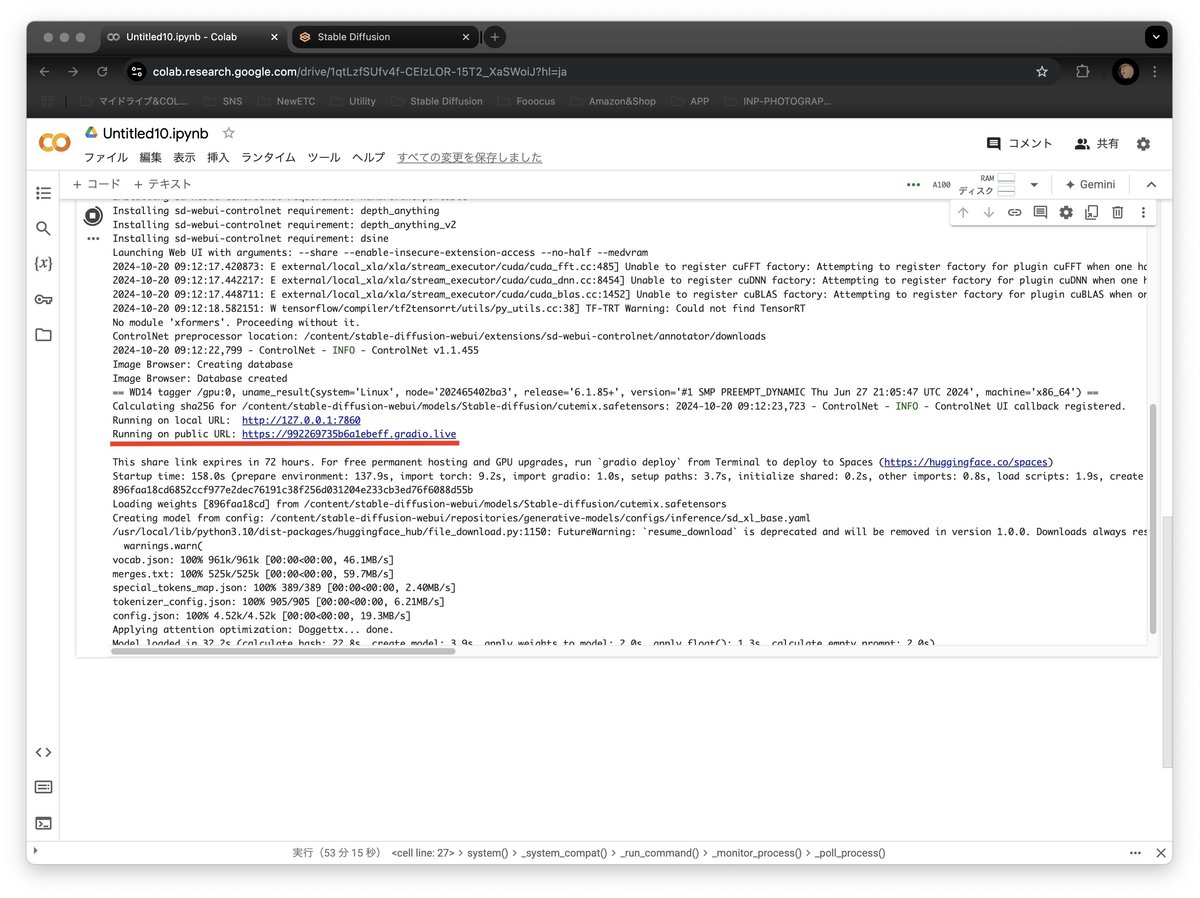
Running URLがf出たら終了です。
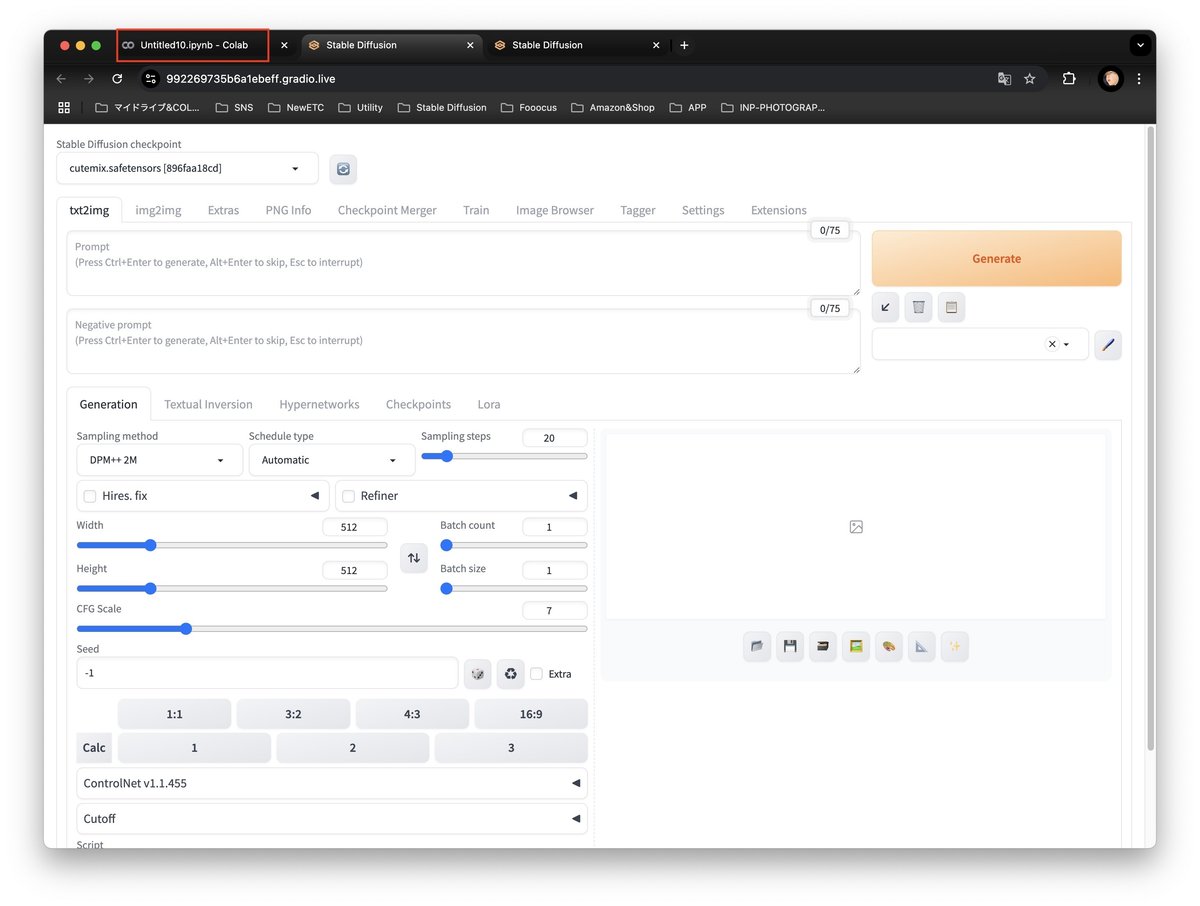
Running on public URLをクリックします。
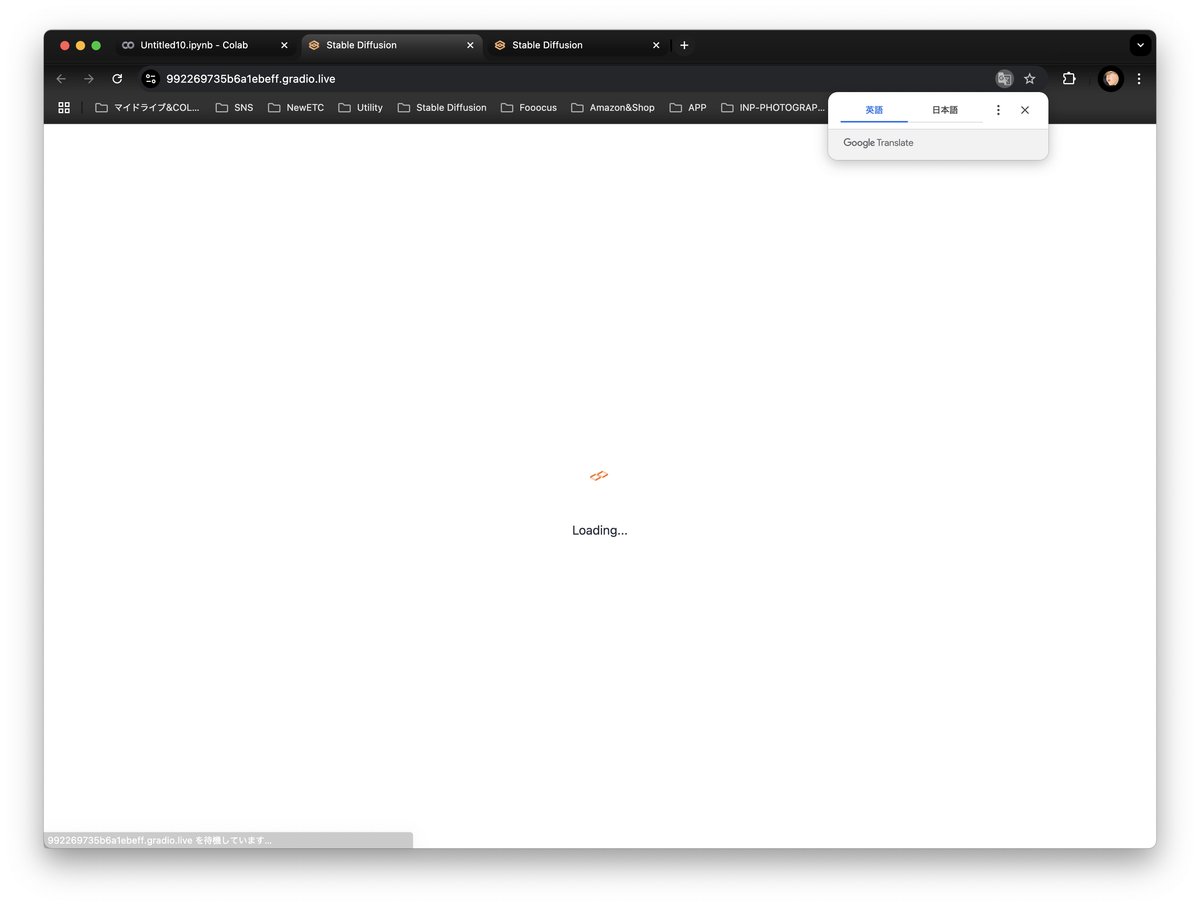
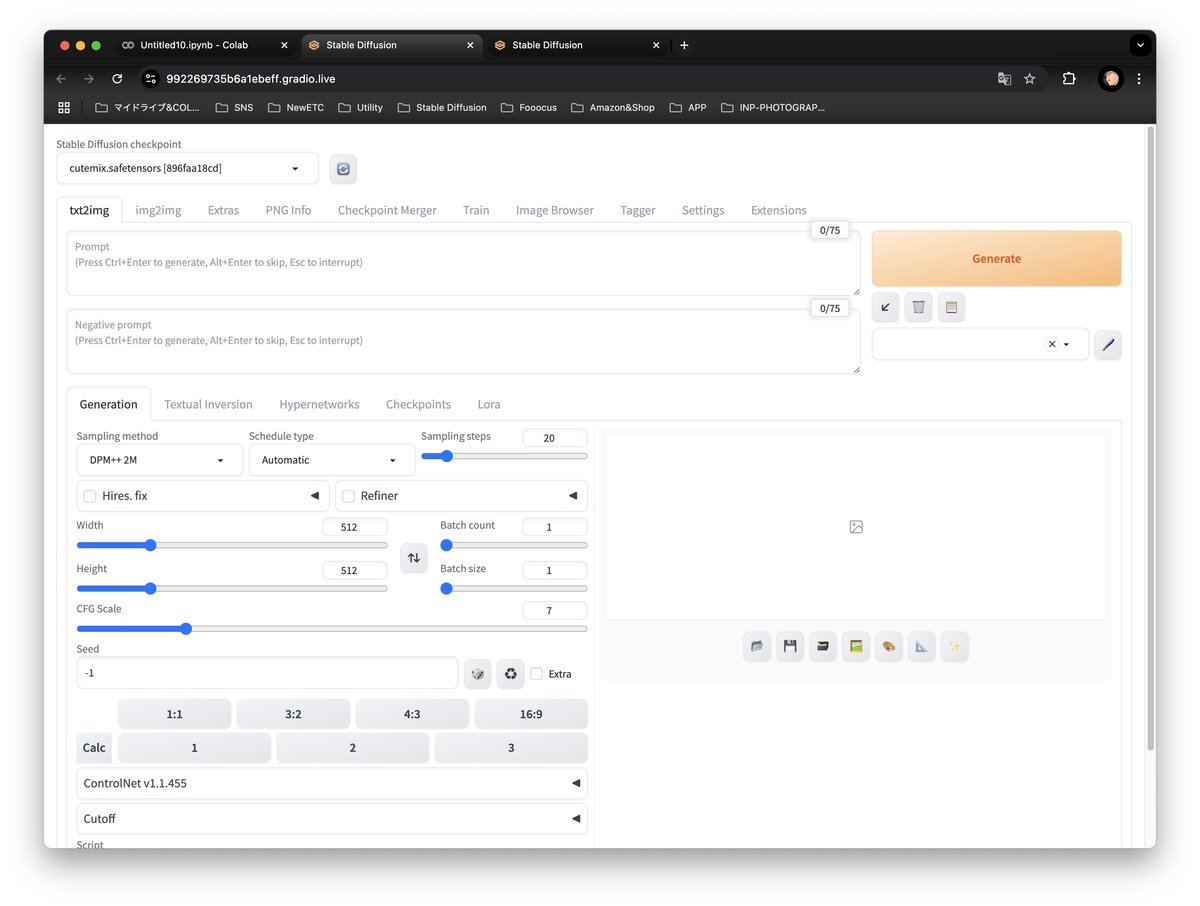
ローディングページの後にStable Diffusionのインターファイスのページが表示されます。
Stable Diffusionの終了の方法
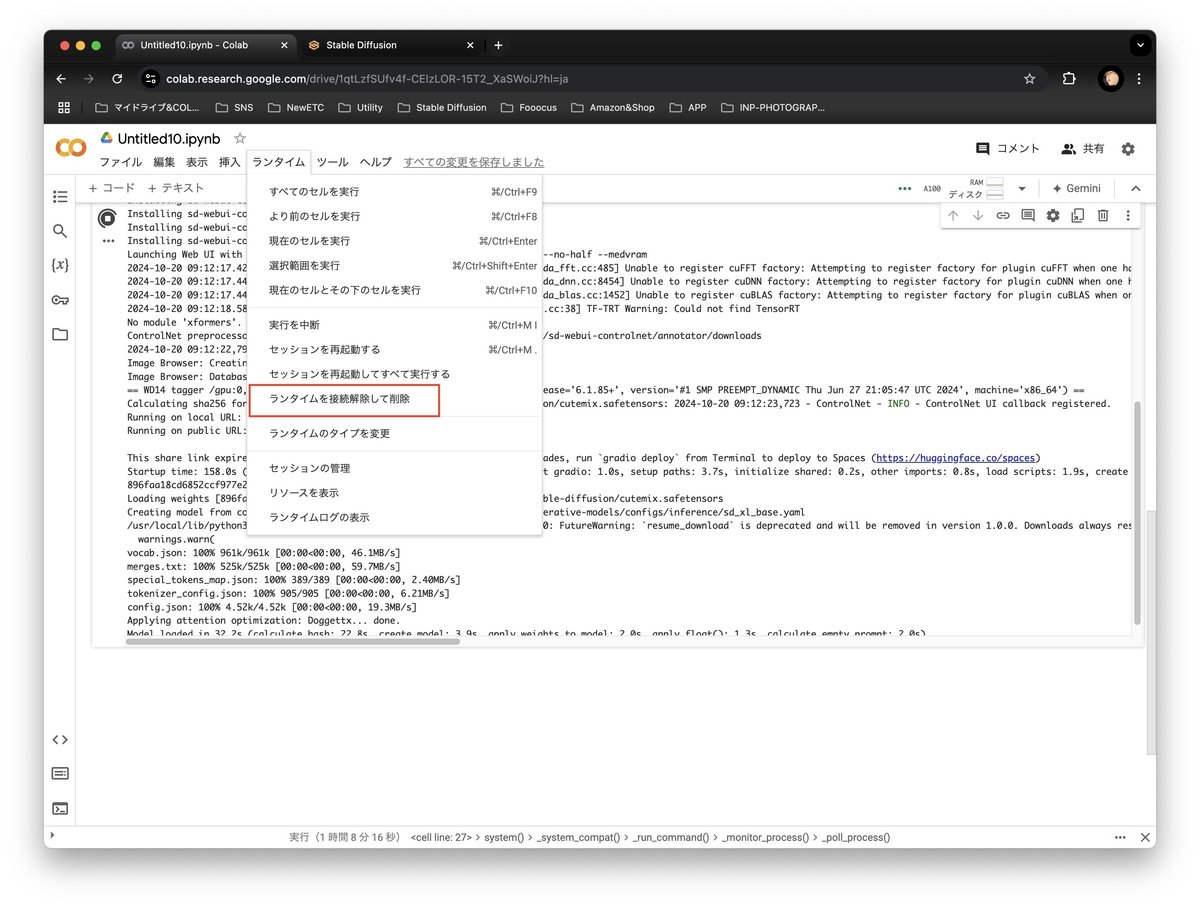
隣のUntitled.ipynb - Colabをクリックします。
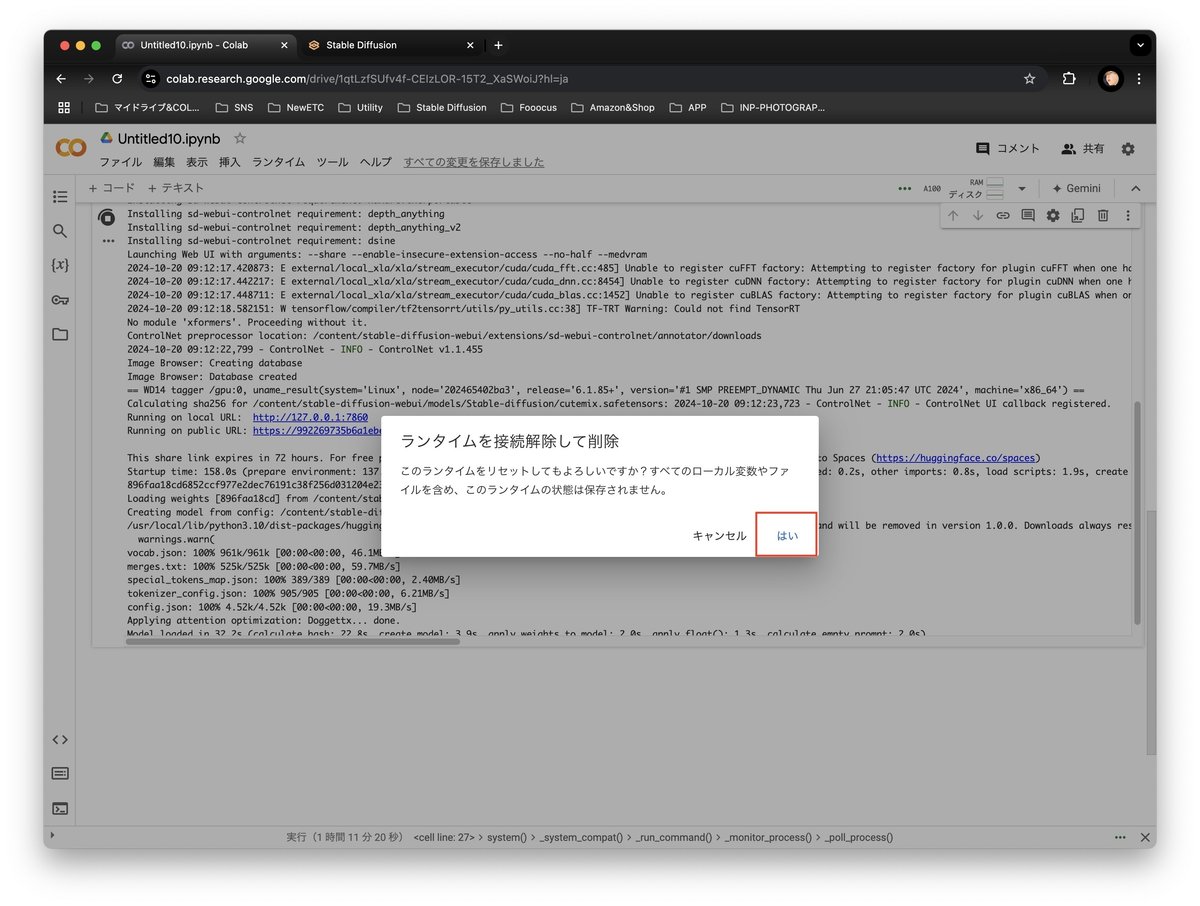
ランタイムから「ランタイムを接続解除して削除」を選択します。
「はい」をクリックします。
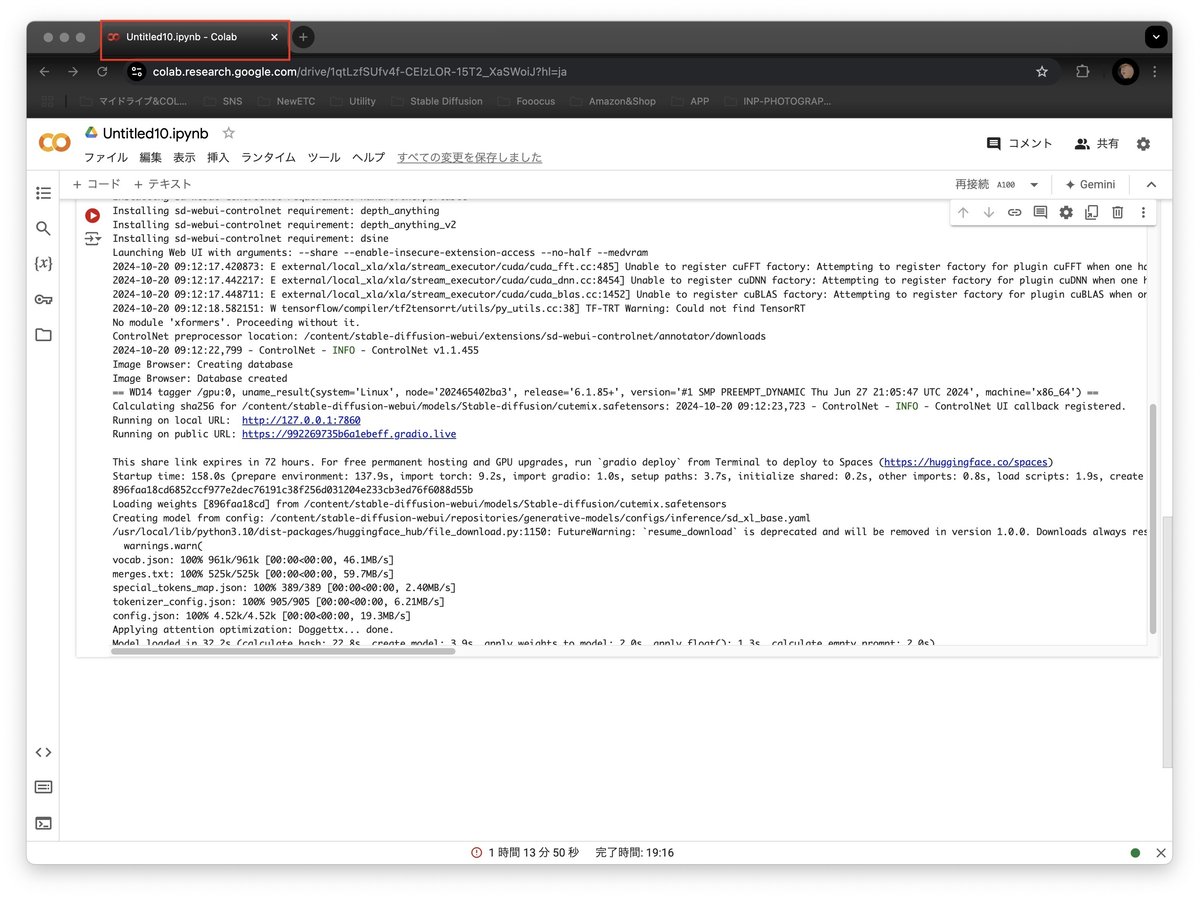
コードのページを閉じて終了です。

解らない点があったfacebookの下記のサイトにご連絡ください。
https://www.facebook.com/groups/566490489146687
outputs フォルダーのダウンロード
import zipfile
import os

# 圧縮するフォルダのパス
source_dir = '/content/stable-diffusion-webui/outputs'  # outputs フォルダのパスに変更してください

# zipファイルの保存先とファイル名
zip_file = '/content/outputs.zip'

# zipファイルの作成
with zipfile.ZipFile(zip_file, 'w', zipfile.ZIP_DEFLATED) as zipf:
    for root, dirs, files in os.walk(source_dir):
        for file in files:
            zipf.write(os.path.join(root, file), os.path.relpath(os.path.join(root, file), source_dir))

# Google Colabでファイルをダウンロード
from google.colab import files
files.download(zip_file)
いいなと思ったら応援しよう!