
VALORANT ヴァイパー 立ち回り ブリーズ

VALORANT 5.0(2022/06/23)時点のマップ
ほかのマップについては以下から
A攻撃
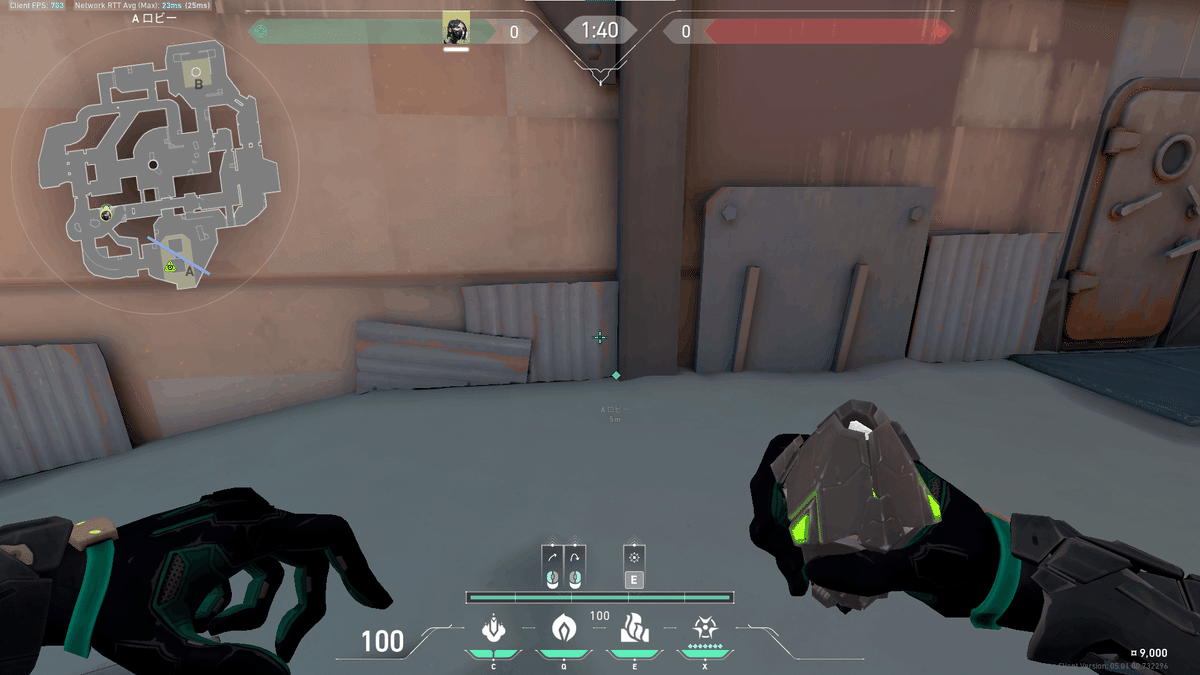
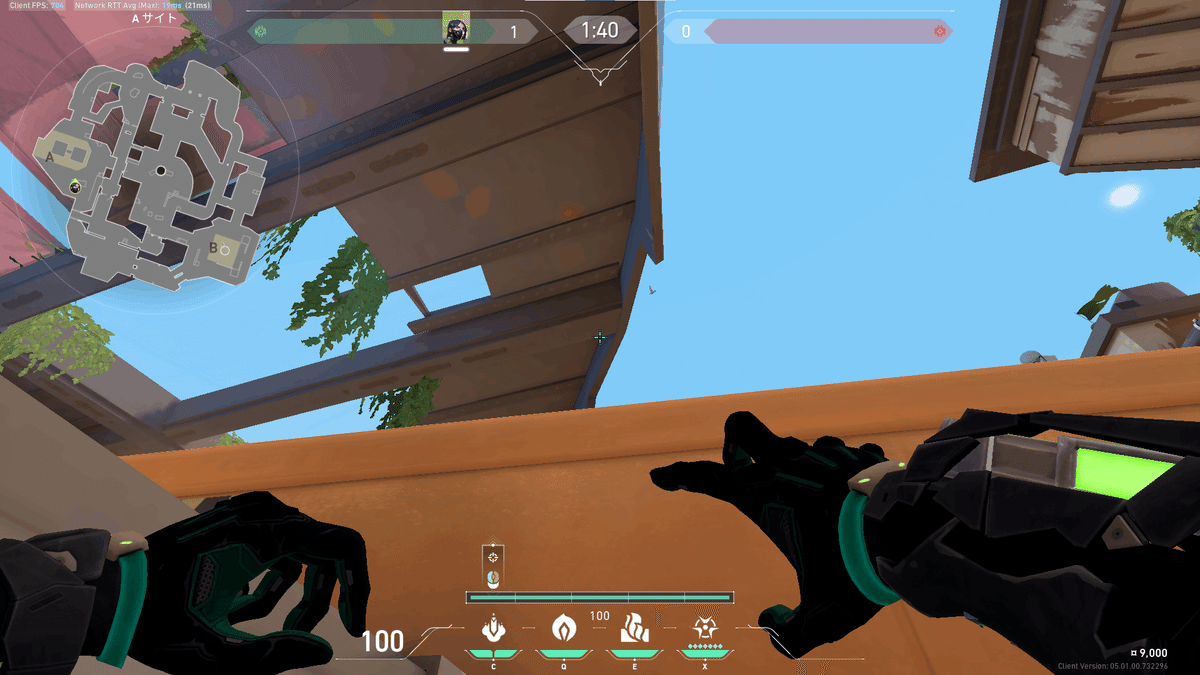
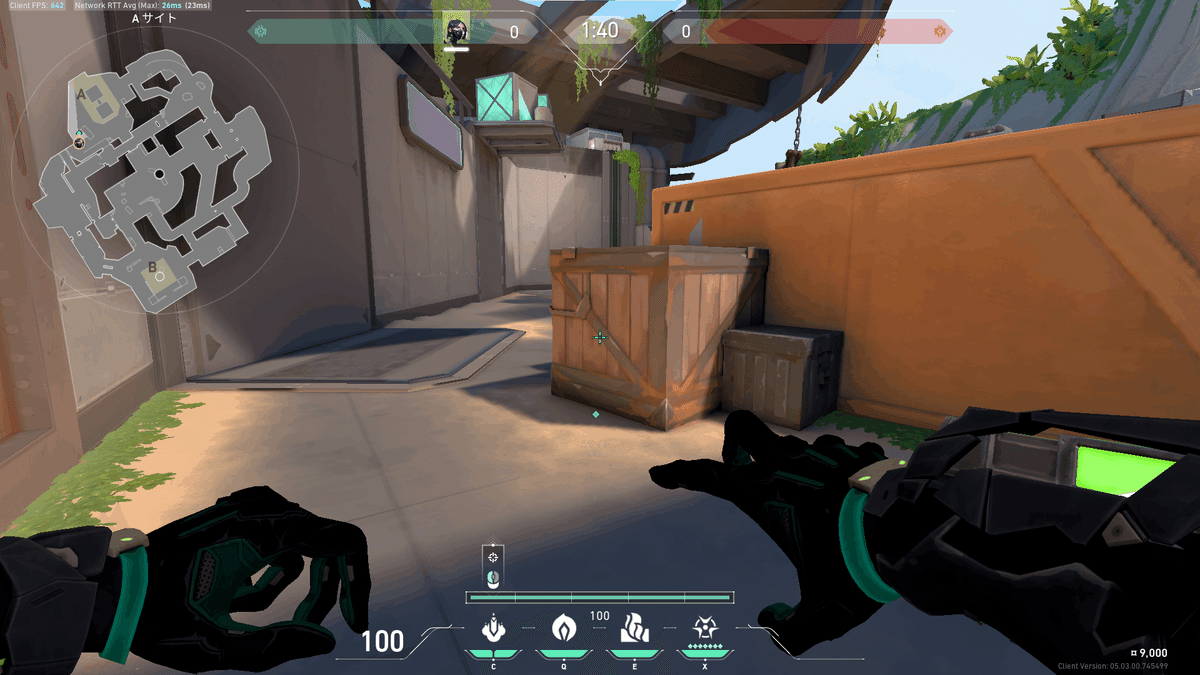
スネークバイト(空爆)
空爆1


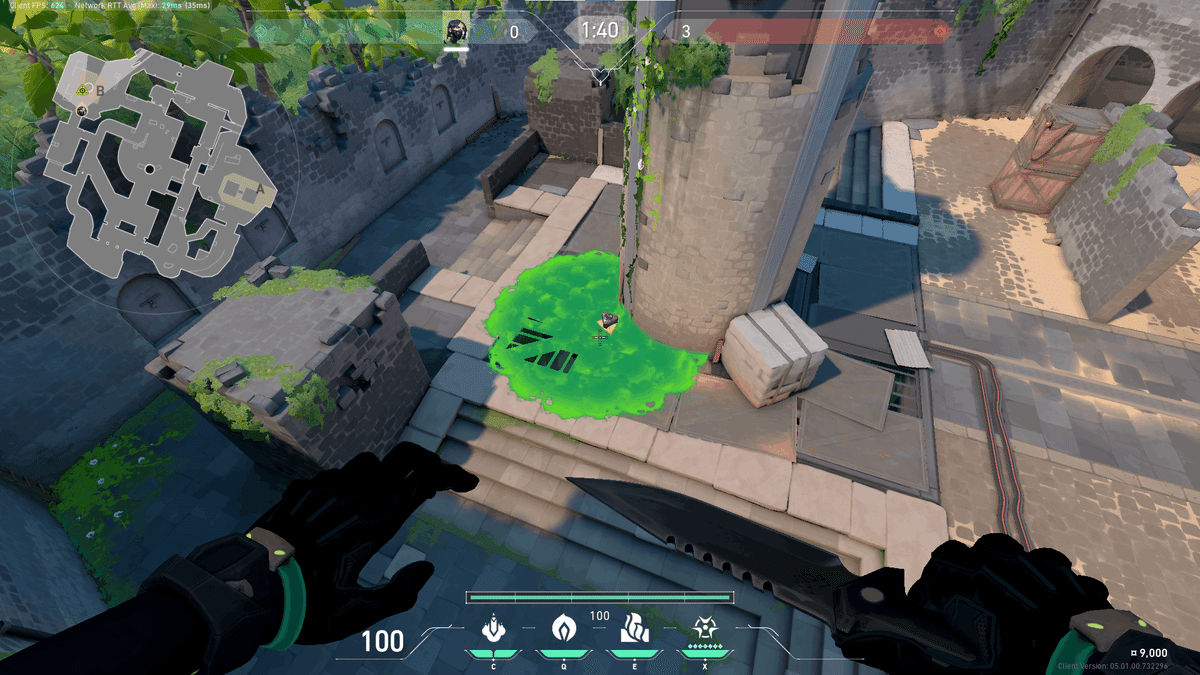
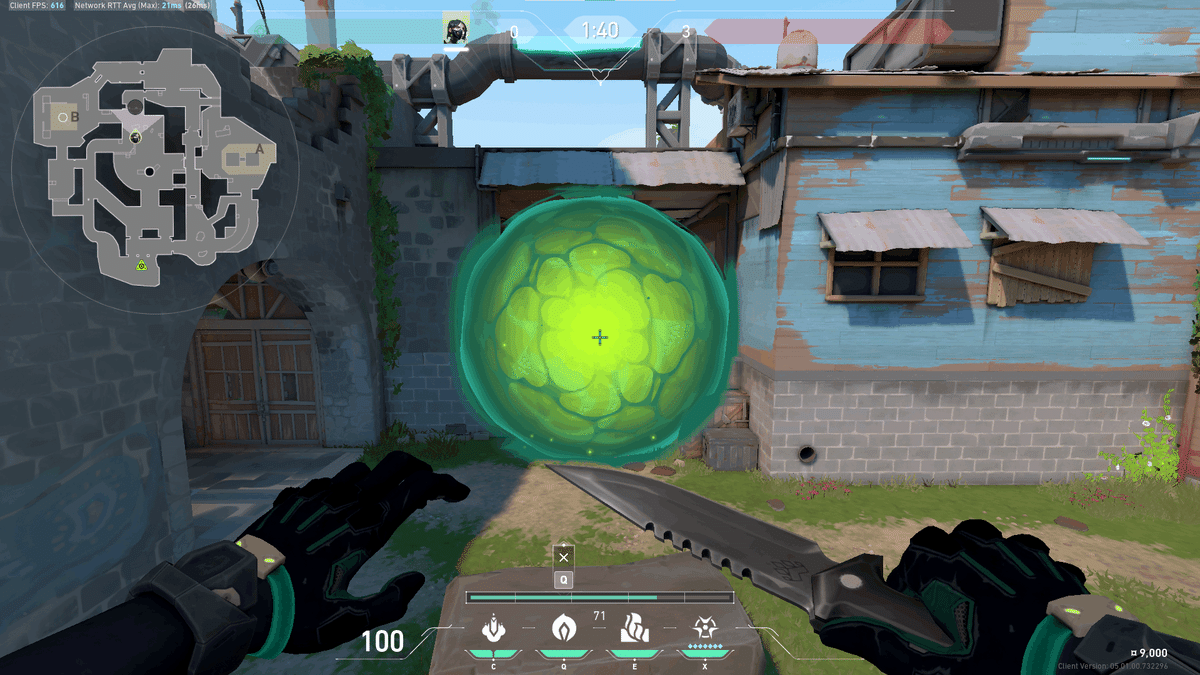
ポイズンクラウド(スモーク)
スモーク1


スモーク2


スモーク3


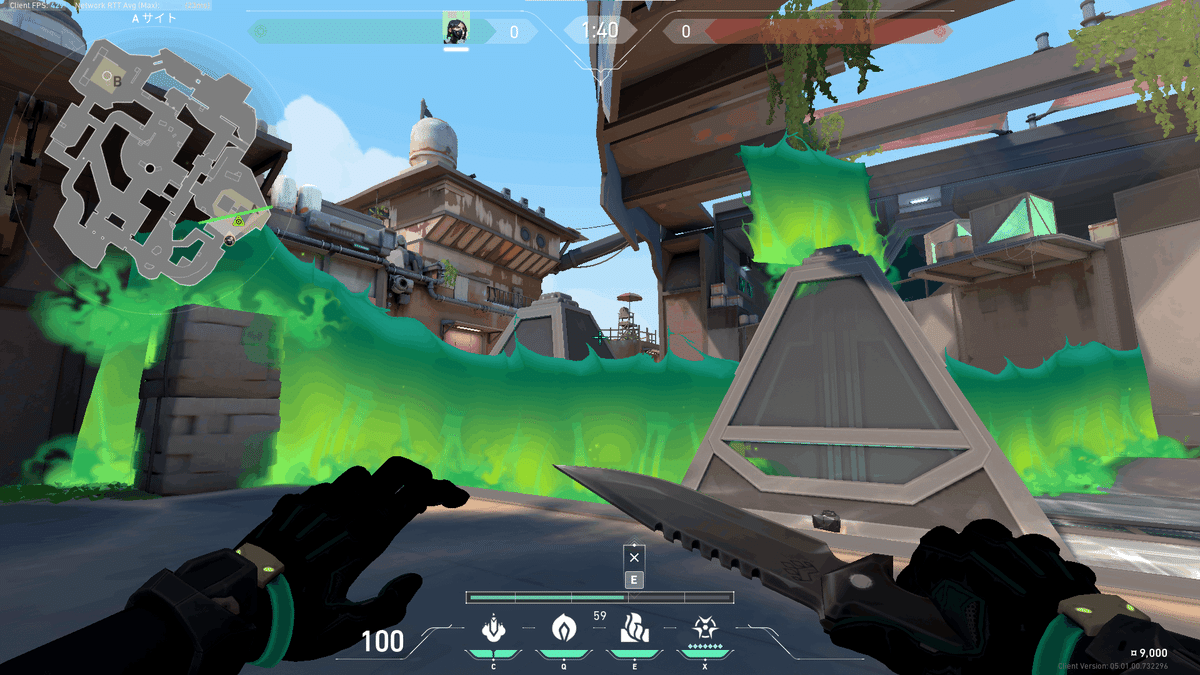
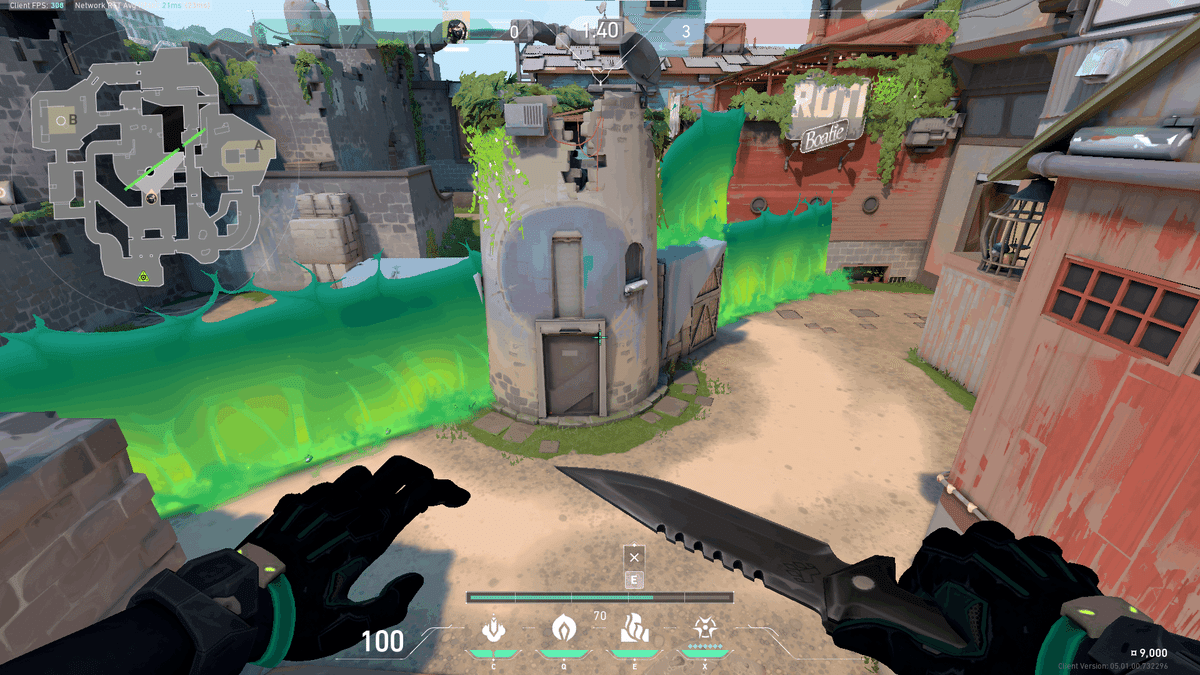
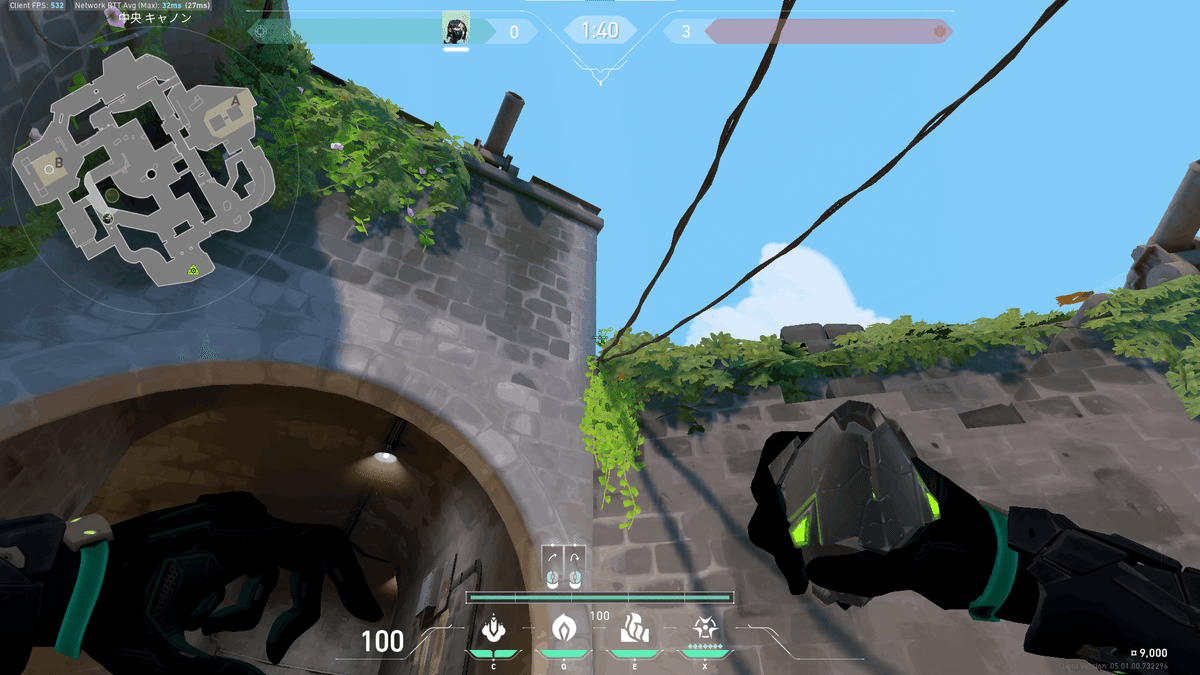
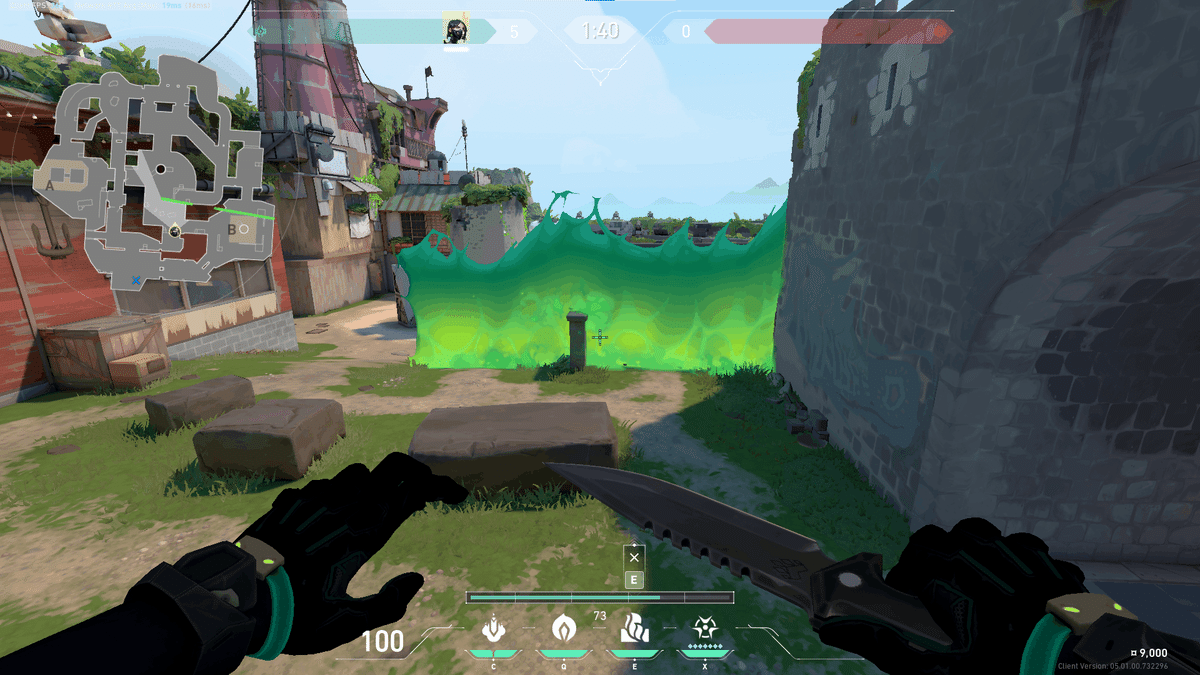
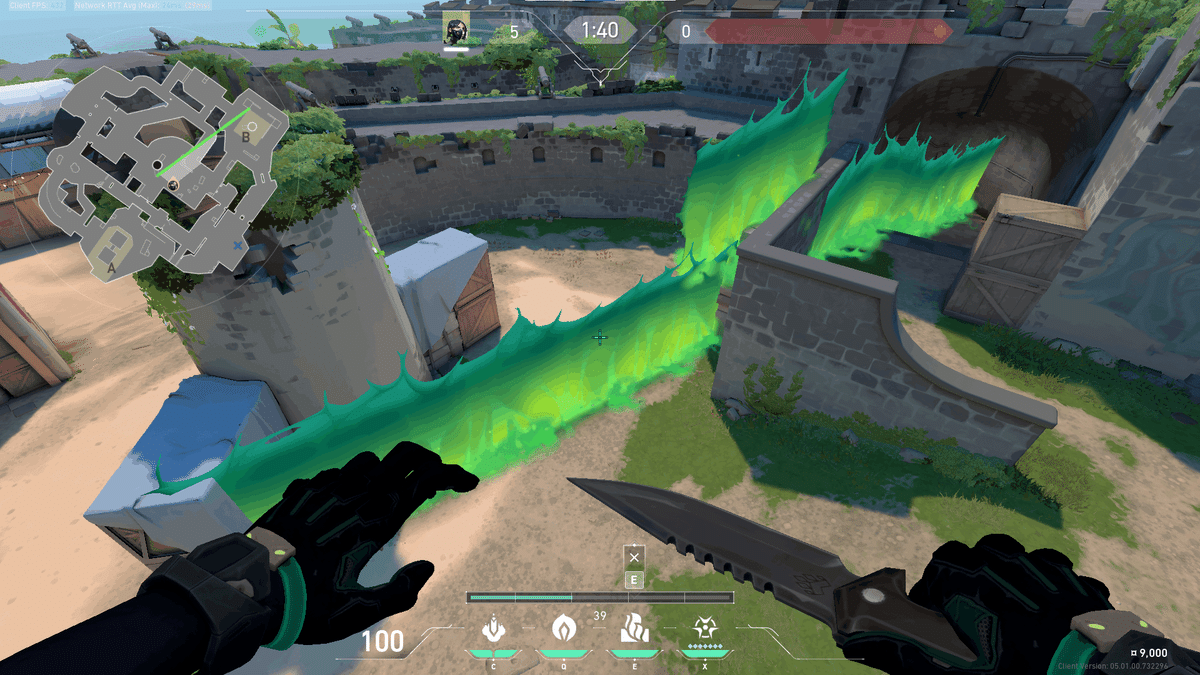
トキシックスクリーン(壁)
壁1

壁2


壁3


上向きに発車することでA側通路まで塞げる
ヴァイパーズピット(アルティメット)
アルティメット1
攻撃パターン1
壁1 (+ スモーク1 + 空爆1)
壁で左側の斜線を切る基本の動き
スモークで通路を塞ぐかどうかは状況次第
空爆で解除を妨害する
攻撃パターン2
壁2 + スモーク2 (+ 空爆1)
パターン1とほぼ同じ
相手のオペレーターを強く意識する場合はこちら

攻撃パターン3
壁3
ミッド中央からA側を攻める
壁でミッドB側と中央からの射線を切る
攻撃パターン4
スモーク3
パターン3の壁をスモークで代用
フェイクやリテイク用に壁を使いたい場合に
B攻撃
スネークバイト(空爆)
空爆1


ポイズンクラウド(スモーク)
スモーク1


トキシックスクリーン(壁)
壁1


壁2


ヴァイパーズピット(アルティメット)
アルティメット1
攻撃パターン1
壁1 (+ 空爆1)
壁で右側の射線を切る基本の動き
空爆で解除を妨害する
攻撃パターン2
壁2 (+ 空爆1)
パターン1とほぼ同じ
相手のオペレーターを強く意識する場合はこちら
攻撃パターン3
スモーク1
ミッドからB側を攻める
ミッド奥の射線を切る
A防御
スネークバイト(空爆)
空爆1
防御側から見て左側のピラミッド裏への攻撃
この位置に設置される場合が多い


空爆2


ポイズンクラウド(スモーク)
スモーク1


トキシックスクリーン(壁)
壁1


壁2


ヴァイパーズピット(アルティメット)
アルティメット1
防御パターン1
壁1
A側への進行を遅らせる
相手のヴァイパーがA攻撃パターン1の動きをしてきた場合でも後から壁を上げることである程度効果を得られる
防御パターン2
壁2
ミッドからの進行を遅らせる
ミッドからB側への進行も遅らせることができる
防御パターン3
スモーク1
パターン2などのようにA左側通路を壁で塞がなかった場合に使用
この通路を塞ぐだけであれば壁がなくても効果的
防御パターン4
空爆1 + 空爆2
壁やスモークを強引に突破された場合に使用
味方合流まで設置を妨害する
B防御
スネークバイト(空爆)
空爆1
右側遮蔽裏への攻撃
B側にスパイクを設置された場合に敵が隠れていることが多いポジション


ポイズンクラウド(スモーク)
スモーク1


トキシックスクリーン(壁)
壁1


壁2


壁3


ヴァイパーズピット(アルティメット)
アルティメット1
防御パターン1
壁1
B側への進行を遅らせる
防御パターン2
壁2
A防御パターン2とほぼ同じ壁をB側から設置したもの
防御パターン3
スモーク1
パターン2などのようにB正面通路を壁で塞がなかった場合に使用
この通路を塞ぐだけであれば壁がなくても効果的
防御パターン4
壁3
パターン1とほぼ同じだが隙間から一方的に攻撃できる
行うと敵の警戒が強くなるため基本一度きり