画像を挿入したい! #Figma

今回は、画像の挿入を3つご紹介したいと思います!
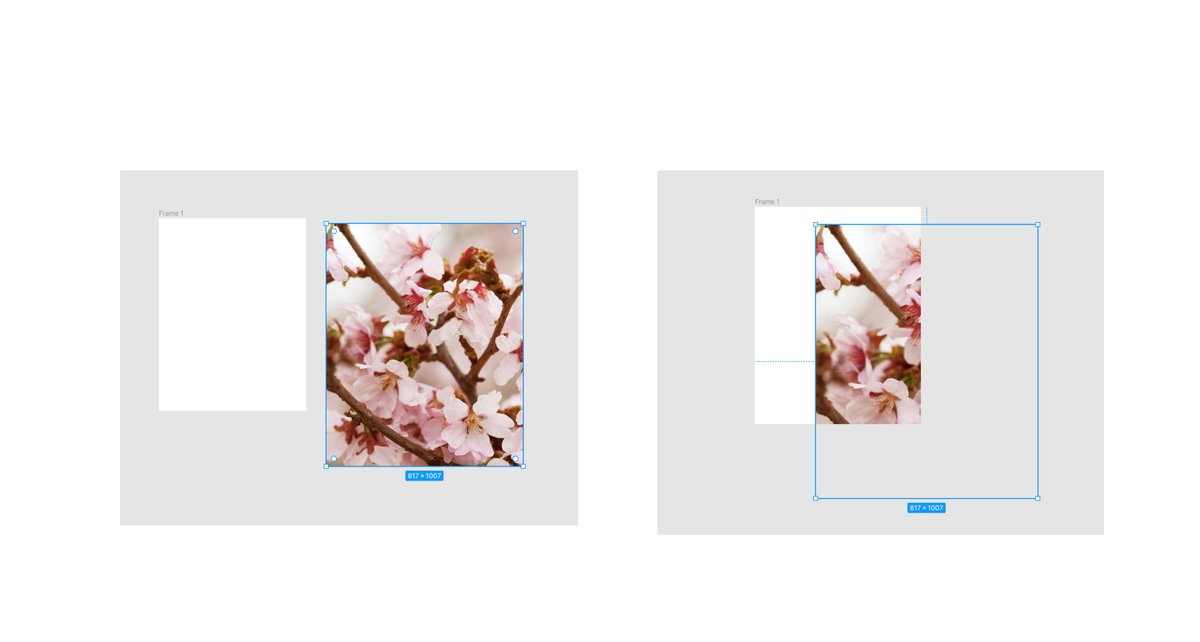
画像挿入 その1
画像を選択し、そのままフレームに移動。これで完成です。
画像挿入 その2
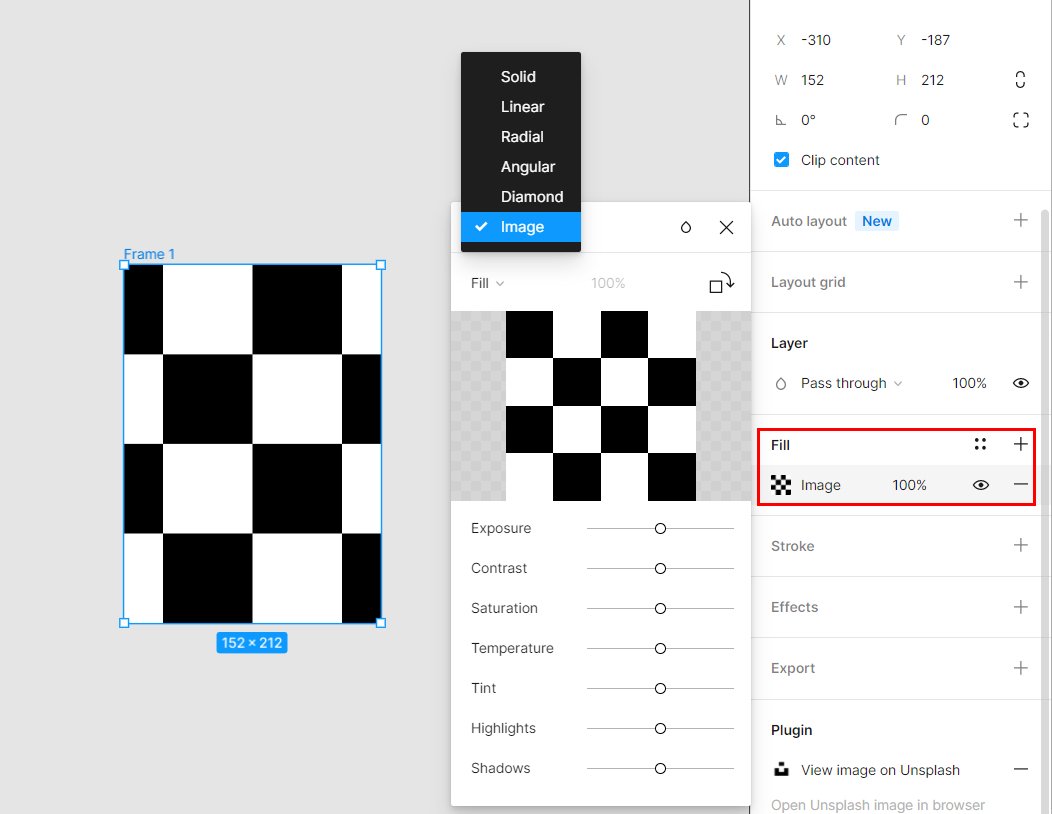
手間はかかりますが、Fillからもできます。
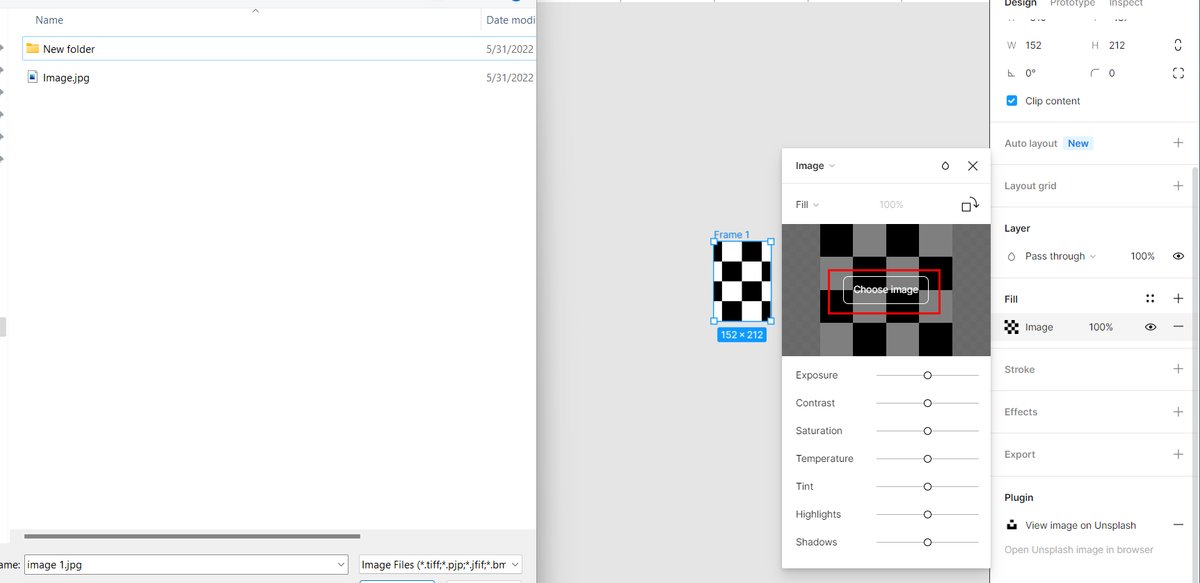
1, 挿入したい画像を準備。
2, フレームを描き、右側のパネルからfillをクリック。
新たなパネルが開いたら、Solidの右側にある矢印をクリックしImageを選択。
3, Choose Imageで用意した画像を選択。
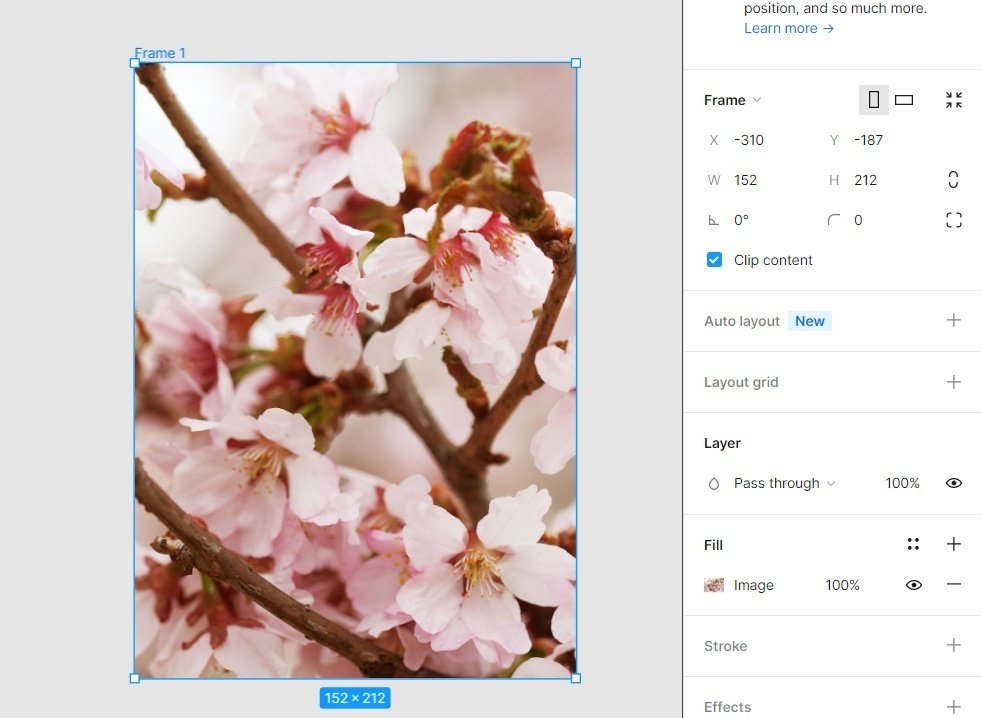
出来ました!
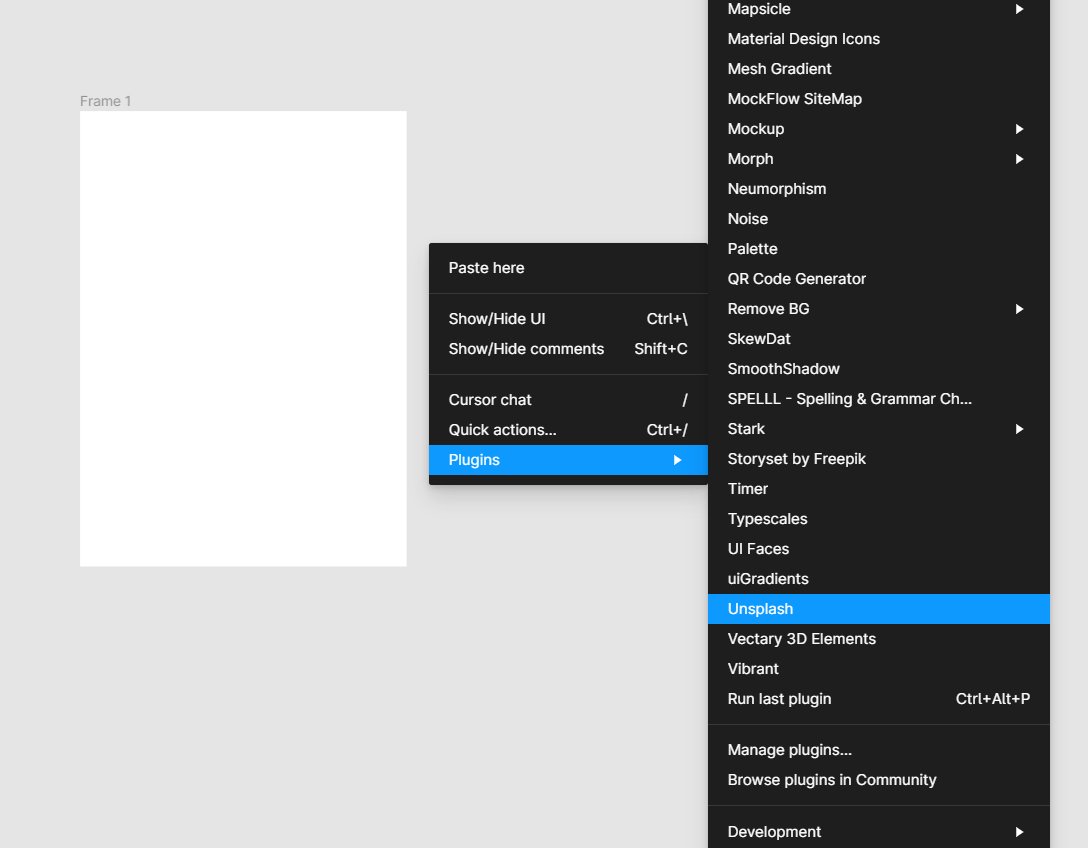
画像挿入 その3
画像は用意するのがそもそも大変。プラグインを使えば、画像を検索しつつ挿入ができます。
1, Unsplashのプラグインをイントール。
2, Figmaで挿入したいフレームを描き、右クリック。
Unsplashを選択。
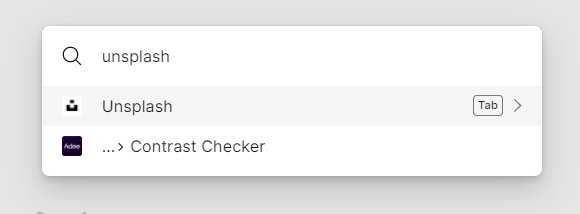
もしくは検索する(ショートカット→Ctrl + /)。
3, 好きな画像を選びクリック。
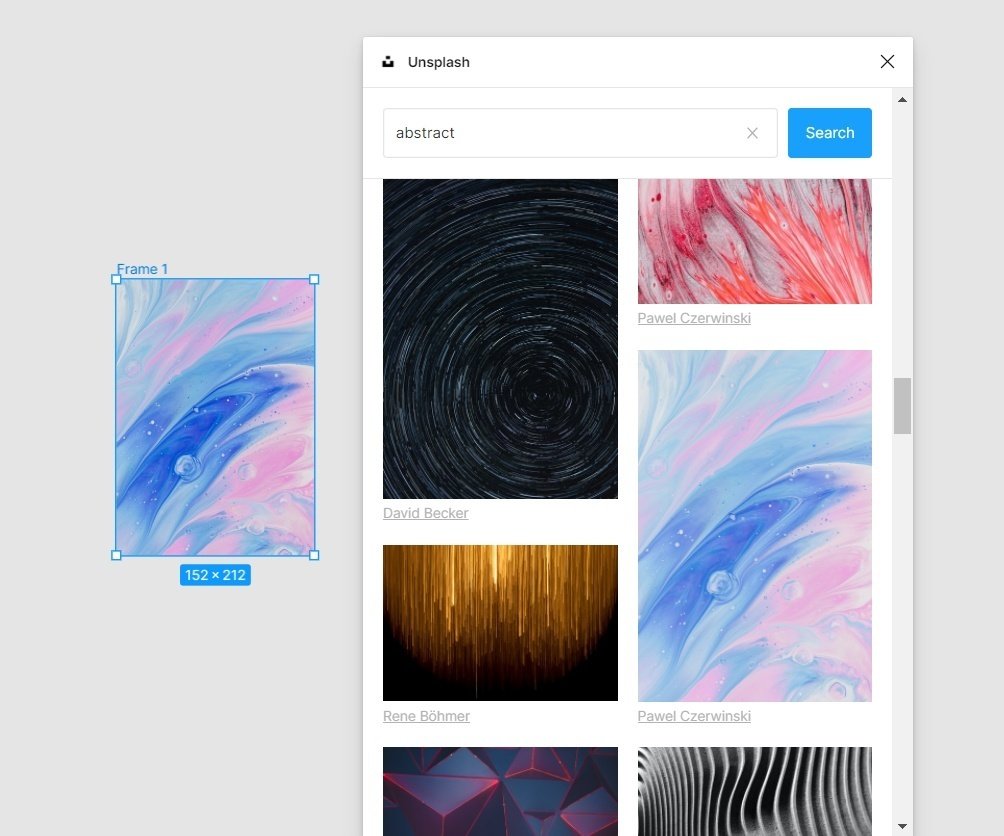
出来ました!
Unsplashだけではなく、Freepikなど他のプラグインでも可能です。
今回はここまでです!また次の記事でお会いしましょう~😉
Resource🎨
Follow me here😊
Figma │Instagram | Twitter │Dribbble │Behance│ Linkedin | Notion | Portfolio
いいなと思ったら応援しよう!