
UE5でLiveLinkXRを使う

UE5を使いつつVirtualProduction環境をセットアップしていきます。日本でもVive Marsが手軽にゲットできるようになれば、小規模中規模スタジオのバーチャルプロダクション環境はかなり良くなるんじゃないかと思います。
とはいえ、まだViveMarsがないのでVive HMDとTrackerを使ってテストしておきます。
Viveをセットアップします。HMDとかコントローラも一応セットアップ。とりあえずTrackerだけ使えればよいので、ステータスはこんな状態。

LiveLinkXRプラグインをONにする
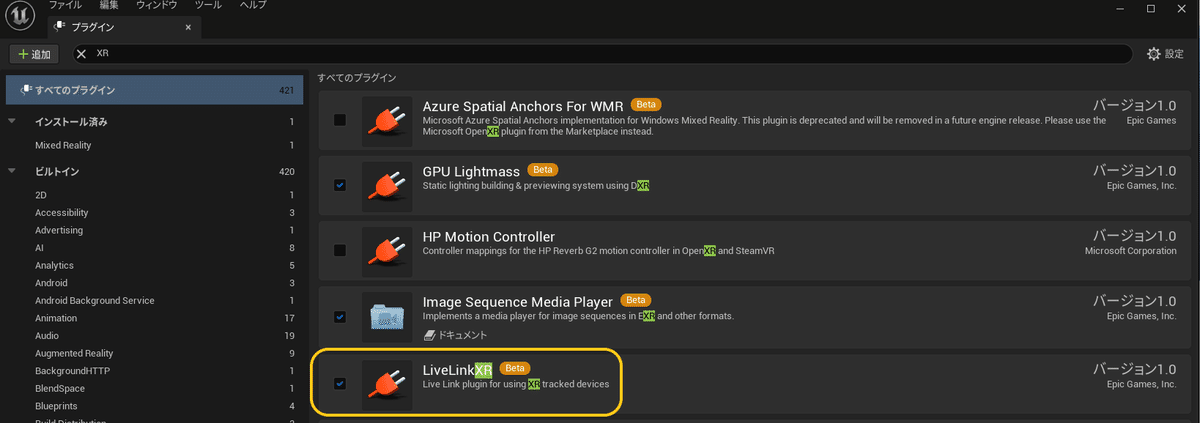
地味に注意しないといけないのが、このSteamVRのプラグインをONにする。UE5でViveTracker見つからないよーなんて時はここを忘れてるかも。

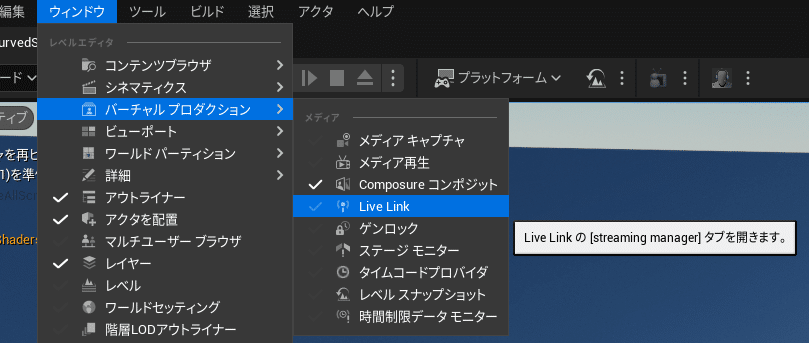
LiveLinkのウィンドウを開くには、ウィンドウメニューのバーチャルプロダクション項目の「Live Link」を選択。
+ソースから、LiveLinkXRソースを追加すると、自動で繋がってるViveTrackerが検出されます。うまくいかない時はViveTracker

HMDなしでVive トラッカーを使えるようにする……前にやっておくこと
Vive トラッカーを HMD なしで使用する方法があります。ですが、その前にやっておきたいことがあります。電源管理系の設定です。
Virtual Productionではパワーマネジメント系機能は、無用なトラブルを招きそうなのでオフにしておきたいところです。
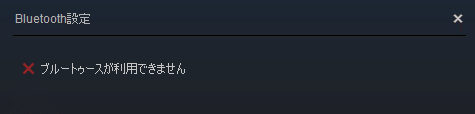
ベースステーションの一部の機能は、Bluetoothで行います。例えばパワーマネジメントです。このBluetoothって表記が厄介なのですが、パソコンのBluetoothとは関係なく、どうやらVive HMDとのBluetooth通信のようです。
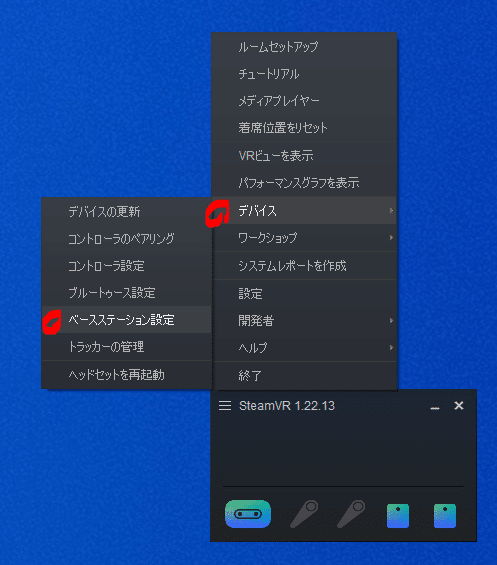
つまりVive HMDをつなげた状態でないとBluetoothによるベースステーションの管理機能は使えません。

この状態でベースステーション設定を開くと電源管理というのがあるので、電源管理機能をオフにしておきます。
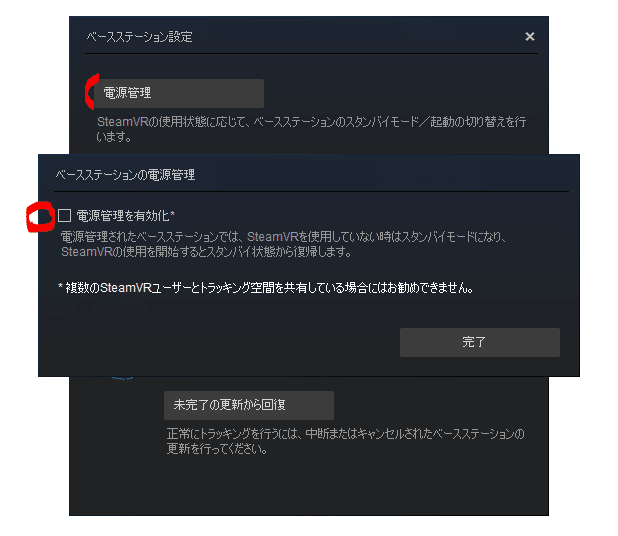
他にも時間経過で自動で電源が切れる系の設定をオフにしておくと面倒が少なくてよいです。


Vive トラッカーを HMD なしで使用する
下記のページの下の方にやりかたが書かれています。今回は、StreamVR 1.22.13で試しています。
他にも日本語だとこちら
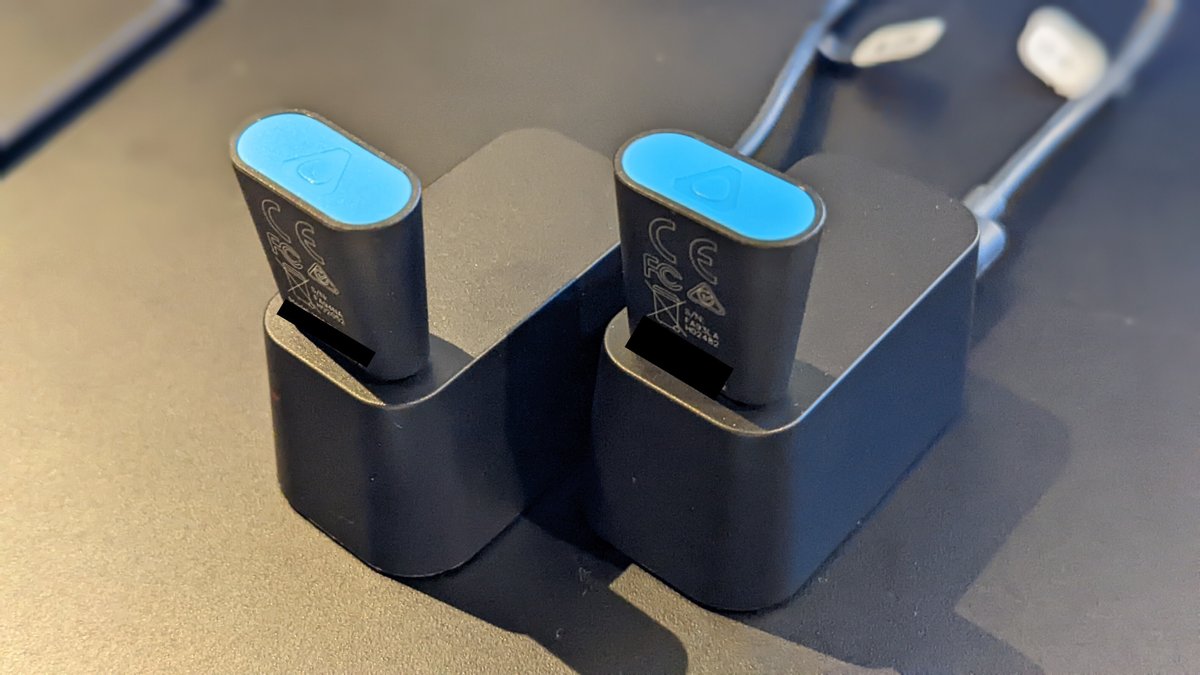
HMDなしで使う場合は、ViveTrackerに同梱されているドングルが必要です。2個使う場合は2個つなげます。
こんな感じでヘッドセットの部分のアイコンが<H>になります。スタンバイ状態となっていますが、この状態でもUE5で認識し使えます。


