Appendix (準備)WindowsServer2022をインストールする

はじめに
LinuC300の試験対策のためにWindowsServerが必要になるので、評価版のWindowsServerを入手しインストールします。
環境
VirtualBox
- CPU 2Core
- MEM 3072MB
- Disk 50GBWindowsServer2022評価版DVDイメージ
Windows Server 2022 | Microsoft Evaluation Center
インストールする
DVDイメージから起動するとセットアップ画面が出るので[次へ]をクリック

[今すぐインストール]をクリック

[WindowsServer2022 Standard(デスクトップエクスペリエンス)]を選択して [次へ]をクリック

ライセンスの内容を確認して[Microsoftソフトウェアライセンス条項に同意します。…]にチェックを入れて[次へ]をクリック

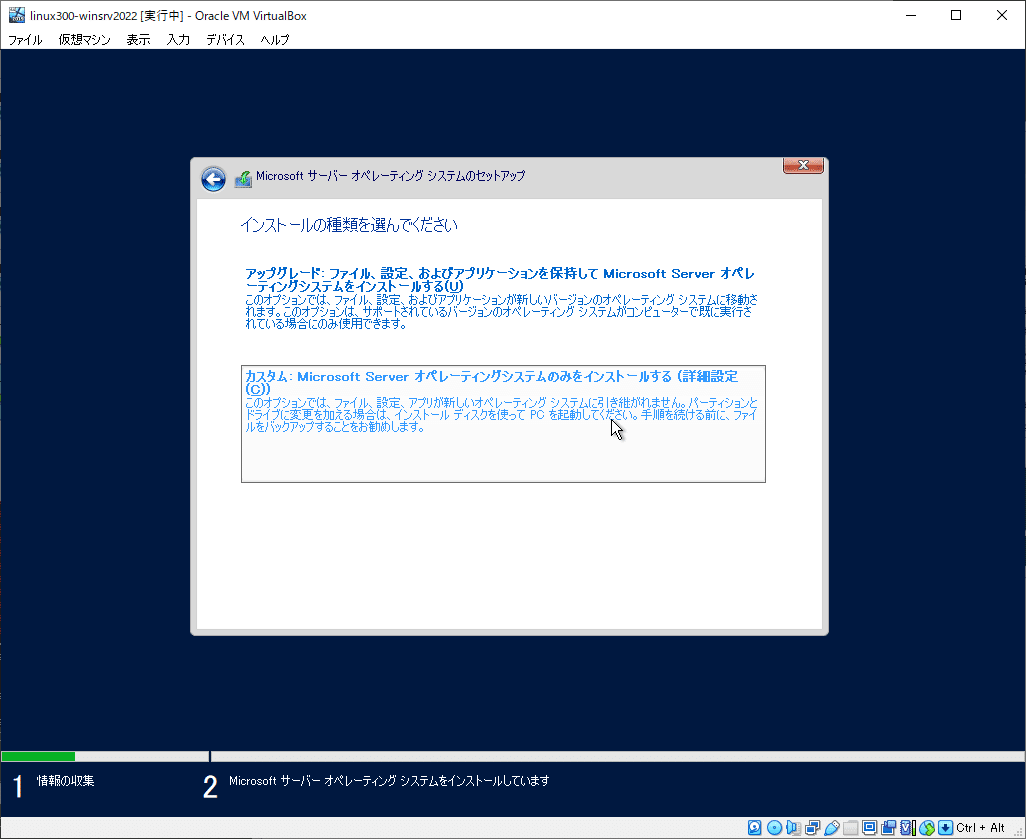
[カスタム]をクリック
[ドライブ0]を選択して[次へ]をクリック

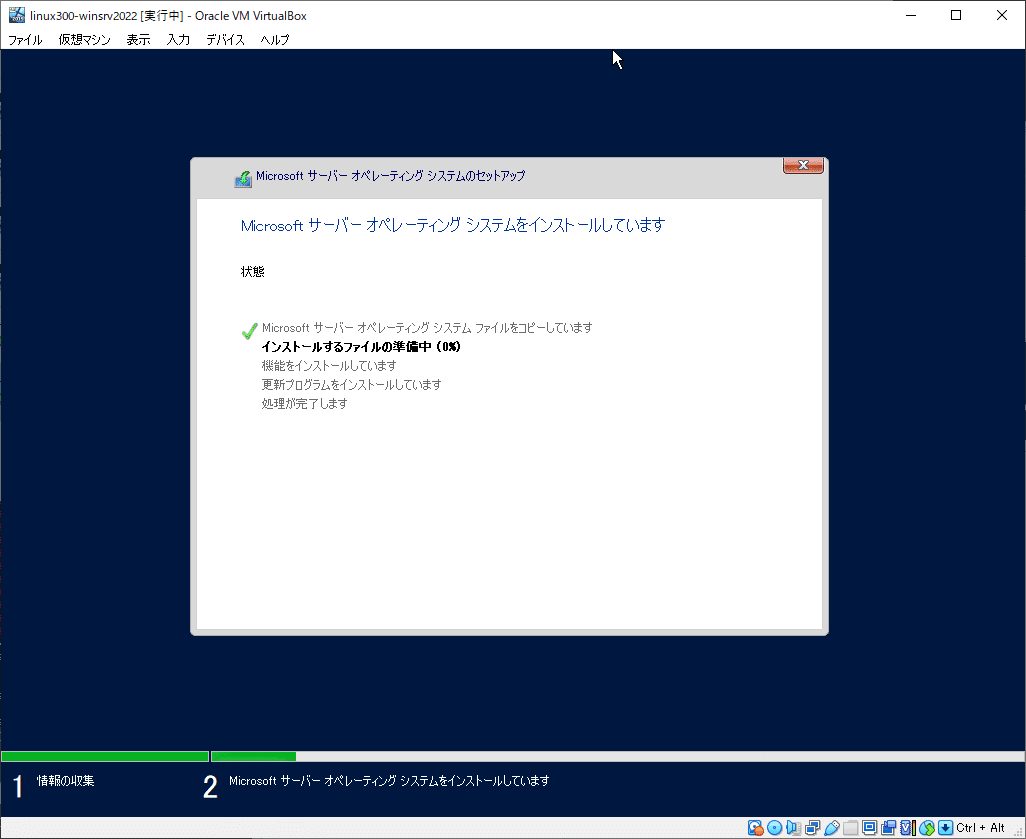
ファイルのコピーが始まるので、コピーが完了し再起動するまで待つ
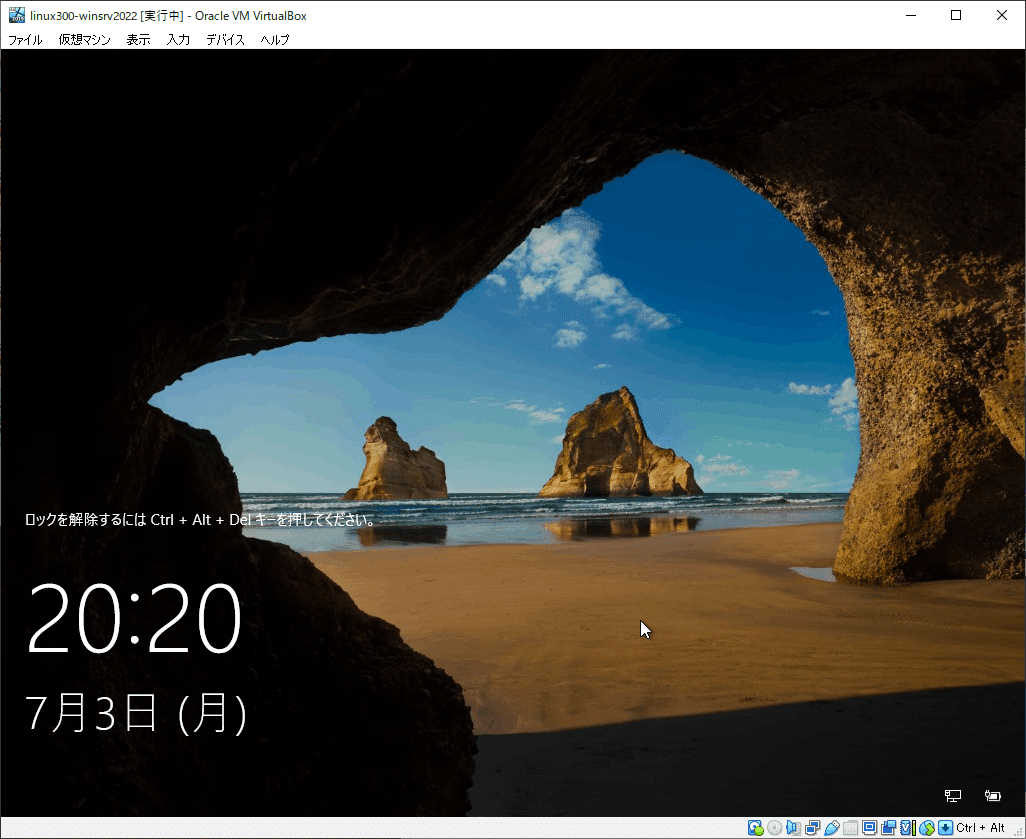
再起動したらAdministratorユーザーのパスワード入力をする。

インストール完了です。
設定変更する
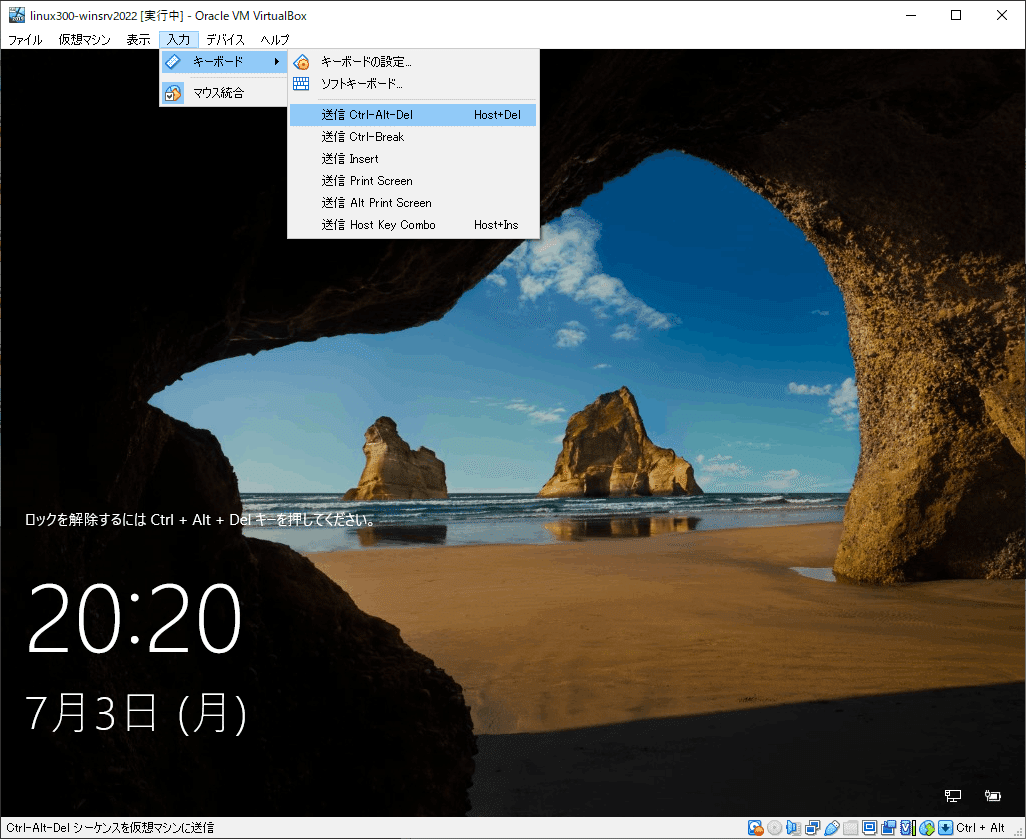
VirtualBoxのツールバーから [Ctrl+Alt+Del]を送信する
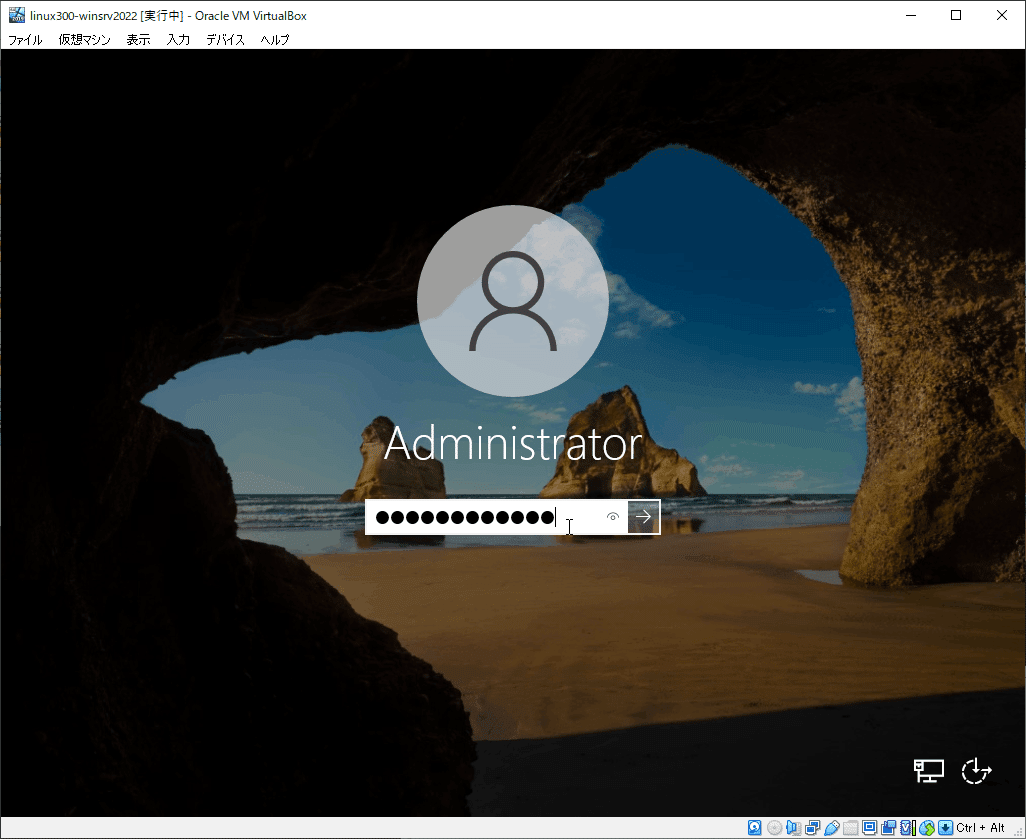
インストール時に設定したパスワードでログインする
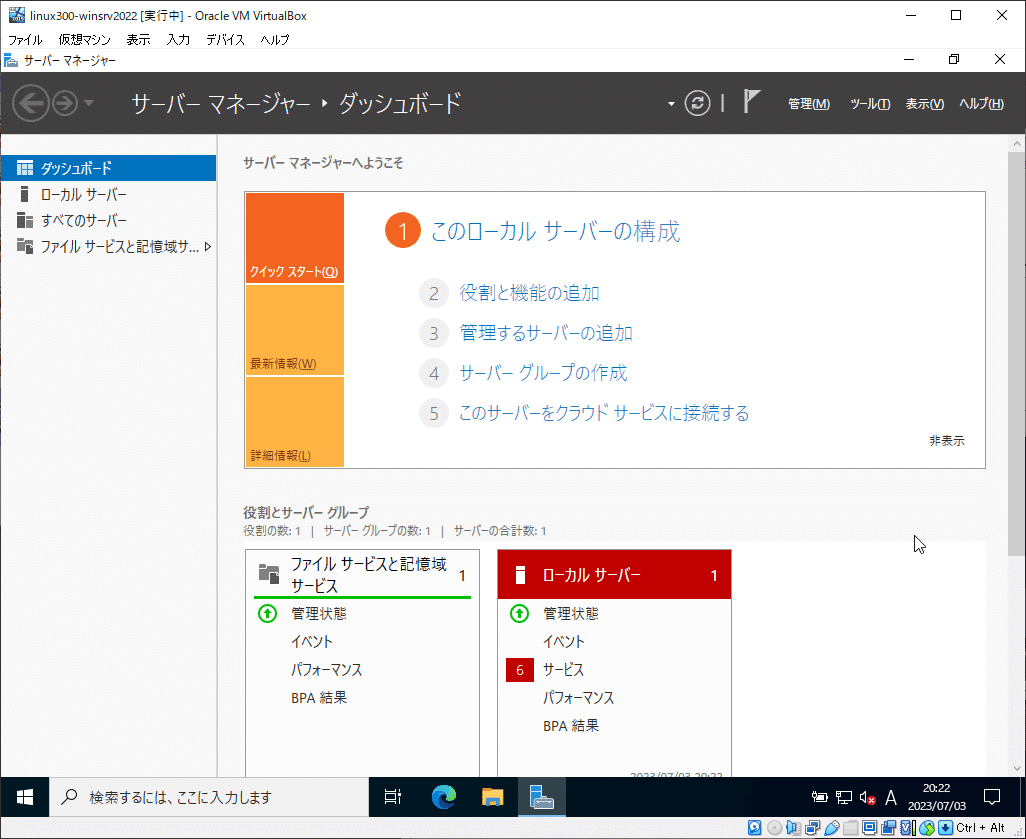
サーバーマネージャーが起動しますが、ここでは閉じる。
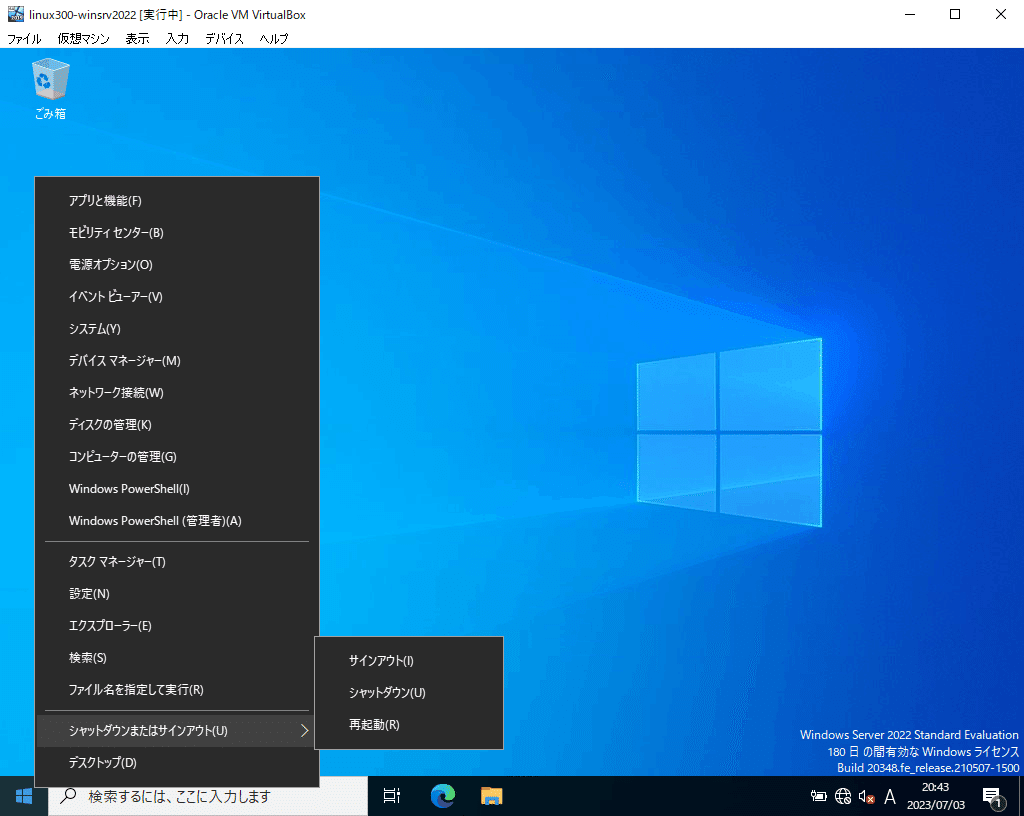
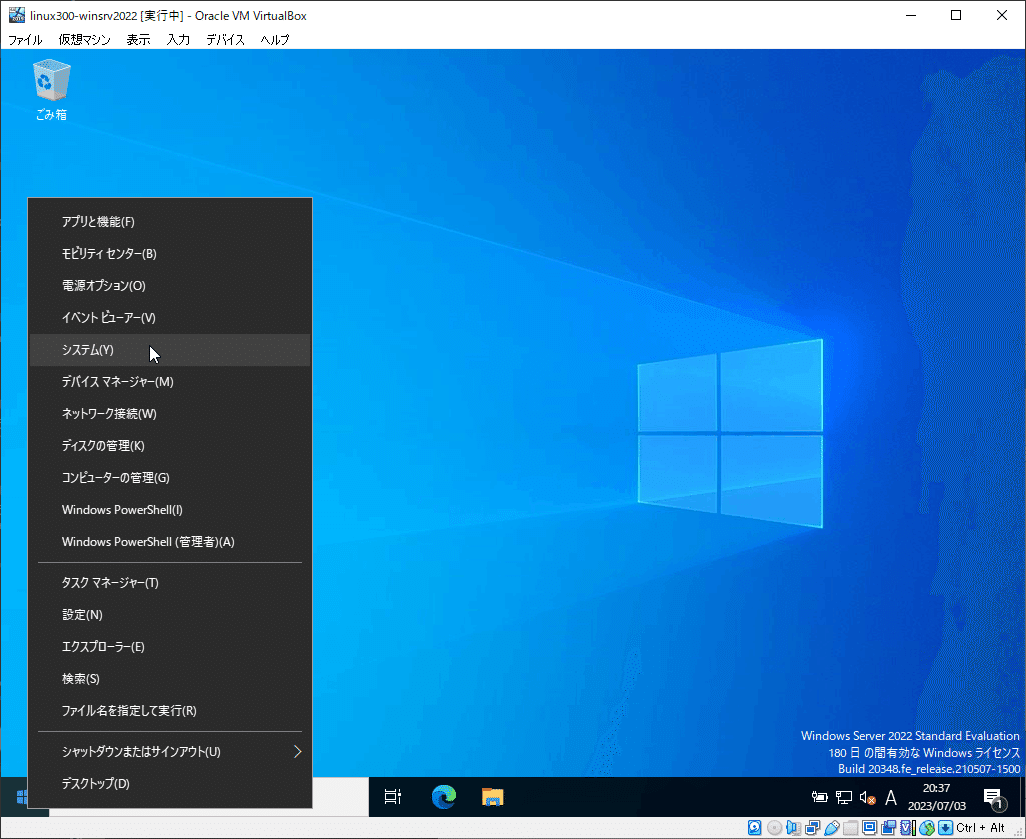
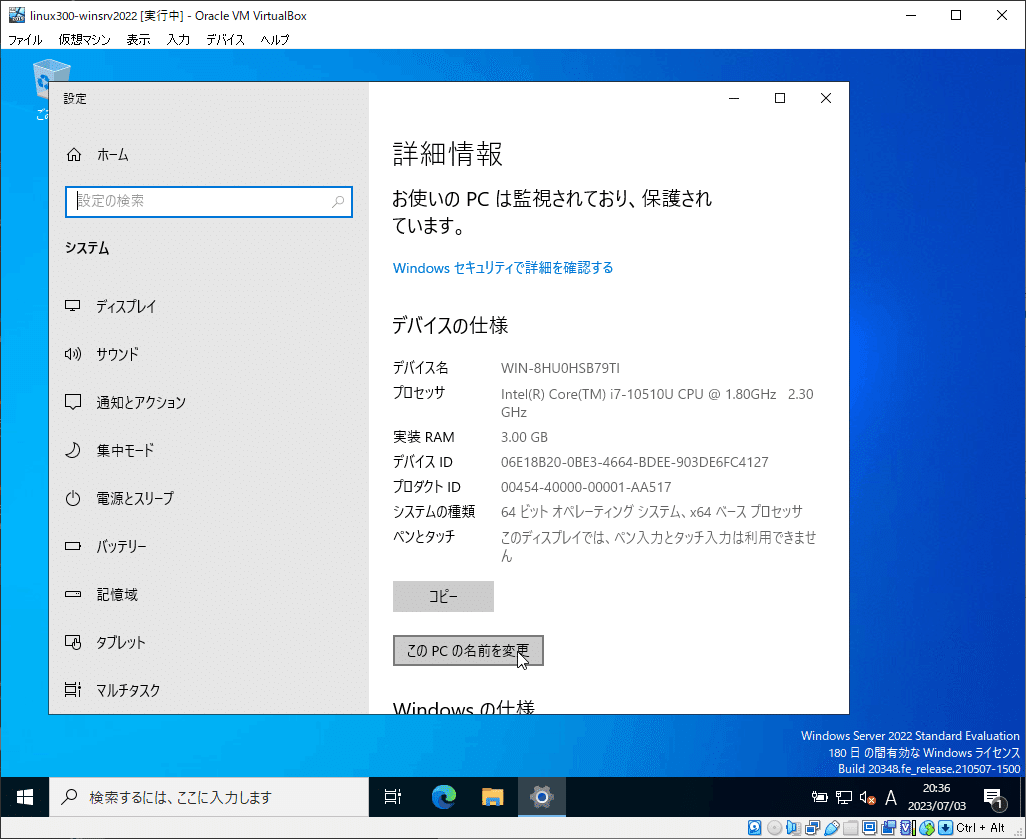
[スタート]→[システム]をクリックする
[このPCの名前を変更]をクリックする
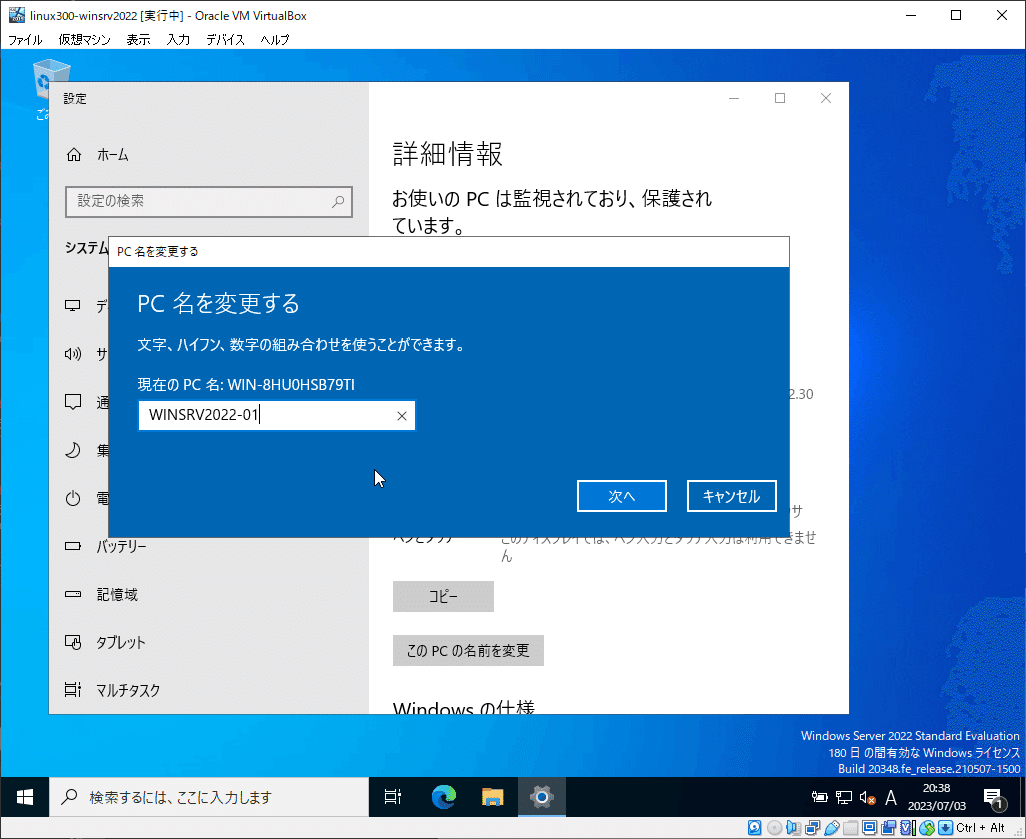
わかりやすいPC名に変更する。
再起動するかどうかをたずねられるので[後で再起動]を選択する。
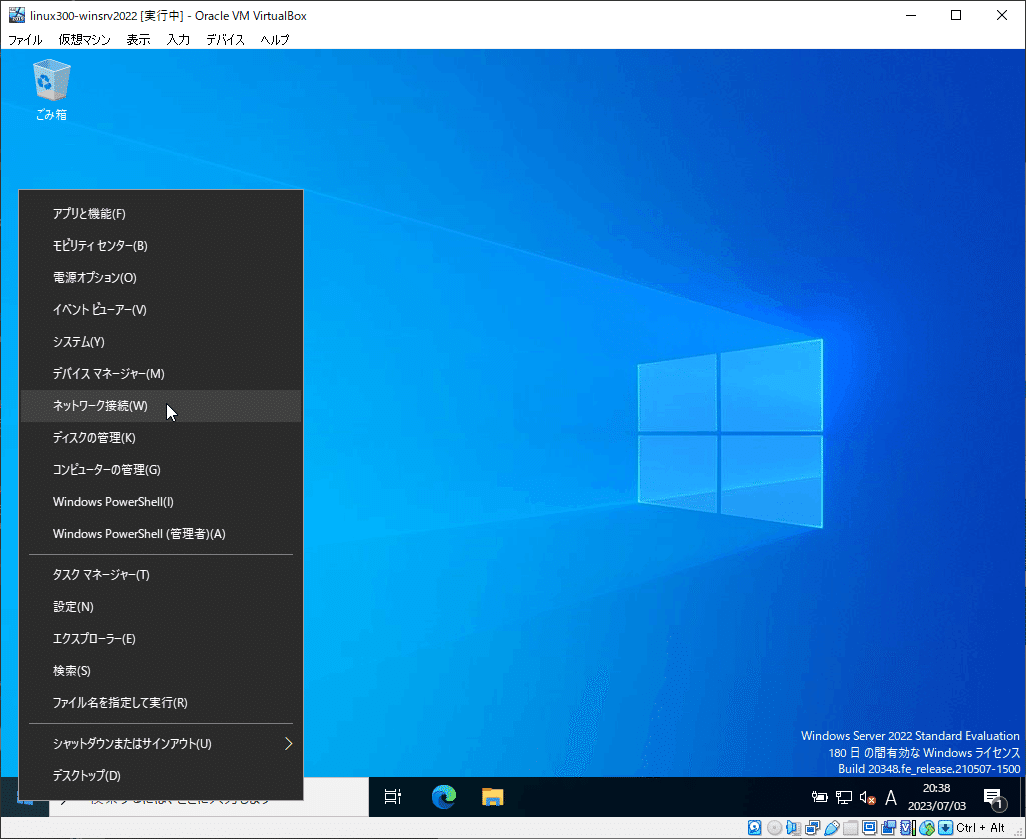
[スタート]→[ネットワーク接続]をクリックする
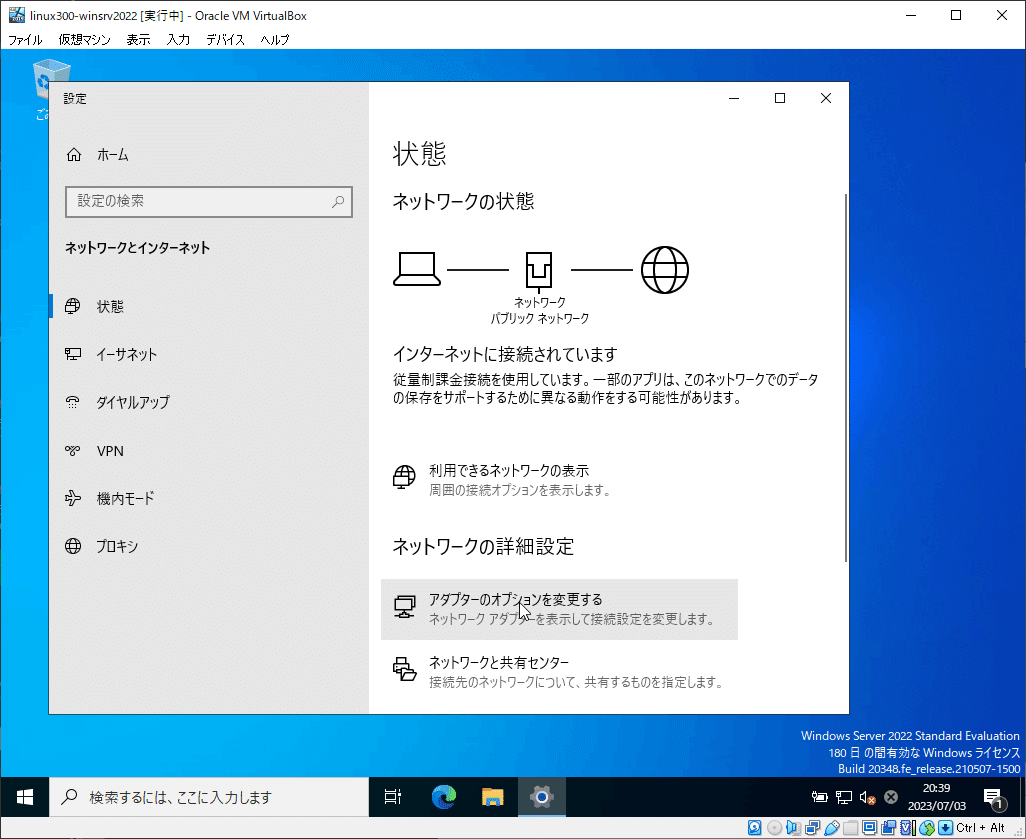
[アタプターのオプションを変更する]をクリックする
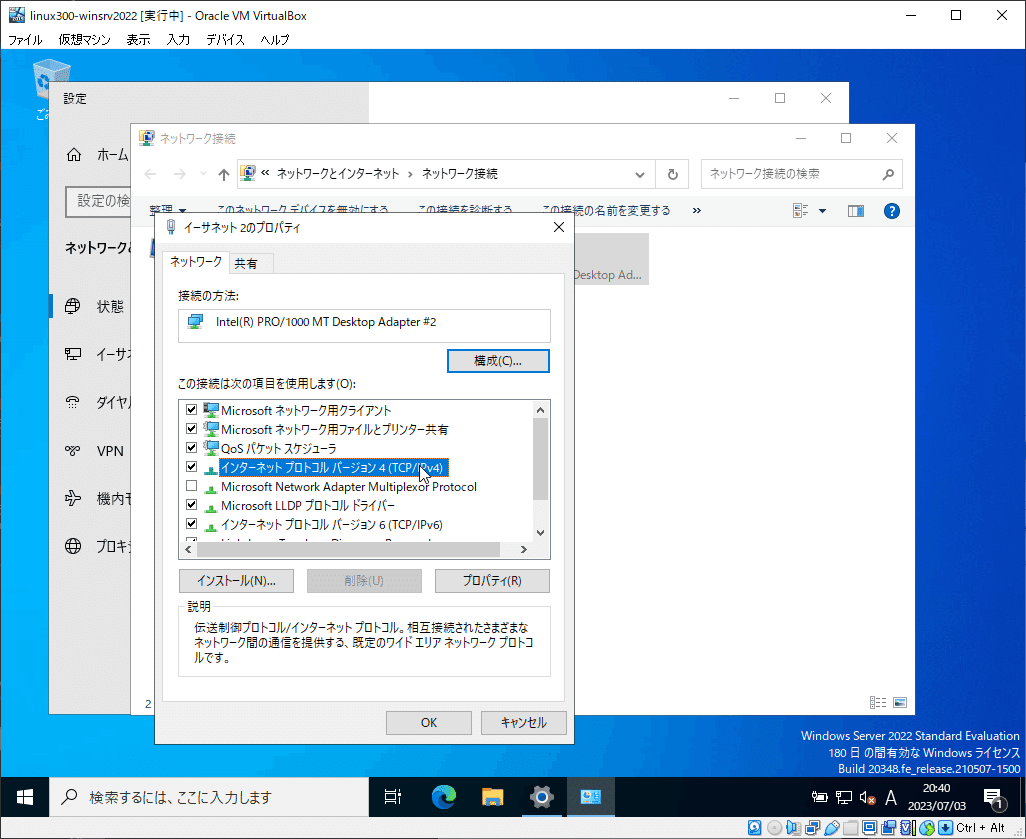
VirtualBoxのホストオンリーアダプターに接続している[イーサネット2]を右クリックして[プロパティ]をクリックする

[インターネットプロトコルバージョン4(TCP/IPv4)]を選択して[プロパティ]をクリックする
IPアドレスを入力する。
VirtualBoxのホストオンリーアダプター側なので、IPアドレスとサブネットマスクだけで良い。

再起動をして設定完了です。