初心者がBlenderでBoneの追加に挑戦した記録

概要
初心者がBlenderでBone追加に挑戦したときの記録です。間違えているかもしれません。
『振袖Vketちゃん1号』VRSNS向けアバター | Vket Store に入っていたFBXファイルの袖の部分にBoneを足します。
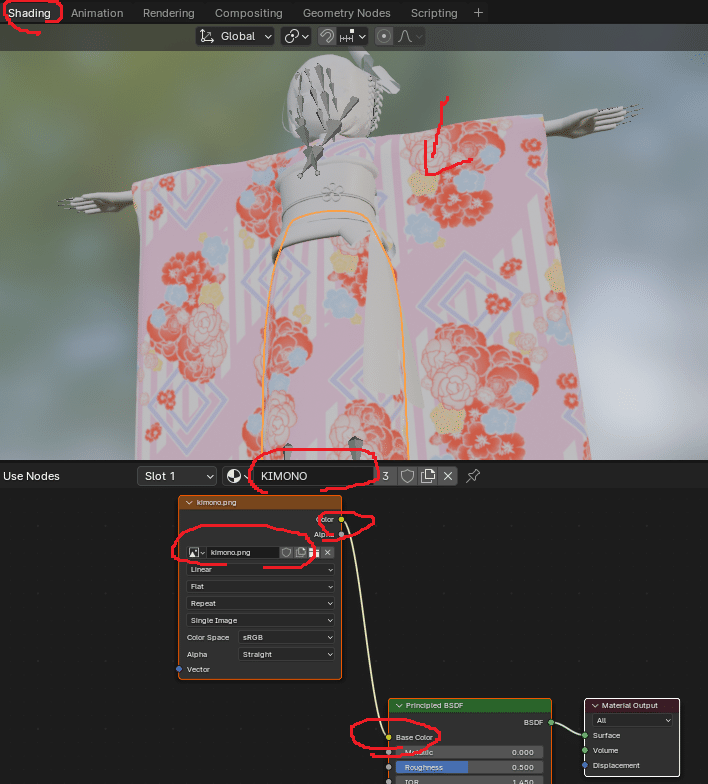
FBXインポート後テクスチャが外れる
Shading画面でマテリアルを選択して以下の部分を操作しているとテクスチャを戻せました。
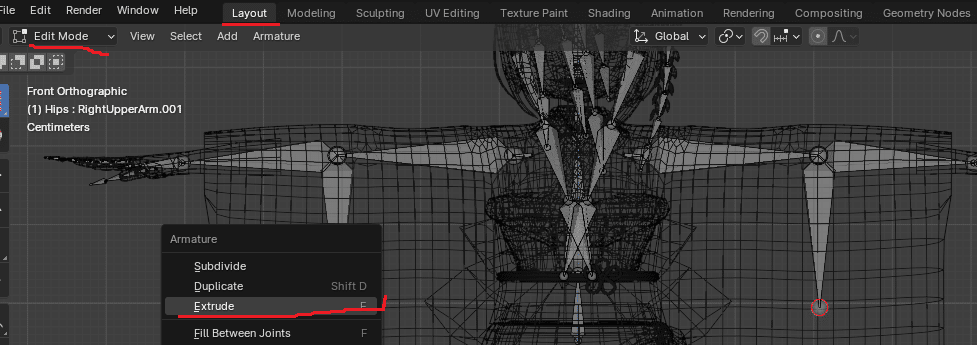
ボーンの追加
Layout画面のEditModeでボーンを右クリックExtrudeで追加しました。Shift + Eで左右対称に追加もできます。
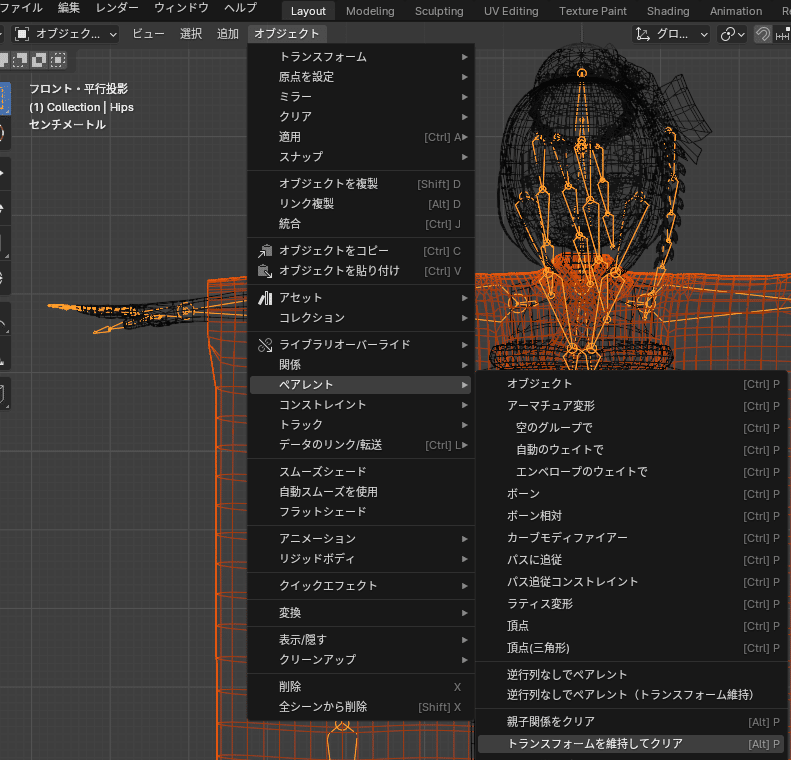
自動ウエイト
オブジェクトモードででShiftキーを押しながらメッシュ(ポリゴン)、次にアーマチャー(ボーン)の順で選択します。順番があります。
一度、"トランスフォームを維持してクリア"で親子関係を切って"自動のウエイトで"で設定しました。
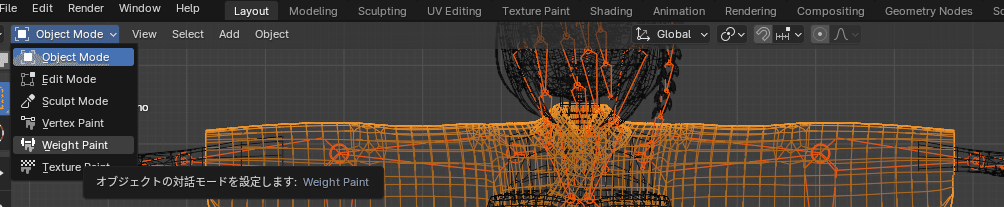
ウエイトペイントへの入り方
Layout画面のObjectモードでメッシュ(ポリゴン)を選択します。そしてWeight Paintを選択します。