HS scriptについて(初級編)

超初心者クラスです。C#、javascriptもなんもわからん民の為のNoteです。
VketCloudでは独自のスクリプトを組んで、既存技術にとらわれない可能性で自分の世界を構築することができます。
さぁ、自分の世界へ飛び出しましょう!!
①UnityにVketCloudSDKを導入
下記の記事がわかりやすいので準備を行ってください。
②とりあえずHS scriptを出してみよう!
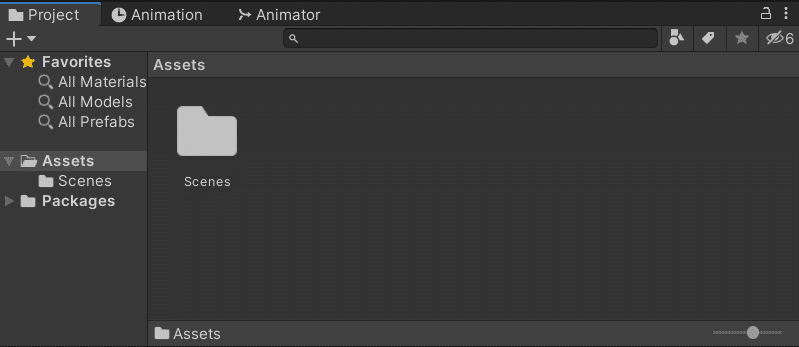
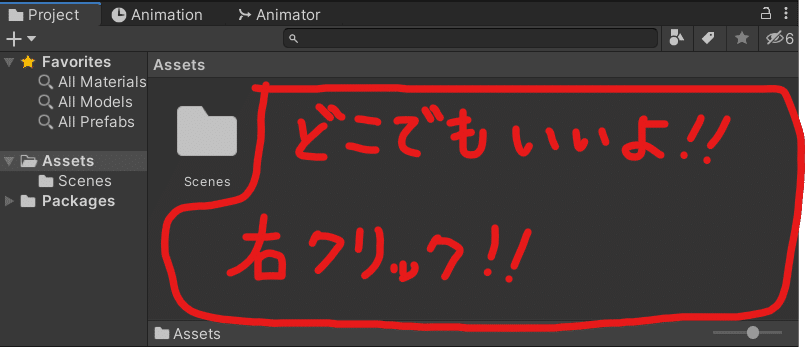
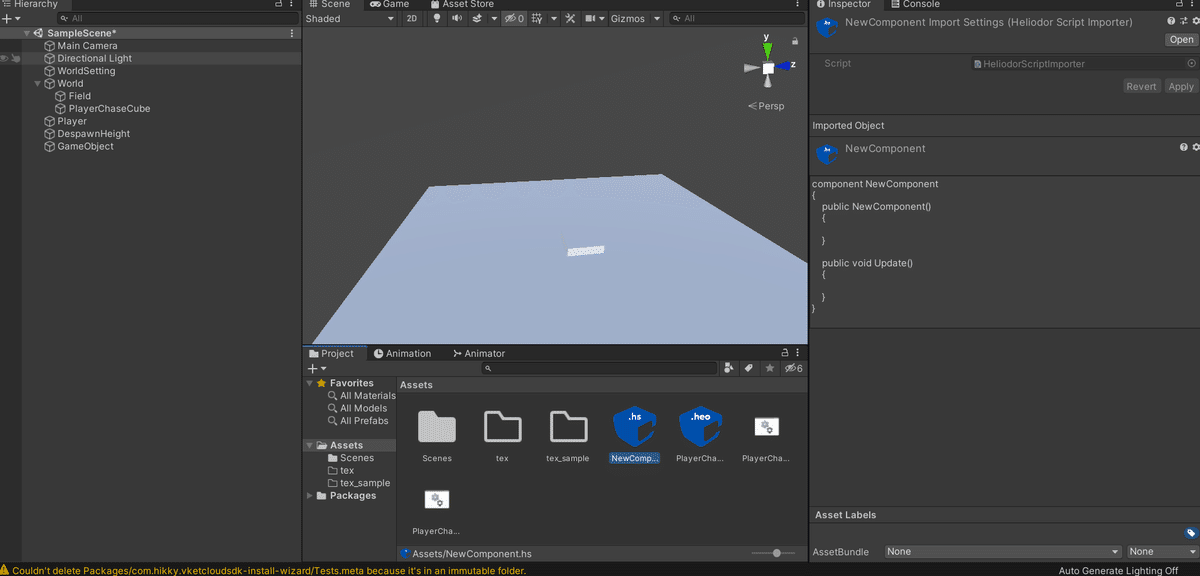
上記画像のProject>Assets 配下の部分で右クリック
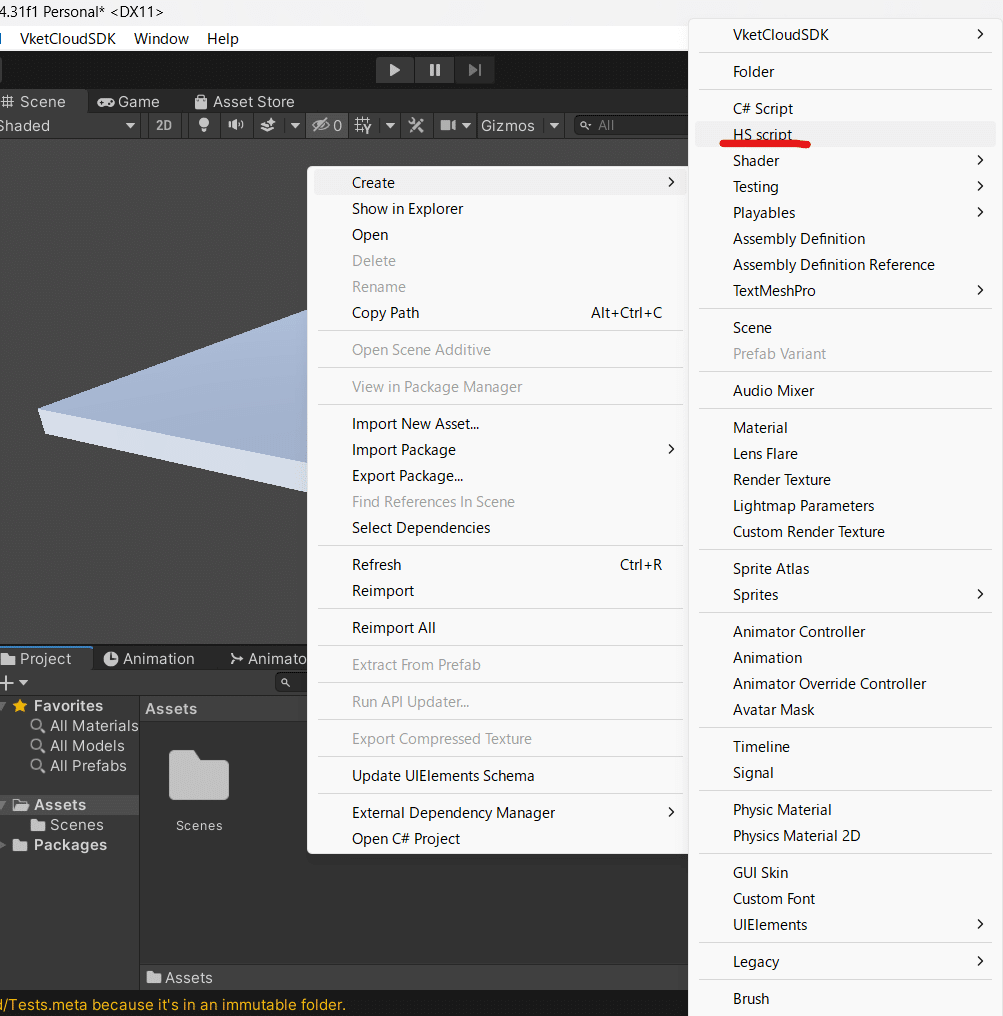
Heliscript=HS scriptと表記されています。
Create>HS script でクリック!
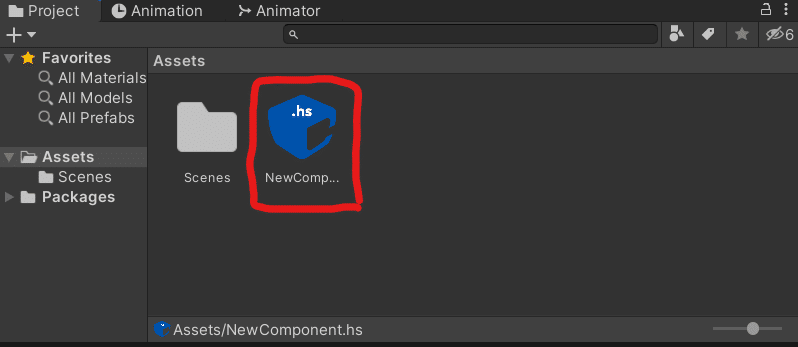
NewComponentと名前が最初はついています。(任意の名前に変えてOK)
はい!!これでHS scriptが編集できるようになりました!!パチパチパチ(^^)/
③アイコンをダブルクリックしてみましょう。。
なんか、色んなアプリから参照しようとしてるけど・・となるかと思います。
そのままではコードを開く事が出来ないので、
オススメはVisual Studioをインストールしましょう!
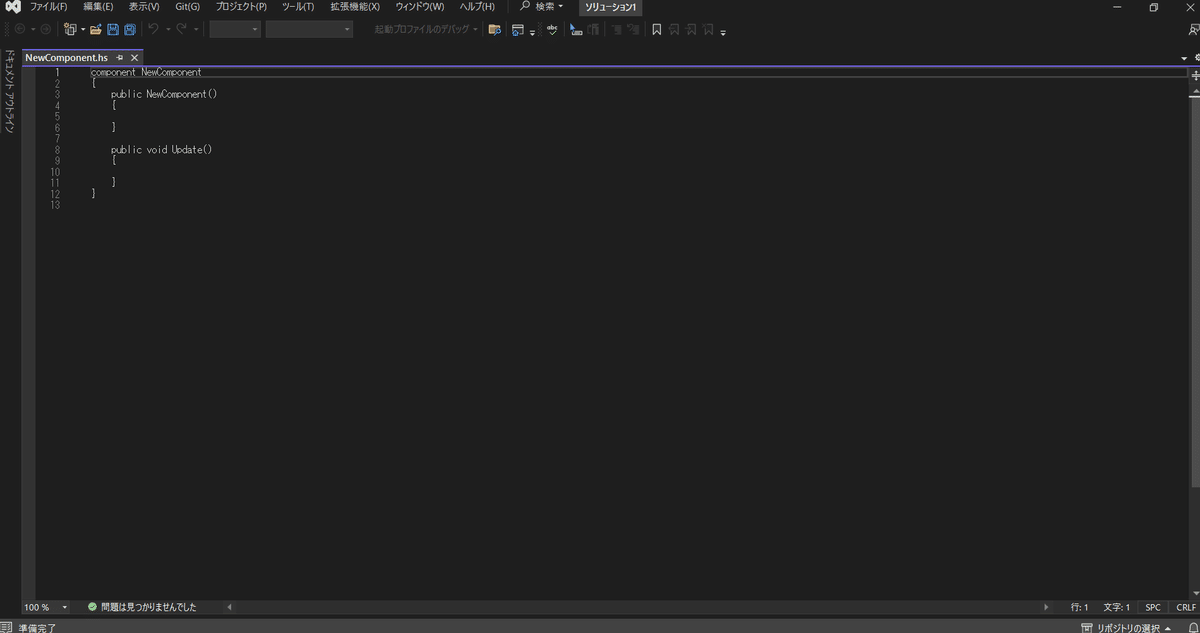
ダウンロード、インストールが出来たら、Visual Studioで先ほどのダブルクリックを関連付けして立ち上げてみましょう!
すると・・・・
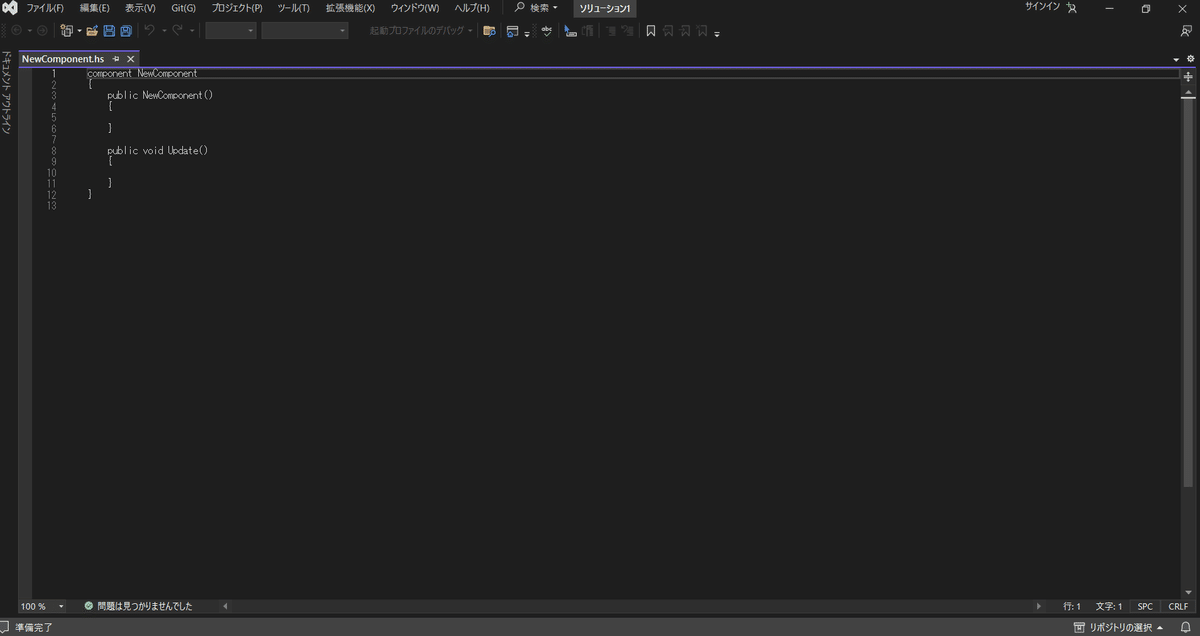
こんな画面になれば成功です・・!!
おめでとうございます🎍これで夢の始まりです!
④具体的に何ができるん? まずは試してみよう!!
「プレイヤーにCubeが追従する」をお題にやってみようと思います。
Unityでの作業に戻ります。
Hierarchy内で右クリック
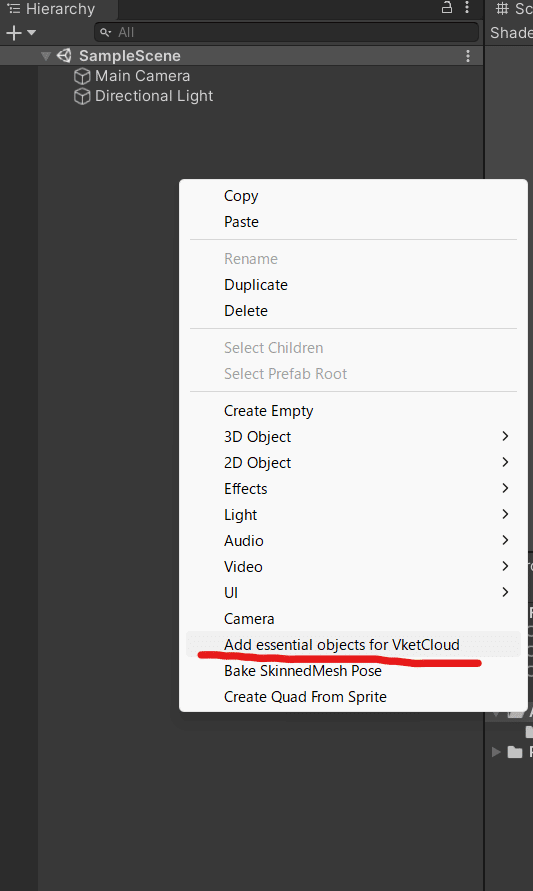
Add essential objects for VketCloudを選択。
すると、VketCloudに必要なセットが自動で設置されます。
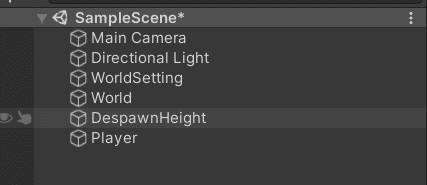
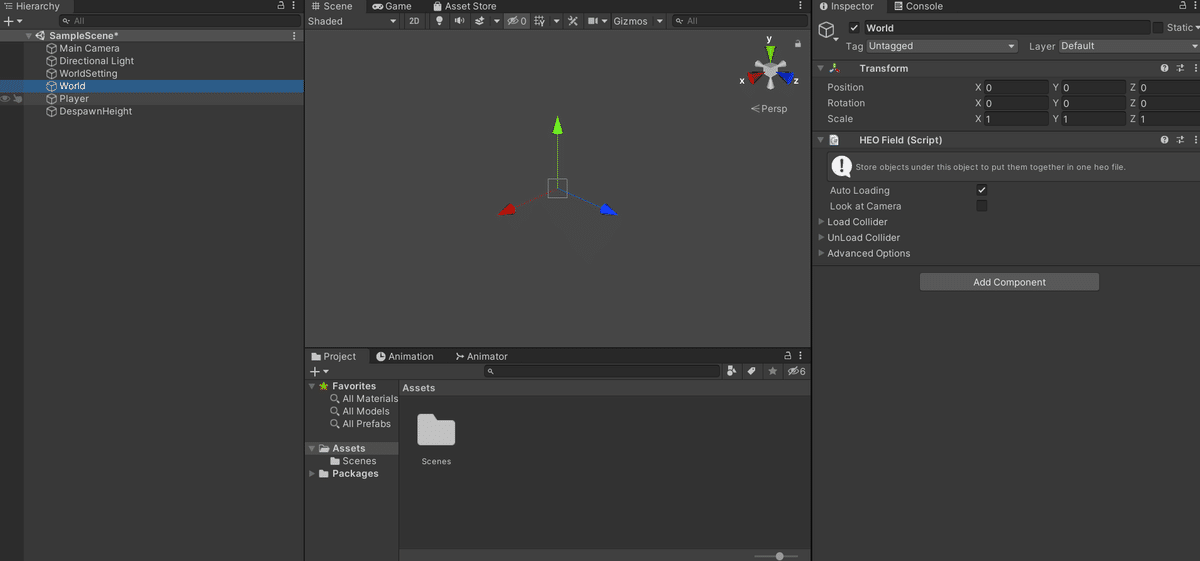
基本的にはWorld(Heo Field)配下で作業を行います。
Worldには最初からHeo Fieldのスクリプトが組んであります。
ここにモデルを追加していく必要があります。
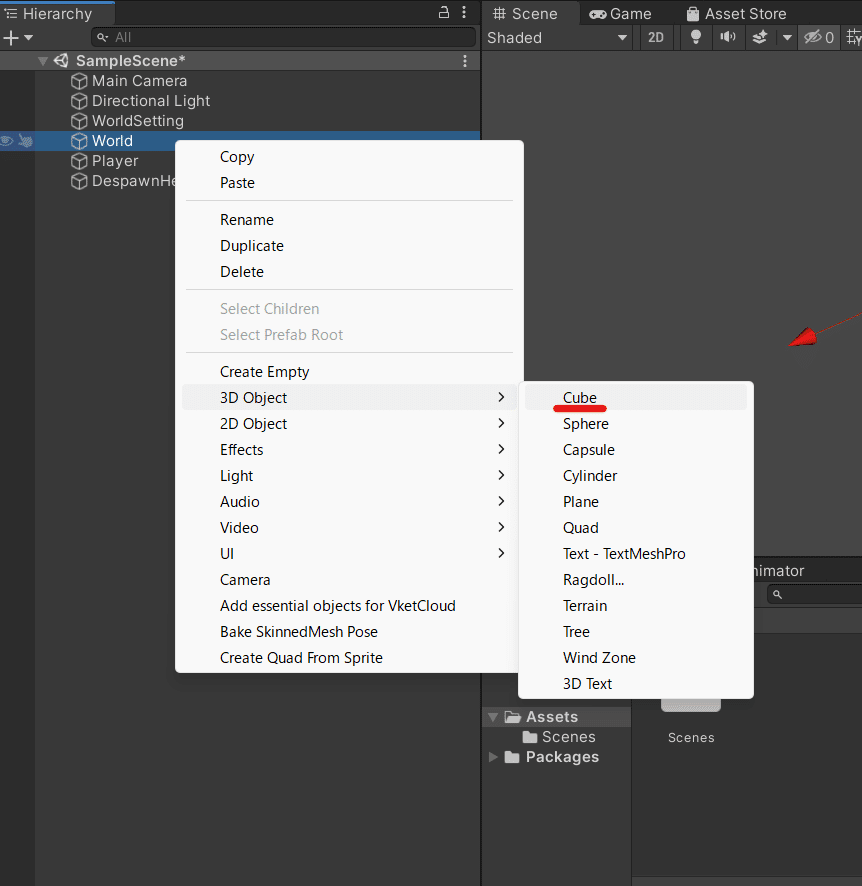
Cubeを出して地面にするよ!Worldの上にカーソルを持って行って、右クリック>3D Object >Cube
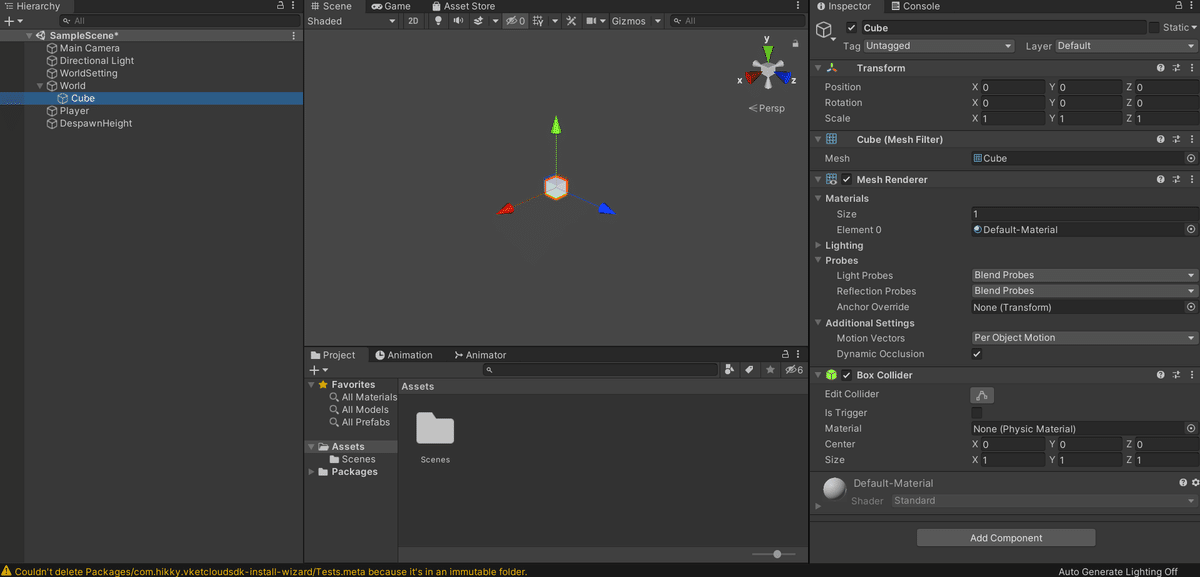
Cube爆誕!!
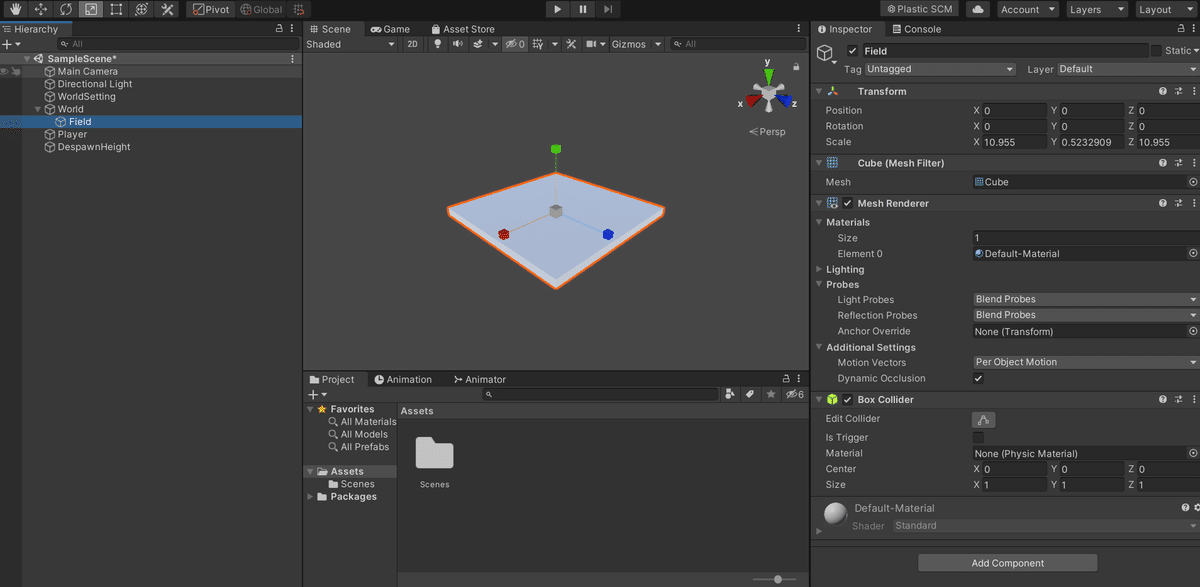
スケールを調整して、床にしよう!
ついでに名前もFieldに調整しちゃいます。
(名前は2バイト文字じゃなければ基本OK)
日本語はアカンよ!nihongoならいいけど・・w
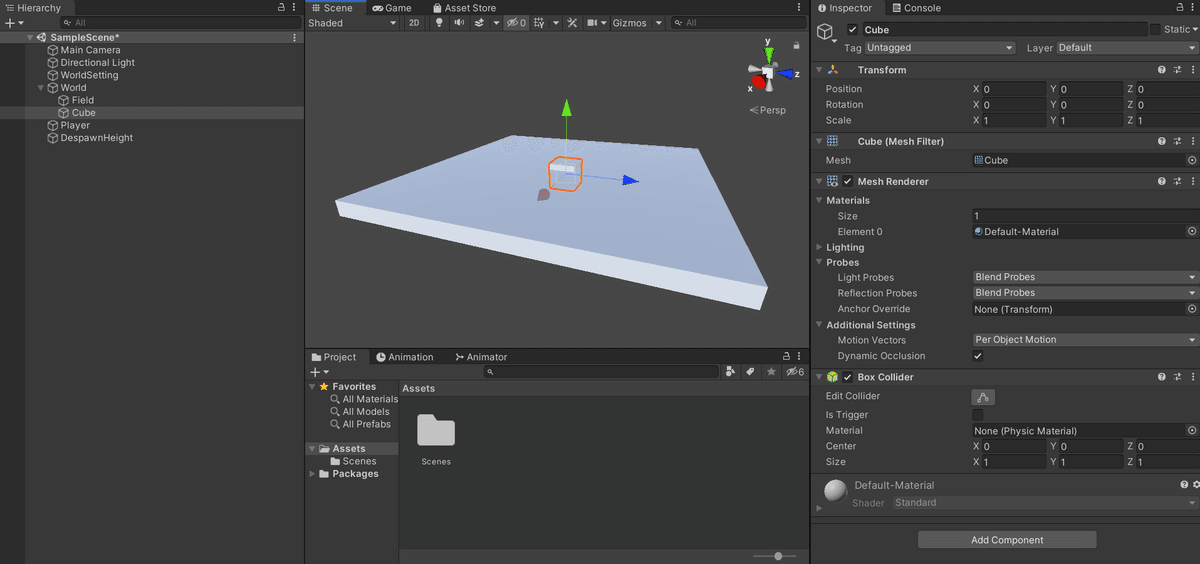
追従する対象のCubeを出す!
World 右クリック>Create>3D Object >Cube
CubeをHEO Objectとして使えるようにするよ!
名前をわかりやすいように、PlayerChaseCubeへ変更します。
PlayerChaseCubeを選択したまま、VketCloudSDKのExport Fieldを選択。
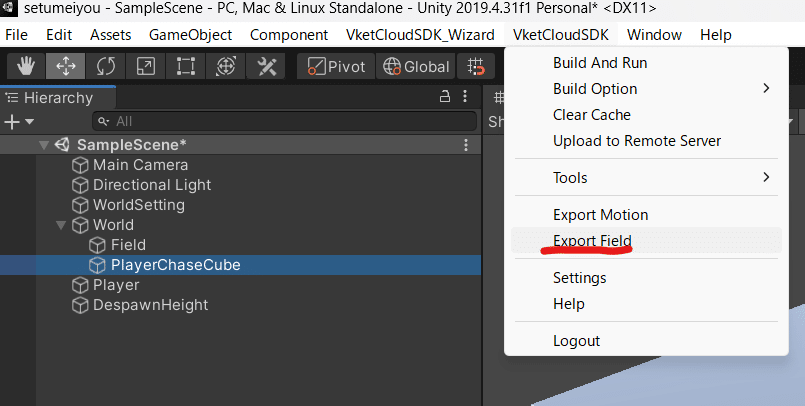
任意のフォルダにSaveします。自分がわかる場所に置いてね!
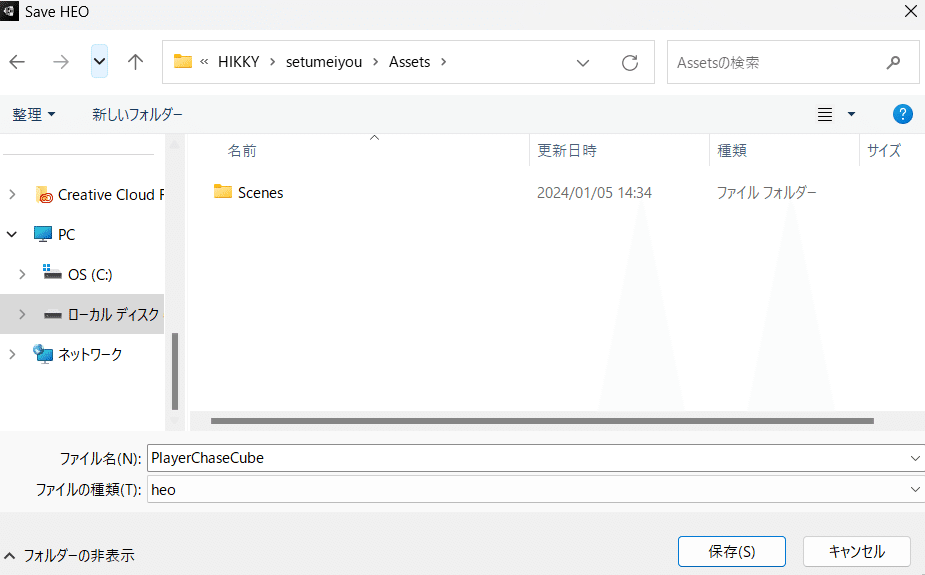
Assets配下に保存したので、下記のようになればOK!
(上手く反映されない時は再起動か別タブ開いて戻ってくると出てる)
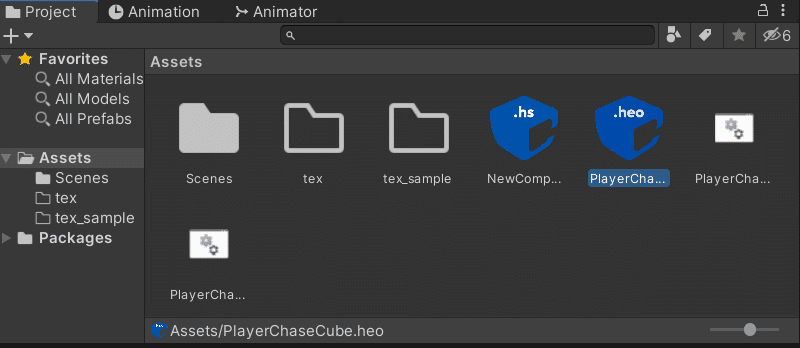
これでPlayerChaseCubeのHEO Objectが完成!🎉
さて!次の工程にいきましょう・・!途中休憩挟みながら・・・ゴクゴク( ;∀;)
HS scriptを入れる土台のセットに移ります!
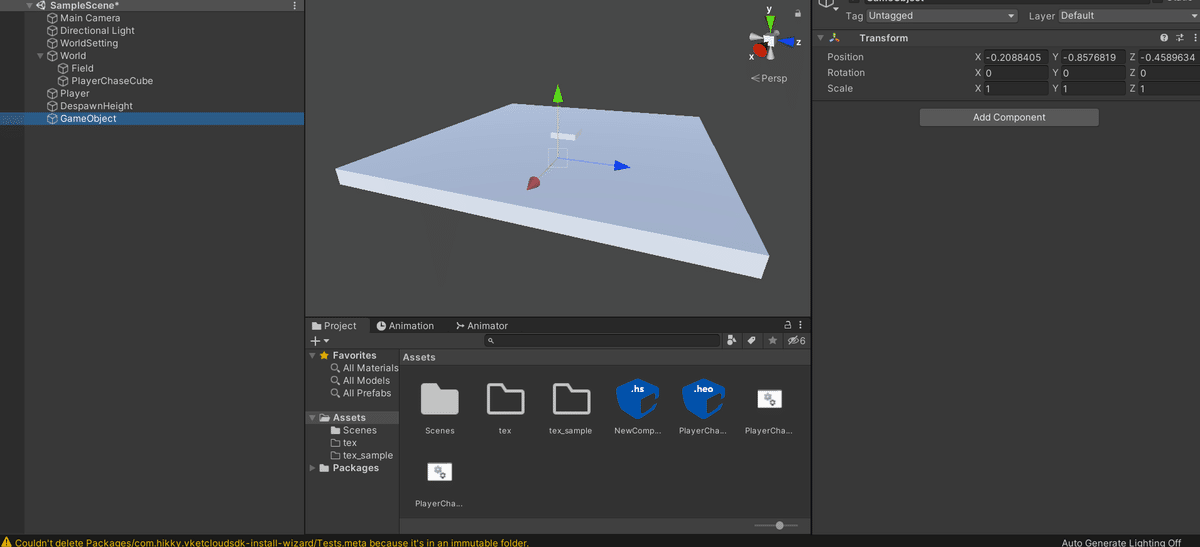
Create EmptyでGame Objectを作ろう!
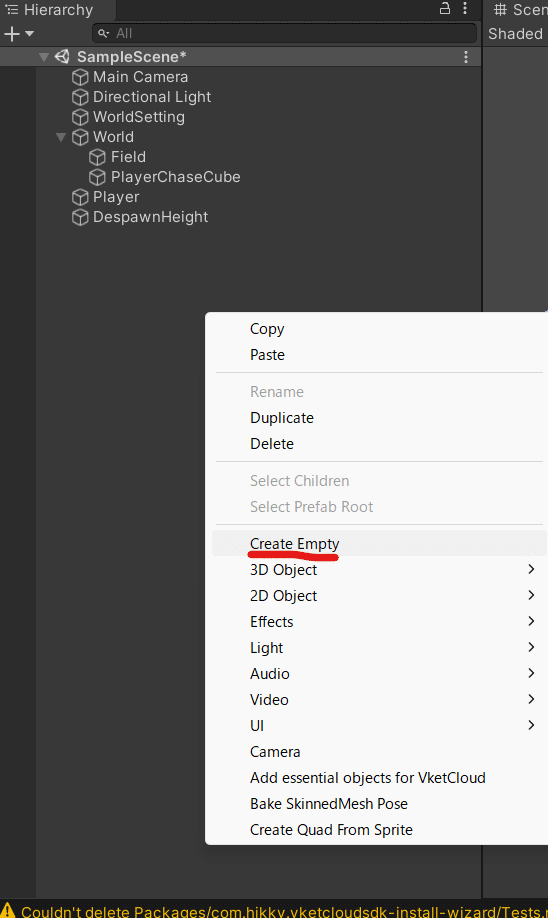
下記のようになればOK!World配下じゃなくてもOKよ~
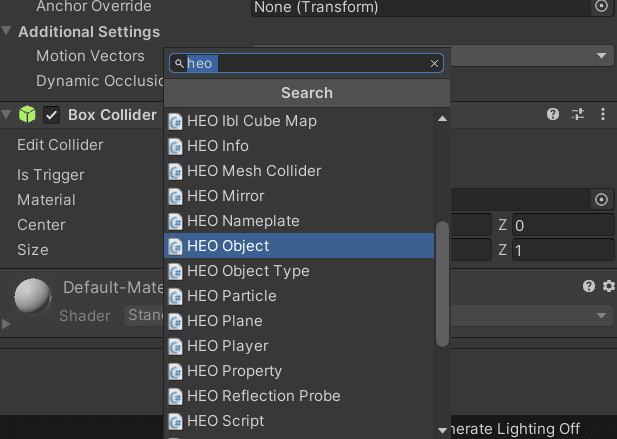
Add Componentから
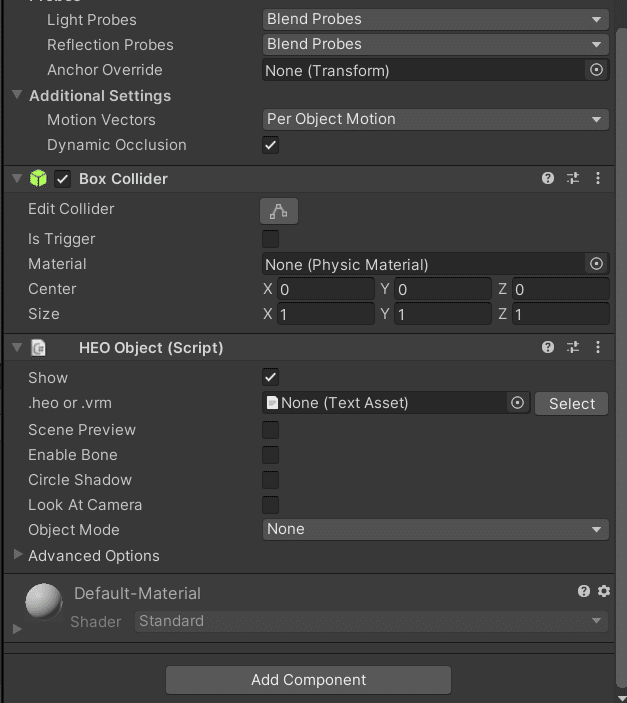
HEO ScriptとHEO ObjectをGameObjectに追加します。
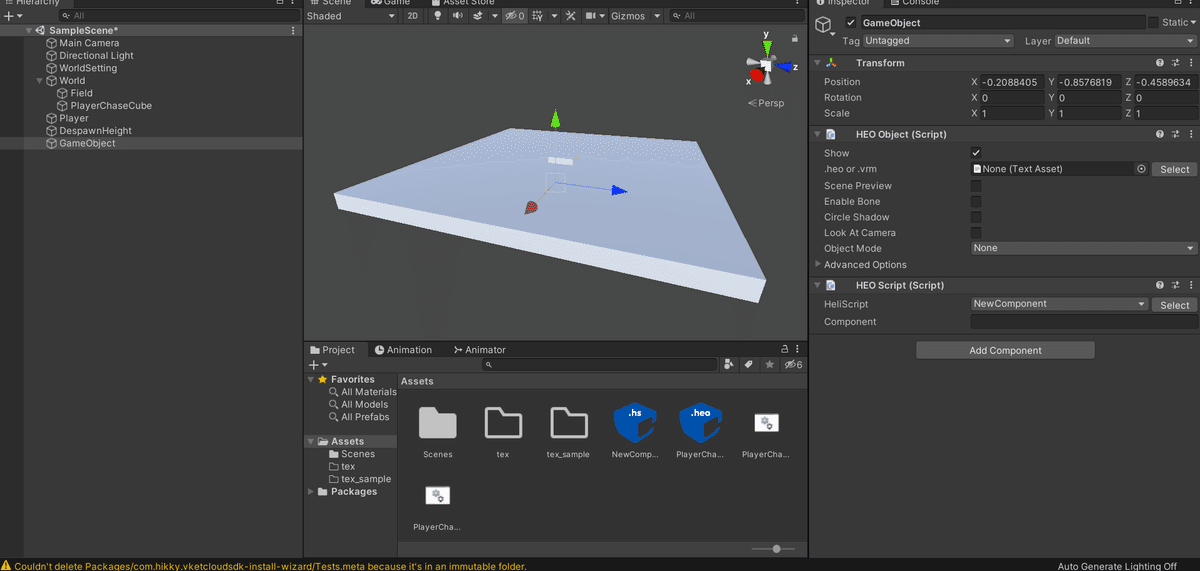
こんな風に追加されればOK!
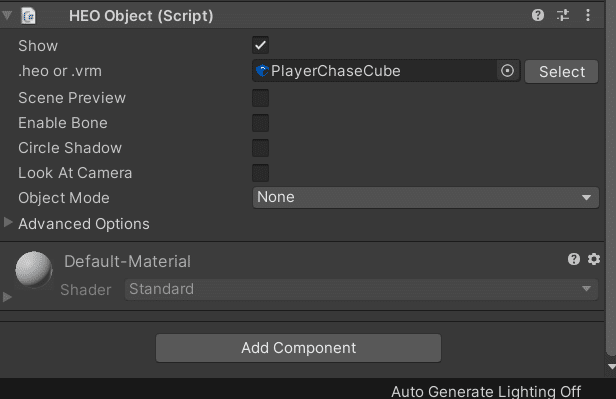
ここに先ほど作ったHEO Objectを追加 D&DかSelectから選択できます
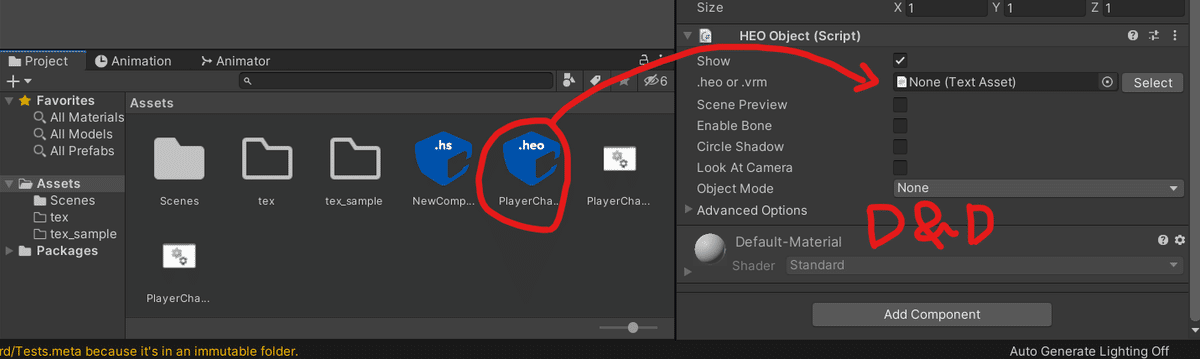
下記画像の通りになればOK!
次は、HEO ScriptをAdd Componentから選択

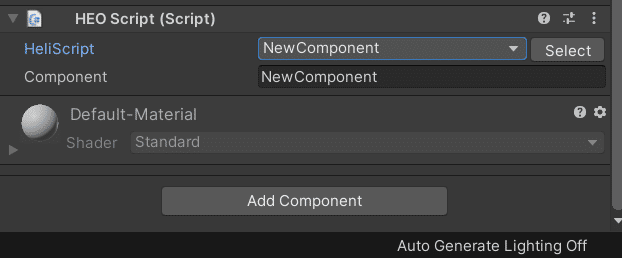
HeliScriptのSelectから冒頭で作ったNew Componentを選択
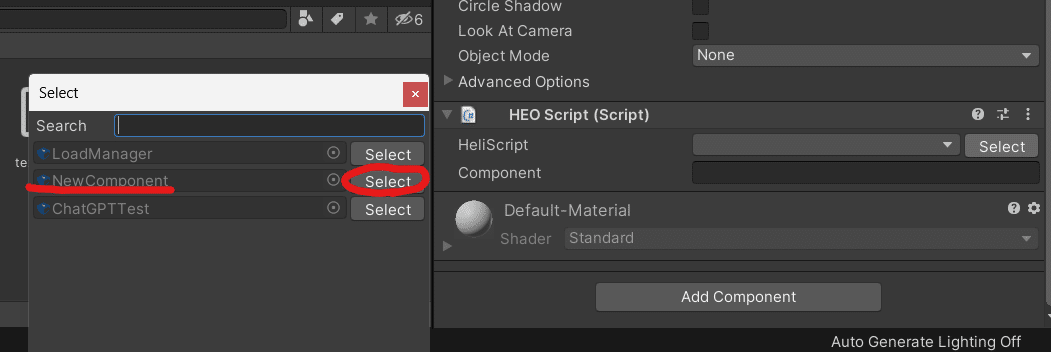
※選択してもComponentに表記されない事があるので、Heliscriptの↓で再選択すると表示されます。表示されればOKです。手打ちする必要はありません。
お待ちかね!!
Scriptを触ります・・!(;゚д゚)ゴクリ…
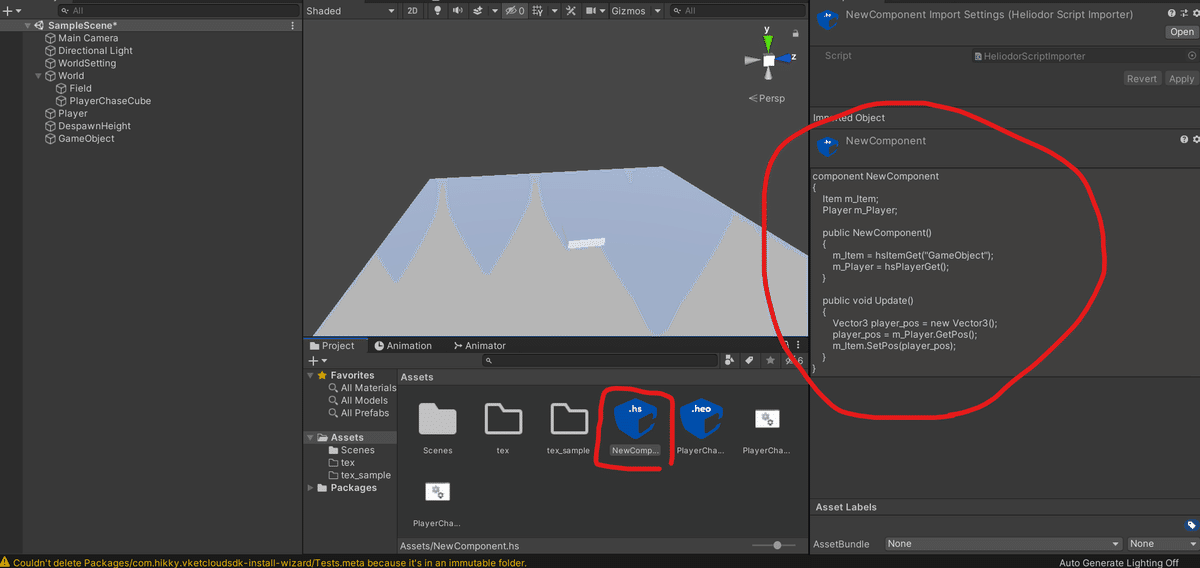
NewComponentをダブルクリックでVisual Studioを開きます
(Visual Studioでなくても良い)
うおおお!プログラマー気分だぜ!
component NewComponent
{
    Item m_Item;
    Player m_Player;

    public NewComponent()
    {
        m_Item = hsItemGet("GameObject");
        m_Player = hsPlayerGet();
    }

    public void Update()
    {
        Vector3 player_pos = new Vector3();
        player_pos = m_Player.GetPos();
        m_Item.SetPos(player_pos);
    }
}
これをコピーして貼り付けるのだ!
最初に書いてある初期コードは全削除してね!
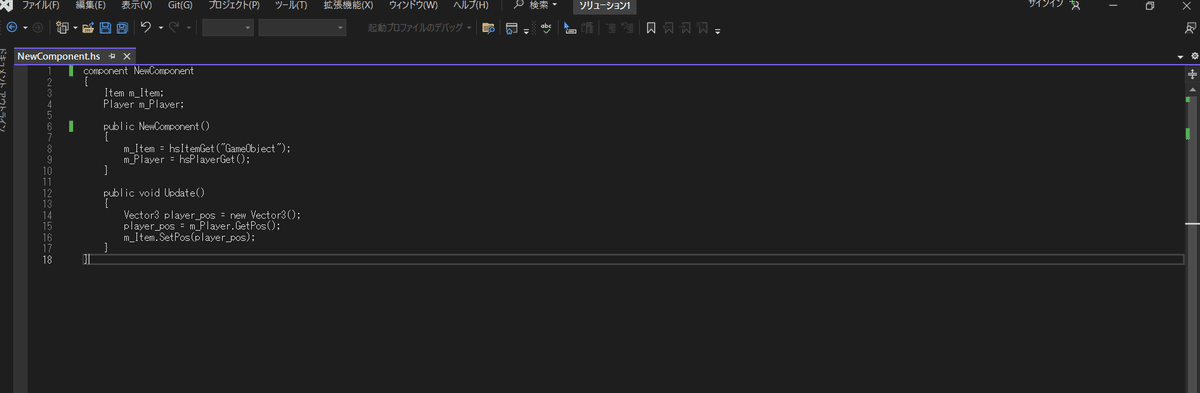
上記と同じになればOK!
まだ焦っちゃいけないぜ兄貴…
保存をするんだぜ・・!
赤丸で囲ったところを押すのだ・・
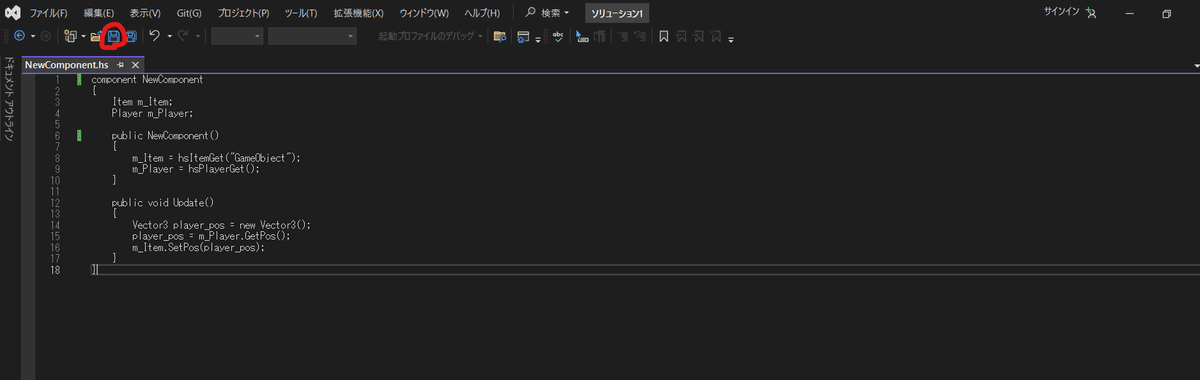
保存したらUnityに戻ってこよう!
NewComponentをinspectorで確認すると・・・
変わってる~~~!!
待たせたな・・!
これで下準備は完了だ・・・!!!!(^_-)-☆
さぁ、旅立ちの時だ!!
VketCloudSDK の Build And Run をクリック
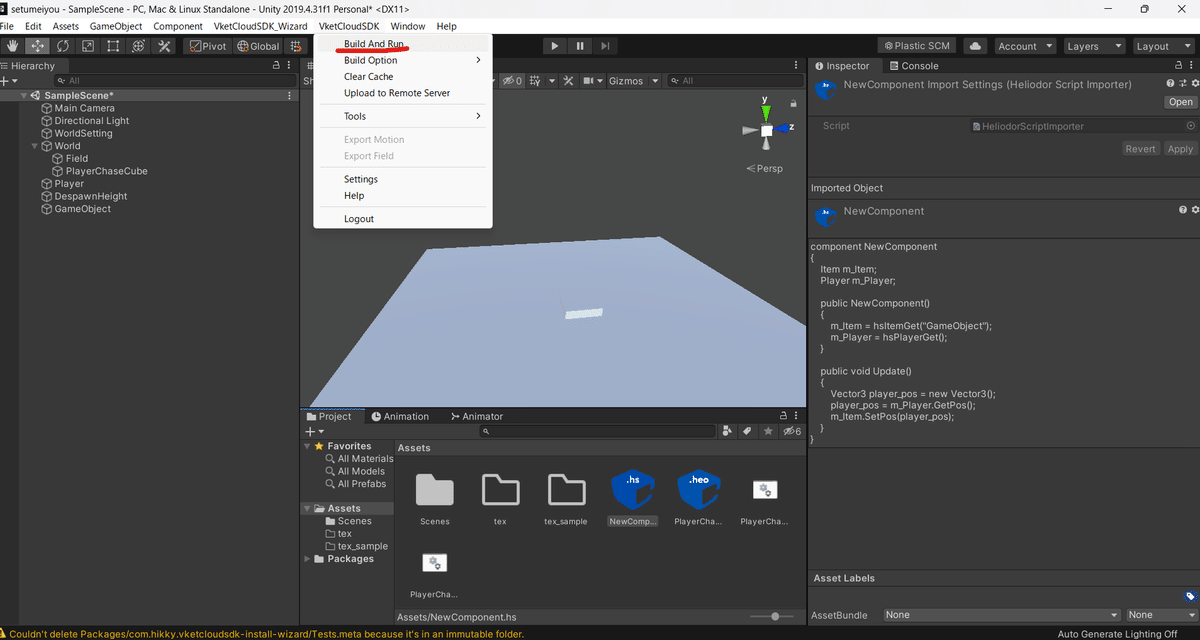
キチャーーー!!!(>_<)
こんな感じの動画になれば成功です!!
お疲れ様でした( ;∀;)
このように、HEO Object と HEO Scriptを駆使して
HS scriptマスターが一人でも多く、色んな開発や楽しみを皆様と分かち合えたら幸いです。