ショート映像大量生産 - Stable DiffusionとPythonの画像処理と自動化(6)

YouTube のショート動画、みなさんはどうやって作ってるんでしょう。
Tokyo Rock Girl はこの度、過去の素材からショート動画を作ろうと思ったんですが、いちいち1つずつは作ってられないので、Python で自動で大量生産しちゃいました。
Tokyo Rock Girl は、ともかく同じ作業を繰り返さないのです。
ノイズいれたりと、まあまあ細かいことはしてみたんですが、Tokyo Rock Girl に特化したものを公開してもしょうがないので、ちょっといじって汎用性が高いやつつくりました。
皆さんよければショート動画の大量生産しちゃってください。
YouTube に動画を上げてて、素材にしていた画像と音声はいっぱい眠ってるけど、ショートはあまり作ってないなーみたいな方、よければどうぞ。
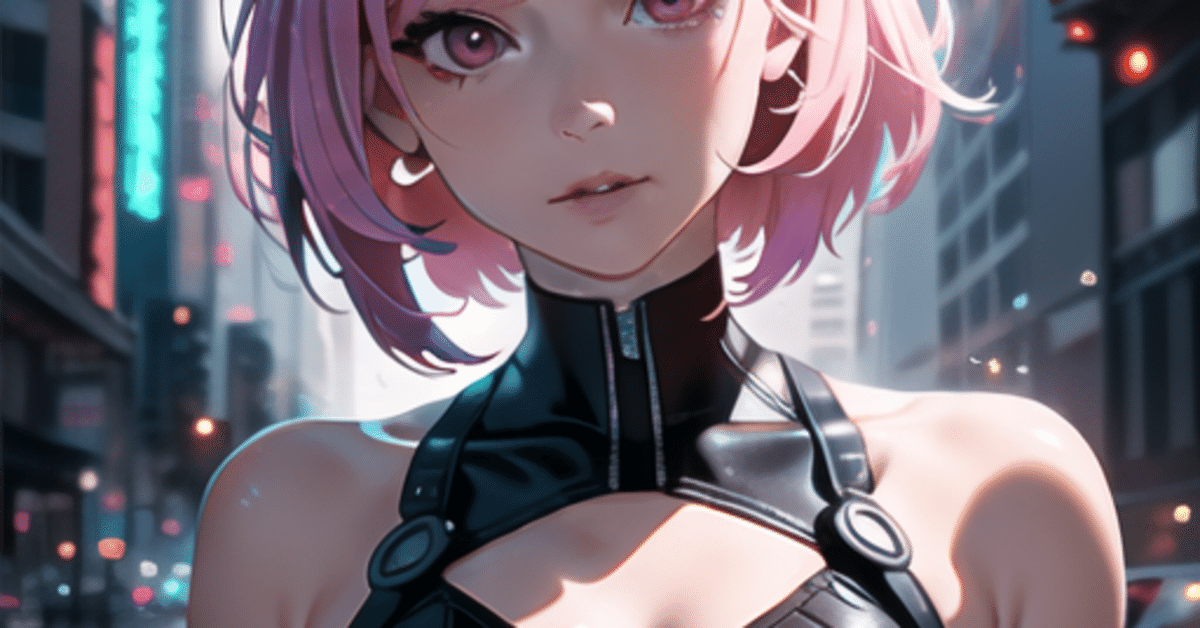
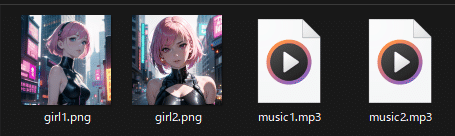
とりあえず画像が2枚、こんなのがあるとします。
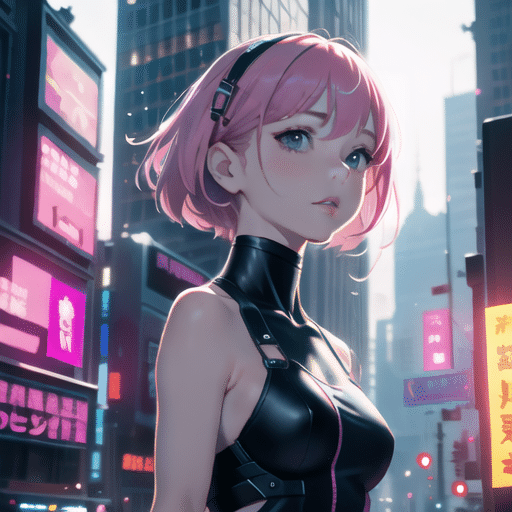

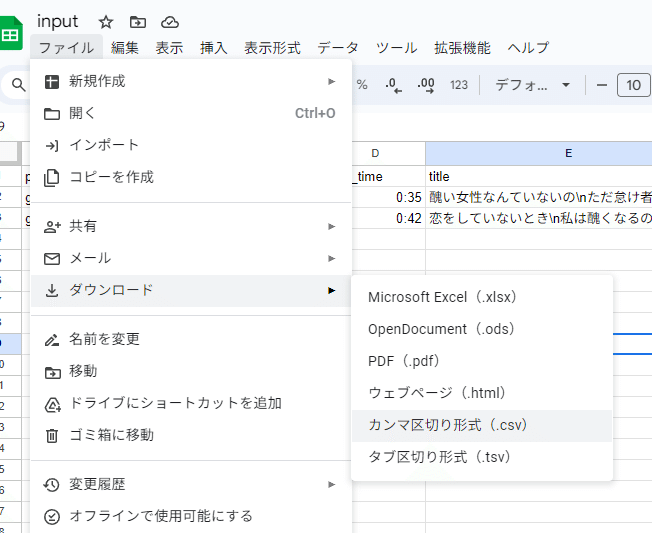
音声ファイルはそれぞれに mp3 形式であるとして、画像と音声がディスク内にあるなら、CSV ファイルを準備すれば、こんな感じのショート動画がたくさんズバッとできます。
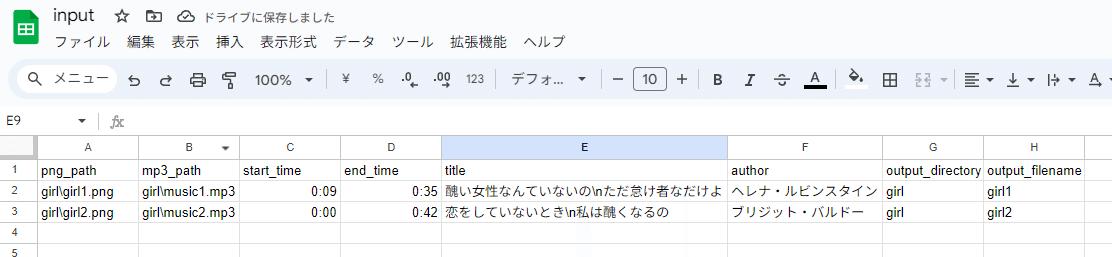
CSV ファイルには、以下を書いていってください。
なお、1行目は無視されるので注意、というか列名を好きな感じで。
png ファイルへのパス
mp3 ファイルへのパス
mp3 ファイルで切り取る時間の開始と終了を「分:秒」で指定
上部のタイトル
下部のサブタイトル
保存先フォルダ
ファイル名 ( mp4 になるので拡張子なし )
あと、フォントですね。
Google Fonts に行って、好きなフォントをダウンロードしてください。
で、Python のコードはこちら。
import csv
import os
from PIL import Image, ImageDraw, ImageFont
from moviepy.editor import AudioFileClip, ImageClip, CompositeVideoClip
import numpy as np

def hex_to_rgb(hex_color):
    return tuple(int(hex_color[i:i+2], 16) for i in (0, 2, 4))

def check_files(csv_file):
    missing_files = []
    with open(csv_file, 'r', encoding='utf-8') as file:
        reader = csv.reader(file)
        next(reader)
        for row in reader:
            if len(row) == 0:
                break
            png_path, mp3_path = row[0], row[1]
            if not os.path.exists(png_path):
                missing_files.append(png_path)
            if not os.path.exists(mp3_path):
                missing_files.append(mp3_path)
    return missing_files

def create_video(row, font_path, title_font_size, title_position, author_font_size, author_position, text_color, outline_size, outline_color, background_color):
    if len(row) != 8:
        return None

    png_path, mp3_path, start_time, end_time, title, author, output_directory, output_filename = row

    start_time = sum(x * int(t) for x, t in zip([60, 1], start_time.split(":")))
    end_time = sum(x * int(t) for x, t in zip([60, 1], end_time.split(":")))

    audio = AudioFileClip(mp3_path)
    audio_duration = audio.duration

    if start_time >= audio_duration:
        print(f"Warning: Start time {start_time} is greater than or equal to audio duration {audio_duration} for {mp3_path}")
        return None

    end_time = min(end_time, audio_duration)
    duration = end_time - start_time

    img = Image.open(png_path).convert('RGB')

    bg_color = hex_to_rgb(background_color)

    new_img = Image.new('RGB', (608, 1080), color=bg_color)

    if img.width > 608 or img.height > 608:
        img.thumbnail((608, 608), Image.LANCZOS)

    paste_x = (new_img.width - img.width) // 2
    paste_y = (new_img.height - img.height) // 2 + 50
    paste_position = (paste_x, paste_y)

    new_img.paste(img, paste_position)

    def draw_text_with_outline(draw, text, font, x, y, color, outline_color, outline_size, align="center", bold_offset=0):
        lines = text.split("\\n")
        y_text = y
        for line in lines:
            bbox = font.getbbox(line)
            line_width = bbox[2] - bbox[0]
            line_height = bbox[3] - bbox[1]
            if align == "center":
                x_text = x - line_width / 2
            elif align == "left":
                x_text = x
            elif align == "right":
                x_text = x - line_width

            if outline_size > 0:
                for offset_x in range(-outline_size, outline_size + 1):
                    for offset_y in range(-outline_size, outline_size + 1):
                        draw.text((x_text + offset_x, y_text + offset_y), line, font=font, fill=outline_color)

            for offset_x in range(-bold_offset, bold_offset + 1):
                for offset_y in range(-bold_offset, bold_offset + 1):
                    draw.text((x_text + offset_x, y_text + offset_y), line, font=font, fill=color)

            y_text += line_height

    text_img = Image.new('RGBA', new_img.size, (0, 0, 0, 0))
    draw = ImageDraw.Draw(text_img)

    title_font = ImageFont.truetype(font_path, title_font_size, encoding="unic")
    author_font = ImageFont.truetype(font_path, author_font_size, encoding="unic")

    title_y = int(new_img.height * title_position)
    author_y = int(new_img.height * author_position)

    text_color_rgb = hex_to_rgb(text_color)
    outline_color_rgb = hex_to_rgb(outline_color)

    draw_text_with_outline(draw, title, title_font, new_img.width/2, title_y, text_color_rgb, outline_color_rgb, outline_size)
    draw_text_with_outline(draw, author, author_font, new_img.width/2, author_y, text_color_rgb, outline_color_rgb, outline_size)

    result = Image.alpha_composite(new_img.convert('RGBA'), text_img)

    img_array = np.array(result.convert('RGB'))

    clip = ImageClip(img_array).set_duration(duration)

    audio = audio.subclip(start_time, end_time)
    final_clip = CompositeVideoClip([clip.set_audio(audio)])

    os.makedirs(output_directory, exist_ok=True)

    output_path = os.path.join(output_directory, f"{output_filename}.mp4")
    final_clip.write_videofile(output_path, fps=1)

    audio.close()
    final_clip.close()

    return output_path

def main(csv_file, font_path, title_font_size, title_position, author_font_size, author_position, text_color, outline_size, outline_color, background_color):
    missing_files = check_files(csv_file)
    if missing_files:
        print("Error: The following files are missing:")
        for file in missing_files:
            print(file)
        return

    with open(csv_file, 'r', encoding='utf-8') as file:
        reader = csv.reader(file)
        next(reader)
        for row in reader:
            video_path = create_video(row, font_path, title_font_size, title_position, author_font_size, author_position, text_color, outline_size, outline_color, background_color)
            if video_path != None:
                print(f"Created video: {video_path}")
            else:
                break

if __name__ == "__main__":
    csv_file = "input.csv"
    font_path = "NotoSerifJP-ExtraBold.ttf"
    title_font_size = 42
    title_position = 0.15
    author_font_size = 30
    author_position = 0.8
    text_color = "FFFFFF"
    outline_size = 2
    outline_color = "1D477D"
    background_color = "000000"

    main(csv_file, font_path, title_font_size, title_position, author_font_size, author_position, text_color, outline_size, outline_color, background_color)
画像ファイル、音声ファイル、CSV ファイル、フォントのファイル、Python のコードを以下のように置いてください。

ちなみに、今回は音声はこちらで作成しましたが、皆さんお好みで。
さあ、Python を実行しましょう。実行の仕方は ChatGPT あたりに聞いたら教えてくれます。
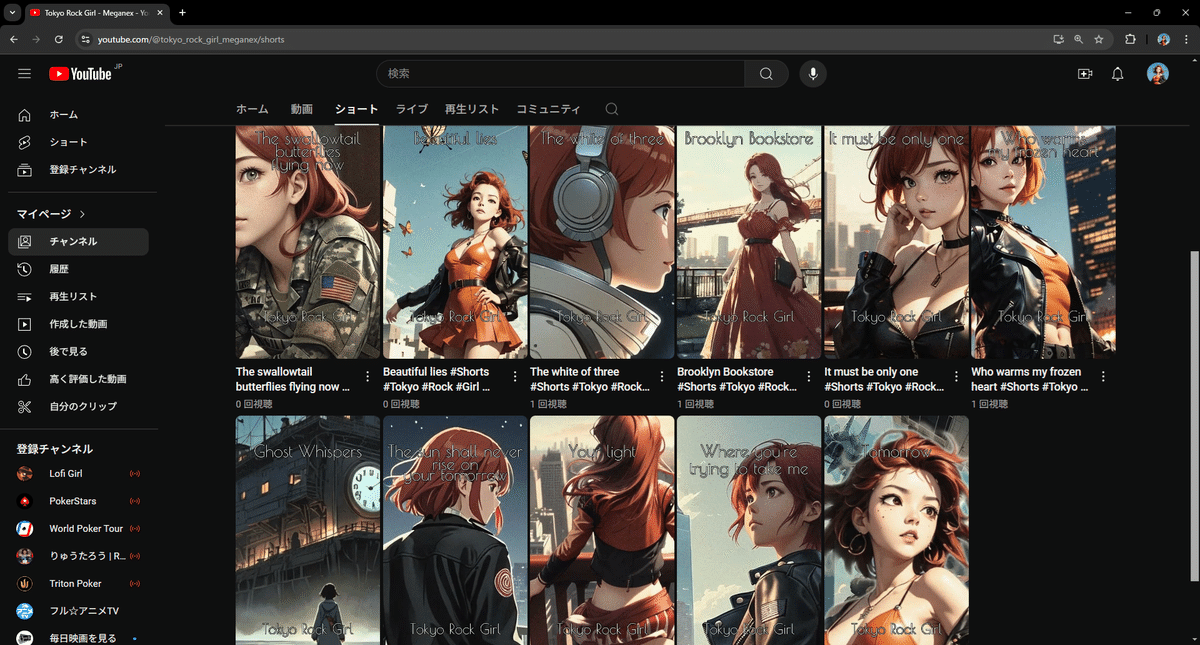
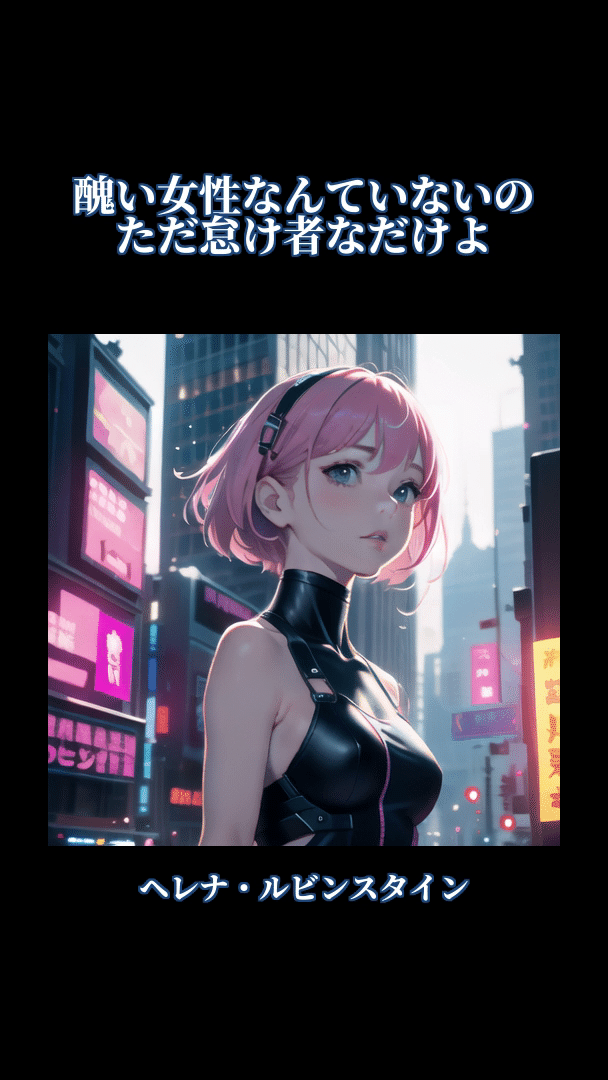
成功すると、こんな感じのショート映像ができます。
画像をショート映像にリンクしてるので、クリックして実物を確認してください。

さあこれで、好きな画像を夜な夜な作って、たくさんの好きな男の子女の子に好きな声で言わせてみたいセリフの音声を作ったら、毎晩布団の中でたくさんの彼氏彼女に告白されて寝れますよ。
この記事が気に入ったらサポートをしてみませんか?