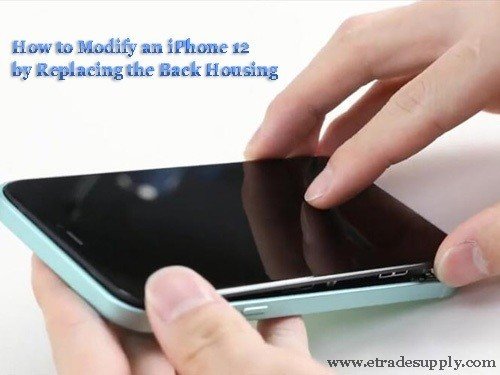
How to Change an iPhone 11 to iPhone 12 by Replacing the Back Housing
The iPhone 12 is launching on the phone market this October. Although it is a time we still have to wait to see this new iPhone module in the flagship store, some of the third-party iPhone 12 back housing has been manufactured. Based on this, we are trying to modify a new iPhone 12 phone by replacing the iPhone 11 parts in the back housing. Let’s check the specific steps below.
1. Tear down the iPhone 11 and take off all the inside parts and components
Unbolt the two screws on the button and use a hot air gun to blow on the iPhone 11 display. Use a suction cup and an ultra-thin plastic sheet to slice and separate the display. Flip over the display after it is separated, unbolt the screws and take off the metal shield for fixing the display flex cables. Disconnect and take down the display from the iPhone 11. Take off the taptic engine and the loudspeaker first, then the SIM card tray slot, eject and take out the SIM card beforehand. Disconnect and take off the battery from the iPhone after that. Unbolt the screws and pry out to take off the charging port connector flex, then disconnect and take off the rear-facing cameras and front-facing camera module. Takedown the logic board and bottom flex as well. Take off all the side keys and flex, and the power button flex at last.
2. Assemble all the iPhone 11 parts and components to the iPhone 12 back housing
After all the iPhone 11 inside parts are taken off, here we need to assemble them to the iPhone 12 back housing. Apply the wireless charging coil first on the back housing. Assemble the side key buttons, tighten the screws, and the small metal shield to fix them. Install the dust-proof into the loudspeaker, and then assemble the power button flex. Install the Bluetooth flex, the logic board, and the iPhone 11 rear-facing camera with flex cable onto the back housing, connect the flex cables. Assemble the charging port flex and tighten the screws for fixing it. Install the taptic engine and loudspeaker, connect the flex cables, and fix the cable with a metal shield. Install the SIM card slot and fasten the screws, then install the battery. Don’t forget to past the battery sticker tape on it.
3. Install the iPhone 11 display, turn on the iPhone and test the functions
After all the inside parts are installed, we need to assemble the iPhone 11 display screen on to the iPhone. Apply the water-proof frame sticker on the back housing. Connect the flex cables, place the metal shield, and tighten the screws for fixing it. Insert the SIM card tray into the phone. Assemble the display and make sure it is tightly sealed on the back housing. Turn on the phone and test the functions, such as the screen sensitiveness, the cameras, the Bluetooth connection, the auto-brightness function, the face ID, etc. Make sure all the functions are normal.
There is something we have to notice during the process. Some of the iPhone 11 parts and screws are tiny, we need to be careful about classification. Don’t mess them up or miss any part. The flex is easy to break, just be careful while tearing down. In the end, it is recommended to go to Etrade Supply for iPhone 11 replacement parts if you are interested in our modification test. You may leave us a message if you have questions about our products.

