Vue 3 と Three.js で箱を表示
Vue3 + Three.js|NAYUTA株式会社 シリーズ記事の第1弾です。
https://github.com/NAYUTA-tech/tutorial-three-vue にソースコードも公開しています。
今回作るもの
Vue.js 3 (3.2.36) と Three.js (0.141.0 ) で、Three.jsのGetting Startedの最初のページと同じものを作ります!
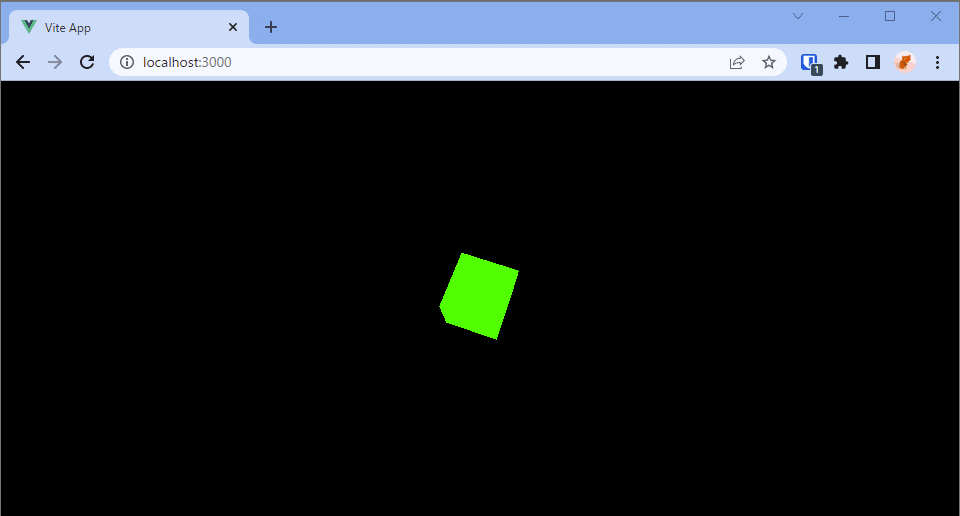
VueとThree.jsの組み合わせは、ググっても情報が古くて動かなかったり、妙に遅かったりしましたが、少なくとも2022年6月現在は、この記事の通りで動くはずです!
前提
Windows
WSL2 + Ubuntu
Node.js
WSL内にインストールしてない場合や、古いバージョンを使っている場合は、ここ 見て18.xあたりをインストールしましょう。たった2行のコマンドでインストールできます!
インストール
まずはVueから。
ここはほぼ Quick Start | Vue.js のままです。
npm init vue@latest実行すると以下のようにいろいろ質問されます。
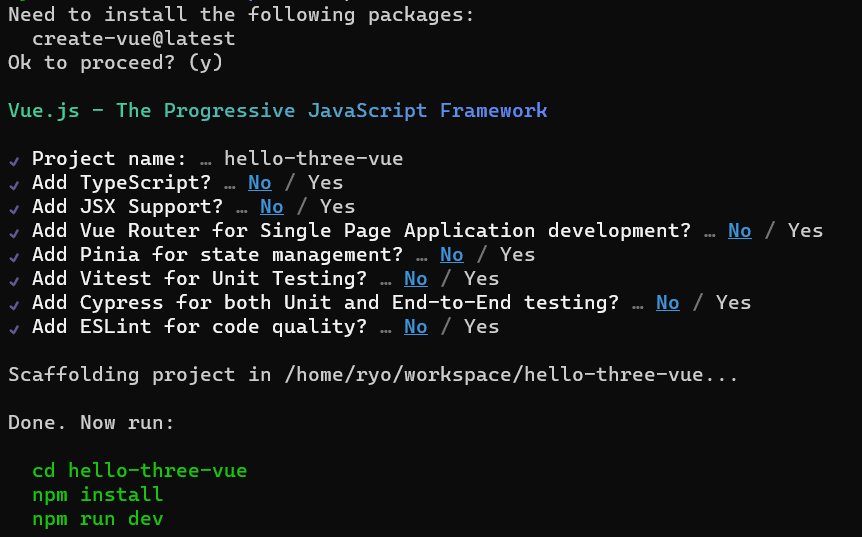
あとは言われるがままにコマンドを実行して…
cd hello-three-vue
npm install
npm run dev
表示されたURLを開くと…
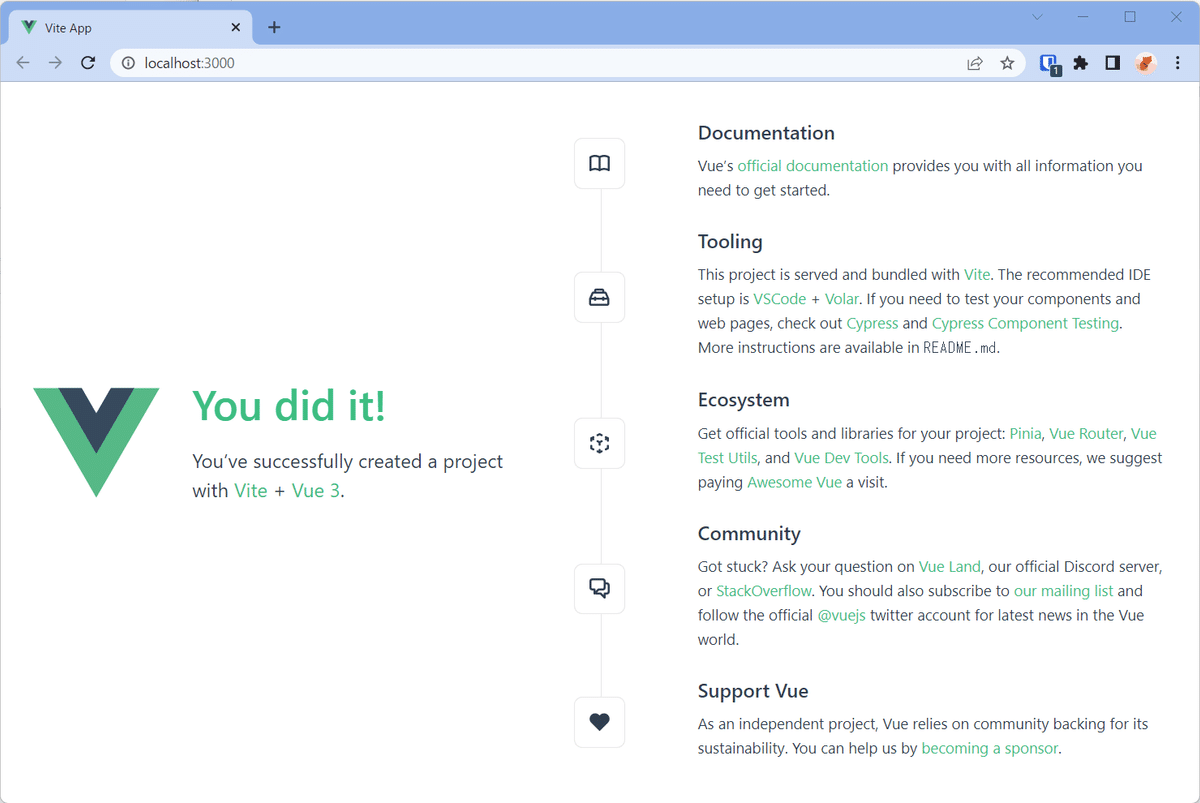
ここまでで Vue のインストールは完了です。
ターミナルではViteというツールの開発用サーバーが動いていると思いますが、一旦Ctrl+Cで終了させてしまい、"You did it!"と表示されているタブも閉じてしまいましょう。
続いてThree.jsをインストールします。
ここもインストール自体は Installation – three.js docs に書いてあるままです。
npm install three今回は最低限なのでこれだけです。
以上でインストールは完了です!
箱を表示
さて、ここからが本番です。
App.vue を下記のように書き換えてください。
<script>
import * as THREE from 'three'

export default {
  data() {
    /**
     * non-reactiveなデータ
     * * https://stackoverflow.com/a/54907413
     */
    this.scene = null
    this.camera = null
    this.renderer = null
    this.cube = null

    /**
     * reactiveなデータ
     * * ここでThree.jsのデータを定義すると、重くなるか動かなくなるので注意
     *   * https://stackoverflow.com/a/65732553
     */
    return {}
  },

  mounted() {
    this.init()
    this.addBox()
    this.animate()
  },

  methods: {
    init() {
      this.scene = new THREE.Scene()
      this.camera = new THREE.PerspectiveCamera(
        75, // FOV
        window.innerWidth / window.innerHeight, // aspect ratio
        0.1, // near
        1000 // far
      )
      this.renderer = new THREE.WebGLRenderer({ canvas: this.$refs.canvasRef })

      // レンダリング解像度
      this.renderer.setSize(
        window.innerWidth,
        window.innerHeight,
        false
      )

      this.camera.position.z = 5
    },

    addBox() {
      const geometry = new THREE.BoxGeometry()
      const material = new THREE.MeshBasicMaterial({ color: 0x00ff00 })
      this.cube = new THREE.Mesh(geometry, material)
      this.scene.add(this.cube)
    },

    animate() {
      requestAnimationFrame(this.animate)

      this.cube.rotation.x += 0.01
      this.cube.rotation.y += 0.01

      this.renderer.render(this.scene, this.camera)
    }
  }
}
</script>

<template>
  <canvas ref="canvasRef" class="fullscreen"></canvas>
</template>

<style scoped>
.fullscreen {
  position: absolute;
  top: 0;
  left: 0;
  width: 100%;
  height: 100%;
}
</style>
後は再度開発用サーバーを下記のコマンドで起動して、
npm run dev表示されたURLをブラウザで開いたら、、、
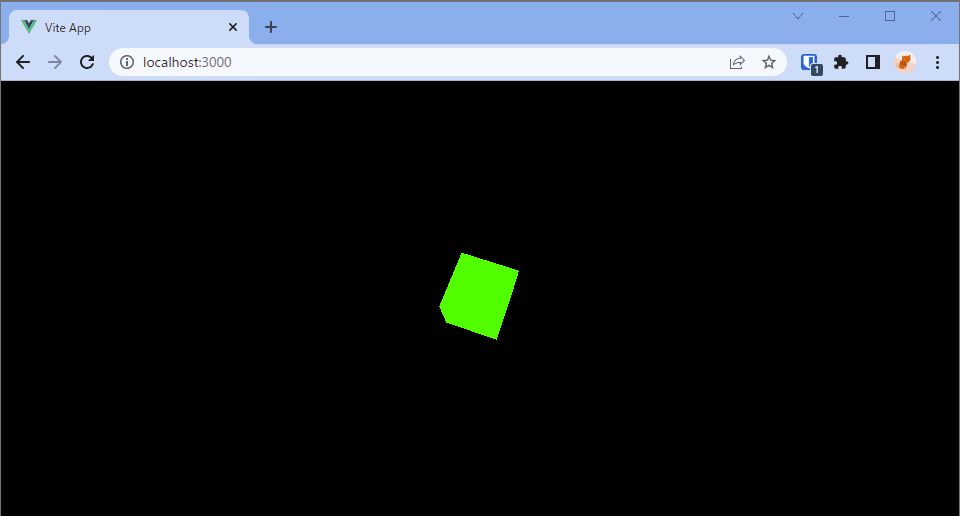
完成です!
注意点
以上で完成ですが、いくつか注意点がありますので、ここで解説します。
data(){} の書き方
Vue 3 で Options API を使う場合、公式ドキュメントの記載にしたがうと、下記のような書き方になってしまいます。
data() {
    return {
        this.scene = null
        this.camera = null
        this.renderer = null
        this.cube = null
    }
},
しかし、このreturn{}内で定義された変数は、Vue3では自動で便利機能モリモリのReactive Stateとして定義されてしまい、Three.jsとは相性が悪いです。
Three.js関連の変数は、ソースコード内のコメントの通り、return{}の外で定義しましょう。
エラー: "THREE.WebGLRenderer: A WebGL context could not be created"
たまに、Chromeのデベロッパーコンソールに上記のようなエラーが出てきます。これはあなたのせいでもThree.jsのせいでもないことが多いです。
OSやドライバーの問題である可能性がほとんどで、"WebGL context"と出てきたらPC再起動等を試してみましょう。
詳細は以下を見てください。
https://github.com/mrdoob/three.js/issues/4927
