
《実は簡単♪》 Earth2であなたも気軽にメタバース投資 ~アカウント作成~

D02SZ8VJY0
こちらのクーポンコードは、Earth2で土地を買う際に
割引を受けられるコードになっております。
投資効率を高めるうえでクーポン利用は必須になりますので、
コピーのうえ、メモ帳などにメモしておいてください。
※初回購入時に入力します。
さて、今回は最強の投資先であるEarth2のアカウント作成方法をお伝えいたします。
その前に、
【始めるなら今!!】 早く始めた人が勝つ 最新・最強の投資 メタバース“Earth2”
こちらを読んでいない方は、先に読むことをオススメいたします。
Earth2の特徴やその将来性について書いています。
・・・読み終わりましたか?
それでは、アカウント作成方法の説明に入ります。
アカウント作成
① Earth2にアクセスする
https://earth2.io

② LOG IN/SIGN UP をクリック

③ Signupをクリック

④ 設定したいメールアドレス・パスワードを入力後、Continueをクリック
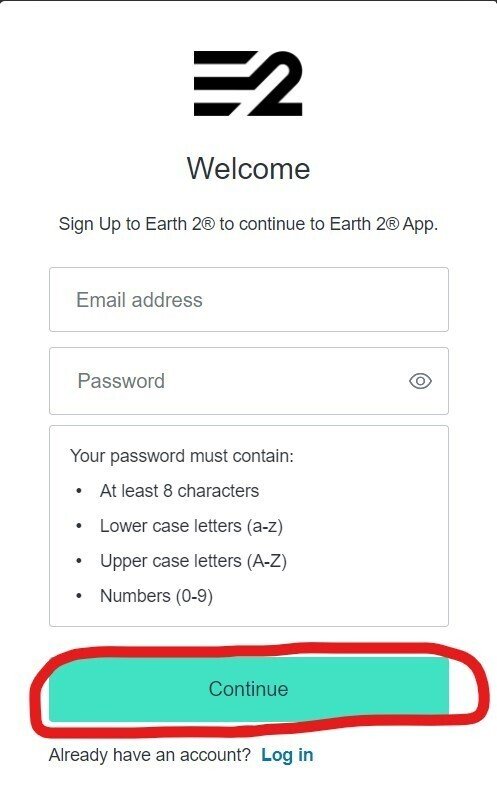
※パスワード設定時のルール
・8文字以上
・大文字、小文字、数字の3種類を使用
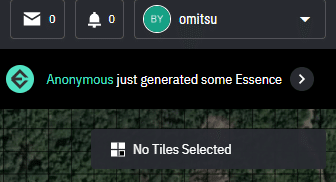
⑤ アカウントができたことを確認
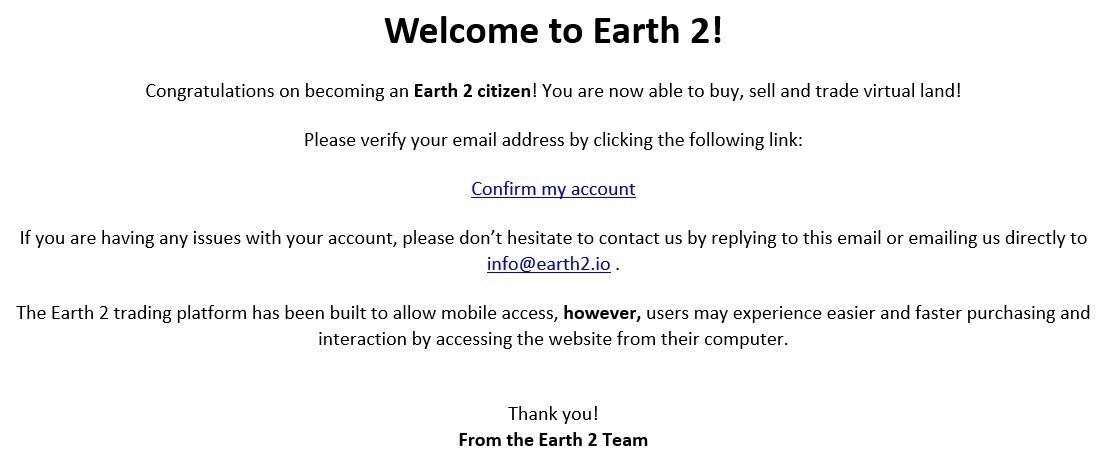
⑥ アカウント認証用のメールからConfirm my accountをクリックして認証する
2要素認証設定
続いて2要素認証の設定を行います。
2要素認証は、
アカウントの保護においても重要になりますが、
これをしないと、一部利用が制限される機能がありますので、
設定しておきましょう。
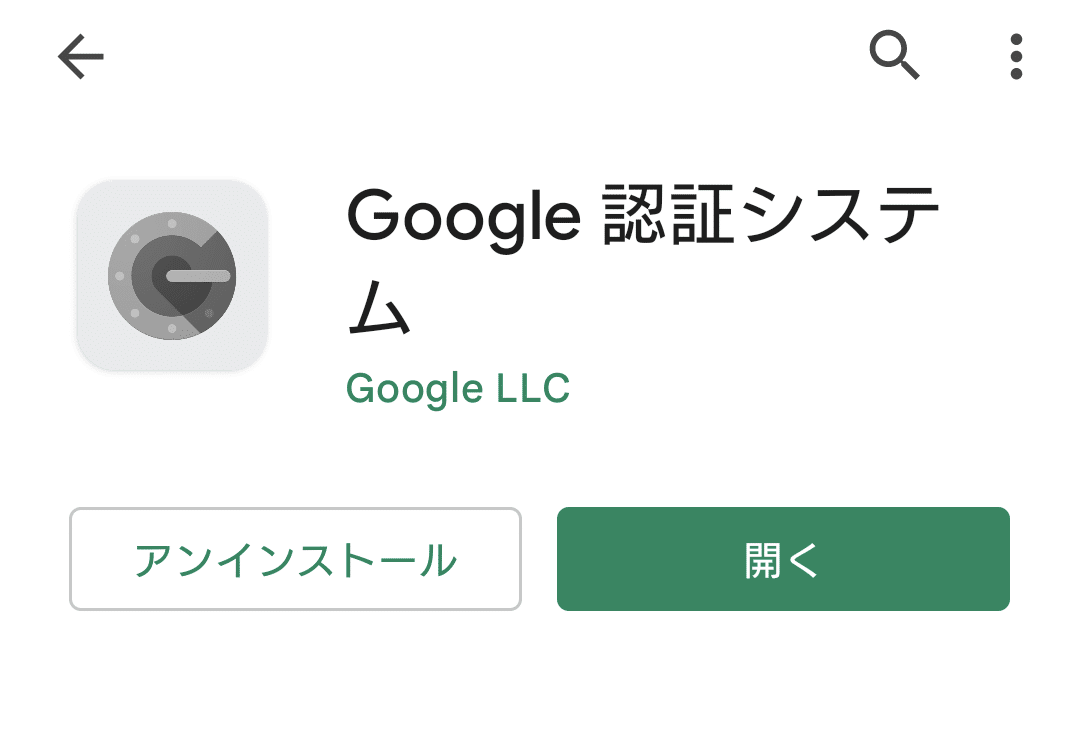
① Google認証アプリをインストールしておく
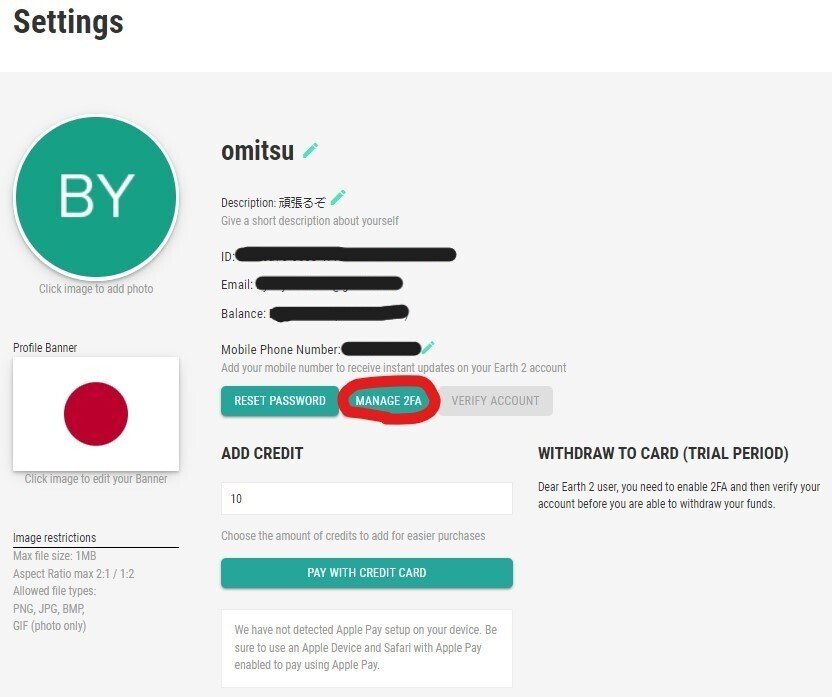
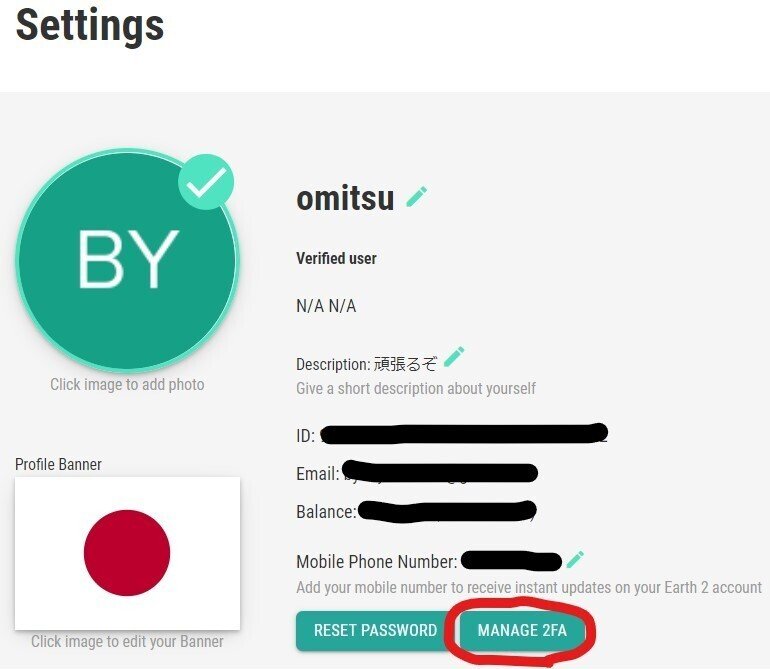
② Settings をクリック

③ MANAGE 2FA をクリック
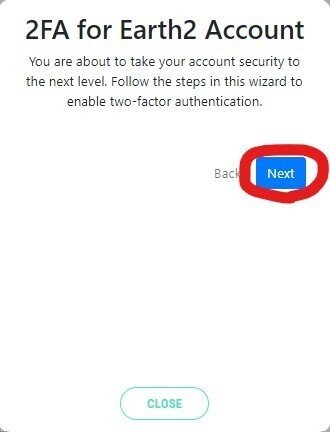
④ Enable Two-Factor Authentication をクリック

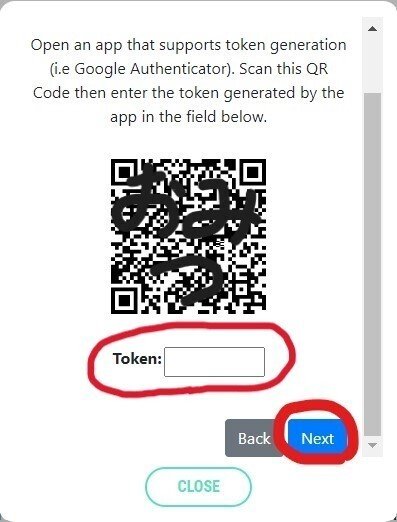
⑤ Next をクリック
⑥ QRコードを読み取る
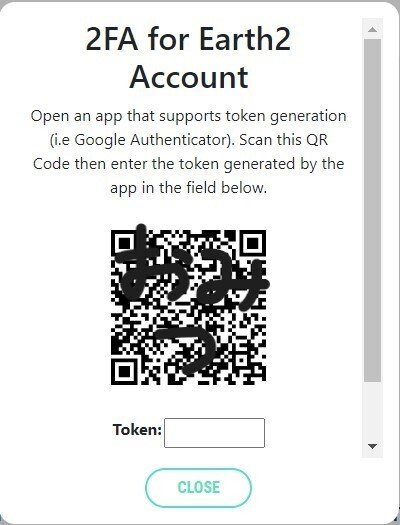
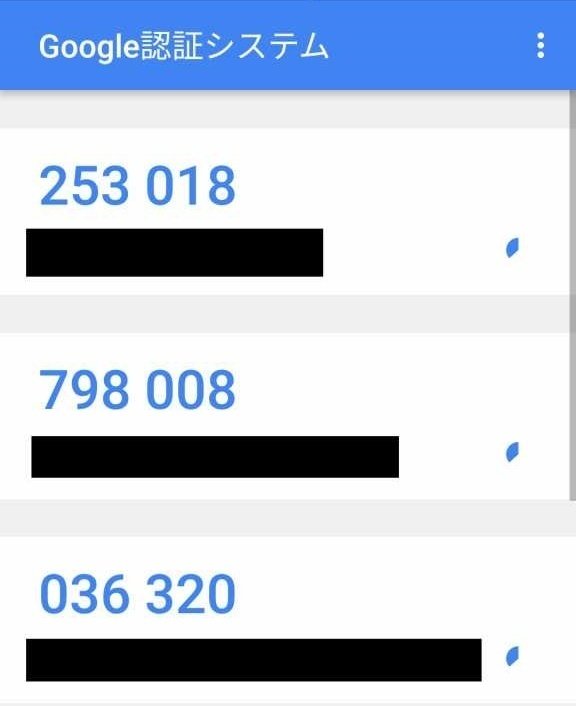
⑦ Google認証システムで表示されるトークンコードを確認
※Google認証システムのトークンコードは40秒程度で失効するため、
コードを確認したらすみやかに入力する必要があります。
⑧ トークンコードを入力して、Next をクリック
⑨ Eatth2 Account Security と表示されたら完了

2022/06/17 補足
バックアップトークンは必ず保管しておくように!!
2要素認証の設定が終わったら
必ずバックアップトークンをメモしておきましょう!!
Google認証システムを入れている端末が
壊れたり紛失した際に、ログインできなくなる可能性があるため、
バックアップは必須です!!
やり方は簡単で、
「Settings」から「MANAGE 2FA」をクリック
「Show Codes」をクリック
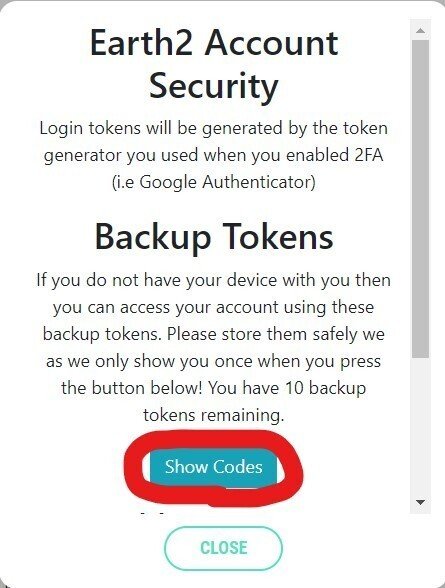
「Generate Tokens」をクリック

表示されたバックアップトークン10個をメモ

これでバッチリです!!
いかがだったでしょうか?
意外と簡単でしょう?笑
この記事が役に立ったと感じましたら、
note、Twitterのフォローや
「コメント」「スキ」「RT」「いいね」などしていただけますと
今後の情報提供の励みになります!
※もしかしたら今後、特典を設けるかもです。