
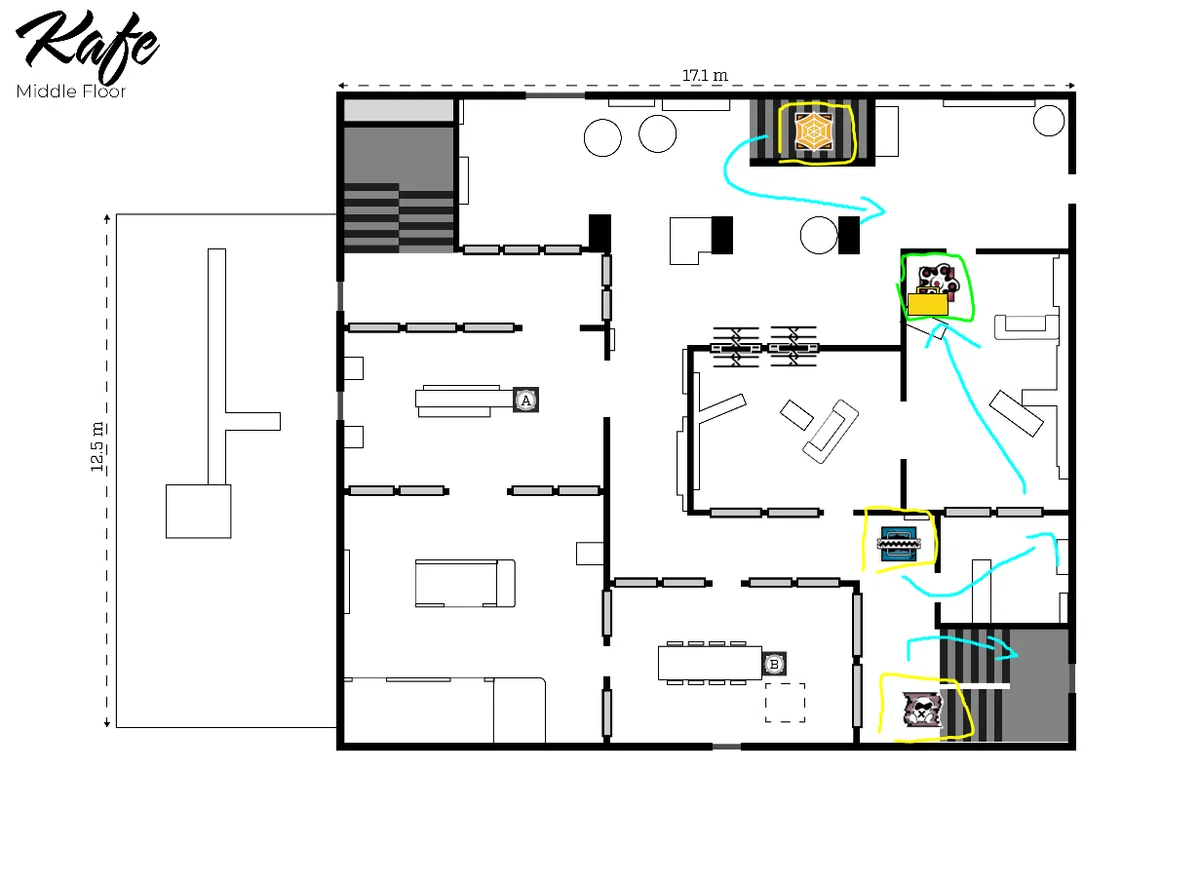
R6S教科書 マップ知識 防衛 カフェ 2階 読書・暖炉ホール

この防衛地点は、上下に守ることもできたり、1階を活用したり様々な防衛方法がある。自由度が高いため、防衛方法も千差万別でかなり難しい内容となっているが、初心者から上級者まで深く学んでいこう。
基礎守り
構成と概要
単に平面で守るだけでは厳しい。
そのため、上下に広がって守る必要がある。
どのように守るか俯瞰で見ていこう。


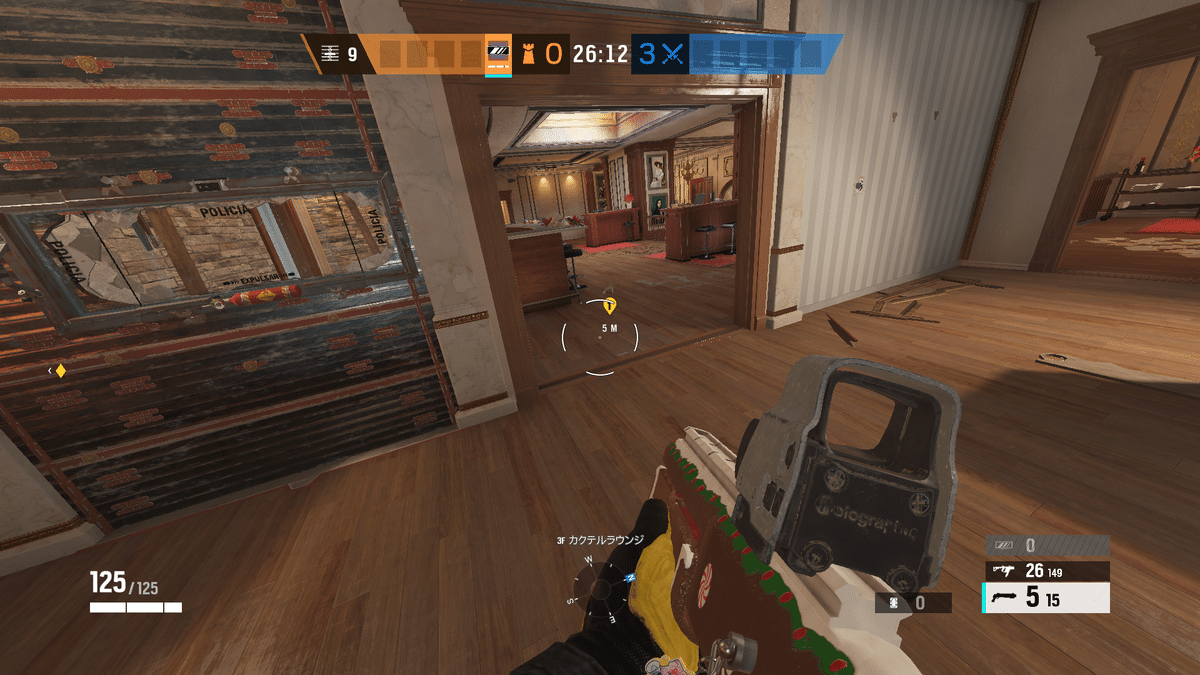
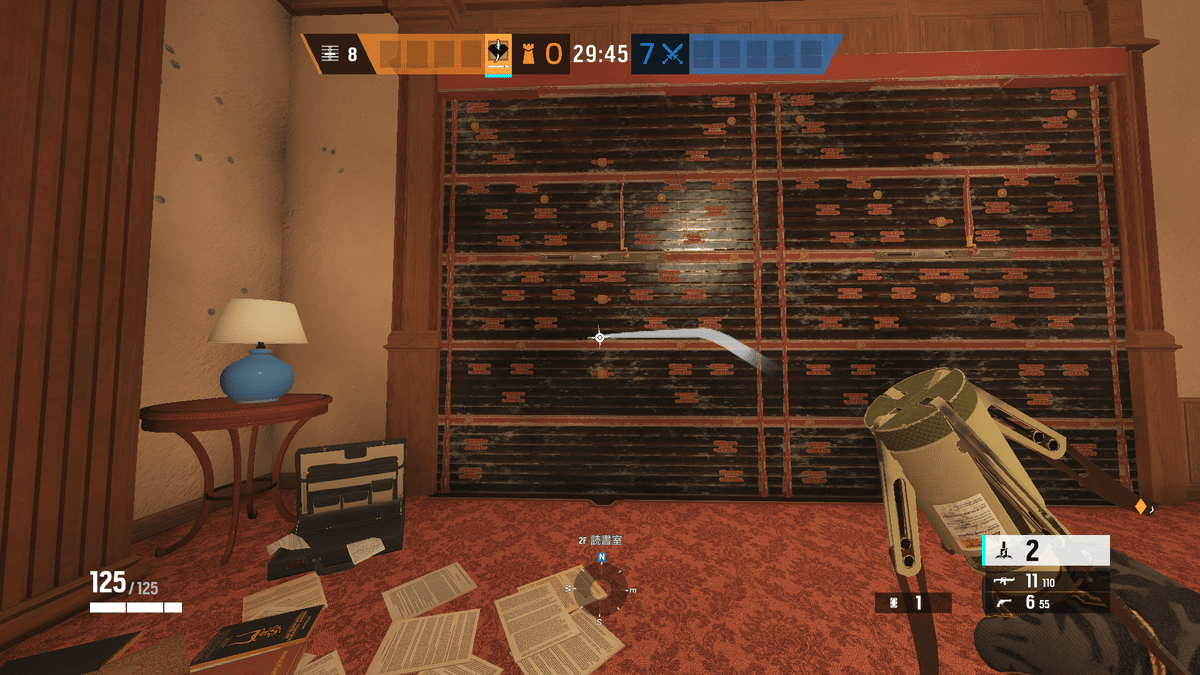
ロテートホールと工事とその意味

洗濯室と読書室の間のロテートホールだ。

このロテートホールを使うことで、上記のようにプラントポジションを洗濯室から倒すことができる。
また、終盤に現地に対して詰めることもできるだろう。

そのためには、上記のように棚を予め壊しておく必要がある。
これをしっかりと覚えておこう。

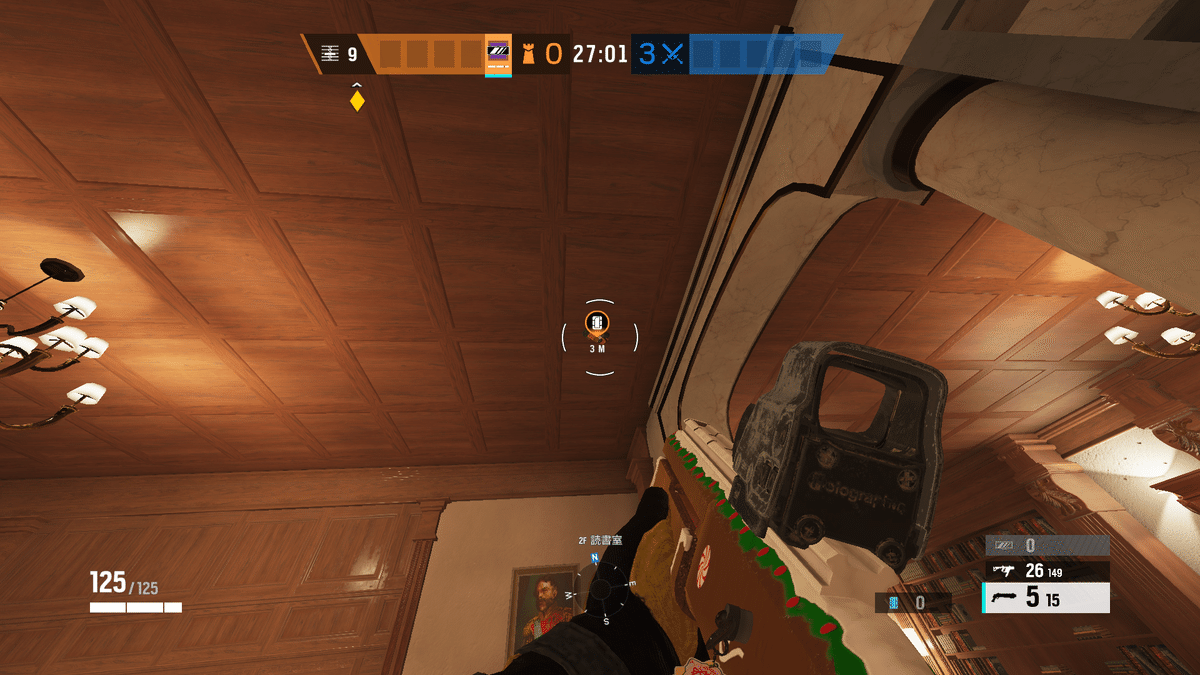
暖炉室と白階段上のロテートホール
これがあることで、暖炉を攻められたとしても対応することができる。

暖炉室は足元を上記のように開けておくといいだろう。
これにより、暖炉室の居場所がなくなるのだ。
防衛側は、「暖炉室を守る」というより「暖炉室に敵を入れなくする」という方法で守るのだ。

上記のように読書室の足元も開けておこう。
これにより、2階のピラールームから進行してきた敵に対して、ワンウェイで対応することができる。
SMOKEの動き
SMOKEの準備フェーズは忙しい。
ほとんどの工事をする必要があるため、上手に工事をしよう。


敵のスニークエントリーへ対応するため、有刺鉄線があるといいだろう。

スモークは、上記の位置でショットガンで戦うと強い。
遠隔ガスグレネードはふんだんに使っていいだろう。
JAGERの動き

暖炉室に防弾カメラを設置しよう。
これにより、暖炉室攻めがかなり厳しくなるだろう。

上記のようにADSを設置するといいだろう。MIRA窓を守ることもできるし、単純にラペリングからのガジェットにも対応できるだろう。

「ブルーシート」にも同様にADSを設置しよう。

JAGERはあとは、カクテルラウンジでシンプルに戦ってしまおう。
MIRA窓を設置してくれている場合は、長い間戦うことができるだろう。
MIRAの動き

上記のようなブラックミラーを設置しよう。
これによって、バーからの進行を抑えることができる。

もう一枚のMIRA窓は上記のように設置すると強い。

この位置から、ピラールームからの進行、そして、暖炉室へのエントリーを共に抑えることができる。
アクションフェーズでは、上記のC4が強い。
この位置の敵をC4で倒すことができるのだ。
単純だが、味方を大きく助けることができるだろう。
ARUNIの動き


有刺鉄線は上記のようにおこう。


上記のようなスーリャゲートを設置すると、敵のガジェットや単純なエントリーを抑えることができる。

味方がMIRA窓を設置している場合は、上記のようにスーリャゲートでカバーしよう。

上記のようにDMRの強みを活かして、戦おう。
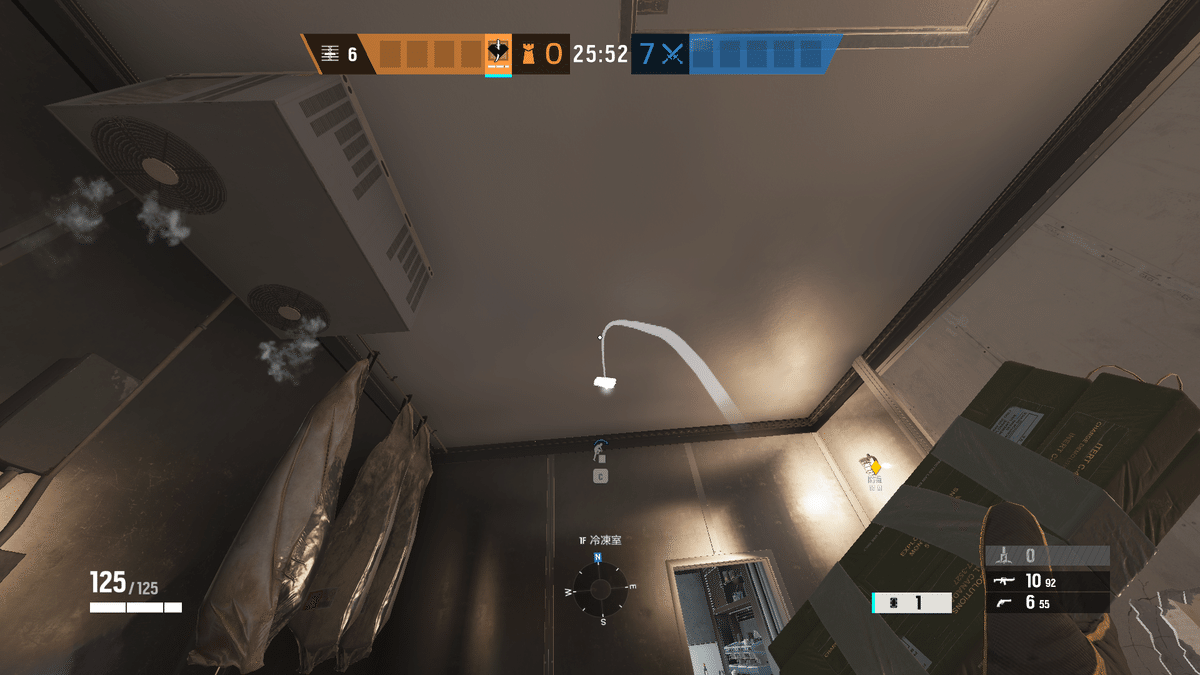
KAIDの動き
KAIDのエレクトロクローを上記のように設置しよう。
まずは読書室の2枚補強だ。

「ブルーシート」にも設置しよう。
これで、敵のエントリールートはかなり絞られる。

アクションフェーズでは、白階段にポジションを取るといいだろう。
SMOKEとのクロスが有効だ。
3階からの攻めに対する理解


上記のようにラインをしっかりと理解して、エントリーに対して「待ち」の姿勢で戦うといいだろう。
ただ、ラペリングを上手にしてくる相手に対してはすこし難しいかもしれないが、それについては中級者向けのセクションで学んでほしい。
列車側からの攻めに対する理解


列車を制圧して、そのままプラントを目指す攻めもある。

その際には上記の射線が有効だ。
白階段から高い位置から戦うことができる。
プラントまで無理やり入られてしまう場合は、C4で対応しよう。
暖炉室には防弾カメラを設置しているため情報をとることができるだろう。
中級者向け↓
発展基礎守り
3階守りを発展させる
3階を制圧されても、リテイクで勝つことが出来るからといって、3階をすぐに明け渡してしまうと後が悪い。


そのため、上記のように、「ブルーシート」を開通して一度ラウンジ側に対してプレッシャーをかけるのだ。

もちろん、前線維持が厳しいならば引いて基本的なラインにもう一度戻ることができる。

3階を取られて際のリテイク
参照:SpaceStationGaming Six Invitational 2020
単純に3階を守るのは、3階で耐えきることは難しい。
なぜなら、攻撃側は後出しで有効な手段を選ぶことができるためだ。
そこで、3階を取られたとしても勝てる守りを紹介しよう。
上記のように、3階を取られてしまっても、勝つことができるのだ。
そのためには、様々なリテイクを駆使する必要がある。
それらを一つ一つ理解していこう。

まずはSMOKE、Canadian.SSGが上記の動画において3キルしている。
今回はMUTEになっている。実際に試してみると、面白いくらい勝てるのでおすすめだ。
そしてJAGER、上記の動画は私の動画だが、実際にピラールームからのリテイクはかなり有効だ。
FROSTについては、”ロテートホールと工事”のセクションにおいて説明している射線を活用すればプラントをしているプレイヤーをキルすることができる。
赤階段のリテイクについては、すこし難しい。
赤階段からリテイクをしている間に、プラントを通されてしまうからだ。
ただ、白階段を共にリテイクすることが出来ている場合プラントをされても勝てることのほうが多いが不確定要素が多い。
そのため、赤階段を活用したい場合は、上記のようにすこしだけ早めにリテイクをするといいだろう。
上級向け↓
最大遊撃守り
中級者向けに紹介した守りは、まるで”正解”の守りのように見えるが、実は全てのリテイクを簡単に抑えることができるポジションがあるのだ。


参照:Ninjas in Pajyamas Six Copenhagen Major 2023
上記のACEのポジションが絶妙だ。
2階L字を抑えることもできるし、ピラー階段のリテイクも抑えることができる。
また、赤階段の敵も気付いて倒すことができるかもしれない。
これをされてしまうと、リテイクがあるからと言って単純に3階をある程度守るだけでは厳しい。
敵もMONTAGNE等のオペレーターや、予め決めておいて3階に対するラッシュ、これらを使ってエリアをとってくるだろう。
それに対するアンサーである守りを紹介しようと思う。
参照:Team BDS Six Montreal Major 2024


概要
このSENTRYのポジションが、絶妙なのだ。
もし、敵が3階に対するエリアどりをしてくる際には、大体の場合バルコニー窓からラペリングエントリーをしてくるだろう。
それに対して、単純に射線で戦うことができる。
また、MONTAGNE等の盾オペレーターに対してもC4を活用することで戦うことができる。
そして、発展基礎守りではラウンジ側で厳しい時は、白通路を使って逃げるのみだったが、ハッチから逃げることができる。
これにより、よりアグレッシブに戦うことができる。
まとめ
現代の防衛においては、上級者向けの最大遊撃をアレンジして使うことが多い。
そして、3v3等のシチュエーションを目指すのだ。
攻撃側は3人だけだと、リテイクをすべて管理しきることができないからだ。
カフェはそのようなアグレッシブな防衛に注目すると新しいアイデアにも繋がるだろう。