【Adobe Express ベータ版】Adobe Expressで七夕の願い事をつくってみませんか

皆さん、こんにちは。
もうすぐ七夕ですね。
そこで今回は、Adobe Express ベータ版で七夕の短冊飾りの画像をつくってみました。
どうぞお読みください。
ホーム画面
Adobe Express ベータ版のホーム画面です。
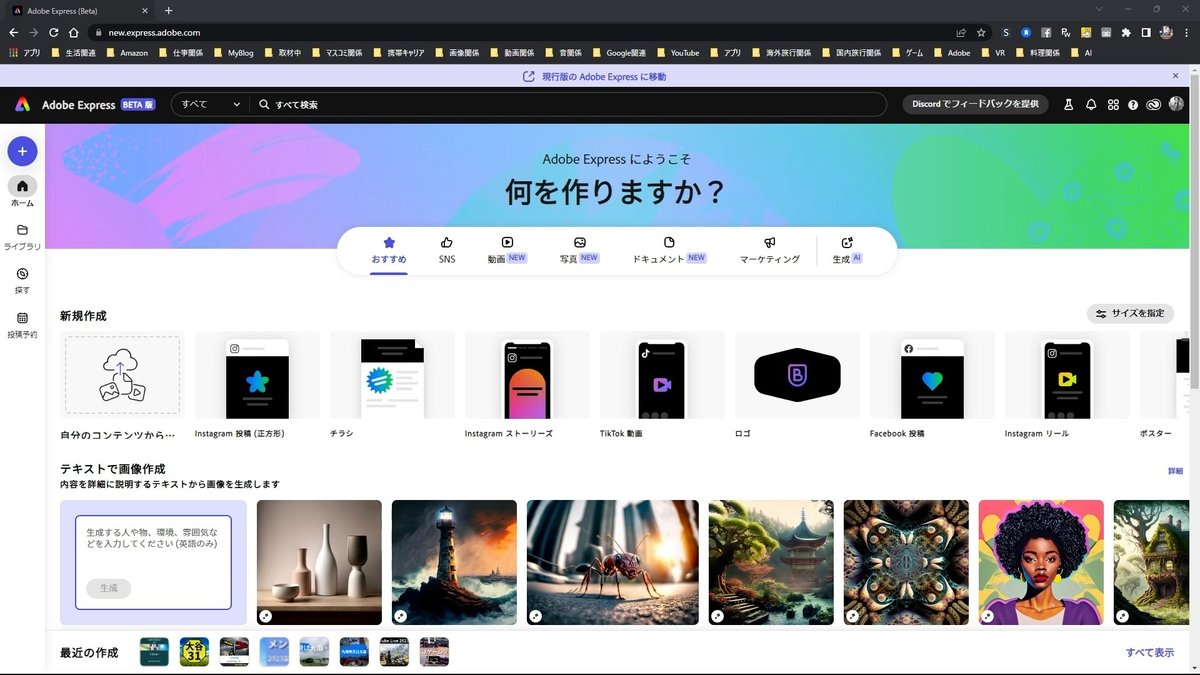
今回は、「Instagram 投稿(正方形)」を使います。
私はSNSに投稿する際、ほとんど、このアスペクト比1:1の正方形の画像を使うことがほとんどですね。
Instagramだけではなく、Twitter等の他のSNSでも正方形は使えます。スマートフォンを縦にして閲覧する際に、アスペクト比1:1の正方形の画像がきちんと表示されます。
[Instagram 投稿(正方形)]にマウスをおきます。
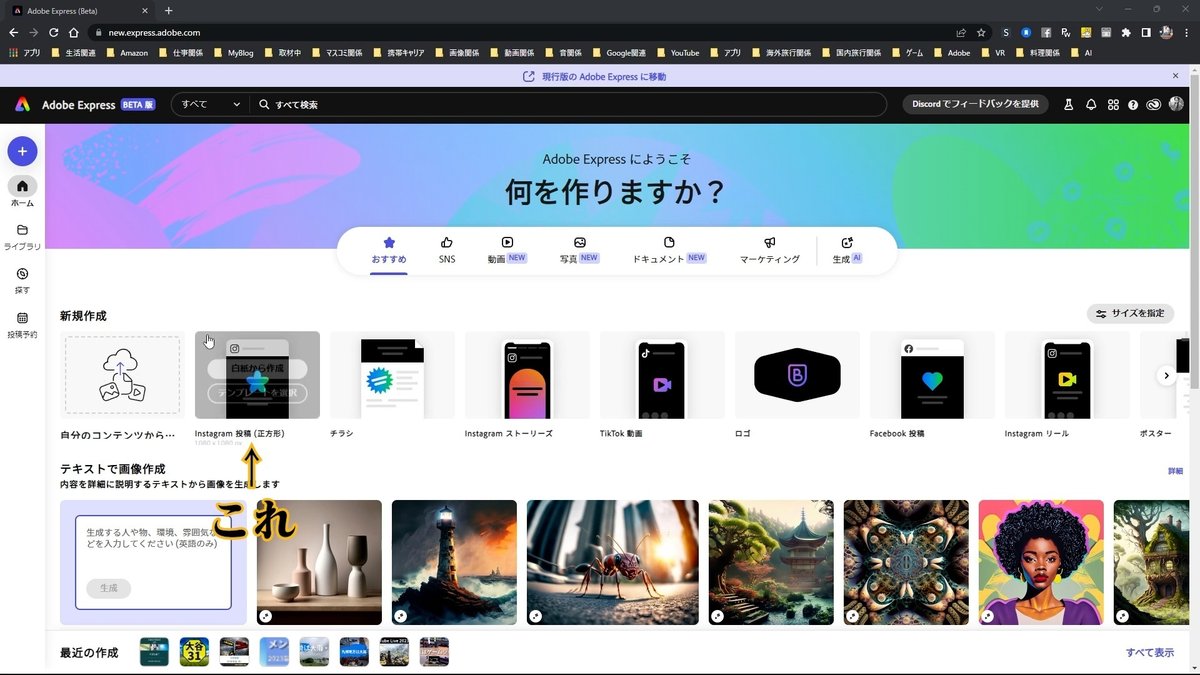
[白紙から作成]をクリックします。

編集画面
白紙の編集画面が表示されます。
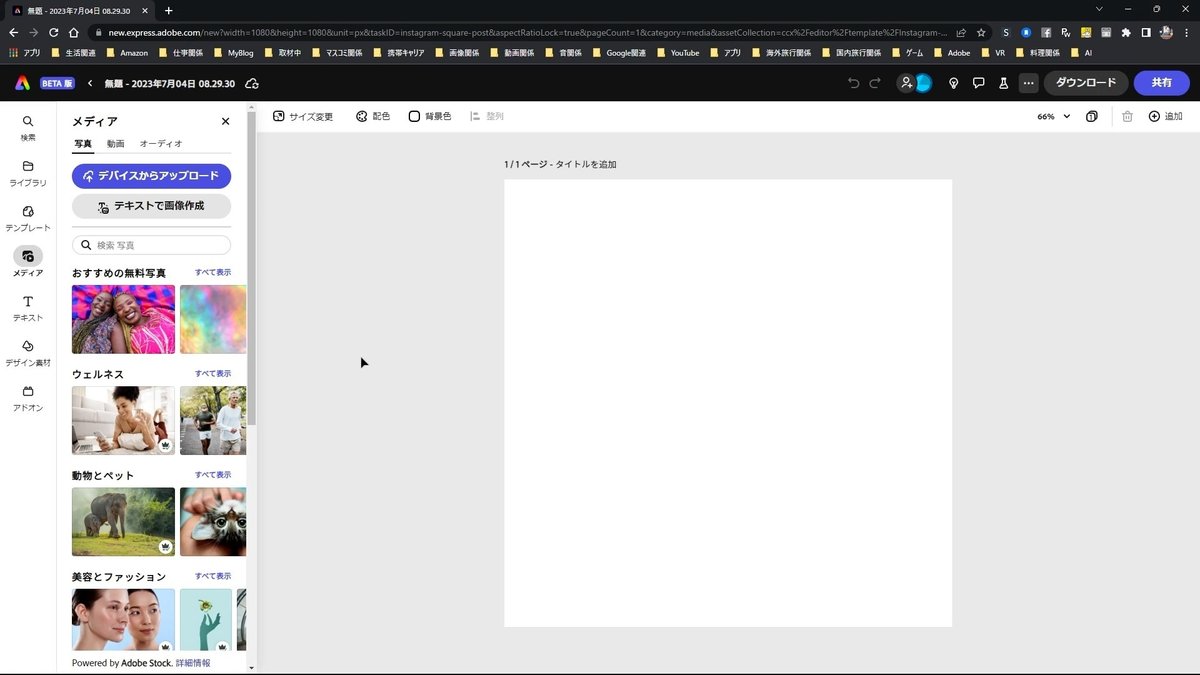
写真の挿入
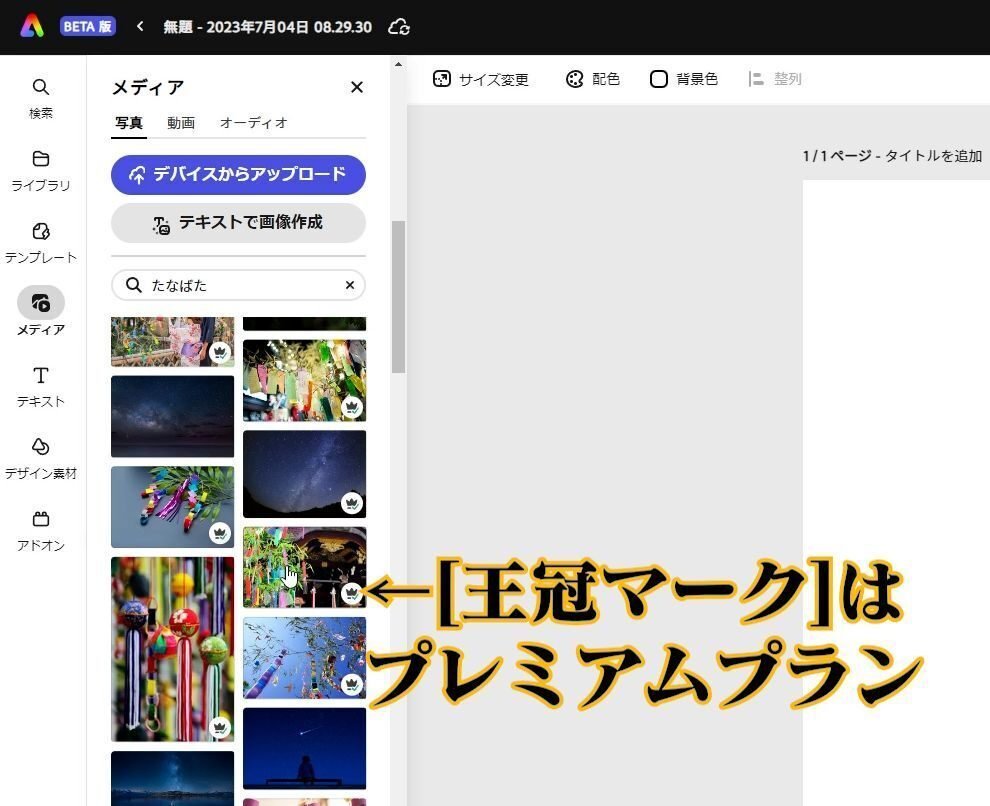
左側のメニュー[メディア]で、検索ボックスに「たなばた」と入力します。

画像を選択します。

画像の右下に「王冠マーク」が付いているモノは、有料プランのプレミアムプランで利用可能です。
今回はこの画像を使います。
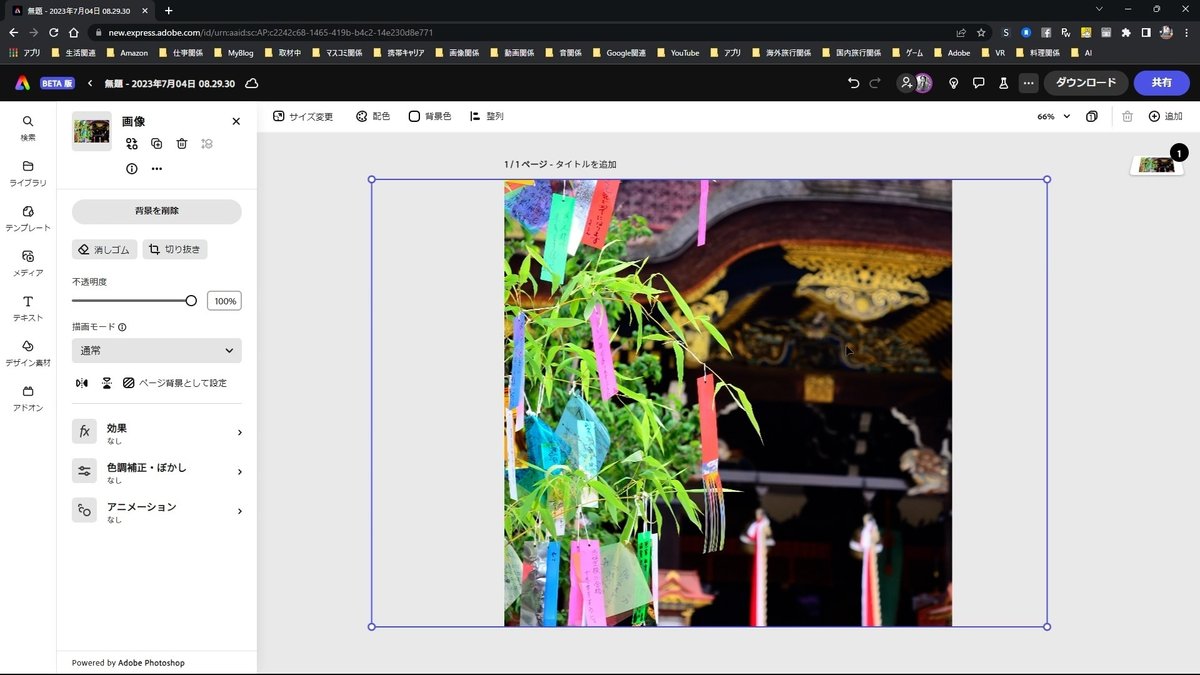
画像が挿入されました。

画像の大きさを調整します。
デザイン素材
次に、短冊飾りの短冊をつくります。
[デザイン素材]をクリックします。

[シェイプ]をクリックします。

[長方形]から、長方形を選びます。

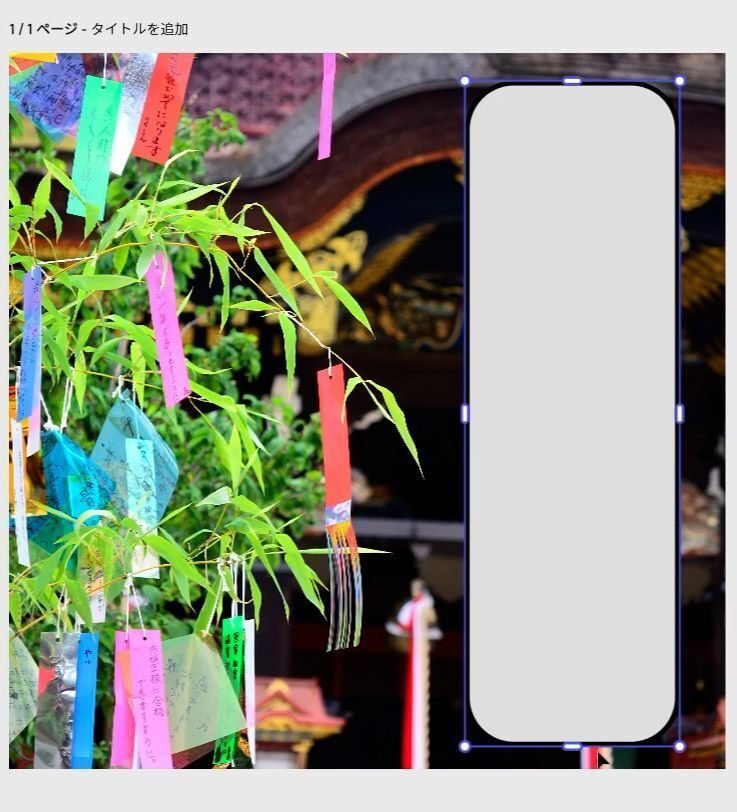
長方形が挿入されました。

この長方形を短冊飾りのように調整します。
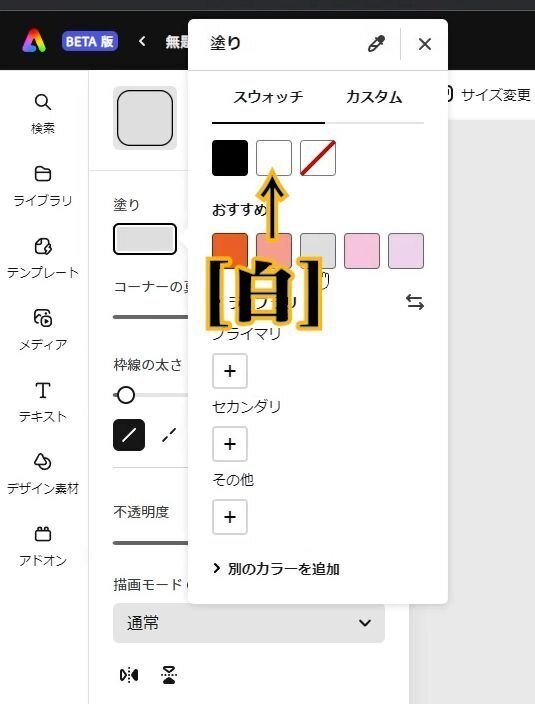
短冊飾りの背景がグレーなので、色を変えます。
[塗り]をクリックします。

[白]を選択します。
この短冊飾りの上のほうに、穴をあけます。
[シェイプ]の[円]から、円を選びます。
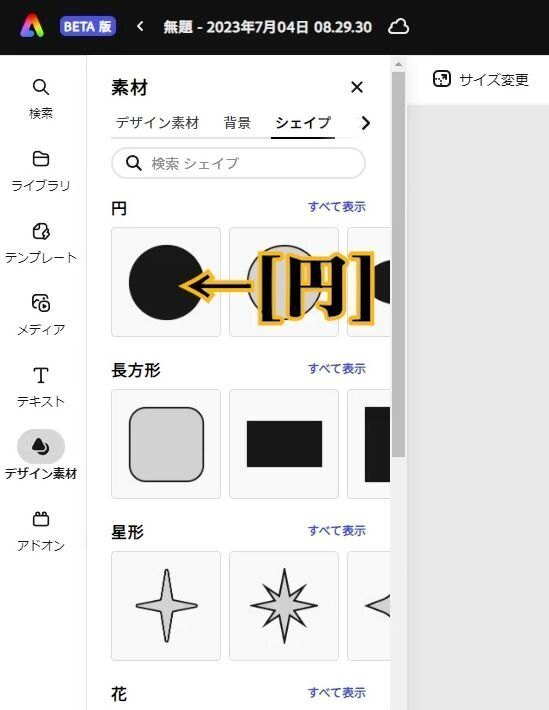
円が挿入されました。

円の大きさを調整して、短冊飾りの上部に移動させます。

テキスト
そして、願い事のテキストを挿入します。
[テキスト]をクリックします。
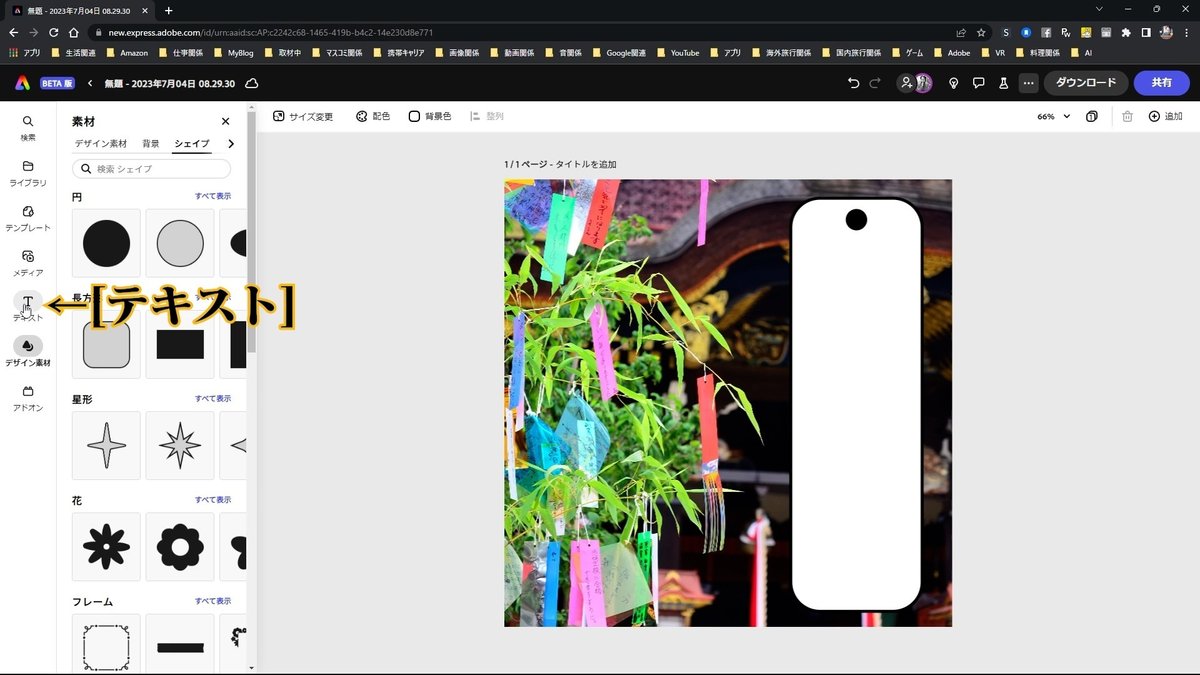
[テキストを追加]をクリックします。

Adobe Express ベータ版は、基本、縦書きには対応していません。
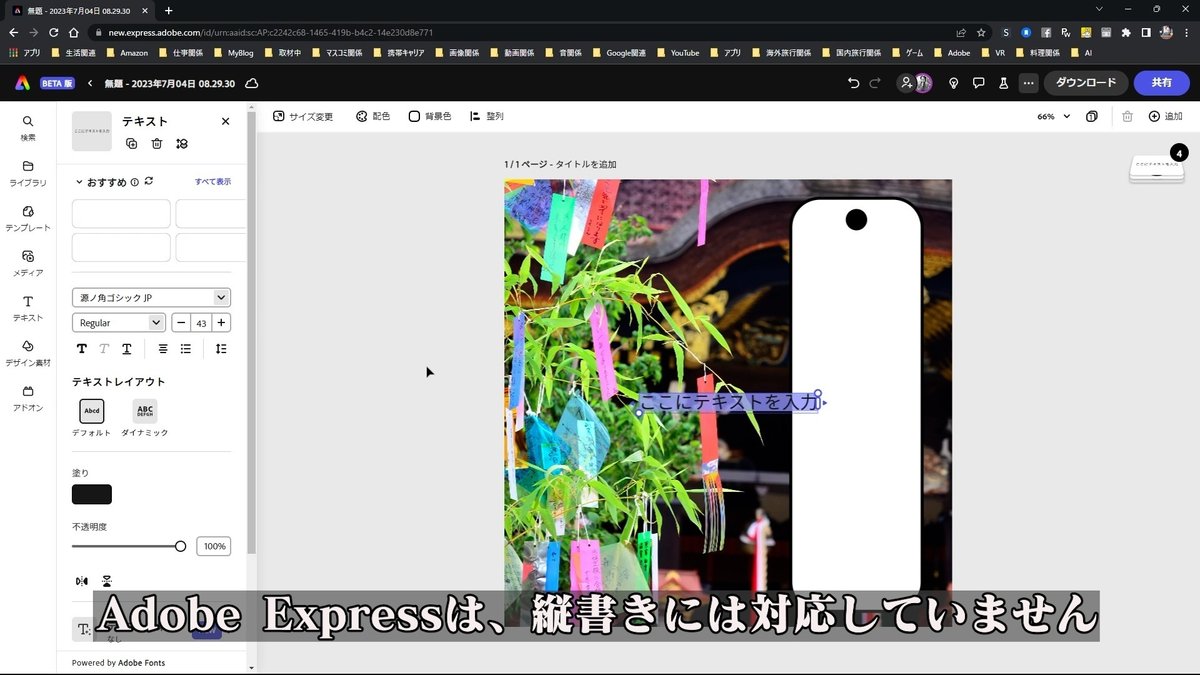
では、どうするか?
まずは、願い事を入力します。
「アドビエクスプレスがうまく使えるようになりますように」
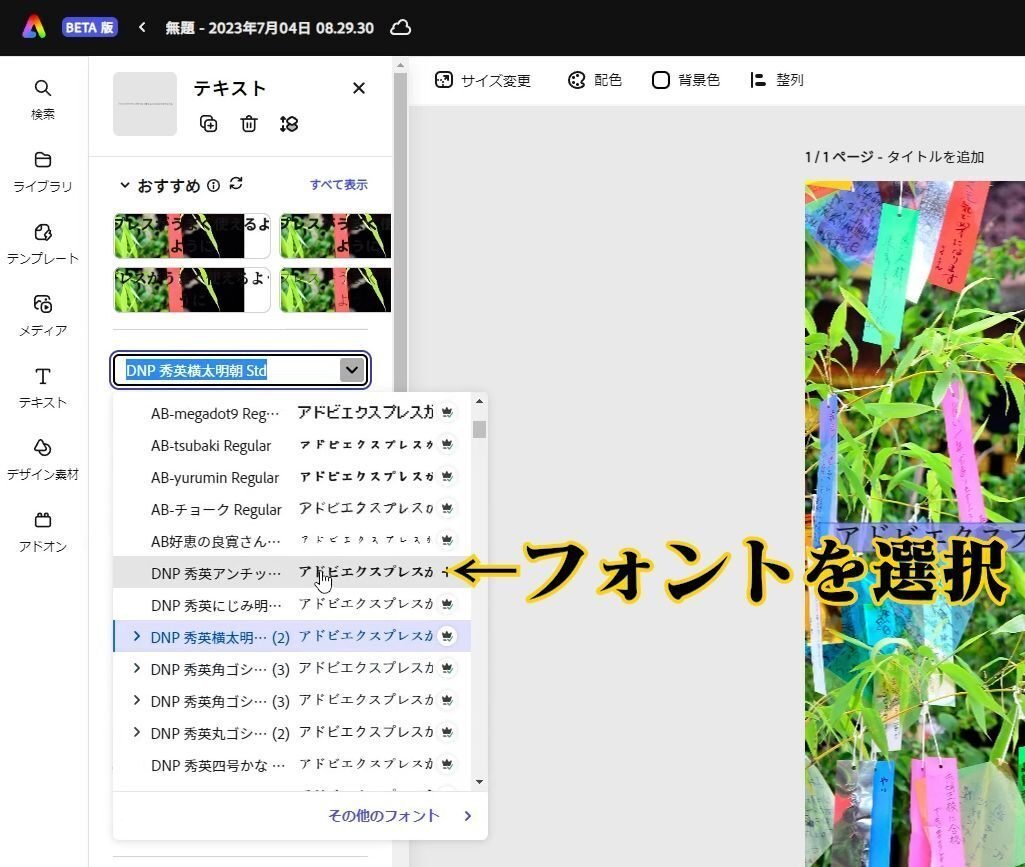
フォントを変更します。
[フォント]をクリックします。
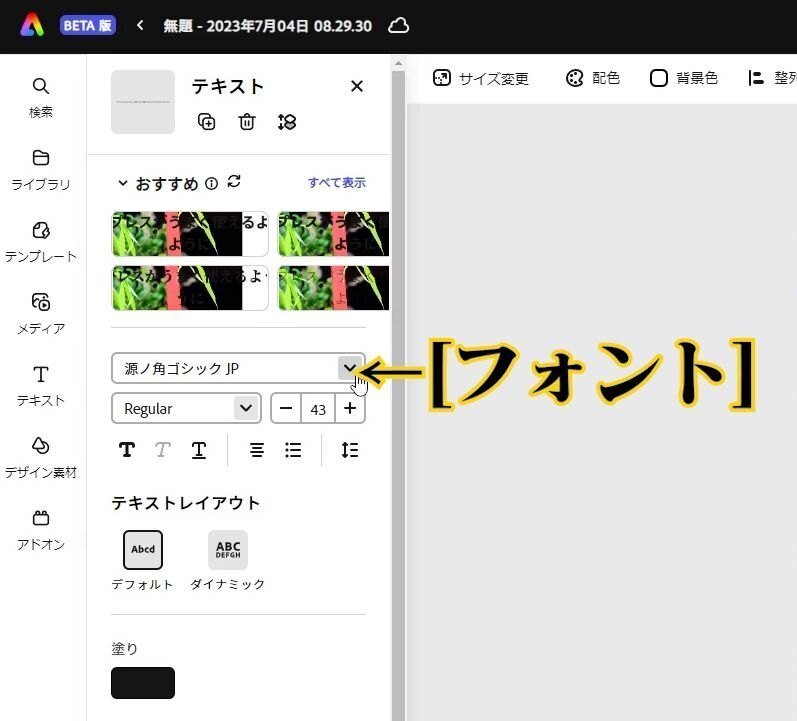
気に入ったフォントを選択します。
では、横書きのテキストを縦書きに変更します。
どうするかと言うと、一文字、一文字、改行していきます。
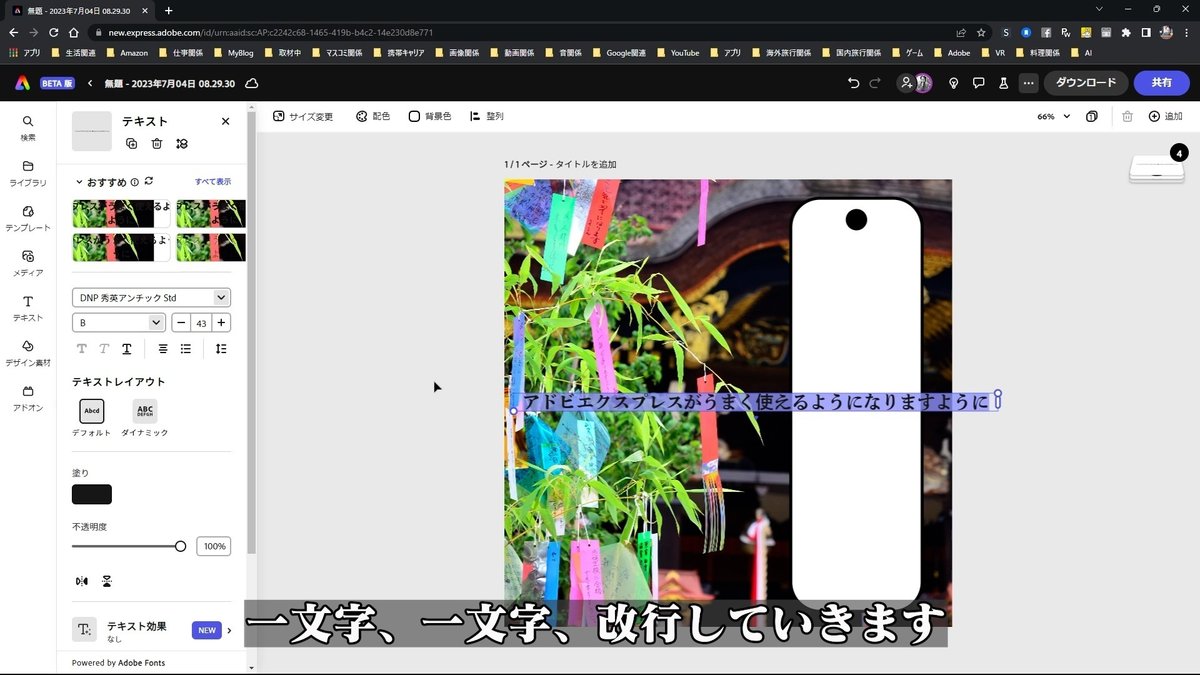
なんか画面からはみ出していますが、この状態でちょっと調整します。
中央揃えになっているので、左揃えにします。


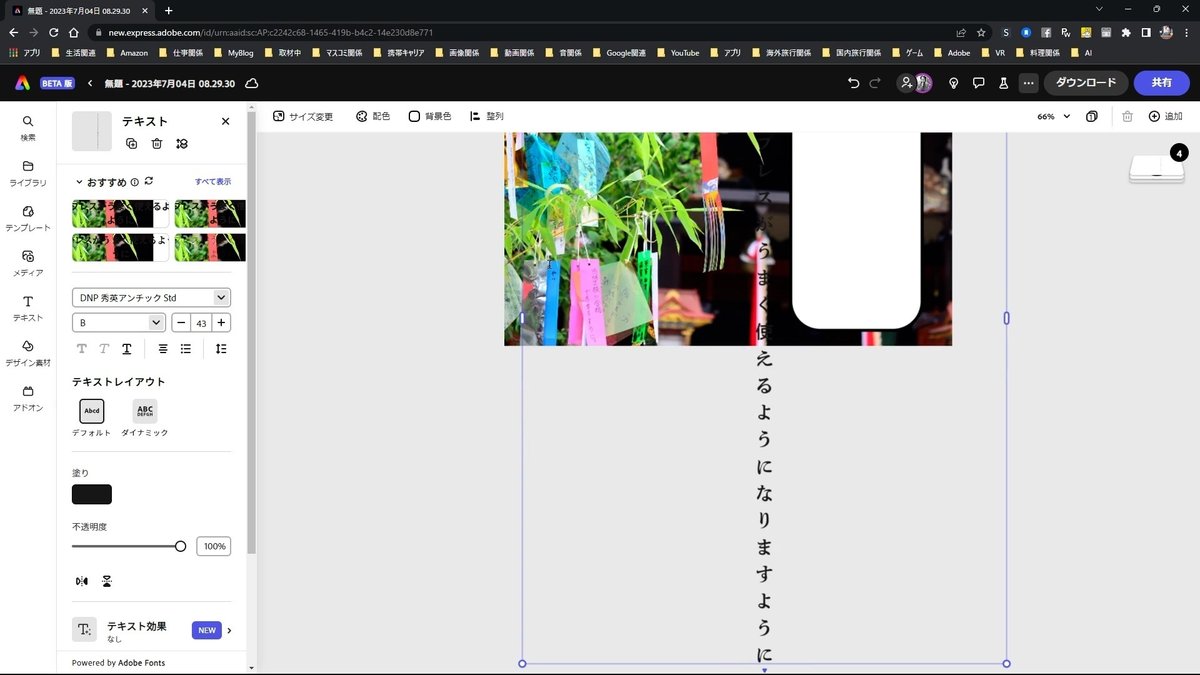
このテキストボックスの横幅を調整して狭めます。

縦書きのテキストボックスを短冊の中に移動させます。

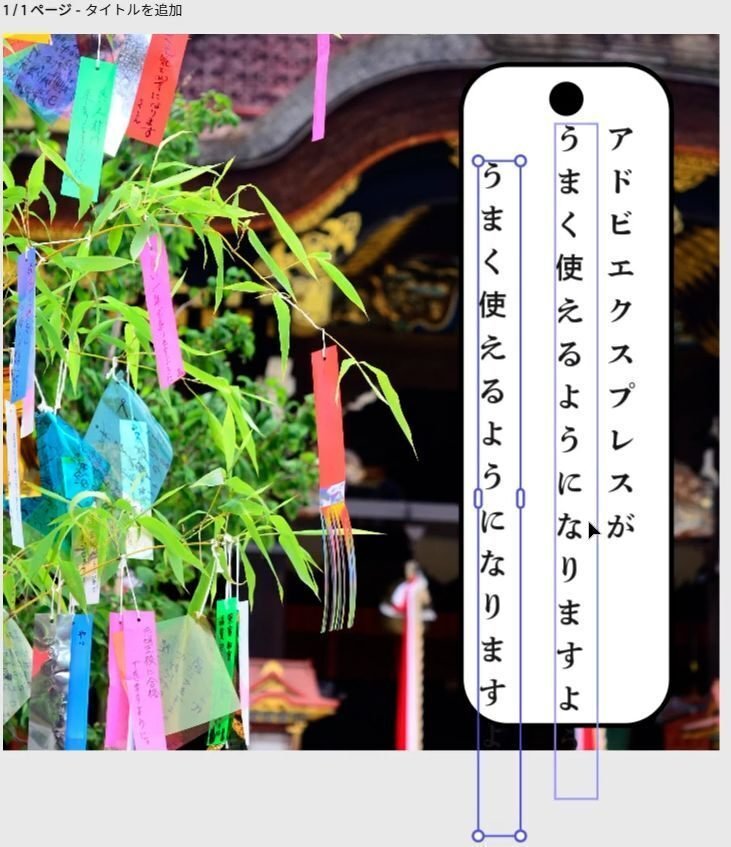
ただ、このままでははみ出してしまうので、途中で切ります。
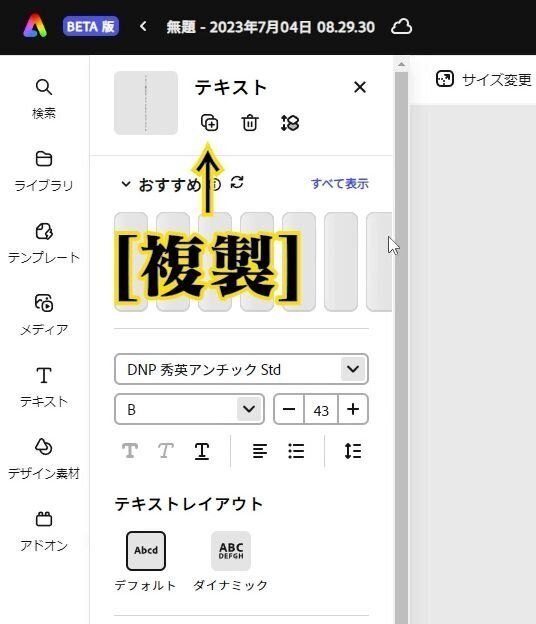
そのために、このテキストボックスをコピーします。
[複製]をクリックします。

複製されました。

最初のテキストボックスを「アドビエクスプレスが」で切ります。

2番目のテキストボックスを「うまく使えるようになりますように」にします。

最後の2文字がはみ出しますね。
そこで、再度、このテキストボックスをコピーします。
テキストボックスがコピーされました。
2つめのテキストボックスを「うまく使えるように」にします。
3つめのテキストボックスを「なりますように」にします。
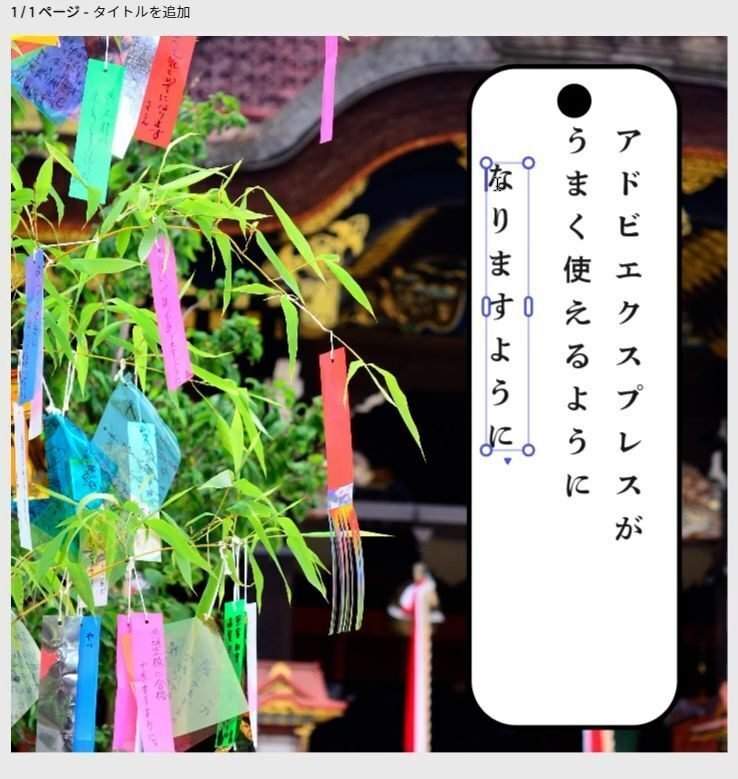
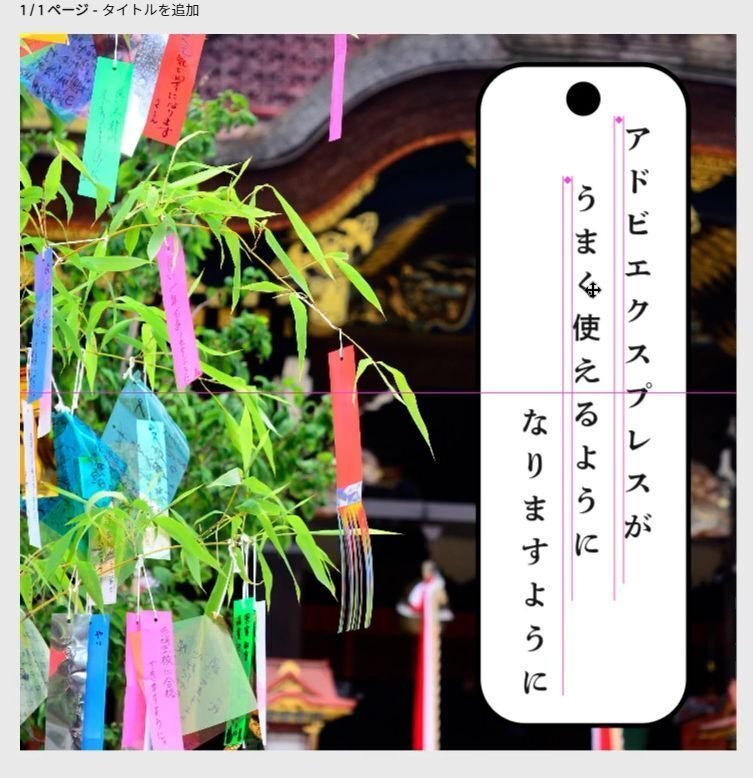
3つのテキストボックスを配置します。
ダウンロード
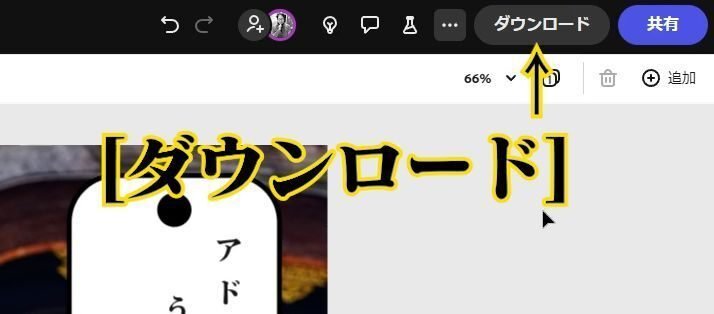
作業が完了したら、ダウンロードします。
[ダウンロード]をクリックします。
ダウンロードのファイル形式は、[PNG(画像向け]でOKです。

[ダウンロード]をクリックします。

ダウンロードが完了しました。
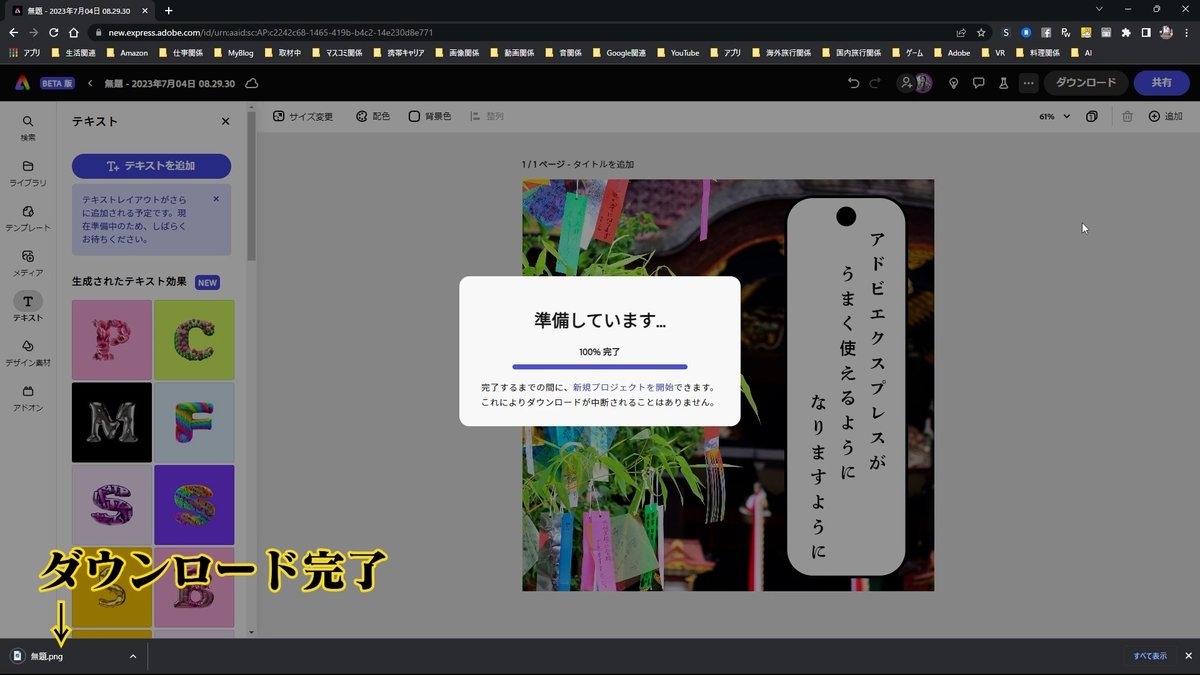
画像を確認します。
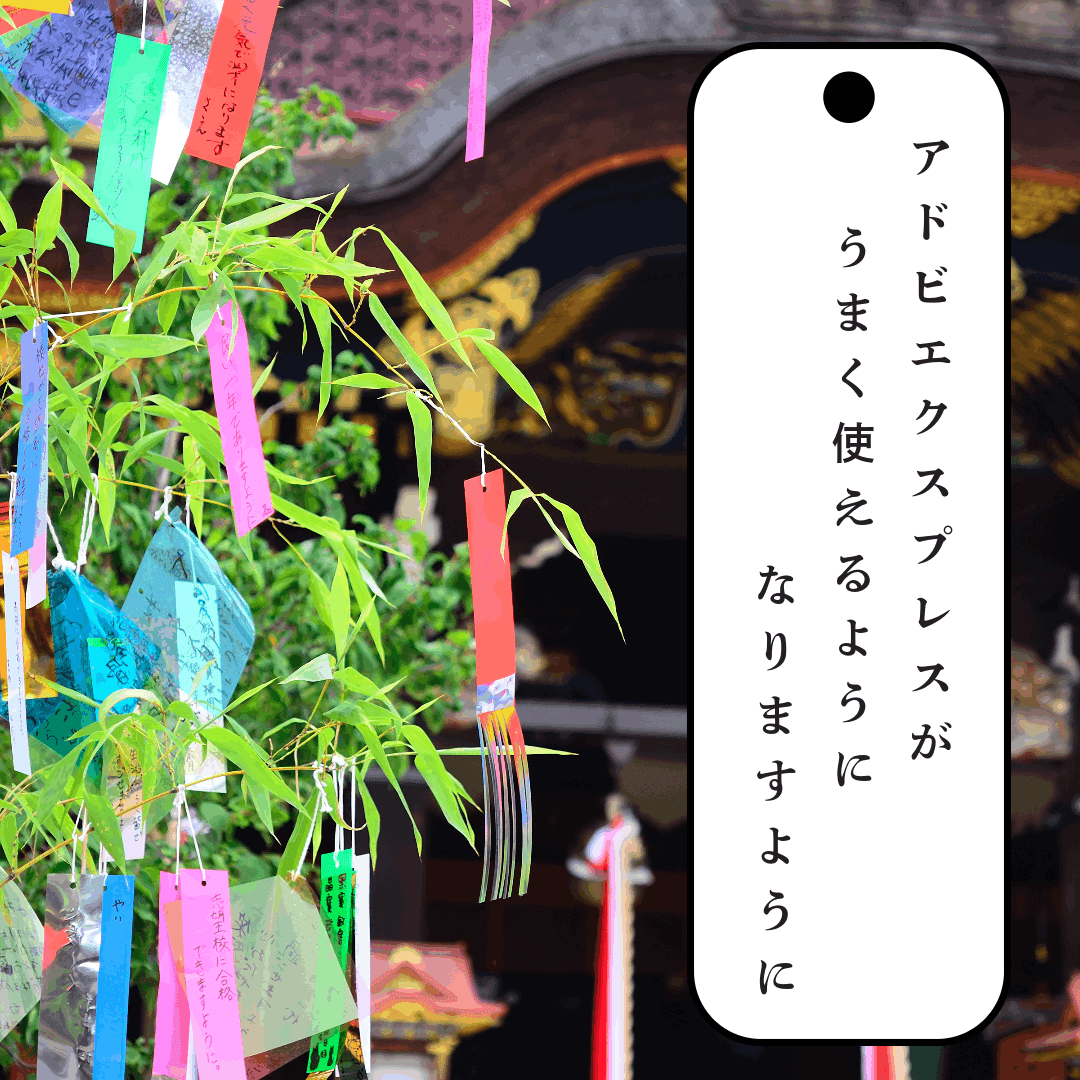
OKですね。
まとめ
AdobeExpressでは、基本、縦書きをサポートしていませんが、今回ご紹介しましたような方法で縦書きにできます。
少し手間がかかりますが・・・。
あなたも縦書きの短冊飾りをつくってみませんか?
下記の解説動画もどうぞご覧ください。
解説動画
Adobe Expressについて
無料プラン
・数千ものユニークなテンプレート、デザインアセット、Adobe Fonts
・豊富な種類の中からメッセージに合わせて選べるAdobe Fonts
・Adobe Stockのロイヤリティフリー無料写真コレクションの一部
・基本編集機能と背景の削除やアニメーション化などの写真効果
・Webとモバイルの両方で作成可能
・2GBのストレージ
プレミアムプラン
1,078円(月々プラン)
10,978円(年間プラン)
・無料アプリの全機能に加えて、以下をご利用いただけます。
・すべてのプレミアムテンプレートとデザインアセット
・Adobe Fontsの2万種類を超えるライセンスフォント、曲線やグリッドを使ったものや2つのフォントを組み合わせたものなど
・Adobe Stockの1億6,000万点を超えるロイヤリティフリー写真の全コレクション
・カットアウトの調整、サイズ変更、グラフィックのグループなどのプレミアム機能
・作成したSNS用の画像や動画の自動公開スケジュールを設定
・タップ1回でブランディング、ロゴ、カラー、フォントを追加
・PDFと他の形式の双方向変換、書き出し
・Creative Cloudライブラリを使用して、テンプレートとアセットを共有
・Webとモバイルの両方で作成可能
・100GBのストレージ
いいなと思ったら応援しよう!