Intel RealSenseで物体検出してみた話

はじめに
なぜこれをやろうとしたのか軽く述べておきます
私は某理系大学の学生でロボットの制御経験があり、将来はエンジニアを目指しているため、プログラミングや制御、電子工作には大変興味があります
そしてこの度、友人から研究のためにRealSenceの環境構築を手伝ってほしいという依頼を受けたので、少し遊んでみたというのが経緯になります
それでは本編へどうぞ
環境
ubuntu 22.04LTS
ROS2 humble
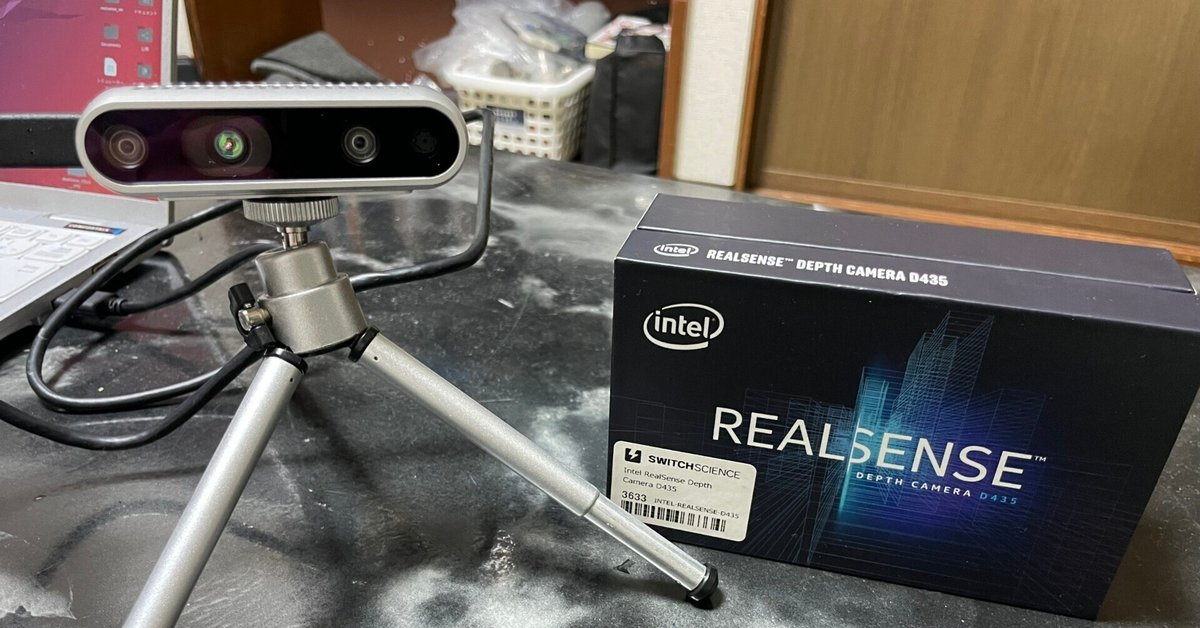
Intel RealSense D435
環境構築の手順
自分の場合はgithubの手順に沿って行いました
以下にリンクを貼っておきますので、詳細はそちらをご覧ください
また、コマンドも載せていますのでターミナルで実行してください
RealSenseのドライバーとライブラリのインストール
# Intel RealSenseリポジトリの追加
sudo apt-get update
sudo apt-get install -y curl
curl -sSf https://raw.githubusercontent.com/intel-ros/realsense/master/realsense.key | sudo apt-key add -
sudo add-apt-repository "deb https://librealsense.intel.com/Debian/apt-repo $(lsb_release -cs) main" -u


# RealSenseパッケージのインストール
sudo apt-get update
sudo apt-get install -y librealsense2-dev librealsense2-utils
sudo apt-get install -y python3-pip python3-dev build-essential cmake git libopencv-dev
Anacondaの準備
# Anacondaをダウンロードしてインストール
wget https://repo.anaconda.com/archive/Anaconda3-2023.03-Linux-x86_64.sh
bash Anaconda3-2023.03-Linux-x86_64.sh

# 仮想環境の作成
conda create -n yolox_realsense python=3.8
conda activate yolox_realsense
PyTorchとその他依存関係のインストール
# PyTorchのインストール(CUDA対応のGPUがある場合)
pip3 install torch torchvision torchaudio

# YOLOXとその他の依存関係
pip install opencv-python
pip install cython
pip install 'git+https://github.com/facebookresearch/pycocotools.git#egg=pycocotools'
git clone https://github.com/Megvii-BaseDetection/YOLOX.git
cd YOLOX
pip install -v -e .
pip install pyrealsense2
ここまでできれば環境構築は終了です
次はpythonのプログラムを書いて実行していきます
実際に用いたコード
import rclpy
from rclpy.node import Node
import cv2
import numpy as np
import pyrealsense2 as rs
from ultralytics import YOLO
from cv_bridge import CvBridge
import time

class RealSenseYOLONode(Node):
    def __init__(self):
        super().__init__('realsense_yolo_node')

        # RealSenseの設定
        self.pipeline = rs.pipeline()
        self.config = rs.config()

        # デバイスの確認と設定
        try:
            # 利用可能なデバイスの検索
            ctx = rs.context()
            devices = ctx.query_devices()
            if len(devices) == 0:
                self.get_logger().error('No RealSense devices found!')
                return

            # 最初のデバイスのシリアル番号を取得
            device = devices[0]
            self.get_logger().info(f'Found device: {device.get_info(rs.camera_info.name)}')

            # ストリームの設定
            self.config.enable_device(device.get_info(rs.camera_info.serial_number))
            self.config.enable_stream(rs.stream.color, 640, 480, rs.format.bgr8, 30)
            self.config.enable_stream(rs.stream.depth, 640, 480, rs.format.z16, 30)

            # 高度な設定
            self.align = rs.align(rs.stream.color)

            # パイプラインの開始
            pipeline_profile = self.pipeline.start(self.config)

            # ストリーミング開始後のウォームアップ待機
            self.get_logger().info('Waiting for device to warm-up...')
            time.sleep(2)

            # デバイスの設定
            device = pipeline_profile.get_device()
            depth_sensor = device.first_depth_sensor()
            depth_sensor.set_option(rs.option.enable_auto_exposure, 1)

            # Advanced modeの設定(利用可能な場合)
            if device.supports(rs.camera_info.product_line):
                advanced_mode = rs.rs400_advanced_mode(device)
                if not advanced_mode.is_enabled():
                    advanced_mode.toggle_advanced_mode(True)
                    time.sleep(1)  # 設定の適用を待機

        except Exception as e:
            self.get_logger().error(f'Error initializing RealSense: {str(e)}')
            return

        # YOLOモデルの読み込み
        try:
            self.model = YOLO('yolov8n.pt')
        except Exception as e:
            self.get_logger().error(f'Error loading YOLO model: {str(e)}')
            return

        # 結果表示用のウィンドウ名
        self.window_name = 'RealSense YOLO Detection'
        cv2.namedWindow(self.window_name, cv2.WINDOW_AUTOSIZE)

        # タイマーの設定(20Hz - より安定した動作のため)
        self.timer = self.create_timer(1/20, self.timer_callback)
        self.get_logger().info('RealSense YOLO Node has been started')

        # フレーム取得失敗回数のカウンター
        self.frame_failure_count = 0
        self.MAX_FAILURES = 5

    def timer_callback(self):
        try:
            # フレームの取得(タイムアウト設定を3秒に延長)
            frames = self.pipeline.wait_for_frames(timeout_ms=3000)
            if not frames:
                self.frame_failure_count += 1
                if self.frame_failure_count >= self.MAX_FAILURES:
                    self.get_logger().error('Multiple frame acquisition failures. Restarting pipeline...')
                    self.restart_pipeline()
                return

            self.frame_failure_count = 0  # 成功したらカウンターをリセット

            # フレームの位置合わせ
            aligned_frames = self.align.process(frames)
            color_frame = aligned_frames.get_color_frame()
            depth_frame = aligned_frames.get_depth_frame()

            if not color_frame or not depth_frame:
                self.get_logger().warn('Invalid frames received')
                return

            # カラー画像をnumpy配列に変換
            color_image = np.asanyarray(color_frame.get_data())
            depth_image = np.asanyarray(depth_frame.get_data())

            # YOLO検出の実行
            results = self.model(color_image)

            # 検出結果の描画
            for result in results:
                boxes = result.boxes
                for box in boxes:
                    x1, y1, x2, y2 = box.xyxy[0]
                    x1, y1, x2, y2 = int(x1), int(y1), int(x2), int(y2)
                    cls = int(box.cls[0])
                    conf = float(box.conf[0])
                    class_name = self.model.names[cls]

                    center_x = (x1 + x2) // 2
                    center_y = (y1 + y2) // 2
                    depth_value = depth_frame.get_distance(center_x, center_y)

                    cv2.rectangle(color_image, (x1, y1), (x2, y2), (0, 255, 0), 2)
                    label = f'{class_name} {conf:.2f} {depth_value:.2f}m'
                    cv2.putText(color_image, label, (x1, y1 - 10),
                              cv2.FONT_HERSHEY_SIMPLEX, 0.5, (0, 255, 0), 2)

            # 結果の表示
            cv2.imshow(self.window_name, color_image)
            key = cv2.waitKey(1)

            if key & 0xFF == ord('q'):
                self.destroy_node()
                rclpy.shutdown()

        except Exception as e:
            self.get_logger().error(f'Error in timer callback: {str(e)}')
            self.frame_failure_count += 1
            if self.frame_failure_count >= self.MAX_FAILURES:
                self.restart_pipeline()

    def restart_pipeline(self):
        """パイプラインを再起動する"""
        try:
            self.pipeline.stop()
            time.sleep(1)
            self.pipeline.start(self.config)
            time.sleep(2)  # ウォームアップ待機
            self.frame_failure_count = 0
            self.get_logger().info('Pipeline successfully restarted')
        except Exception as e:
            self.get_logger().error(f'Failed to restart pipeline: {str(e)}')

    def __del__(self):
        # リソースの解放
        try:
            self.pipeline.stop()
            cv2.destroyAllWindows()
        except:
            pass

def main(args=None):
    rclpy.init(args=args)
    node = RealSenseYOLONode()
    try:
        rclpy.spin(node)
    except KeyboardInterrupt:
        pass
    finally:
        if node:
            node.__del__()
            node.destroy_node()
        rclpy.shutdown()

if __name__ == '__main__':
    main()
正直Pythonはあまり得意ではなく、RealSenceでの開発も初めてだったためだいぶ苦戦しました
無駄な処理等あればご指摘いただけると幸いですm(__)m
また、以下にgithubのリンクも貼っておきます
ご自由にお使いください
コマンドで実行
自分のファイル名はrealsense_yolo_detector.pyだったのでこのファイルがあるパスに移動してターミナルで以下のコマンドを実行します
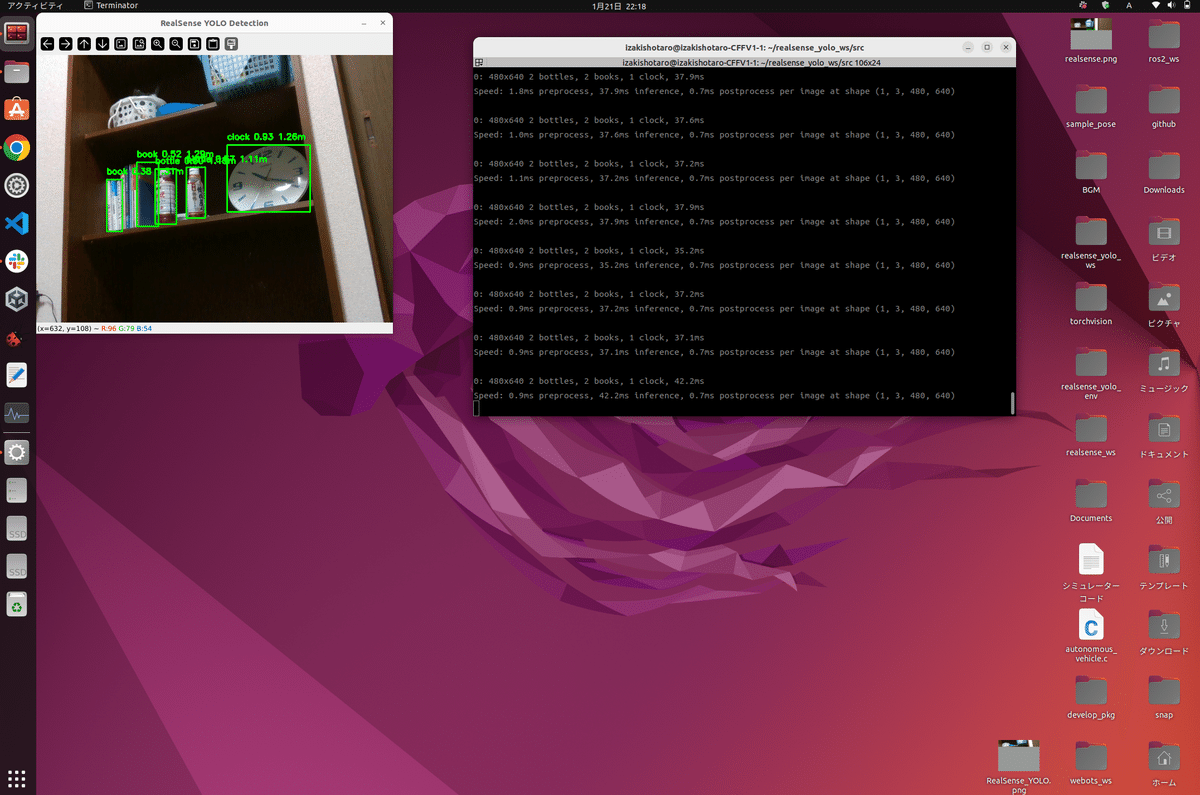
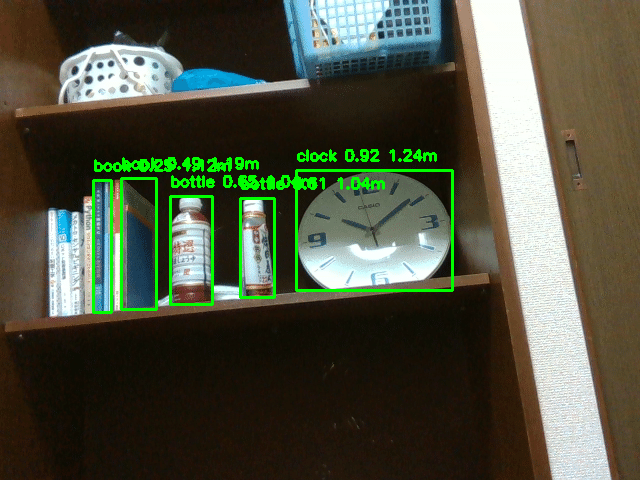
python3 realsense_yolo_detector.pypythonファイルが実行され、Realsenseを用いた物体検出が行われます
これで本編は終了です
お疲れさまでした!
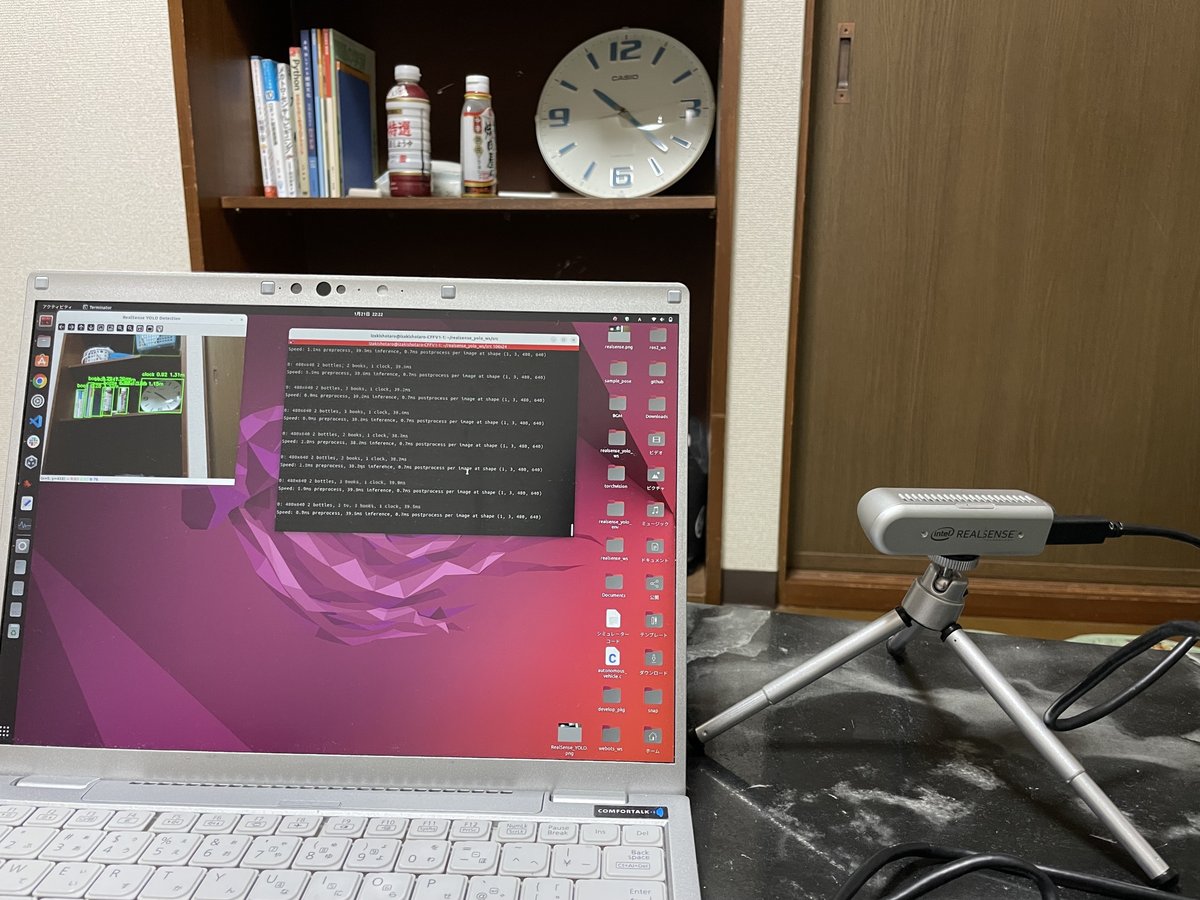
開発環境の写真も載せておきます
最後に
ここまで読んでいただき、ありがとうございました
今回はRealSenceを用いた物体検出の記事を書かせていただきましたが、いかがだったでしょうか
ご指摘等あれば、コメントしていただけると今後の励みになりますので、今後ともよろしくお願いします