WSL2でPano2Roomを試してみる

「1枚のパノラマ画像から高品質の3D屋内シーンを自動的に再構築するように設計された」らしいPano2Roomを試してみます。
使用するPCはドスパラさんの「GALLERIA UL9C-R49」。スペックは
・CPU: Intel® Core™ i9-13900HX Processor
・Mem: 64 GB
・GPU: NVIDIA® GeForce RTX™ 4090 Laptop GPU(16GB)
・OS: Ubuntu22.04 on WSL2(Windows 11)
です。
1. 準備
環境セットアップ
python3 -m venv pano2room
cd $_
source bin/activate
リポジトリをクローン。
git clone https://github.com/TrickyGo/Pano2Room
cd Pano2Room
パッケージのインストールに難航したので、issueにて問合せ。
提示頂いたものも含め、インストールしたパッケージはこちら。
pip install -r requirements.txt
#
pip install torch torchvision clip opencv-python open3d trimesh timm h5py kornia albumentations==0.5.2 webdataset omegaconf easydict pytorch-lightning diff-users icecream plyfile
pip install wheel
pip install git+https://github.com/camenduru/simple-knn
pip install git+https://github.com/facebookresearch/pytorch3d.git
pip install git+https://github.com/NVlabs/tiny-cuda-nn/#subdirectory=bindings/torch
pip install git+https://github.com/JonathonLuiten/diff-gaussian-rasterization-w-depth

# https://github.com/TrickyGo/Pano2Room/issues/1#issuecomment-2311337071
pip install transformers
pip install tifffile==2023.7.10
pip install imageio==2.31.5
pip install imageio-ffmpeg==0.4.7
# for run SDFT scripts
pip install datasets peft xformers
ソースコードの改修
githubにcommitされるかとは思いますが、未なので、gaussian_renderer/__init__.pyファイルに対して以下の修正を行います。
diff --git a/gaussian_renderer/__init__.py b/gaussian_renderer/__init__.py
index 6524f5d..1ef9bcb 100644
--- a/gaussian_renderer/__init__.py
+++ b/gaussian_renderer/__init__.py
@@ -11,7 +11,7 @@

 import torch
 import math
-from depth_diff_gaussian_rasterization_min import GaussianRasterizationSettings, GaussianRasterizer
+from diff_gaussian_rasterization import GaussianRasterizationSettings, GaussianRasterizer
 from scene.gaussian_model import GaussianModel
 from utils.sh import eval_sh

@@ -45,7 +45,8 @@ def render(viewpoint_camera, pc: GaussianModel, opt, bg_color: torch.Tensor, sca
         sh_degree=pc.active_sh_degree,
         campos=viewpoint_camera.camera_center,
         prefiltered=False,
-        debug=opt.debug
+        debug=False
+        #debug=opt.debug
     )

     rasterizer = GaussianRasterizer(raster_settings=raster_settings)
モデルのダウンロード
Dropboxに3つのckptファイルがアップロードされています。pre_checkpoints
ブラウザ経由でダウンロードします。
big-lama.ckpt
omnidata_dpt_depth_v2.ckpt
omnidata_dpt_normal_v2.ckpt
3つをまとめてダウンロード(4GBほど)すると、ファイル名がpre_checkpoint.zipとして保存されますので、これをunzipコマンドでcheckpointsディレクトリに展開します。
unzip -d ./checkpoints /path/to/pre_checkpoint.zip2. 試してみる - デモ
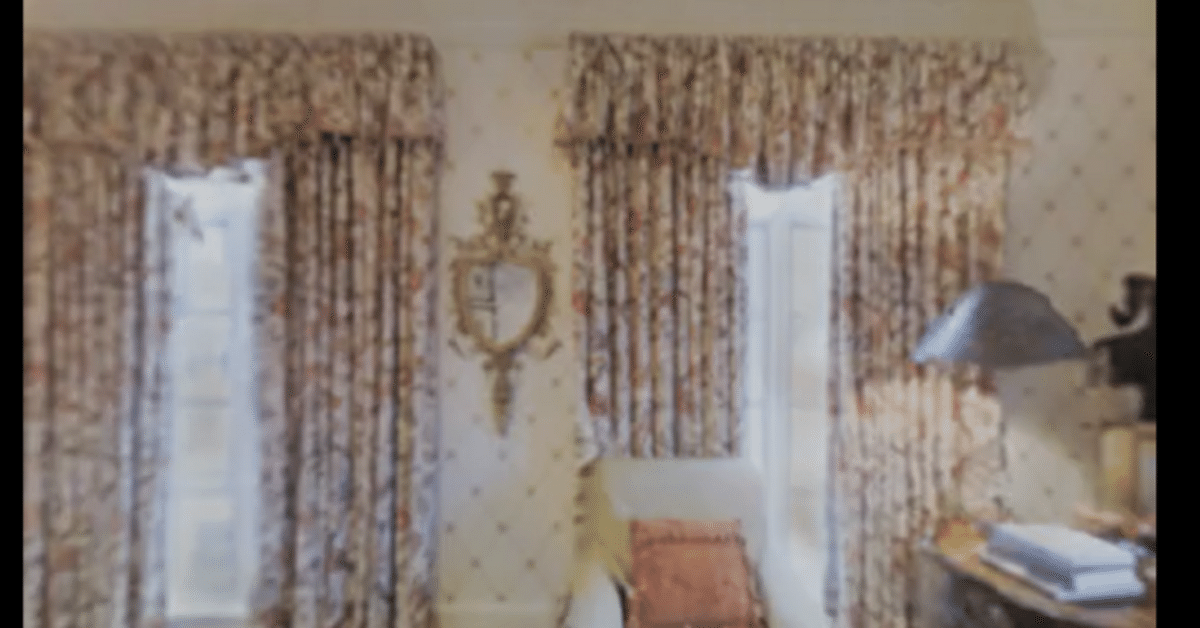
試す前に、入力で使用されるサンプル画像を見ておきましょう。
(1) scripts/run_Pano2Room.sh
では、デモを実行してみます。
$ cat ./scripts/run_Pano2Room.sh
CUDA_VISIBLE_DEVICES=0 python pano2room.py
$ time bash ./scripts/run_Pano2Room.sh
13分半ほど経過すると…。
Reading Training Transforms
Loading Training Cameras
Loading Preset Cameras
Number of points at initialisation : 2240835
Result saved at: output/Pano2Room-results
real 13m34.802s
user 16m29.537s
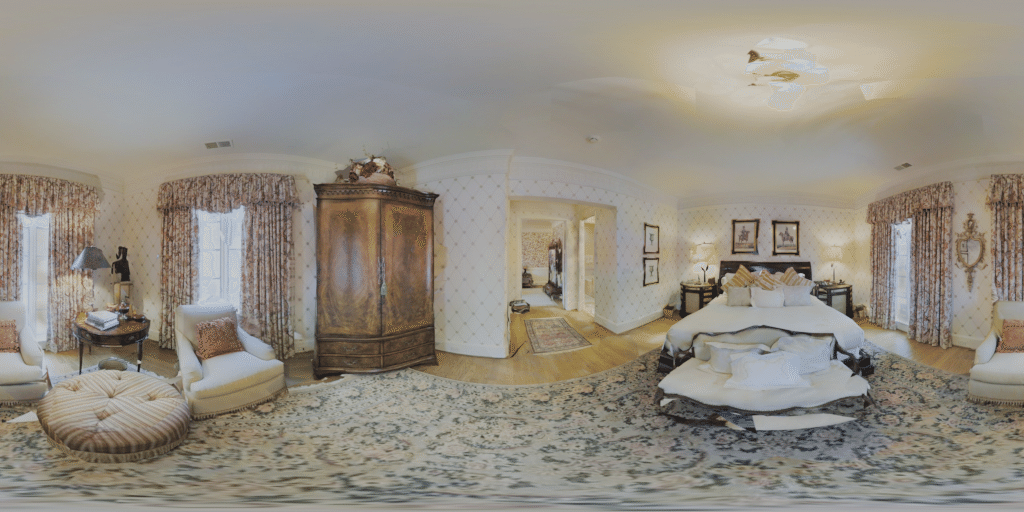
sys 1m3.830s終了しました。output/Pano2Room-resultsディレクトリに画像及び動画が保存されているとのことなので確認します。
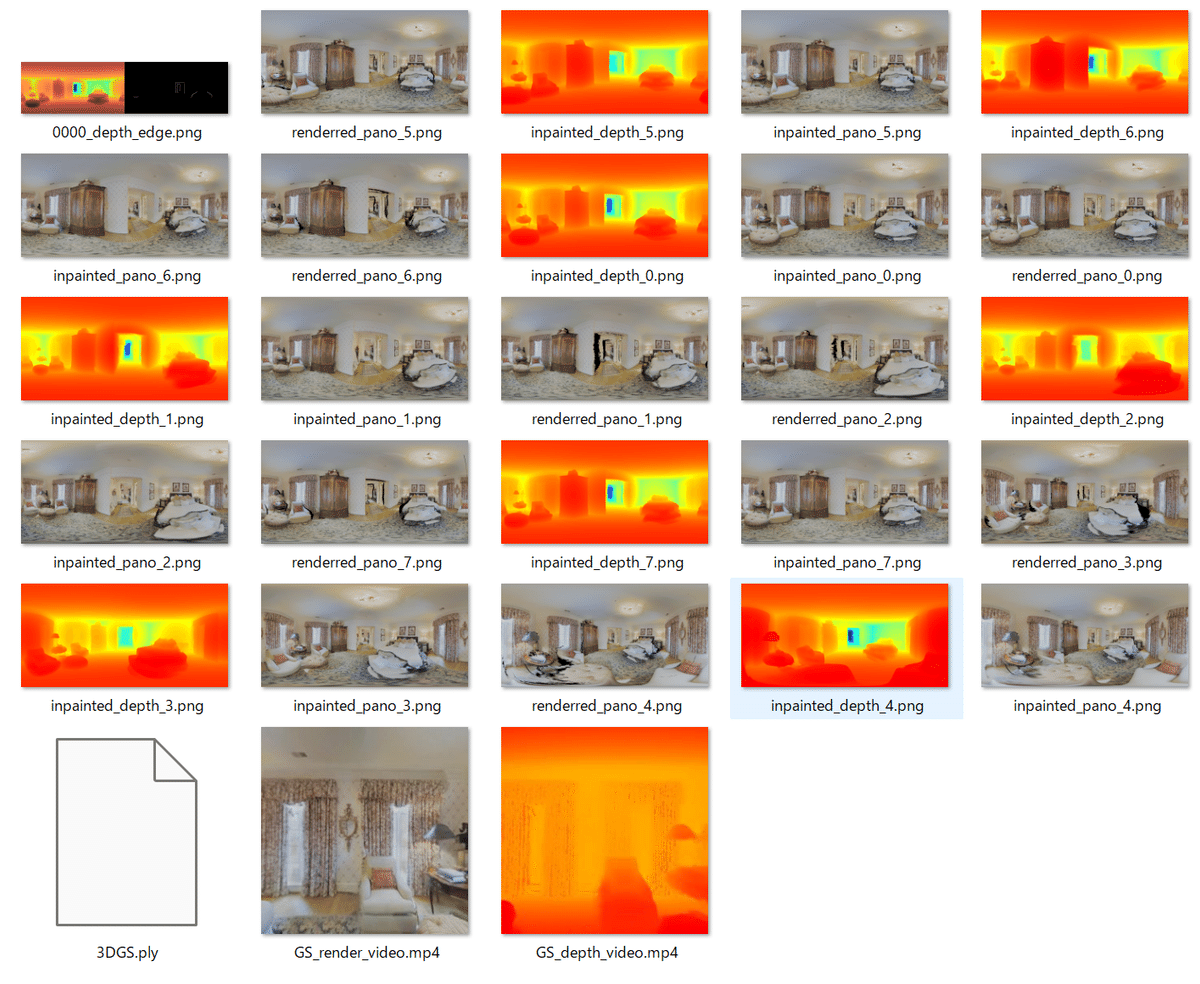
動画はこちら。
Pano2Roomhttps://t.co/k4N9iAhHkl
— NOGUCHI, Shoji (@noguchis) August 27, 2024
作者の方から回答(ありがとうございます)を得て再試行。デモ "scripts/run_Pano2Room.sh" が正常終了することの確認はできました。
4090でmax 12.9GB、13分半ぐらい。 pic.twitter.com/gEPUuXu3vP
RTX 4090(24GB)使用で、最大12.9GB、デモの時間は13分30秒ほどでした。
3. 試してみる - fine tuning & training
(1) scripts/create_SDFT_pairs.sh
(1)のスクリプトを実行する前に、SD Inpainterモデルを微調整することで、パノラマのInpainting Performanceを向上させることができる、らしい。
まず、教師あり学習のペアを作成します。
$ cat ./scripts/create_SDFT_pairs.py
time CUDA_VISIBLE_DEVICES=0 python create_SDFT_pairs.py
$ time bash ./scripts/create_SDFT_pairs.py
約9分ほどで、終了。
real    8m54.354s
user    9m27.950s
sys     0m10.071s
(2) scripts/train_SDFT.sh
学習の実施前に、accelerateの設定ファイルを確認しましょう。
$ cat scripts/accelerate.yaml
compute_environment: LOCAL_MACHINE
debug: false
distributed_type: 'NO'
downcast_bf16: 'no'
gpu_ids: '4'
machine_rank: 0
main_training_function: main
# mixed_precision: fp16
num_machines: 1
num_processes: 1
rdzv_backend: static
same_network: true
tpu_env: []
tpu_use_cluster: false
tpu_use_sudo: false
use_cpu: false
$
おっと、gpu_idsが '4' となっています。これだとxformers内でtorchくんが「gpuが見つからん!けしからん!」と発狂してしまうので、'0' に修正します。
では、scriptを実行しましょう。
$ cat ./scripts/train_SDFT.sh
accelerate launch --config_file scripts/accelerate.yaml train_SDFT.py
$ time bash ./scripts/train_SDFT.sh
約6分ほどで終了。
------------------------------------------------------------
Total trainable parameters: 3.19488M of 869.120004M.
============================================================
Map: 100%|██████████████████████████████████████████████████████████████████████████| 30/30 [00:02<00:00, 12.81 examples/s]1
08/27/2024 12:58:48 - INFO - __main__ - ***** Running training *****
08/27/2024 12:58:48 - INFO - __main__ - Num examples = 30
08/27/2024 12:58:48 - INFO - __main__ - Num Epochs = 100
08/27/2024 12:58:48 - INFO - __main__ - Instantaneous batch size per device = 8
08/27/2024 12:58:48 - INFO - __main__ - Total train batch size (w. parallel, distributed & accumulation) = 64
08/27/2024 12:58:48 - INFO - __main__ - Gradient Accumulation steps = 8
08/27/2024 12:58:48 - INFO - __main__ - Total optimization steps = 100
Steps: 100%|███████████████████████████████████████████████| 100/100 [05:38<00:00, 3.38s/it, lr=0.00056, step_loss=0.0317]Model weights saved in output/SDFT_weights/pytorch_lora_weights.safetensors
Steps: 100%|███████████████████████████████████████████████| 100/100 [05:38<00:00, 3.39s/it, lr=0.00056, step_loss=0.0317]
real 5m51.280s
user 4m26.314s
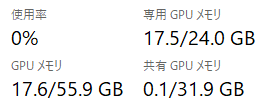
sys 1m25.909s学習時のVRAM使用量は17.5GBほど。
重みができました。
$ ls -l output/SDFT_weights/pytorch_lora_weights.safetensors
-rw-r--r-- 1 user user 12798552 Aug 27 13:04 output/SDFT_weights/pytorch_lora_weights.safetensors
$
(3) scripts/run_Pano2Room.sh
こちらのscriptを実行すると自動的にoutputディレクトリに出力された重みを勝手にロードするとのこと。確かに、見込んでいそうなので信じます。
$ cat ./modules/inpainters/SDFT_inpainter.py
(snip)
        SDFT_path = f"output/SDFT_weights"
        if os.path.exists(SDFT_path):
            pipe.load_lora_weights(SDFT_path)
(snip)
$
実行します。
$ time bash ./scripts/run_Pano2Room.shできましたが、違いが分からん…。
おまけ
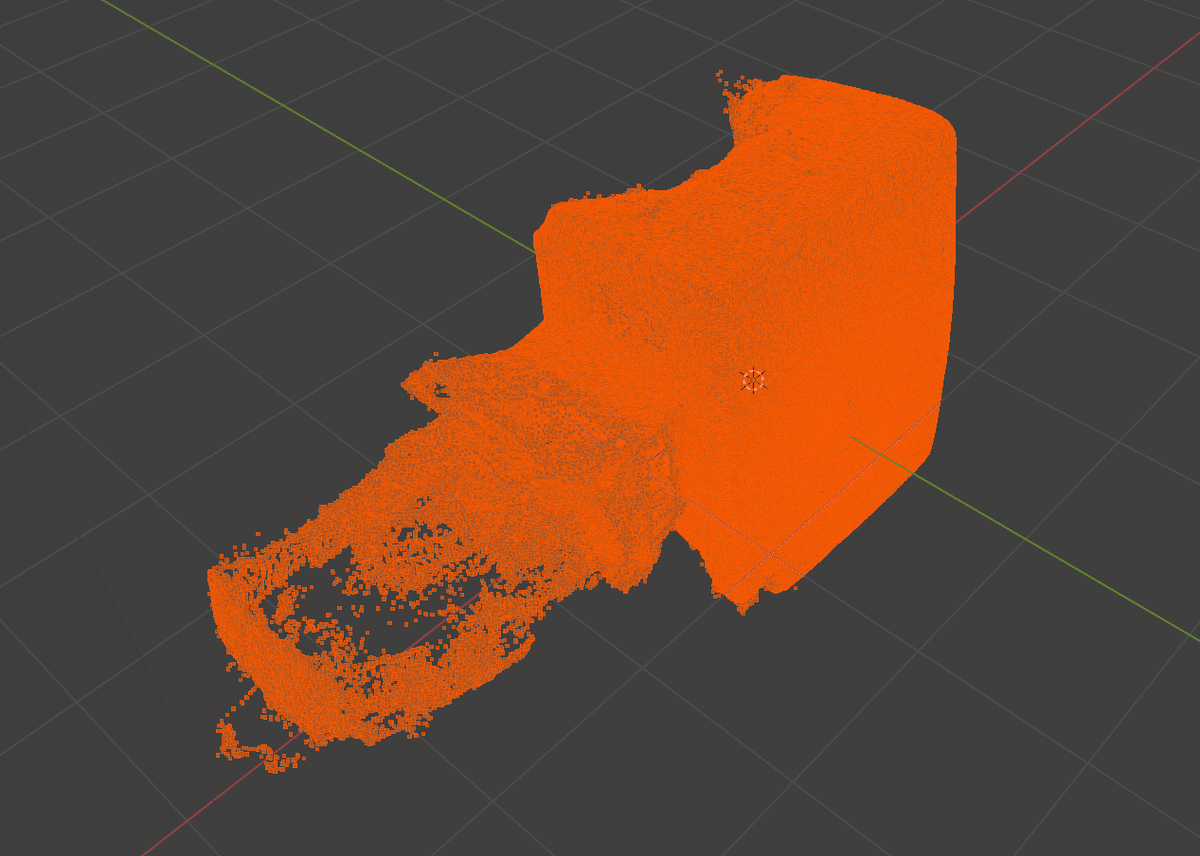
.plyをBlenderで開いた図。