Vuetifyで作成したアプリケーションをGithub Pagesで公開する

はじめまして!
むげこです。
今回は、Vuetifyで作成したアプリケーションを
Github Pagesを通して、公開する方法を伝授します。
できる限り難しい言葉は使いません。
本来の意味とは異なる表現もあるかもしれませんが、
「わかりやすい」をモットーに記載しています。
キーワード:
Vue.js, Vuetify, Github, Github Pages, 公開
主な流れ
Githubに新しいリポジトリ(保存場所)を作成する
ローカル(自分のPC)とリモート(Github)とを連携させる
Vue.jsの新しいプロジェクトを作成する
必要な設定ファイルを作成する
SSH接続に必要な鍵を作成する
デプロイを実行(アプリを公開)する
Vuetifyを導入して、ファイルの変更をさらに実装する
1. Githubに新しいリポジトリ(保存場所)を作成する
https://github.co.jp/にアクセスする
サインイン(ログイン)する
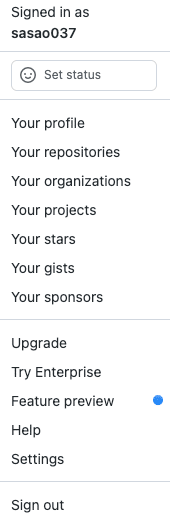
*サインアップから無料で新規登録できますプロフィールからリポジトリを開く

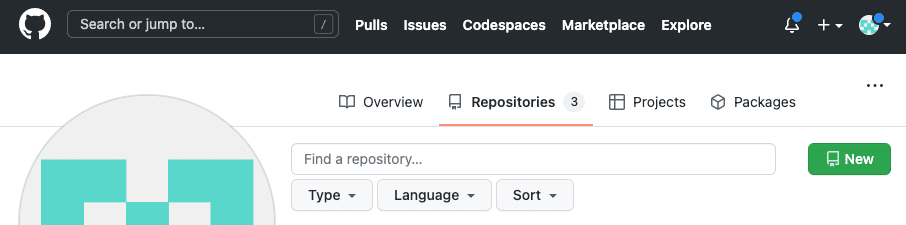
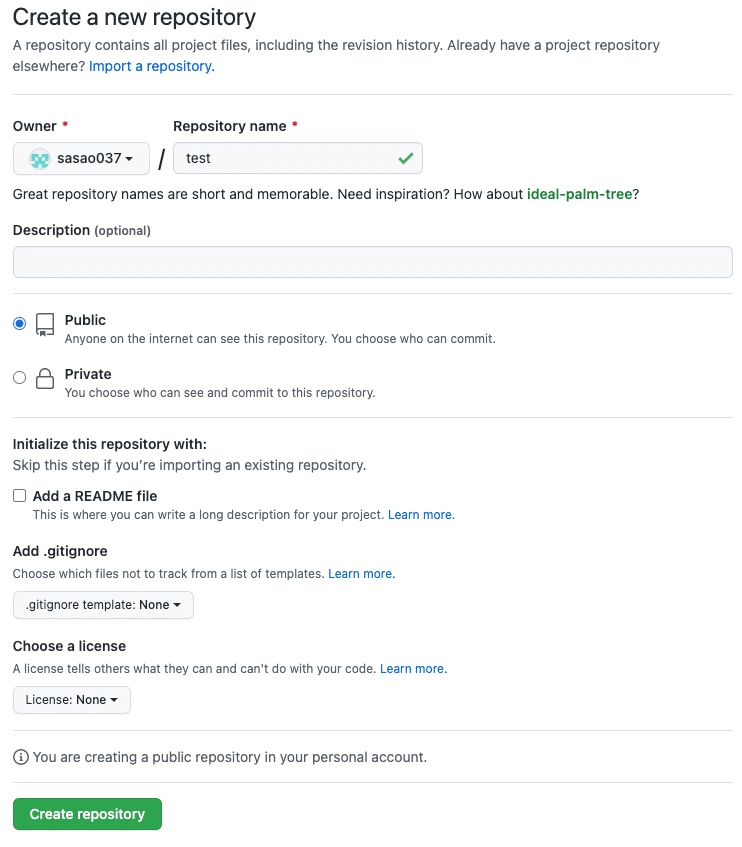
リポジトリを作成する
2. ローカル(自分のPC)とリモート(Github)とを連携させる
SSHに切り替えて、このレポジトリのURLをコピーしておく

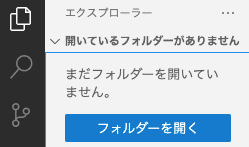
Visual Studio Codeを開いて、フォルダーを指定する
新しいターミナルを開く

先程コピーしておいた、レポジトリのURLを使ってコマンドを実行する
$ git clone git@github.com:sasao037/test.git
3. Vue.jsの新しいプロジェクトを作成する
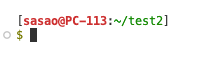
ディレクトリを移動する
$ cd testnpmがインストールされているかを確認する
$ npm ls -g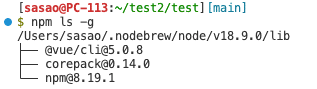
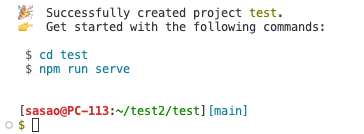
新しいプロジェクトを作成する
$ vue create test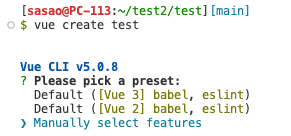
今回は、マニュアルで設定します。

4. 必要な設定ファイルを作成する
ここから先は
1,353字
/
15画像
¥ 300
この記事が気に入ったらチップで応援してみませんか?