
TinyViewPlusにしゃべってもらう

TinyViewPlusは、OSCで文字列を送ることによってしゃべってくれる機能が付いています。M5Stickが余っていたのでセリフを送るリモコンを作ってみました。

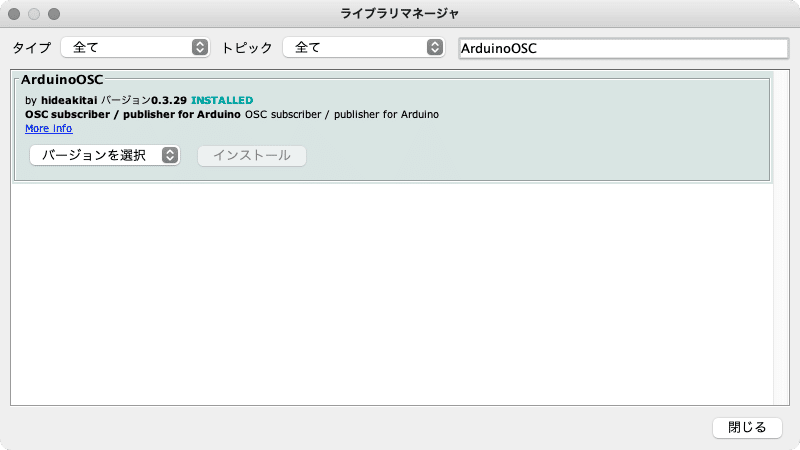
ライブラリにESPmDNSが入ってなかったら、一緒にインストールしておいてください


CODE
const char* ssid = "myssid"; // Wi-FiのSSID
const char* password = "mypassword"; // Wi-Fiのパスワード
const String oscHost = "TniyViewPlusHostname"; //TinyViewPlusのホスト名(.localなし)
String serif1 = "コース内を障害物が移動しています、ご注意ください";//Aボタンのセリフ
String serif2 = "コース内の障害物がなくなりました、かっとばしてください";//Bボタンのセリフ

#include <ArduinoOSCWiFi.h>
#include <ESPmDNS.h>
#include <M5StickCPlus.h>

String ip4 = "";

void setup()
{
M5.begin();
  Serial.begin(115200);
  WiFi.begin(ssid, password );
  while (WiFi.status() != WL_CONNECTED) {
    Serial.print(".");
    delay(500);
  }

  MDNS.begin("OSC_sender");
  const IPAddress ip3 = MDNS.queryHost(oscHost);
  ip4 = String(ip3[0]) + "." + String(ip3[1]) + "." + String(ip3[2]) + "." + String(ip3[3]) ;
  Serial.print(ip4);
}

void loop()
{
  M5.update();
  if (M5.BtnA.wasReleased()) {
    OscWiFi.send(ip4, 4000, "/v1/speech/jp/say", serif1);
  }
  if (M5.BtnB.wasReleased()) {
    OscWiFi.send(ip4, 4000, "/v1/speech/jp/say", serif2);
  }
//ここから下はバッテリー電圧の表示部分なので必要なければ削除
  M5.Lcd.setCursor(8, 137, 1);
  M5.Lcd.setTextSize(2);
  if(M5.Axp.GetWarningLevel())
        {
          M5.Lcd.setTextColor( RED,BLACK);
        }else{
          M5.Lcd.setTextColor( GREEN,BLACK);
        }
    M5.Lcd.printf("vbat:%.2fV\r\n", M5.Axp.GetBatVoltage());
//ここまでバッテリー電圧の表示部分
}