laravel + inertia + react のbootcampを見る (その2: Chirpsを作っていく)

の続き。オフィシャルドキュメントは
https://bootcamp.laravel.com/inertia/creating-chirps とか
まず大前提として(ログインの話)
このドキュメントにはあんまり詳しく書いてないけどログインのシステムは全部Breezeが書いたものを使う。だから、ログインできるようにしておかないといけない。今migrationが通っているのは多分前段階で確認できているはずだ。
% ./vendor/bin/sail artisan migrate:freshmigrate:freshとかすると何度でも全消し全入れするから開発には向いているかもしれないね。
で、今ユーザーが存在しない。Breezeが書いたregistrationのリンクを使って一々登録してもいいけど、seedを使った方が速い。
database/seeders/DatabaseSeeder.php
<?php

namespace Database\Seeders;

// use Illuminate\Database\Console\Seeds\WithoutModelEvents;
use Illuminate\Database\Seeder;

class DatabaseSeeder extends Seeder
{
    /**
     * Seed the application's database.
     */
    public function run(): void
    {
        // \App\Models\User::factory(10)->create();

        // \App\Models\User::factory()->create([
        //     'name' => 'Test User',
        //     'email' => 'test@example.com',
        // ]);
    }
}
このような記載があるから、これを使ってしまう。コメントを外せばok
    public function run(): void
    {
        // \App\Models\User::factory(10)->create();

        \App\Models\User::factory()->create([
            'name' => 'Test User',
            'email' => 'test@example.com',
        ]);
    }
パスワードは?というと、これはUserのfactoryから作っているのでfactoryを参照する事。database/factories/UserFactory.php
    public function definition(): array
    {
        return [
            'name' => fake()->name(),
            'email' => fake()->unique()->safeEmail(),
            'email_verified_at' => now(),
            'password' => '$2y$10$92IXUNpkjO0rOQ5byMi.Ye4oKoEa3Ro9llC/.og/at2.uheWG/igi', // password
            'remember_token' => Str::random(10),
        ];
    }
こんな感じで パスワードは // password だよって書いてくれてるので以上でseedした場合は
ID: test@example.com
PW: password
となる。seed付きでDBをリセットする場合は
./vendor/bin/sail artisan migrate:fresh --seedとかになる。これでログイン可能だろう。
ちなみに
お気づきの通り?bootcampのドキュメントにせよ最近のphpは戻り型宣言を結構しつこく行うので、ここでもそのようにする。
モデル、コントローラー、route
php artisan make:model -mrc Chirpこのようにしてモデルの作成およびリソース付きコントローラーを一気に作成している。(の前にBreezeでドバっと認証のテンプレートを作った場合はgit にcommitしといた方がいいかも)
以下はsailでの出力
% ./vendor/bin/sail artisan make:model -mrc Chirp

   INFO  Model [app/Models/Chirp.php] created successfully.

   INFO  Migration [database/migrations/2023_08_03_184115_create_chirps_table.php] created successfully.

   INFO  Controller [app/Http/Controllers/ChirpController.php] created successfully.
となる。
routes/web.phpの設定
さて、routes/web.phpである。ここがInertiaのInertiaたるところで、ルーティングは全部laravelのroutes/web.phpがやるのだ。だから、Blade使ってた人には特に入りやすいのである。なお、オフィシャルドキュメントでは
<?php

use App\Http\Controllers\ChirpController;
use Illuminate\Foundation\Application;
use Illuminate\Support\Facades\Route;
use Inertia\Inertia;
 ...
Route::get('/dashboard', function () {
    return Inertia::render('Dashboard');
})->middleware(['auth', 'verified'])->name('dashboard');

Route::resource('chirps', ChirpController::class)
    ->only(['index', 'store'])
    ->middleware(['auth', 'verified']);

require __DIR__.'/auth.php';
という具合にonlyでindexとstoreのみを許容しているが、まあこれは別にあってもなくてもいい(どうせ生やしたりするから)。ただまあ今何をやってるのかがわかりやすいようにするにはこういうのもありかもしれない。
% git diff routes/
diff --git a/routes/web.php b/routes/web.php
index 9f834ee..d416de4 100644
--- a/routes/web.php
+++ b/routes/web.php
@@ -1,5 +1,6 @@
 <?php

+use App\Http\Controllers\ChirpController;
 use App\Http\Controllers\ProfileController;
 use Illuminate\Foundation\Application;
 use Illuminate\Support\Facades\Route;
@@ -29,6 +30,10 @@
     return Inertia::render('Dashboard');
 })->middleware(['auth', 'verified'])->name('dashboard');

+Route::resource('chirps', ChirpController::class)
+    ->only(['index', 'store'])
+    ->middleware(['auth', 'verified']);
+
 Route::middleware('auth')->group(function () {
     Route::get('/profile', [ProfileController::class, 'edit'])->name('profile.edit');
     Route::patch('/profile', [ProfileController::class, 'update'])->name('profile.update');
ChirpControlle@index へのリンク
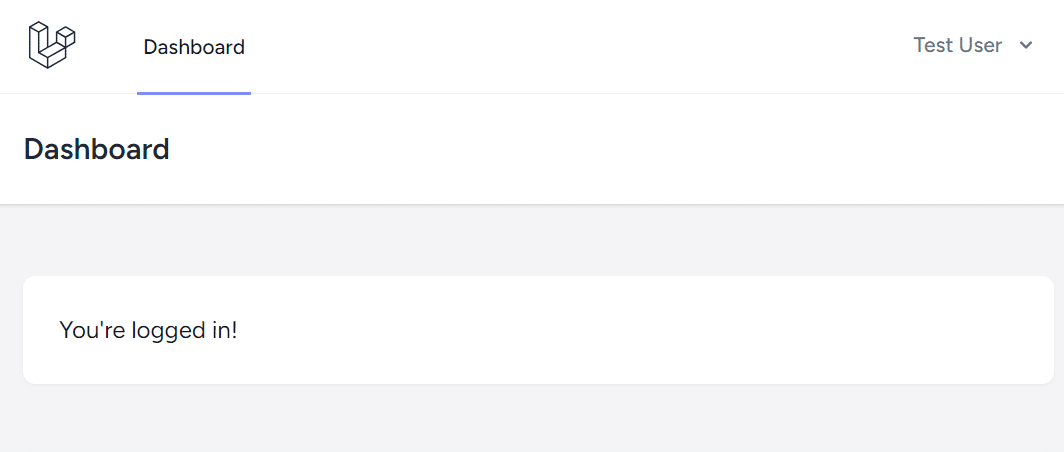
さてさて、そうしたらログインしたところのメニューをみてみよう。今こうなっているはずだ。
このDashboardの隣にChirpsへのリンクを貼る。これは resources/js/Layouts/AuthenticatedLayout.jsx で行っている
<div className="hidden space-x-8 sm:-my-px sm:ml-10 sm:flex">
    <NavLink href={route('dashboard')} active={route().current('dashboard')}>
        Dashboard
    </NavLink>
</div>
この部分に対して増やしていく
<div className="hidden space-x-8 sm:-my-px sm:ml-10 sm:flex">
    <NavLink href={route('dashboard')} active={route().current('dashboard')}>
        Dashboard
    </NavLink>
    <NavLink href={route('chirps.index')} active={route().current('chirps.index')}>
        Chirps
    </NavLink>
</div>
このようにlaravelのrouteをそのまま使えてしまうのがInertiaである。
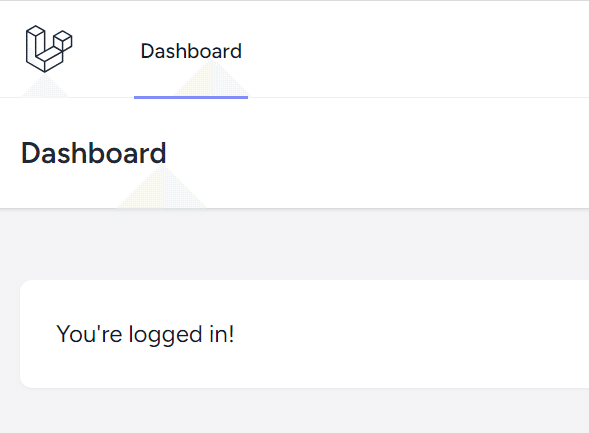
そうするとこんな感じになるはずだ。

ただし、現状このメニューを押しても何の反応もない。こればBladeの人からすると奇妙に見えるけど、こういうものなんです。
class ChirpController extends Controller
{
    /**
     * Display a listing of the resource.
     */
    public function index()
    {
        return "test";
    }
とか何らかをindexから返してあげると…
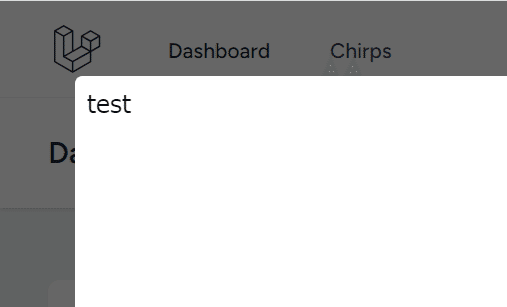
このように表示されてくる。これを踏まえてChirpsをいい感じに作成していく。
Chirpsのview(コンポーネント)を作成していく
まず今
    public function index()
    {
        return "test";
    }
のようなそっけない感じになっているので、これを何とかする。戻り型宣言もさっそく付いてないので、この辺も何とかしてみよう。
<?php

namespace App\Http\Controllers;

use App\Models\Chirp;
use Illuminate\Http\Request;
use Inertia\Inertia;
use Inertia\Response;

class ChirpController extends Controller
{
    /**
     * Display a listing of the resource.
     */
    public function index(): Response
    {
        return Inertia::render('Chirps/Index', [
            //
        ]);
    }
このようにする事でBladeライクな感じのview指定ができる。これはresources/js/Pages/Chirps/Index.jsx を参照するからこれを作成する。
import React from 'react';
import AuthenticatedLayout from '@/Layouts/AuthenticatedLayout';
import InputError from '@/Components/InputError';
import PrimaryButton from '@/Components/PrimaryButton';
import { useForm, Head } from '@inertiajs/react';
export default function Index({ auth }) {
const { data, setData, post, processing, reset, errors } = useForm({
message: '',
});
const submit = (e) => {
e.preventDefault();
post(route('chirps.store'), { onSuccess: () => reset() });
};
return (
<AuthenticatedLayout user={auth.user}>
<Head title="Chirps" />
<div className="max-w-2xl mx-auto p-4 sm:p-6 lg:p-8">
<form onSubmit={submit}>
<textarea
value={data.message}
placeholder="What's on your mind?"
className="block w-full border-gray-300 focus:border-indigo-300 focus:ring focus:ring-indigo-200 focus:ring-opacity-50 rounded-md shadow-sm"
onChange={e => setData('message', e.target.value)}
></textarea>
<InputError message={errors.message} className="mt-2" />
<PrimaryButton className="mt-4" disabled={processing}>Chirp</PrimaryButton>
</form>
</div>
</AuthenticatedLayout>
);
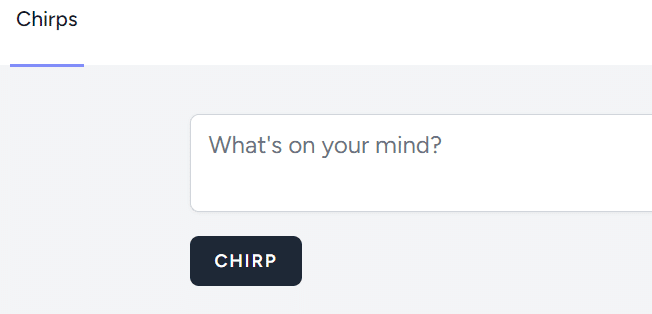
}BootcampのコードをそのままコピペでOK。すると、こんな感じのフォームになるだろう
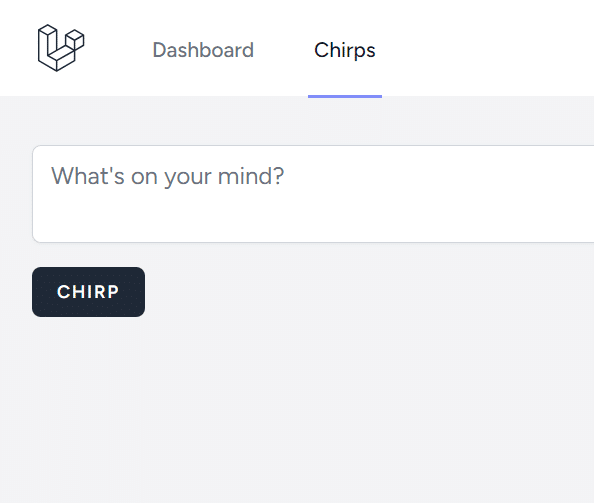
この、returnしているhtmlのようでhtmlではないjsxというのを書いていくのがreactの作法である。まあ、Blade以外を選択したのだから、2つの言語やらフレームワークやらを同時にやらにゃならないのは仕方ないが、最初はとにかくコピペっぽいので済まして重要な所だけをピックアップしていこう。
投稿の保存(store)
そうしたら、まずpostの状態を確認する。なお、投稿自体は
    const submit = (e) => {
        e.preventDefault();
        post(route('chirps.store'), { onSuccess: () => reset() });
    };
この箇所で行っている。onSuccessについては後で見てみよう。
    public function store(Request $request)
    {
        dd($request->all());
    }
こうすると
array:1 [▼ // app/Http/Controllers/ChirpController.php:35
  "message" => "test"
]
このようになり、messageに対応するデーターが投入されている。ここまでくればlaravelのアプリを散々書いてきた人ならもう何をすべきかはわかると思うが、その前にDBの構造が必要だった。
chirpsの構造を作る
    public function up(): void
    {
        Schema::create('chirps', function (Blueprint $table) {
            $table->id();
            $table->foreignId('user_id')->constrained()->cascadeOnDelete();
            $table->string('message');
            $table->timestamps();
        });
    }
これはdatabase/migrations/2023_08_03_184115_create_chirps_table.phpとかそういうファイルである。タイムスタンプになっているのでmigrationした日時でファイル名は変わる。いずれにせよ、user_idとmessageの2つを保存する感じだ。これを与えたらmigrationをfreshしておく。
modelのfillable
app/Models/Chirp.php
<?php

namespace App\Models;

use Illuminate\Database\Eloquent\Factories\HasFactory;
use Illuminate\Database\Eloquent\Model;

class Chirp extends Model
{
    use HasFactory;

    protected $fillable = [
        'message',
    ];
}
このように追加する
いよいよ保存
use Illuminate\Http\RedirectResponse;
//...
    public function store(Request $request): RedirectResponse
    {
        $validated = $request->validate([
            'message' => 'required|string|max:255',
        ]);

        $request->user()->chirps()->create($validated);

        return redirect(route('chirps.index'));
    }
このように、執拗に戻り型を宣言しているのでuseしている。あとはvalidationをここでやるのかっていうのは後で考えていいとして、とりあえず最低限validationをしてredirectを行っている。これは従来のbladeでもよくみられた方法であるがコードの内容がほとんどapi的な手法では無い点に注目したい。
relationship
今
$request->user()->chirps()->create($validated);このような保存方法を取っている。これはrelationを一緒に設定してしまうパターンで要するに自動的にuser_idも入れるという処理だが、これはリレーションシップを正しく設定してないと動作しない
use Illuminate\Database\Eloquent\Relations\HasMany;
//...
    public function chirps(): HasMany
    {
        return $this->hasMany(Chirp::class);
    }
このように定義する。ここで戻り型をしつこく定義している。
保存できるかテスト
まず、何も書かないパターン
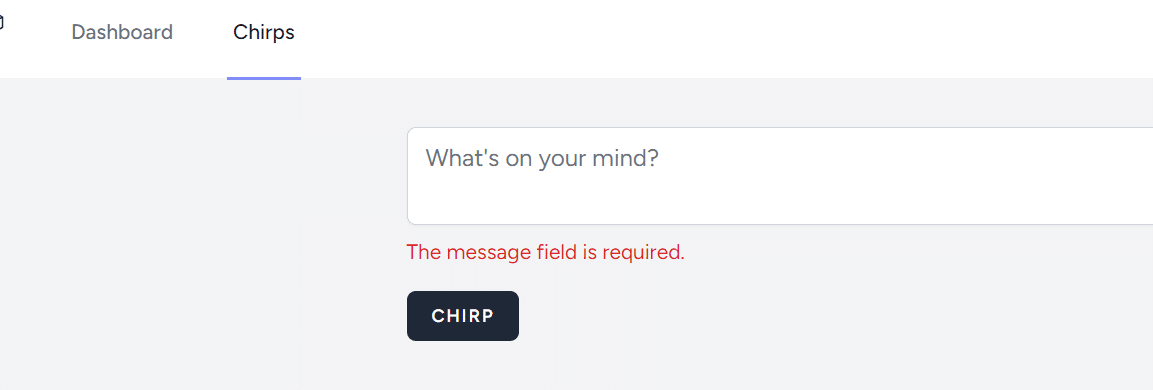
このようにInertiaではvalidationエラーをbladeのようにつかまえられるので、あとはいい感じに出してあげればいい
これは resources/js/Pages/Chirps/Index.jsx
<InputError message={errors.message} className="mt-2" />
この辺に定義されている。
では何か書いてみよう
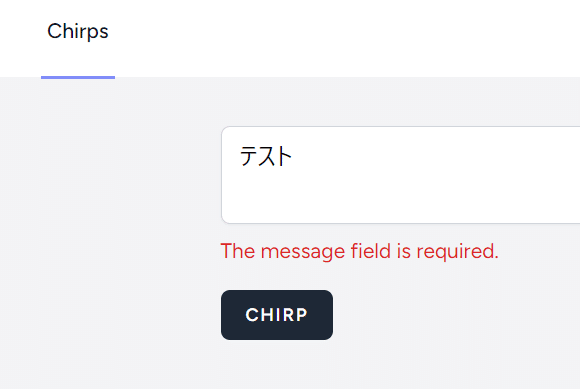
今、「テスト」と入力したがredirectによってindexに戻ってきたことによって内容が消滅した。この状態では正しく書き込みができてるかどうか確認できないので、tinkerなんかで確認してみよう(別にその他の方法でDBを直接確認してもいいが)
% ./vendor/bin/sail artisan tinker
CPsy Shell v0.11.20 (PHP 8.2.7 — cli) by Justin Hileman
> Chirp::all()

   Error  Class "Chirp" not found.
さて、このようになった場合は一度tinkerを抜けてdump-autoloadする
   INFO  Goodbye.

% ./vendor/bin/sail composer dump-autoload
Generating optimized autoload files
> Illuminate\Foundation\ComposerScripts::postAutoloadDump
> @php artisan package:discover --ansi

   INFO  Discovering packages.

  inertiajs/inertia-laravel ......................................................................... DONE
  laravel/breeze .................................................................................... DONE
  laravel/sail ...................................................................................... DONE
  laravel/sanctum ................................................................................... DONE
  laravel/tinker .................................................................................... DONE
  nesbot/carbon ..................................................................................... DONE
  nunomaduro/collision .............................................................................. DONE
  nunomaduro/termwind ............................................................................... DONE
  spatie/laravel-ignition ........................................................................... DONE
  tightenco/ziggy ..
そうすればおそらく実行できるはずだ
% ./vendor/bin/sail artisan tinker
Psy Shell v0.11.20 (PHP 8.2.7 — cli) by Justin Hileman
> Chirp::all()
[!] Aliasing 'Chirp' to 'App\Models\Chirp' for this Tinker session.
= Illuminate\Database\Eloquent\Collection {#7227
    all: [
      App\Models\Chirp {#7229
        id: 1,
        user_id: 1,
        message: "テスト",
        created_at: "2023-08-03 23:59:37",
        updated_at: "2023-08-03 23:59:37",
      },
    ],
  }
さて、今このように保存できている事がわかった。次はこの投稿の内容を取り出していく。
参考までに onSuccess: () => reset()
さて、これ
    const submit = (e) => {
        e.preventDefault();
        post(route('chirps.store'), { onSuccess: () => reset() });
    };
これは、こうでもok
    const submit = (e) => {
        e.preventDefault();
        post(route('chirps.store'));
    };
ただし、実行してみるとわかるけどフォームの内容がクリアされない。これはBladeの挙動とは異なるので、このような差異をプログラマーが吸収していく必要は、まあまあある。今indexからそのままpostしてstoreしているだけに余計それを感じる事になると思う。createの画面があればまたちょっと違うとは思うけど。
へ続く