
gitlabを使ったAWS CodePipeline
https://ap-northeast-1.console.aws.amazon.com/codesuite/codepipeline/pipelines
この辺のやつ
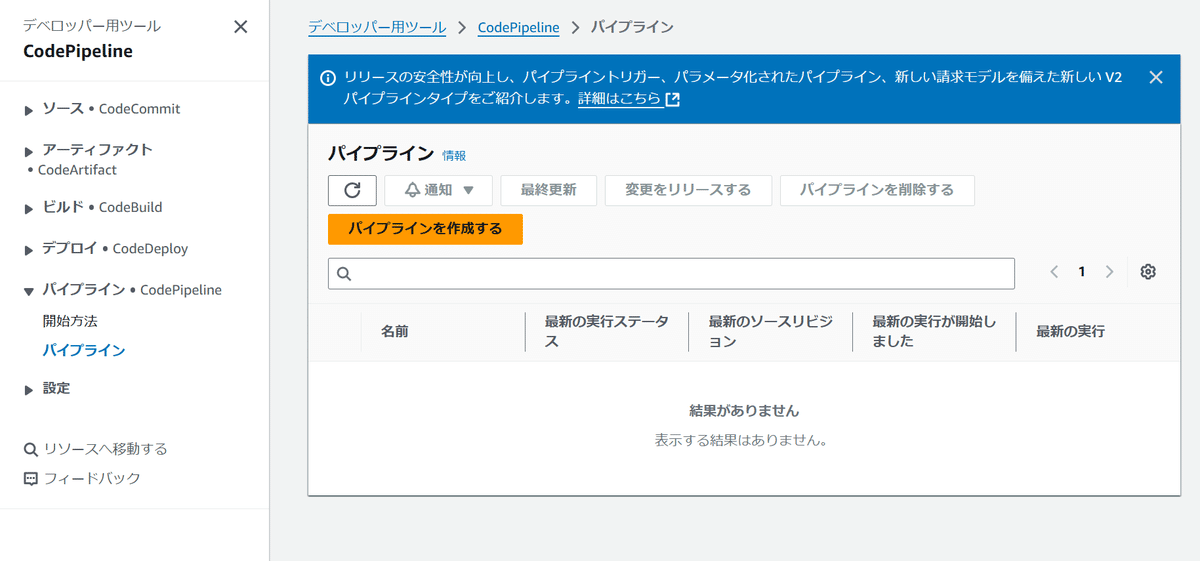
表題の通り今回はgitlabでprojectを1つ用意する。
gitlabの用意
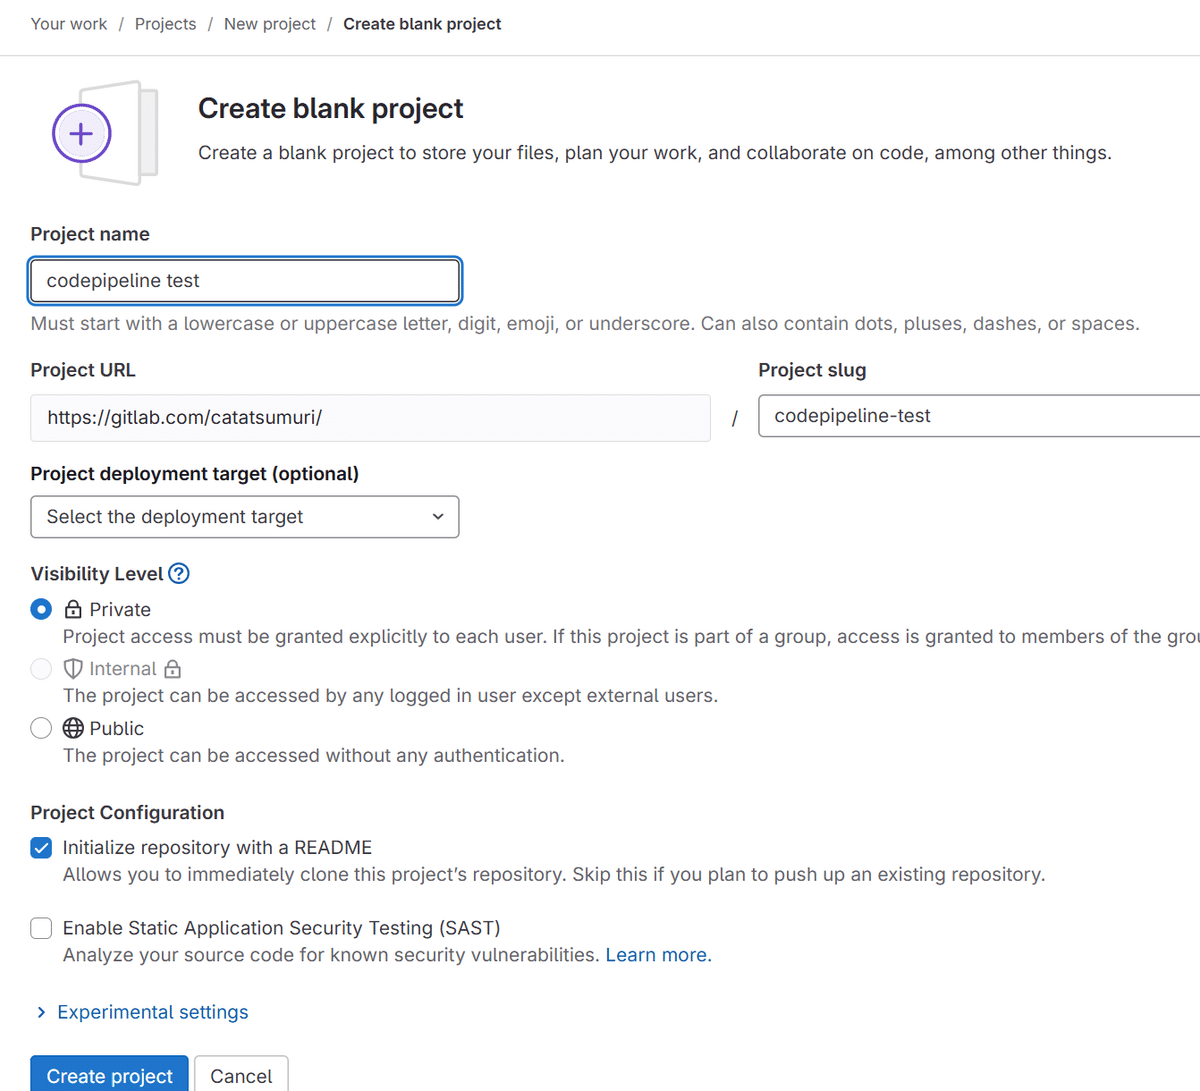
ここではcodepipeline testという名前にした。まあこれは適当でいいだろう。アクセスレベルもprivateでok。
clone
作業用のコンソールがあるとしてそこでclone
% git clone https://gitlab.com/catatsumuri/codepipeline-test.git
Cloning into 'codepipeline-test'...
Username for 'https://gitlab.com': catatsumuri
Password for 'https://catatsumuri@gitlab.com':
remote: Enumerating objects: 3, done.
remote: Counting objects: 100% (3/3), done.
remote: Compressing objects: 100% (2/2), done.
remote: Total 3 (delta 0), reused 0 (delta 0), pack-reused 0 (from 0)
Receiving objects: 100% (3/3), done.当該のdirにcdしてindex.htmlをでっち上げる。最終的にはビルドなどする整形されたタイプがよいだろうけど今回は動作を見るだけなのでこんなんでよいだろう。
<!DOCTYPE html>
<html lang='en'>
<head>
  <meta charset='UTF-8'>
  <meta name='viewport' content='width=device-width, initial-scale=1.0'>
  <title>CodePipeline Test</title>
</head>
<body>
  <h1>Welcome to my CodePipeline Test!</h1>
  <p>This is a simple HTML page deployed via AWS CodePipeline and S3.</p>
</body>
</html>
AWS側の設定

パイプラインを作成する
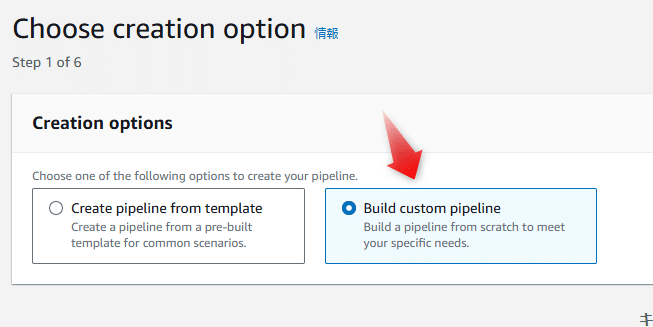
Build custom pipelineを選択
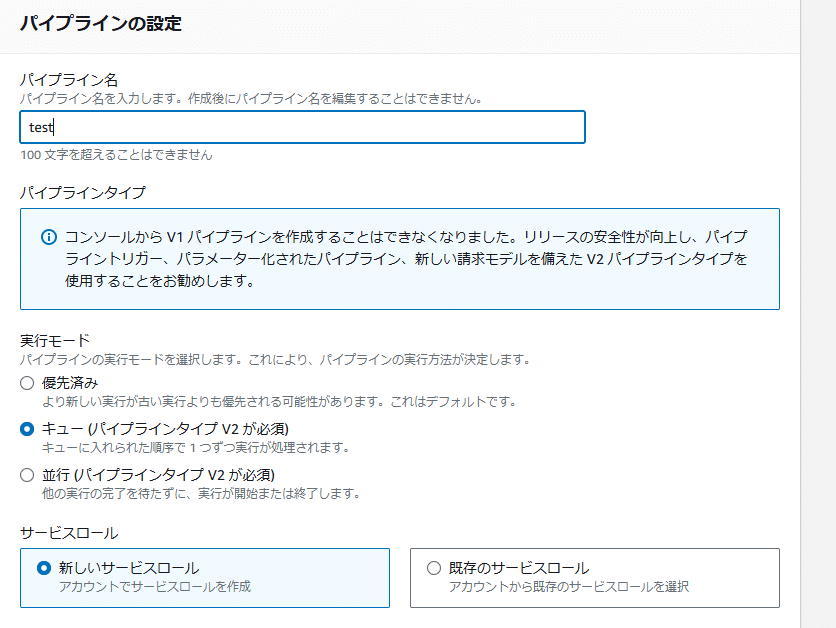
これはとりあえず名前だけ決めて次
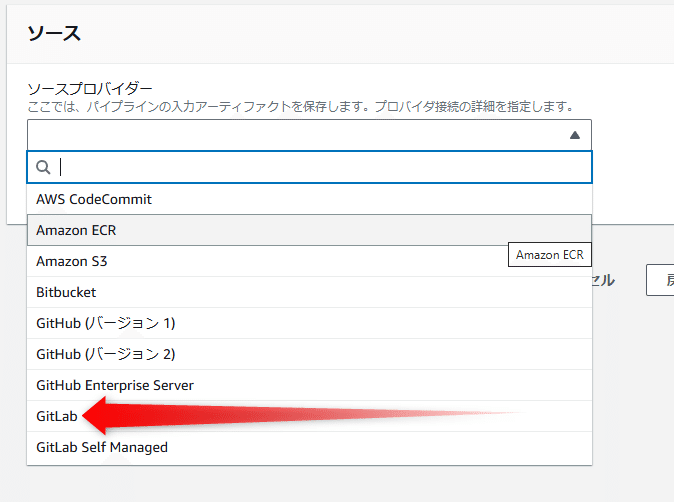
ソースプロバイダーはもちろんGitLabを選択
そうすると
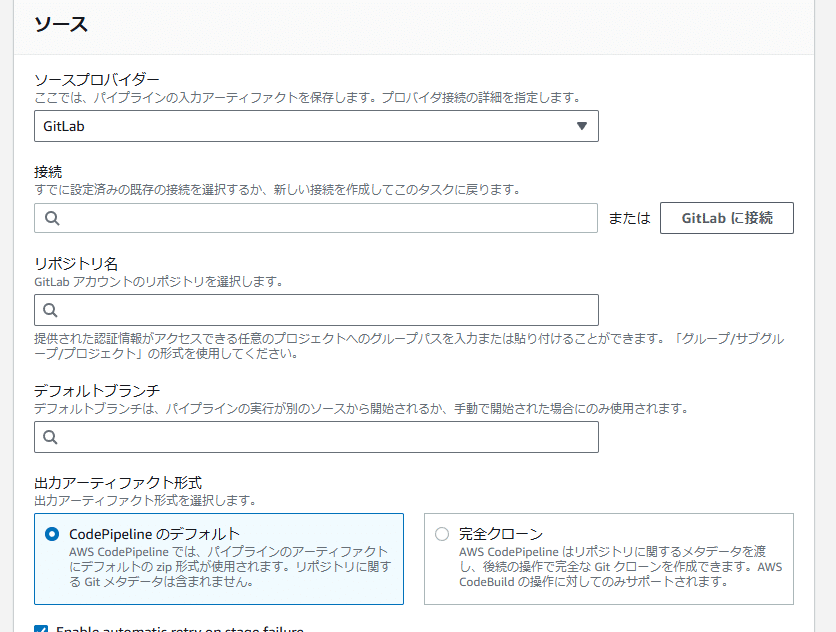
このように開いてくる
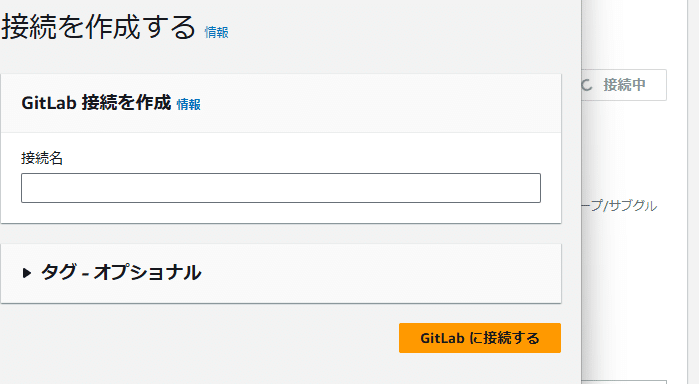
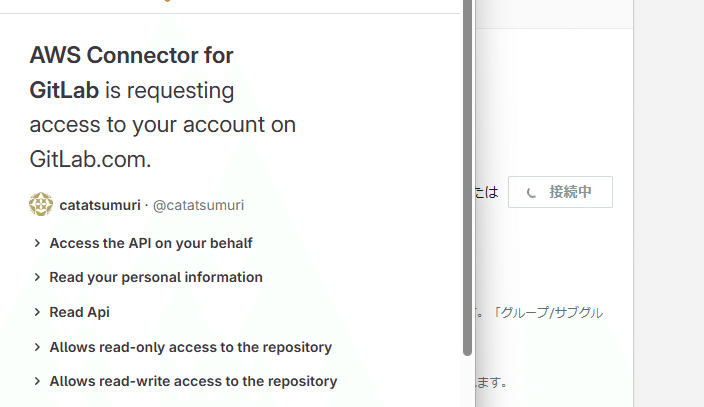
このように別ウインドウで接続し、authorizeする
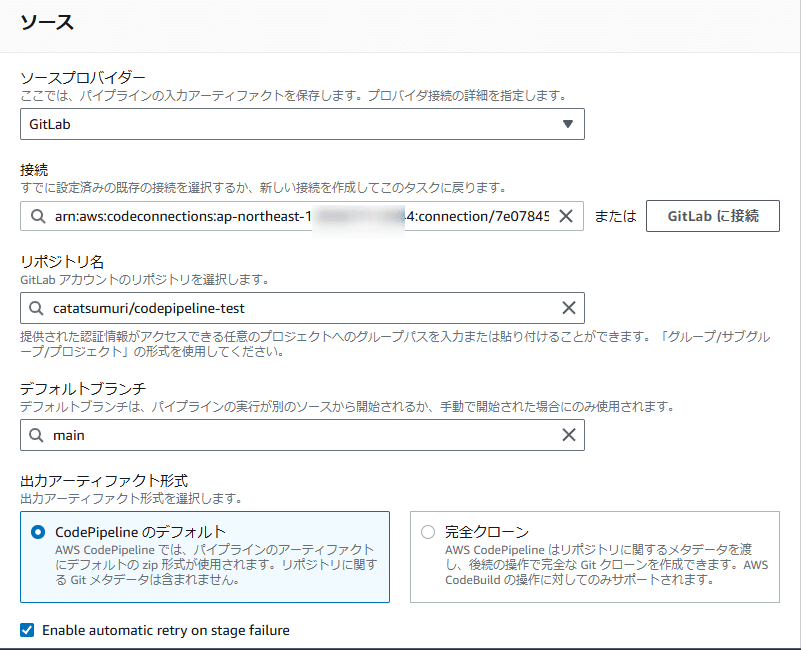
こんな感じで接続設定をキメていく
そしてトリガー だが
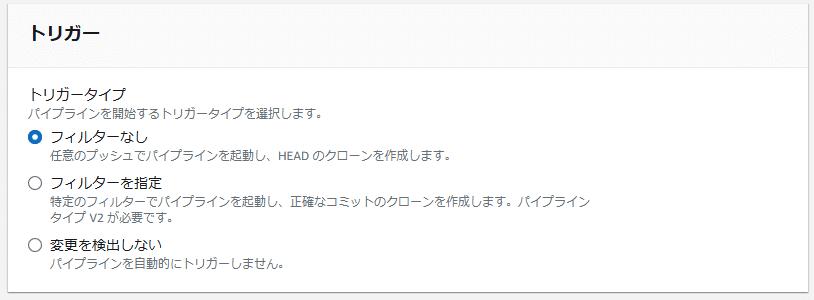
「フィルターなし」にとりあえずしておく。
ビルドステージ
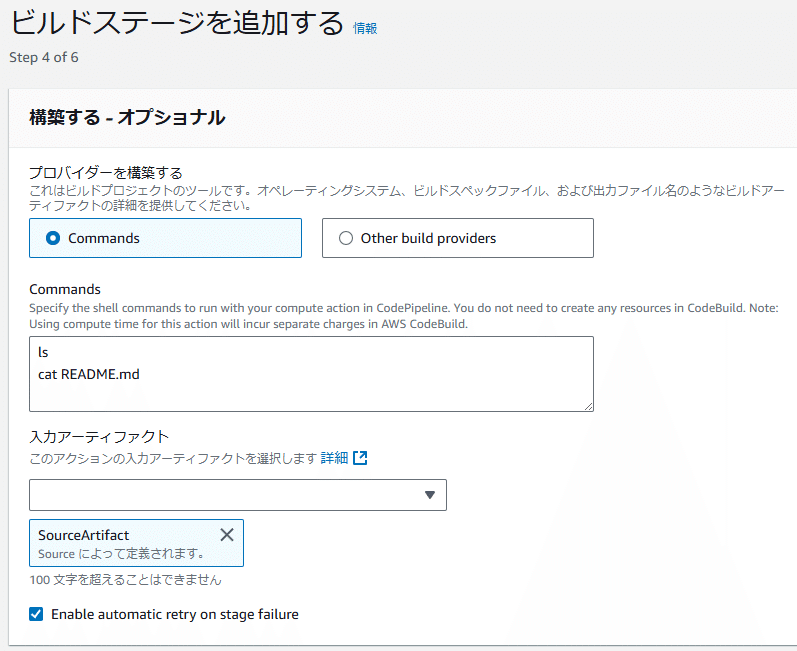
ls
cat README.md
これはテスト目的なので上記のように入力しておく。
デプロイステージ
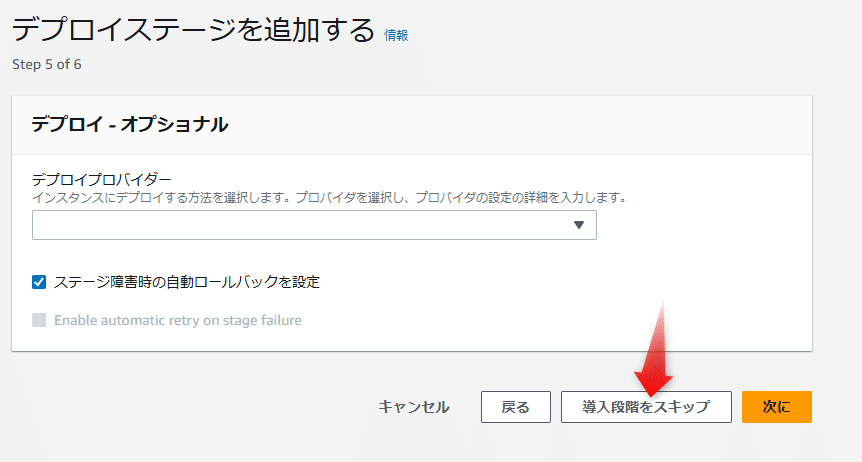
これは「導入段階をスキップ」
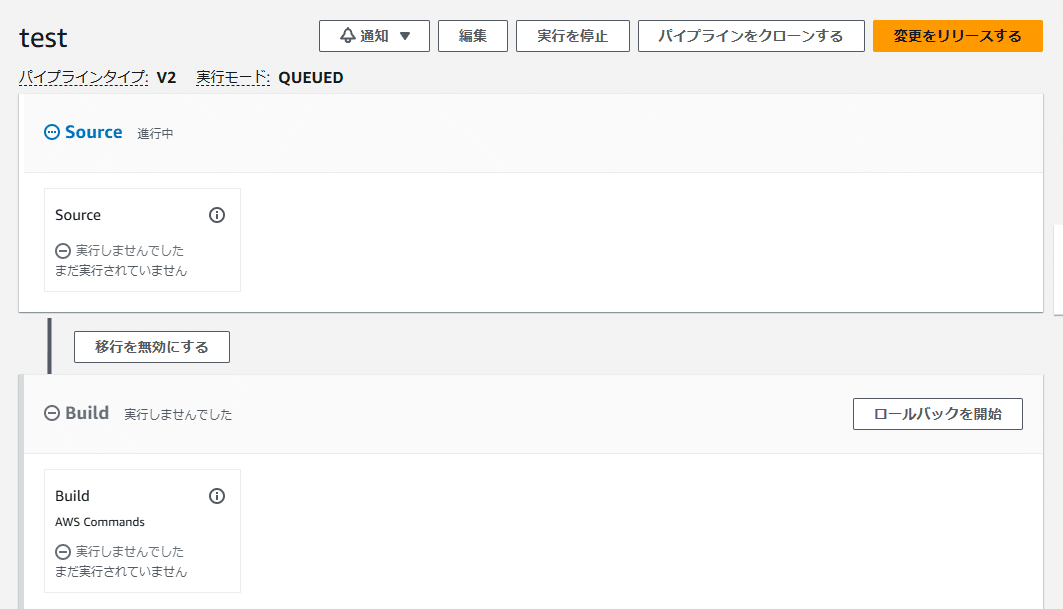
このように設定できた。
すると自動的にビルドステージがはじまるはずだ
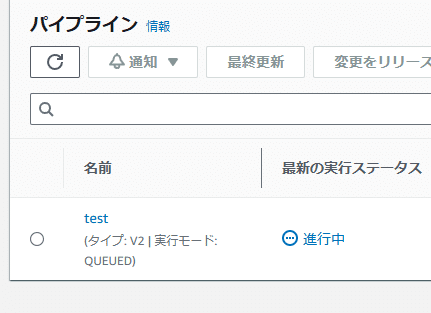
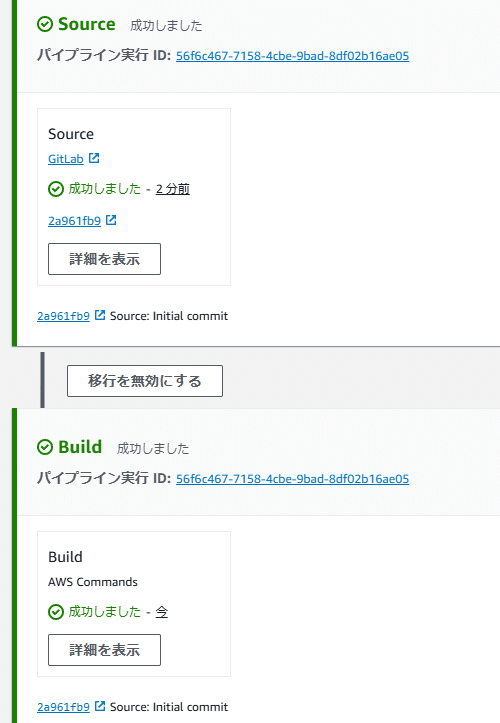
成功するとこのようになる。
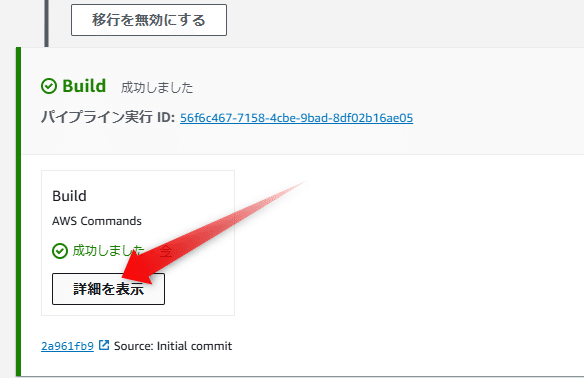
「詳細を表示」を押すと
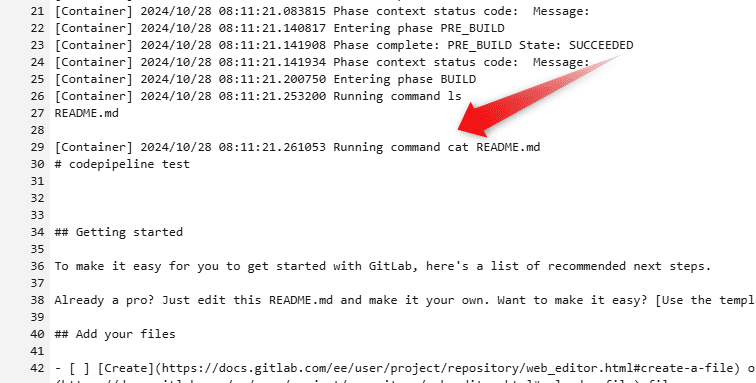
このようにlsとcat README.mdが実行されているのが理解できる。
変更してみる
ドキュメント通りにやると、まだindex.htmlを作成しただけで何もしていないはずだ。これをcommit&pushする。
% git status
On branch main
Your branch is up to date with 'origin/main'.

Untracked files:
  (use "git add <file>..." to include in what will be committed)
        index.html

nothing added to commit but untracked files present (use "git add" to track)
git add .git commit -m "add index.html"git commitとしたときに、codecommitのdashboardを見てみよう
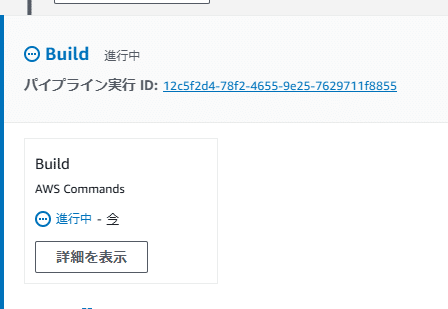
自動的にpipelineが動きだしている
完成すると
[Container] 2024/10/28 08:18:28.589591 Running command ls
README.md
index.html
などとなるだろう
まとめ
とりあえず動いたというレベル。次回はもう少し細かく設定していく。
