
Track-Anythingで動画のオブジェクトをトラッキングしよう(コード付き)

最近、Segment Anythingが出てきてから、画像から特定のターゲットをセグメント化するコードを多く見かけるようになってきています。
今回、紹介するのは、動画から特定の物体を選択し、セグメント化して動画をトラッキングするコードの紹介例となります。Google Colabで実行できます。
今回参考にさせて頂きましたサイトです。
まずは、Google ColabでGPUを選択します。
# Clone the repository:
!git clone https://github.com/gaomingqi/Track-Anything.git
%cd Track-Anything

# Install dependencies:
!pip install -r requirements.txt
次に、/content/Track-Anythingにあるapp.pyの一番下の行のファイルを以下のように修正します。share=Trueを追加します。share=Trueを追加することによりPublicリンクが作成されます。
修正前:iface.launch(debug=True, enable_queue=True, server_port=args.port,, server_name="0.0.0.0")
修正後:
iface.launch(debug=True, enable_queue=True, server_port=args.port, share=True, server_name="0.0.0.0")
app.pyを修正しましたら、下記を実行します。
!python app.py --device cuda:0実行すると、Running on public URL:と書かれたところにhttpsのURLが出てくるので、クリックします。


では、これから動画内でオブジェクトを指定して、トラッキング作業を行っていきます。
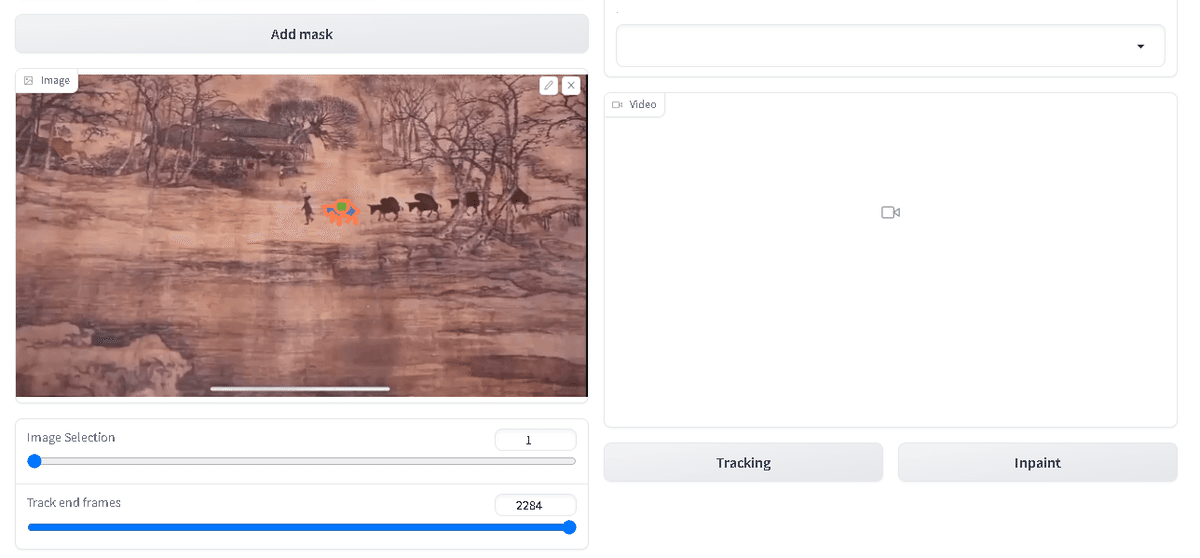
まずは、動画を選択します。今回は用意されている動画を利用します。Examplesを選択します。

下に追加で画面が出ますので、トラッキングするオブジェクトを選択しますと、選択したオブジェクトがセグメント化されます。
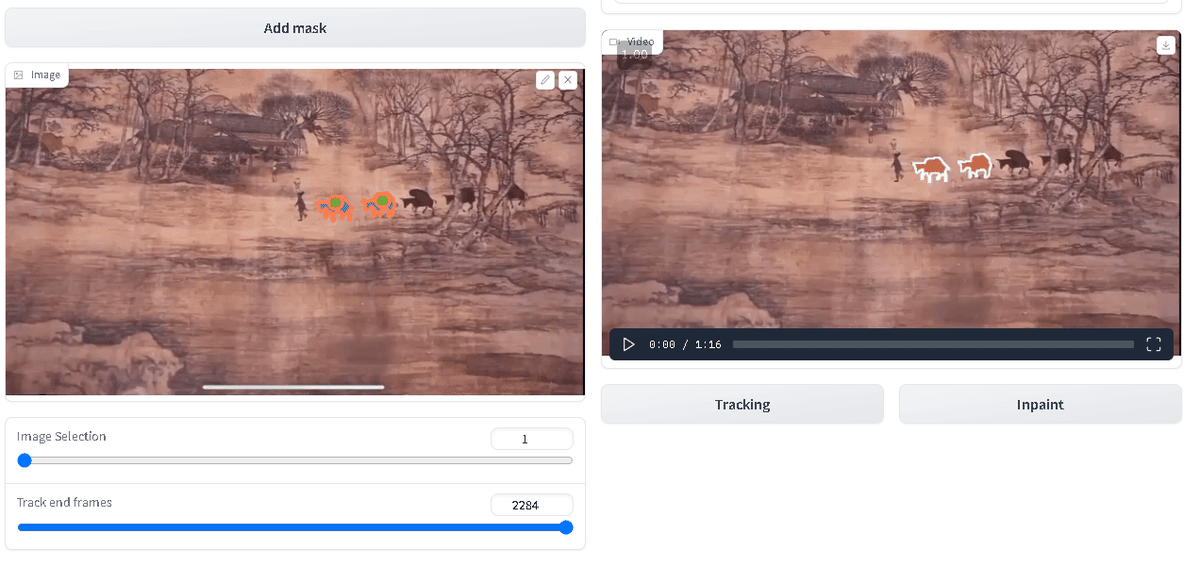
もう1個オブジェクトを選択してみます。

次に、右下のTrackingを選択しますと、トラッキング動画が作成されます。
使用した感じとしては、動画を自由にできたり、トレッキングするオブジェクトを複数選択することができたり、動画の途中からトレッキングすることが出来たりするので、利用用途は広い感じがします。