Open3DのVisualizationにプリミティブを描画(Windows、C++)

Open3DのVisualziationは読み込んだり加工したモデルをプレビューするのに活躍します。Visualizationを含むOpen3Dのプレビュー表示についてはこちらに記事があります:
今回はそのプレビュー内にOpen3Dに用意されている様々なプリミティブを描画してみます。そういうのを描画できればプレビューに補助的な情報を追加できますよね。
プリミティブ描画
座標軸(CoordinateFrame)

auto coordinateFrame = open3d::geometry::TriangleMesh::CreateCoordinateFrame( 5.0 );3次元の座標軸を表す矢印3本を組み合わせた図形です。RGBの順にXYZ軸になっています。上のコードにあるようにopen3d::geometry名前空間にあるTriangleMeshクラスのstaticメソッドであるCreateCoordinateFrameメソッドで上のメッシュを作る事が出来ます。実際はstd::shared_ptr<TriangleMesh>オブジェクトが出来ます。
size:図形の大きさ。スケールになるので大きくすると矢印も太くなっていきます。
そのまま描画するとワールドの原点に置かれ、ワールドの各軸方向に矢印が向きます。Open3Dは右手系のようですね。
球(Sphere)

auto sphere = open3d::geometry::TriangleMesh::CreateSphere( 3.0 );
sphere->ComputeVertexNormals();
球です。CreateSphereメソッドで作成できます。作成されたメッシュ(TriangleMesh)には法線が定義されていないため、そのまま描画するとライティングが無視されてシルエットになってしまいます。それを避ける場合は頂点法線を求めてくれるComputeVertexNormalsメソッドを呼んんで法線をくわえます。すると上のようにライトによる陰影が反映されます。
radius:球の半径を指定します。
正20面体(Icosahedron)
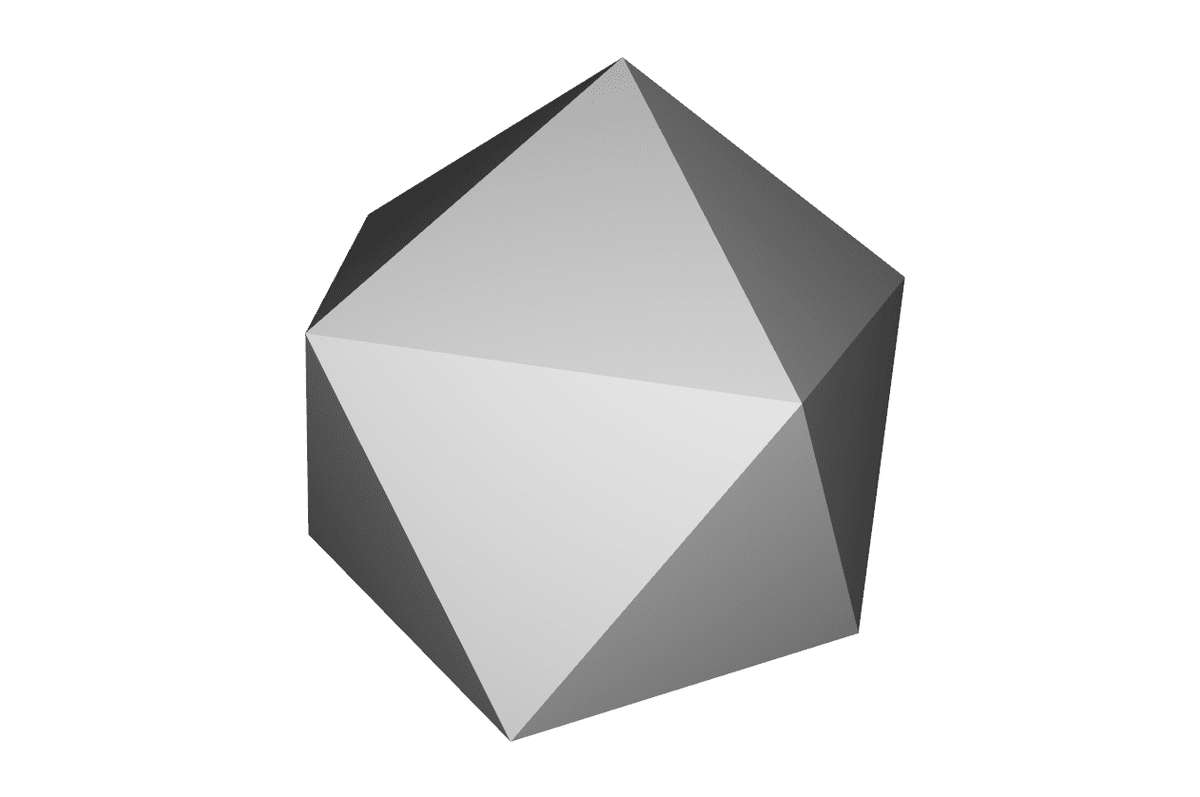
auto icosahedron = open3d::geometry::TriangleMesh::CreateIcosahedron( 2.0 );
icosahedron->ComputeVertexNormals();
正20面体です。CreateIcosahedronメソッドで作成できます。
radius:中心点から各点までの距離(半径)
メビウス環(Mobius)
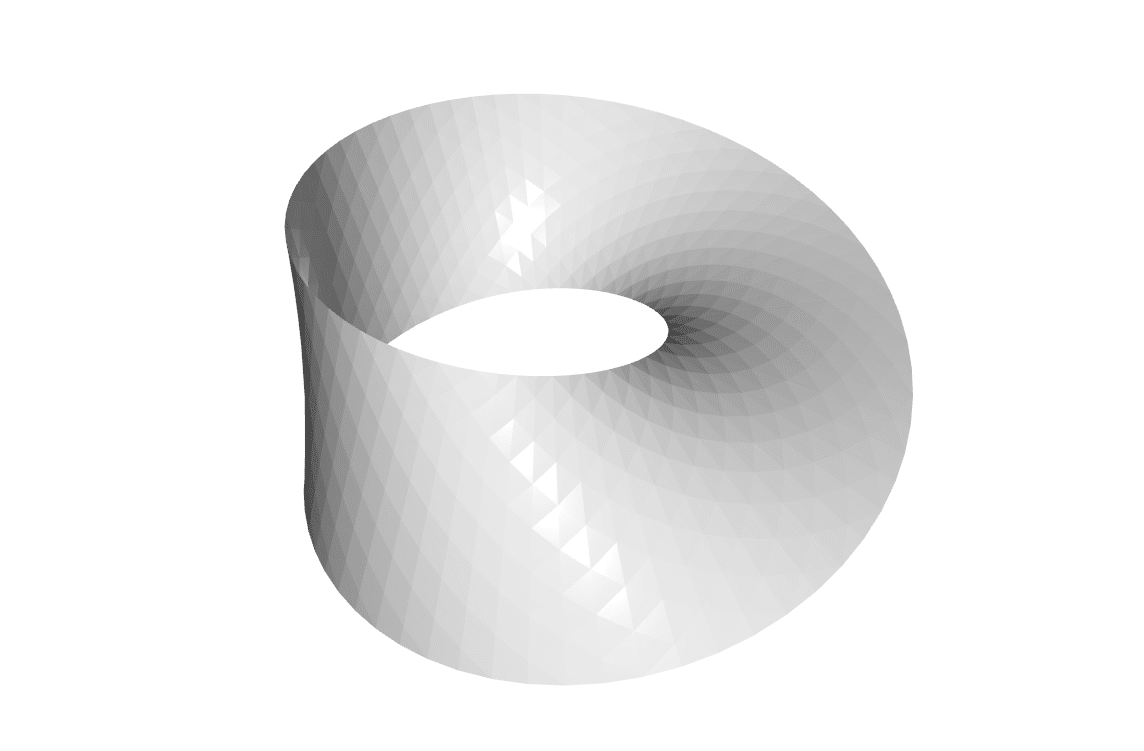
auto mobius = open3d::geometry::TriangleMesh::CreateMobius( 70, 15, 1, 1.0, 1.0, 1.0, 3.0 );
mobius->ComputeVertexNormals();
メビウスの輪(メビウス環)です。CreateMobiusメソッドで作成できます。引数で色々なメビウスの輪を作れますが…正直使い所が無い図形かもしれません(^-^;
length_split:帯1周の分割数
width_split:帯の幅方向の分割数
twists:ひねりの回数
radius:半径
flatness:輪の平坦性。値が大きくなると輪が立ってくる
width:帯の幅
scale:全体のスケール値
矢印(Arrow)

auto arrow = open3d::geometry::TriangleMesh::CreateArrow( 1.0, 1.5, 7.0, 3.0 );
arrow->ComputeVertexNormals();
3Dの矢印です。CreateArrowメソッドで作成できます。円柱部分と円錐部分で構成されていて、円柱の底が原点でZ軸方向を向きます。CreateArrowメソッドでは方向の指定はできません。方向等を変えるにはTriangleMesh::Rotateメソッドで、位置を変えるにはTriangleMesh::Translateメソッドをそれぞれ使います。
cylinder_radius:円柱部の半径
cone_radius:円錐底面の半径
cylinder_height:円柱部の長さ
cone_height:円錐の高さ
resolution:円柱や円錐の分割数。値が大きい程細かく綺麗に。
cylinder_split:円柱の長さ方向の分割数
cone_split:円錐の高さ方向の分割数
直方体(Box)

auto box = open3d::geometry::TriangleMesh::CreateBox( 3.0, 3.0, 3.0 );
box->ComputeVertexNormals();
直方体です。CreateBoxメソッドで生成できます。
width:幅(X軸方向)
height:高さ(Z軸方向)
depth:奥行(Y軸方向)
※他の引数もありますがデフォルトで良い為省略
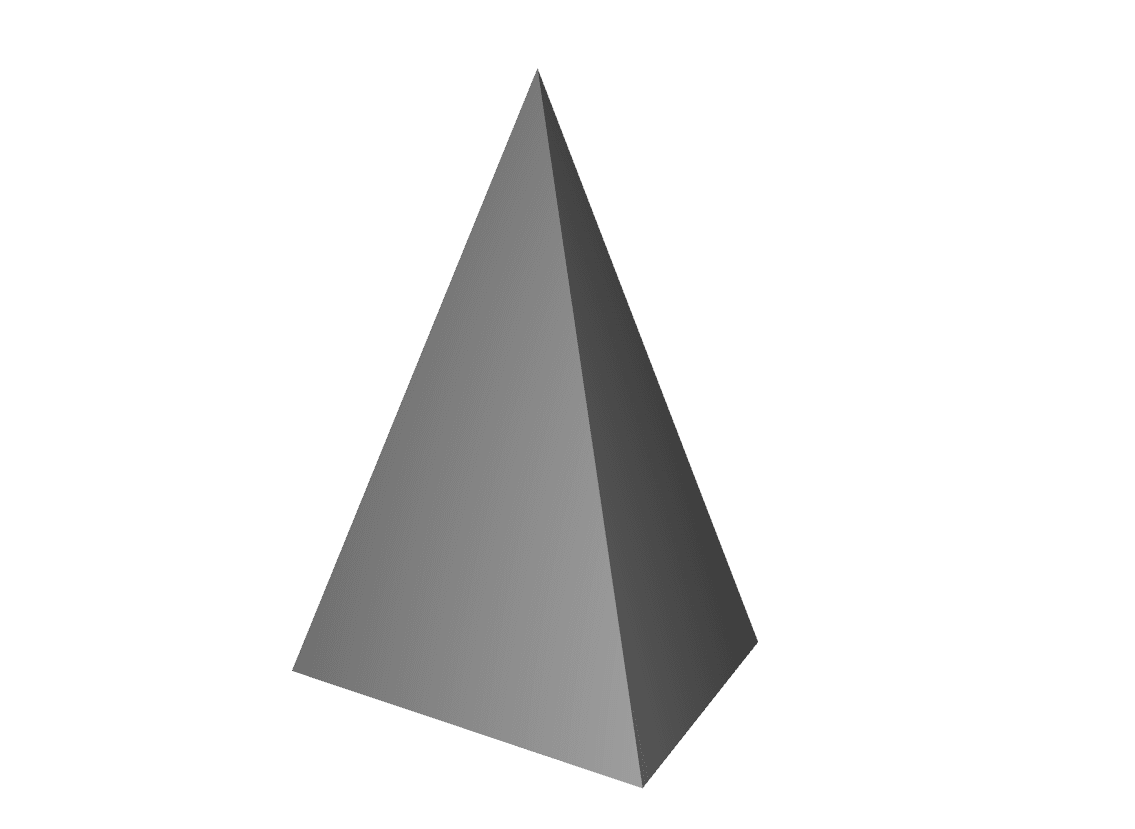
円錐(Cone)
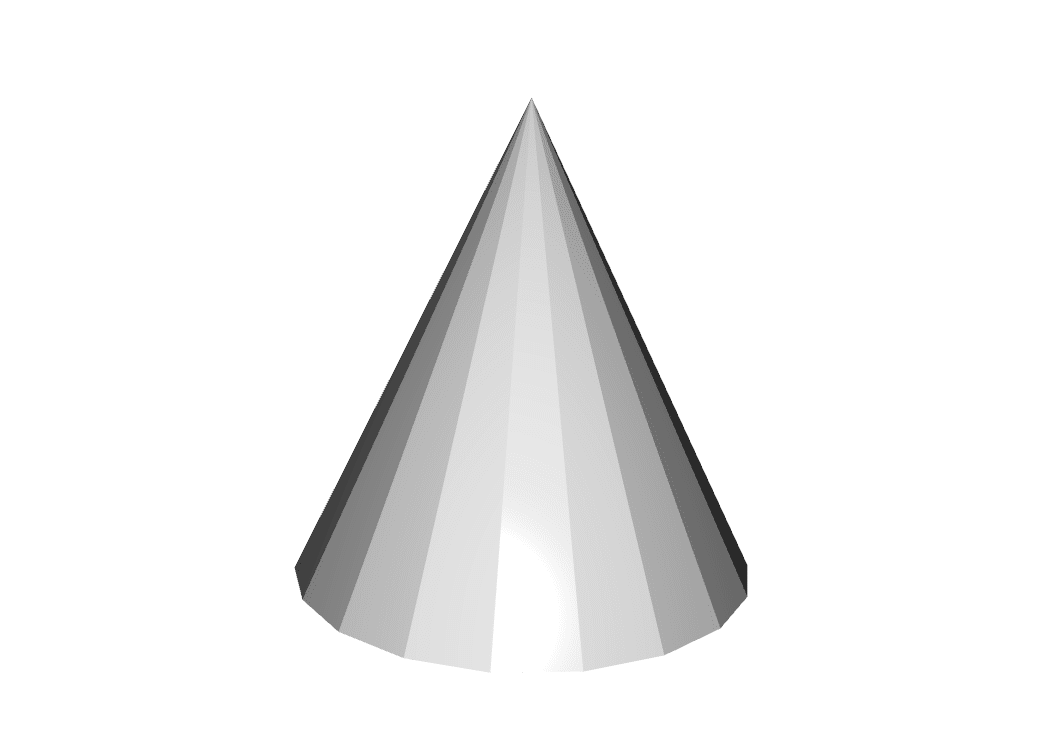
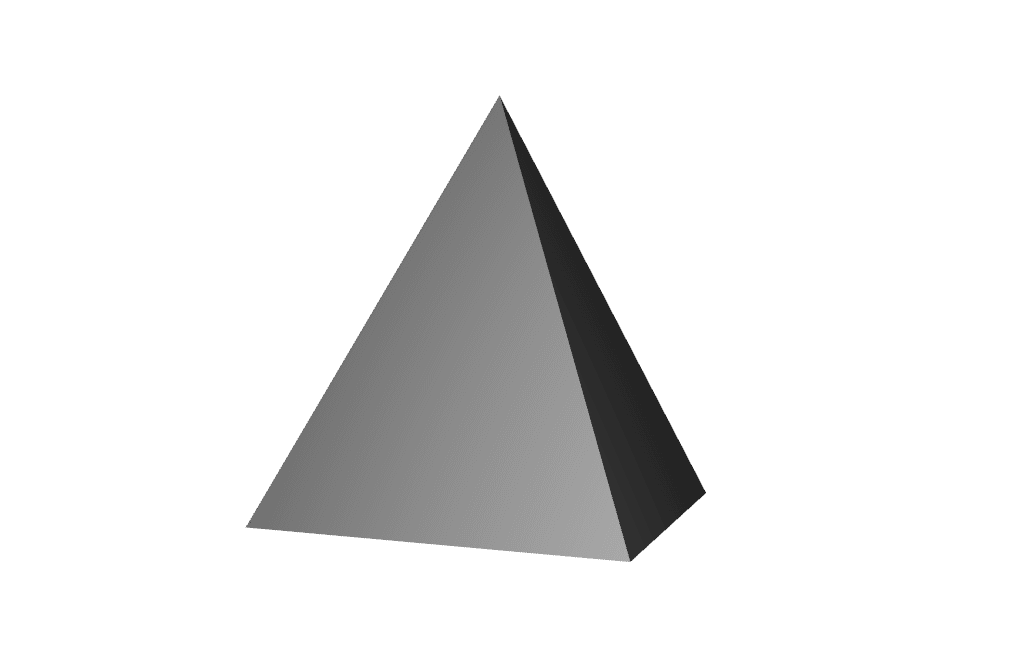
auto cone = open3d::geometry::TriangleMesh::CreateCone( 3.0, 6.0 );
cone->ComputeVertexNormals();
円錐です。CreateConeメソッドで生成できます。
radius:底面の円の半径
height:高さ
resolution:円錐の周囲の分割数。値が大きい程綺麗になる。
split:円錐の高さ方向の分割数
※他の引数もありますがデフォルトで良い為省略
resokutionを3にすると三角錐が作れます:
円柱(Cylinder)
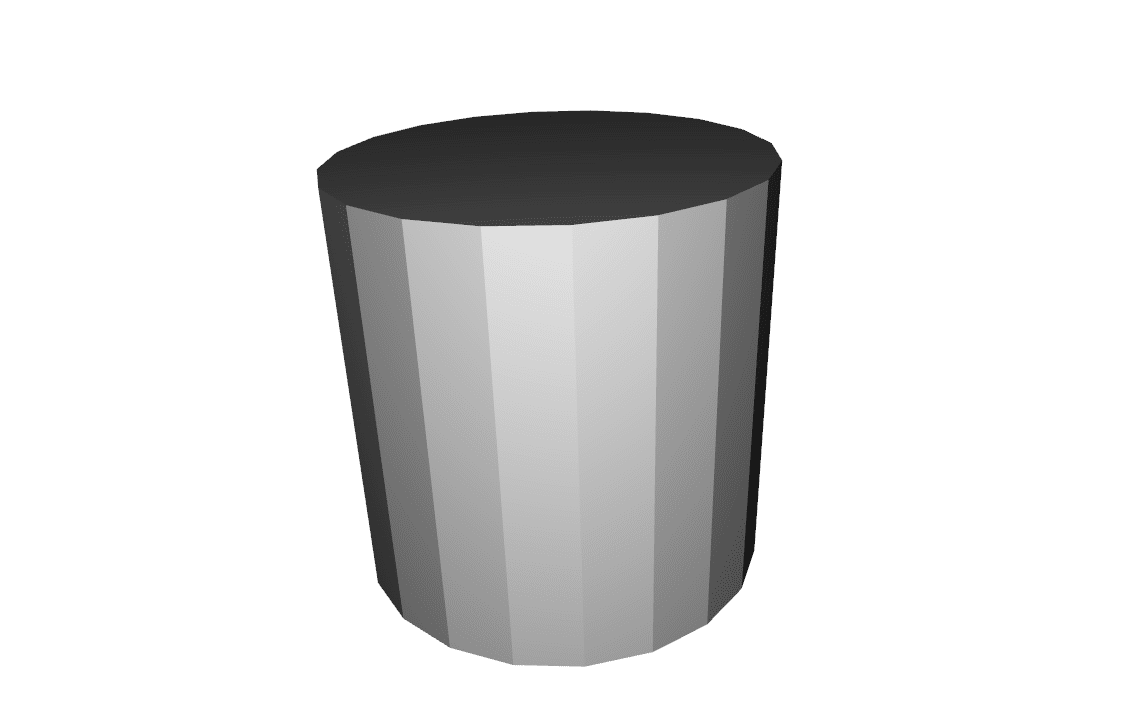
auto cylinder = open3d::geometry::TriangleMesh::CreateCylinder( 3.0, 6.0 );
cylinder->ComputeVertexNormals();
円柱です。CreateCylinderメソッドで作れます。
radius:半径
height:高さ(長さ)
resolution:円周の分割数
split:高さ方向の分割数
※他の引数もありますがデフォルトで良い為省略
正8面体(Octahedron)

auto octahedron = open3d::geometry::TriangleMesh::CreateOctahedron( 3.0 );
octahedron->ComputeVertexNormals();
正8面体です。CreateOctahedronメソッドで作成できます。
radius:中心点から頂点までの距離(半径)
※他の引数もありますがデフォルトで良い為省略
正4面体(Tetrahedron)
auto tetrahedron = open3d::geometry::TriangleMesh::CreateTetrahedron( 3.0 );
tetrahedron->ComputeVertexNormals();
正4面体です。CreateTetrahedronメソッドで作成できます。
radius:中心点から頂点までの距離(半径)
※他の引数もありますがデフォルトで良い為省略
トーラス(Torus)

	auto torus = open3d::geometry::TriangleMesh::CreateTorus( 3.0, 1.5 );
	torus->ComputeVertexNormals();
トーラス(ドーナツ型)です。CreateTorusメソッドで作れます。周半径やチューブ半径を調整して色々なトーラスを作成できます。
torus_radius:周半径(中心からチューブ軸までの距離)
tube_radius:チューブ半径
radial_resolution:周の分割数
tubular_resolution:チューブ周囲の分割数
ライン(LineSet)

	auto lineSet = std::make_shared< open3d::geometry::LineSet >();
	lineSet->points_ = {
		{ 0.0, 0.0, 0.0 },
		{ 5.0, 0.0, 0.0 },
		{ 5.0, 5.0, 0.0 },
		{ 0.0, 5.0, 0.0 },
	};
	lineSet->lines_ = {
		{ 0, 1 }, { 1, 2 }, { 2, 3 },
		{ 3, 0 }, { 0, 2 }, { 1, 3 }
	};
いままではTriangleMeshのstaticメソッドでプリミティブを作成しましたが、上図のようなライン描画はLineSetクラスが担当します。LineSet::points_に頂点の座標を、lines_に線を結ぶ頂点のインデックス番号のセットの配列(std::vector<Eigen::vector2i>)を設定すると直線を結んでくれます。
プリミティブの移動と回転
各プリミティブはGeometry3Dクラスを継承しているため、移動(Translate)や回転(Rotate)ができます。
移動(Translate)
Translateメソッドでプリミティブをワールド空間の好きな位置に移動できます:
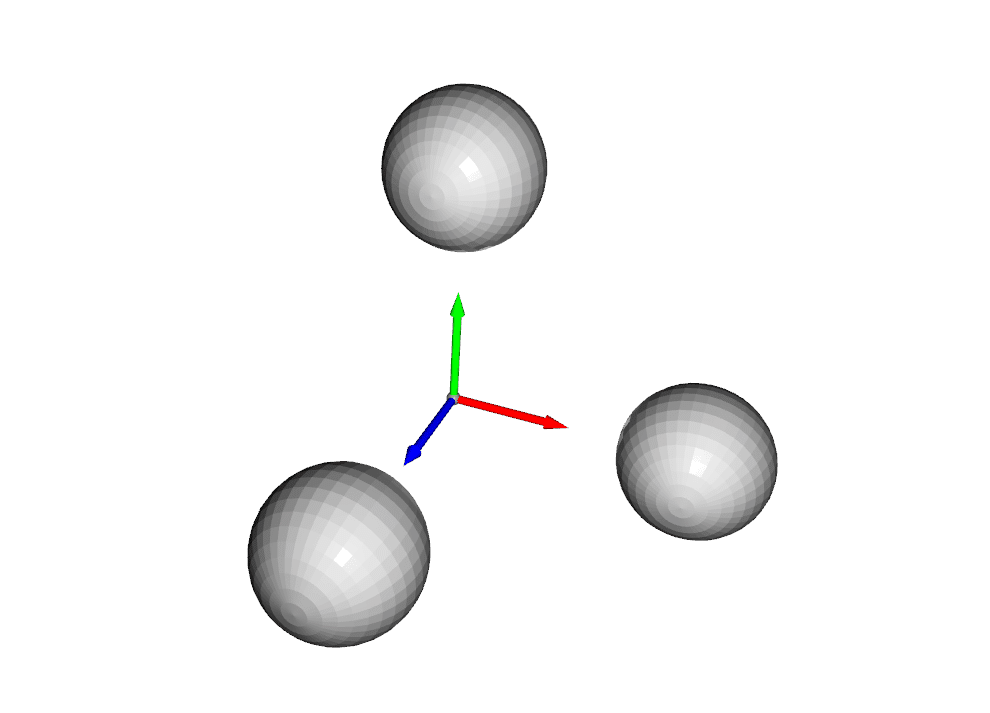
	auto coordinateFrame = open3d::geometry::TriangleMesh::CreateCoordinateFrame( 5.0 );

	auto sphere0 = open3d::geometry::TriangleMesh::CreateSphere( 3.0 );
	sphere0->ComputeVertexNormals();
	sphere0->Translate( { 10.0, 0.0, 0.0 } );
	auto sphere1 = open3d::geometry::TriangleMesh::CreateSphere( 3.0 );
	sphere1->ComputeVertexNormals();
	sphere1->Translate( { 0.0, 10.0, 0.0 } );
	auto sphere2 = open3d::geometry::TriangleMesh::CreateSphere( 3.0 );
	sphere2->ComputeVertexNormals();
	sphere2->Translate( { 0.0, 0.0, 10.0 } );
引数には移動したい位置座標をEigen::vector3d型で指定します。配列子による初期化が可能なのでうえのように大括弧で括って直接指定する事もできます。
回転(Rotate)

const double PI = 3.14159265358979;
const double Deg2Rad = ( PI / 180.0 );

std::vector< std::shared_ptr< const open3d::geometry::Geometry > > geos;
for ( int i = 0; i <= 90; i += 10 ) {
	auto arrow = open3d::geometry::TriangleMesh::CreateArrow( 0.3, 0.6, 10.0, 1.0 );
	arrow->ComputeVertexNormals();
	arrow->Rotate( open3d::geometry::Geometry3D::GetRotationMatrixFromAxisAngle(
		{ i * Deg2Rad, 0.0, 0.0 } ),
		{ 0.0, 0.0, 0.0 }
	);
	geos.push_back( arrow );
}
auto coordinateFrame = open3d::geometry::TriangleMesh::CreateCoordinateFrame( 5.0 );
geos.push_back( coordinateFrame );
Rotateメソッドでオブジェクトを回転できます。第1引数に回転行列(Eigen::Matrix3d)を与えます。第2引数には回転の原点位置を指定します。
回転行列は直接作っても良いですし、上のコードにあるGeometry3D::GetRotationMatrixFromAxisAngleメソッドで軸の回転角度を与えて作ってもOKです。
終わりに
Open3Dで作れるプリミティブを紹介してきました。必要な物は揃っている印象です。唯一3D空間に表示できるテキストが無いのがちょっと残念。issueとしてgithubにリクエストは上がっているようですが、2023.8時点では実装されていないようです(GUIはあります)。期待して待ちましょう。
ではまた(^-^)/