
【徒然iOS】気ままにUIKit47〜Picker Viewの使い方。自前の選択肢のホイールを回す。〜

概要
このマガジンは四十を過ぎたおっさんが、
を参考にStoryboardでiOSアプリを完全に趣味で楽しんでいるだけな記事を気ままに上げてます。
今回
をレッツゴ🕺
前準備
念の為、
バックアップ
新しいクラス
ビューコントローラの追加
イニシャルビューの変更
をいつも通りやってから本題へ💃

本題
ピッカービューとは、
ホイールを回してデータを選択する部品
・似たような部品に「Date Picker」(以下、デートピッカー)がある。
・デートピッカーは日時の選択に特化した部品で、ピッカービューは選択肢のデータを自分で用意するところが異なる。
では、実際に
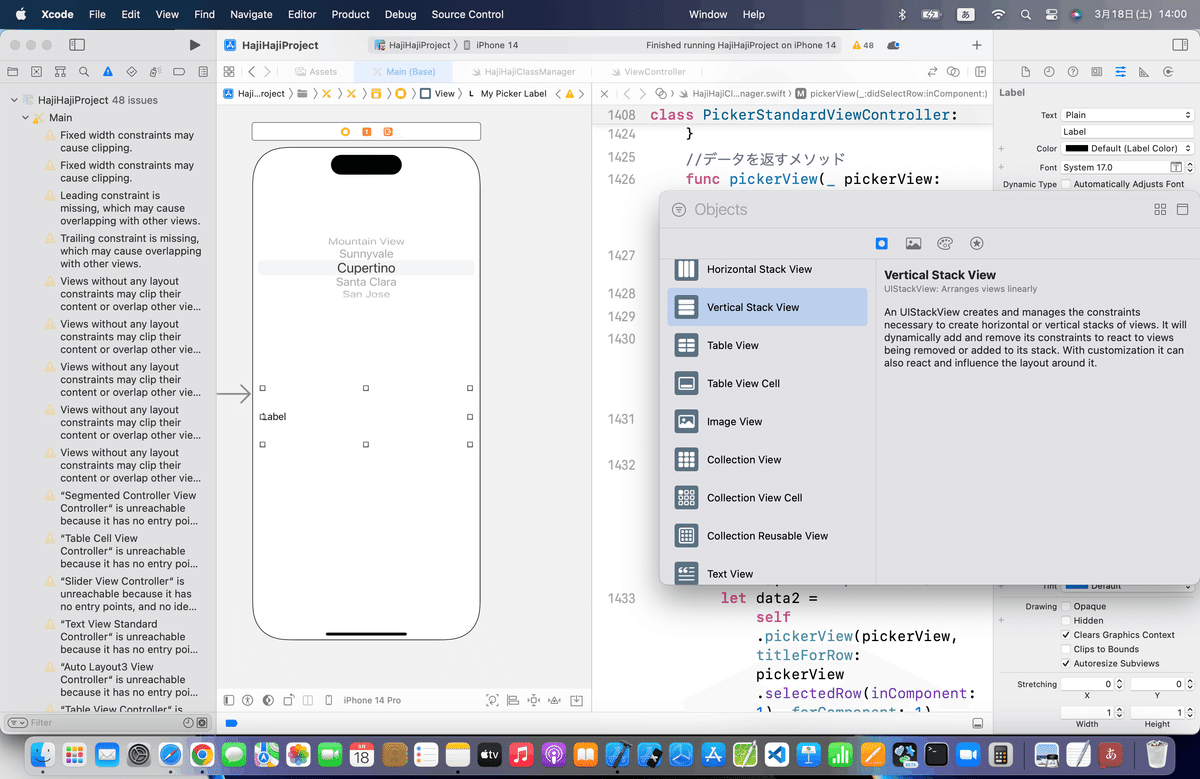
⒈ピッカービューを配置


⒉dataSouceを選択してビュー本体と接続

⒊delegateを選択する

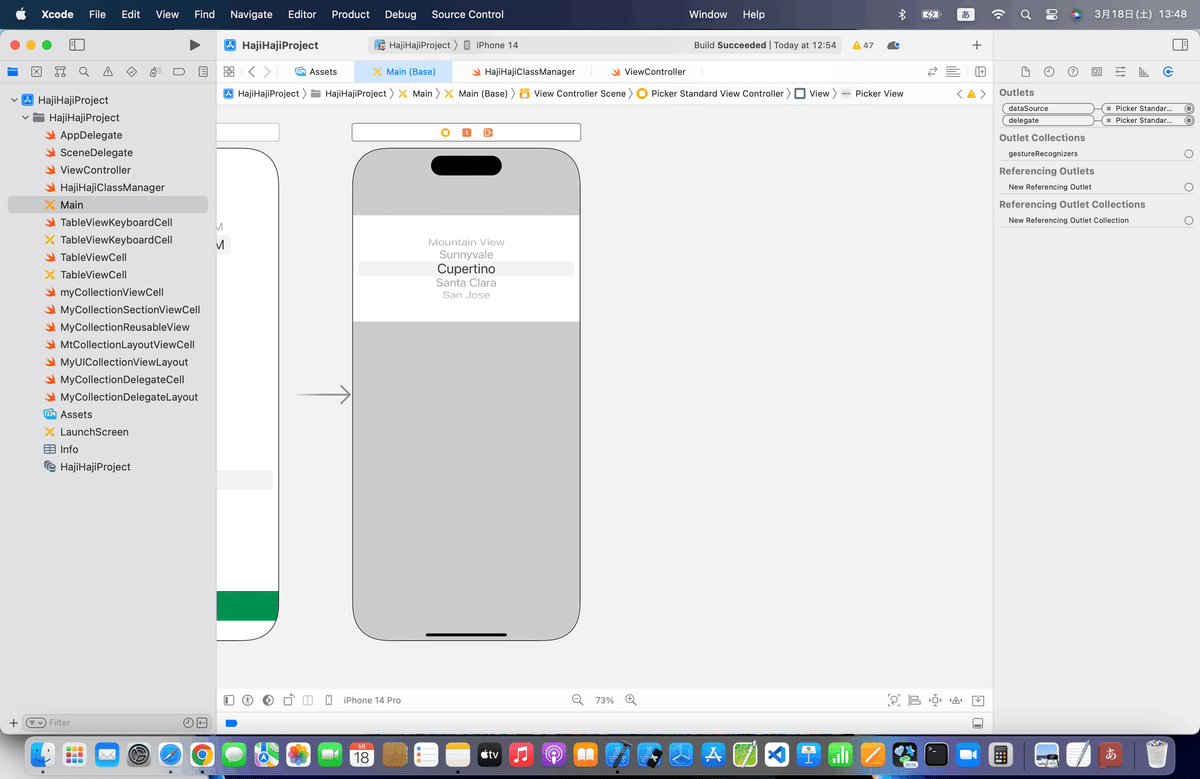
ここでポイント:
ここでdelegateし忘れると、コードを組んでもデータが出てこないから、忘れないようにね〜〜〜〜🕺
(一回シクって、30分くらい出てこないので悩んだ💦)
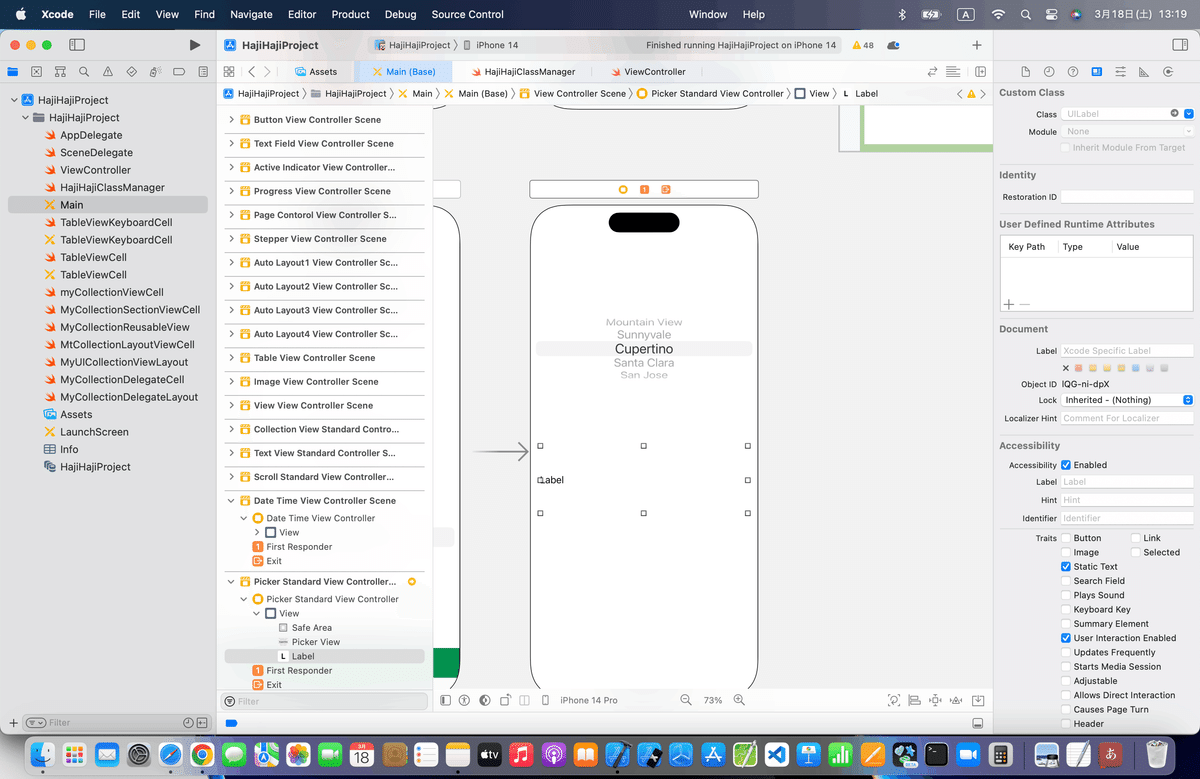
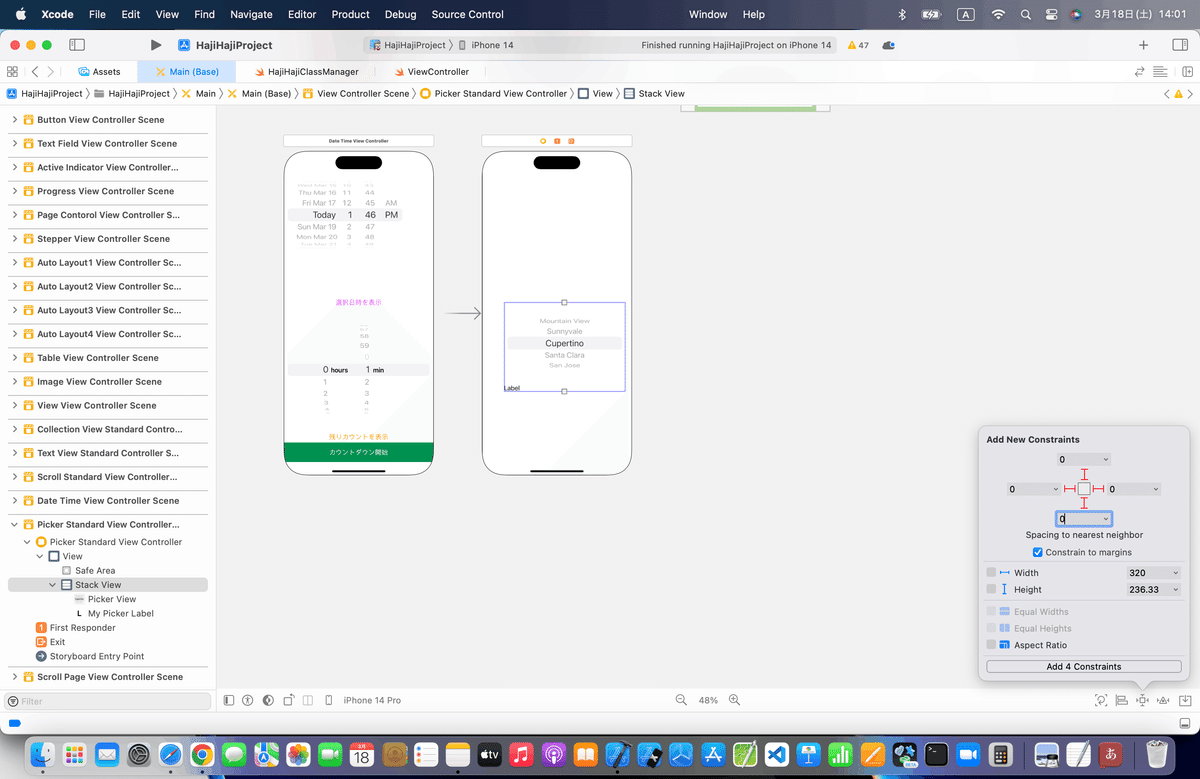
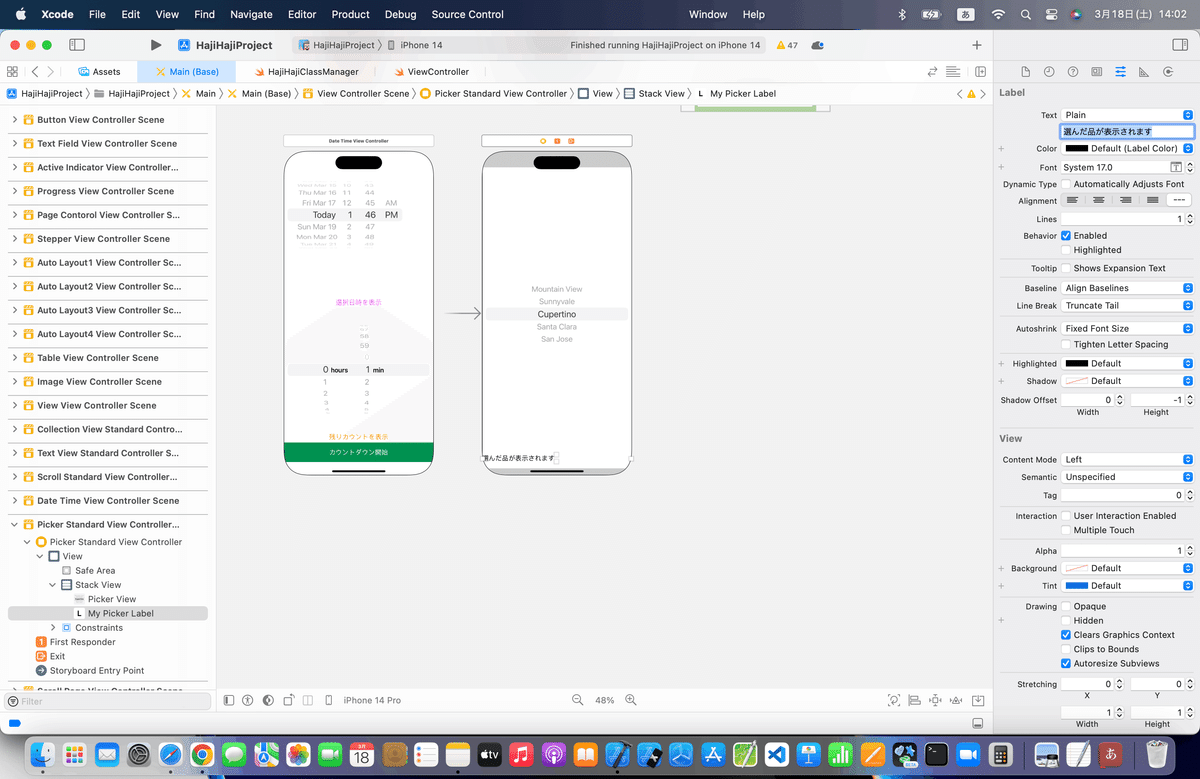
⒋ラベルを配置してアウトレット接続


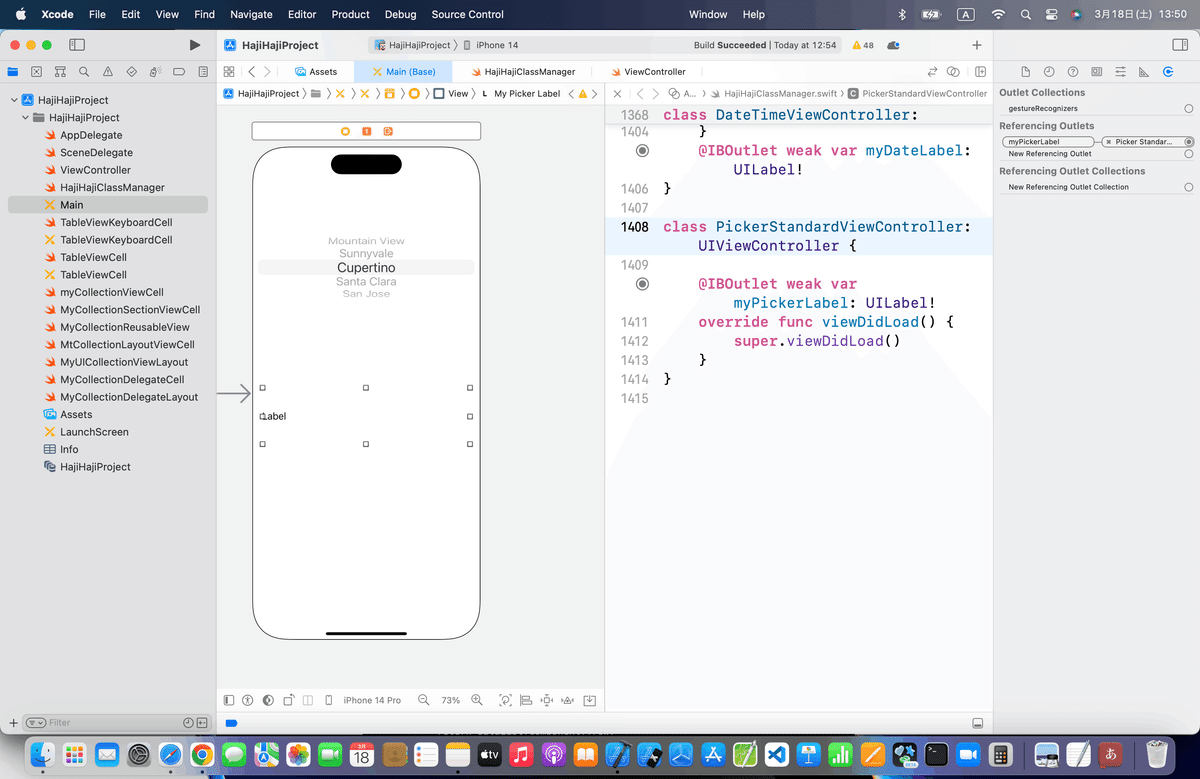
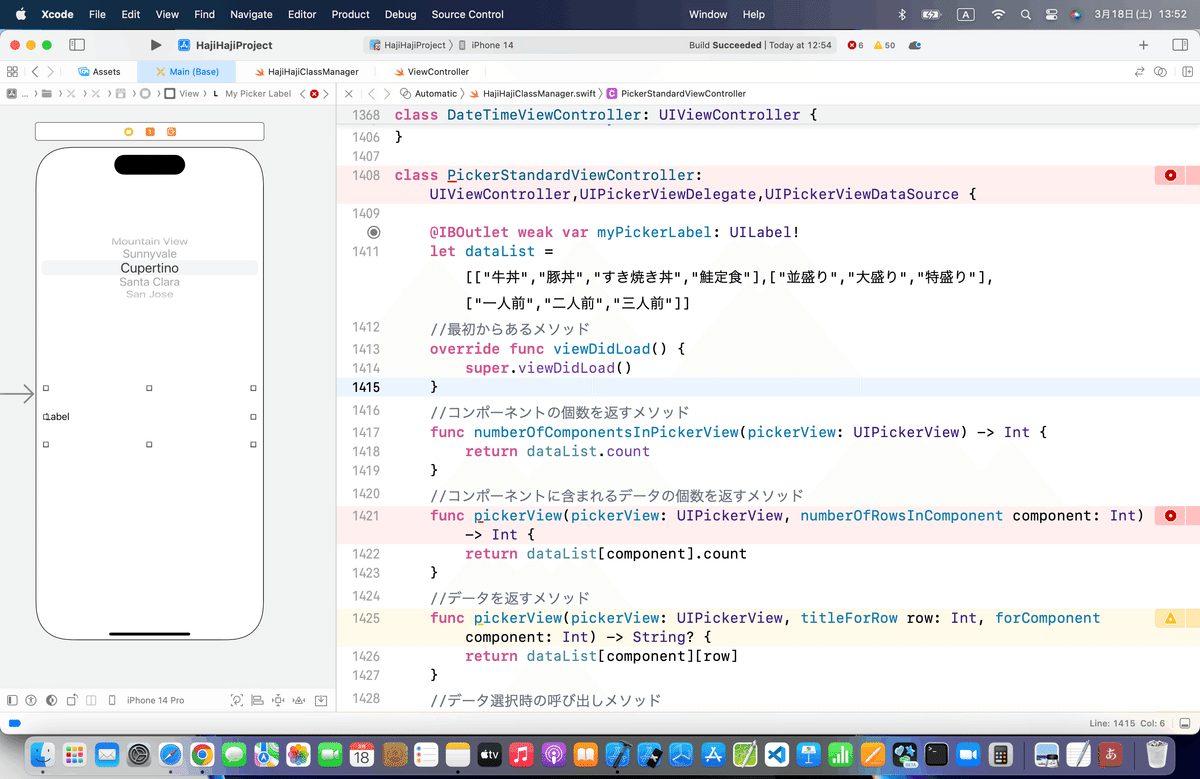
⒌コードを実装する
//
//  ViewController.swift
//
import UIKit
class ViewController: UIViewController,UIPickerViewDelegate,UIPickerViewDataSource {
    @IBOutlet weak var testLabel: UILabel!
    let dataList = [["牛丼","豚丼","すき焼き丼","鮭定食"],["並盛り","大盛り","特盛り"],["一人前","二人前","三人前"]]
    //最初からあるメソッド
    override func viewDidLoad() {
        super.viewDidLoad()
    }
    //コンポーネントの個数を返すメソッド
    func numberOfComponentsInPickerView(pickerView: UIPickerView) -> Int {
        return dataList.count
    }
    //コンポーネントに含まれるデータの個数を返すメソッド
    func pickerView(pickerView: UIPickerView, numberOfRowsInComponent component: Int) -> Int {
        return dataList[component].count
    }
    //データを返すメソッド
    func pickerView(pickerView: UIPickerView, titleForRow row: Int, forComponent component: Int) -> String? {
        return dataList[component][row]
    }
    //データ選択時の呼び出しメソッド
    func pickerView(pickerView: UIPickerView, didSelectRow row: Int, inComponent component: Int) {
        //コンポーネントごとに現在選択されているデータを取得する。
        let data1 = self.pickerView(pickerView, titleForRow: pickerView.selectedRowInComponent(0), forComponent: 0)
        let data2 = self.pickerView(pickerView, titleForRow: pickerView.selectedRowInComponent(1), forComponent: 1)
        let data3 = self.pickerView(pickerView, titleForRow: pickerView.selectedRowInComponent(2), forComponent: 2)

        testLabel.text = "選択 \(data1!) \(data2!) \(data3!)"
    }
}
を実装しろってことなので〜〜〜〜組み込むと、
FixとJumptoDefinitionを駆使しながら直そう🕺
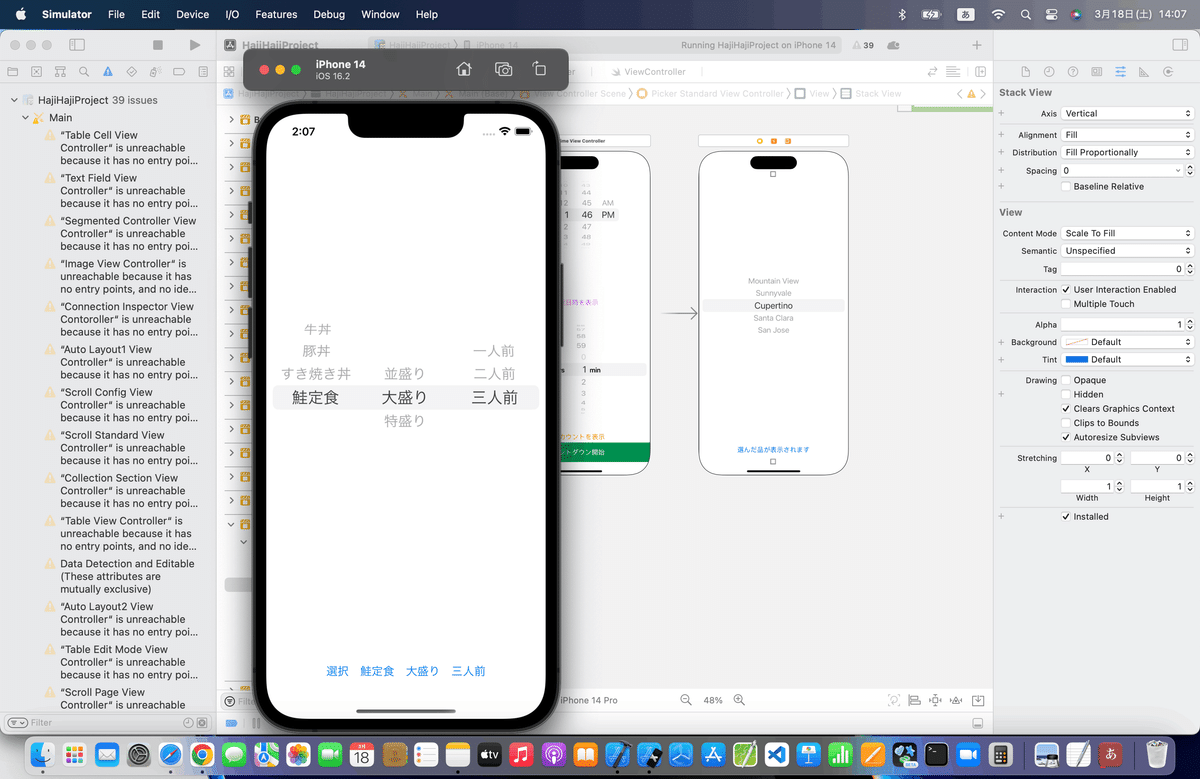
⒍シミュレータ実行

⒎設定項目を確認
ってことだけ確認🕺
サイト記事については以上。
⒏ブラッシュアップ
さて今回もVerticalStackViewなどを使って修正〜〜〜


今回のコード(まとめ)
class PickerStandardViewController: UIViewController,UIPickerViewDelegate,UIPickerViewDataSource {
    @IBOutlet weak var myPickerLabel: UILabel!
    let dataList = [["牛丼","豚丼","すき焼き丼","鮭定食"],["並盛り","大盛り","特盛り"],["一人前","二人前","三人前"]]
    //最初からあるメソッド
    override func viewDidLoad() {
        super.viewDidLoad()
    }
    //コンポーネントの個数を返すメソッド
    func numberOfComponents(in pickerView: UIPickerView) -> Int {
        return dataList.count
    }
    //コンポーネントに含まれるデータの個数を返すメソッド
    func pickerView(_ pickerView: UIPickerView, numberOfRowsInComponent component: Int) -> Int {
        return dataList[component].count
    }
    //データを返すメソッド
    func pickerView(_ pickerView: UIPickerView, titleForRow row: Int, forComponent component: Int) -> String? {
        return dataList[component][row]
    }
    //データ選択時の呼び出しメソッド
    func pickerView(_ pickerView: UIPickerView, didSelectRow row: Int, inComponent component: Int) {
        //コンポーネントごとに現在選択されているデータを取得する。
        let data1 = self.pickerView(pickerView, titleForRow: pickerView.selectedRow(inComponent: 0), forComponent: 0)
        let data2 = self.pickerView(pickerView, titleForRow: pickerView.selectedRow(inComponent: 1), forComponent: 1)
        let data3 = self.pickerView(pickerView, titleForRow: pickerView.selectedRow(inComponent: 2), forComponent: 2)
        myPickerLabel.text = "選択 \(data1!) \(data2!) \(data3!)"
    }
}
Apple公式
さて、次回は
をレッツゴする〜〜〜〜🕺