
【徒然iOS】気ままにUIKit46〜Date Pickerの使い方。ホイールを回して時刻や日付を設定する。〜

概要
このマガジンは四十を過ぎたおっさんが、
を参考にStoryboardでiOSアプリを完全に趣味で楽しんでいるだけな記事を気ままに上げてます。
今回
をレッツゴ🕺
前準備
前回はPlaygroundで完結したので念の為、
バックアップ
だけいつも通りやってから本題へ💃

本題の前に、
DatePickerについては、
タッチコントロールなんかでも書いてるんだけど、
日付をひとつ選択させる場合:Picker
日付を複数選択させる場合:Calendar
が一般的な感覚。
なんで?全部カレンダーを表示させて、選ばせた方がいいじゃん!!
て人も、普段PCでやってる人なら思うと思うんだけど、理由は簡単
スマホやタブレットの画格が小さいから!!!!
calendarで選ばせると、マス目も文字も小さくなって見にくい
なので、できればPickerを使うことを推奨してる様子。
(ま、それだけで公開申請をリジェクトされることはないと思うんだけどね💦)
本題
デートピッカーとは、
ホイールを回して時刻や日付を設定するための部品
ここからは前回、用意してたヤツにまんま作り込んできまする🙇
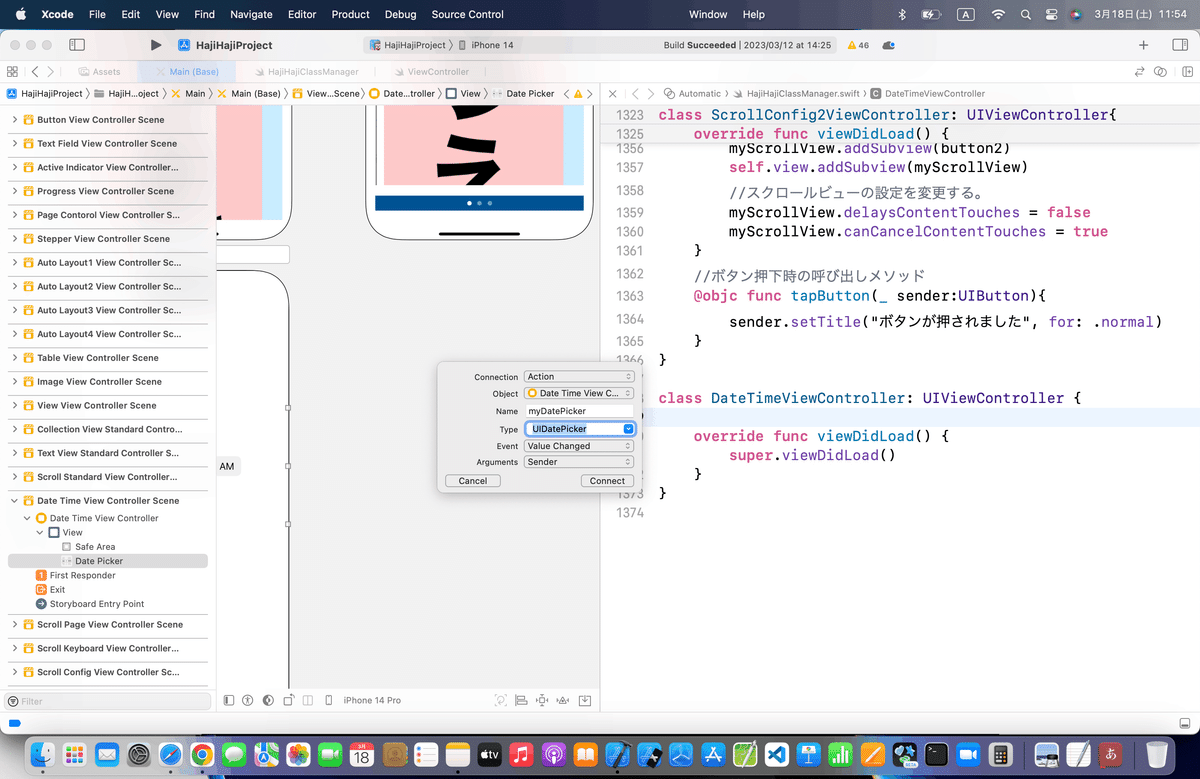
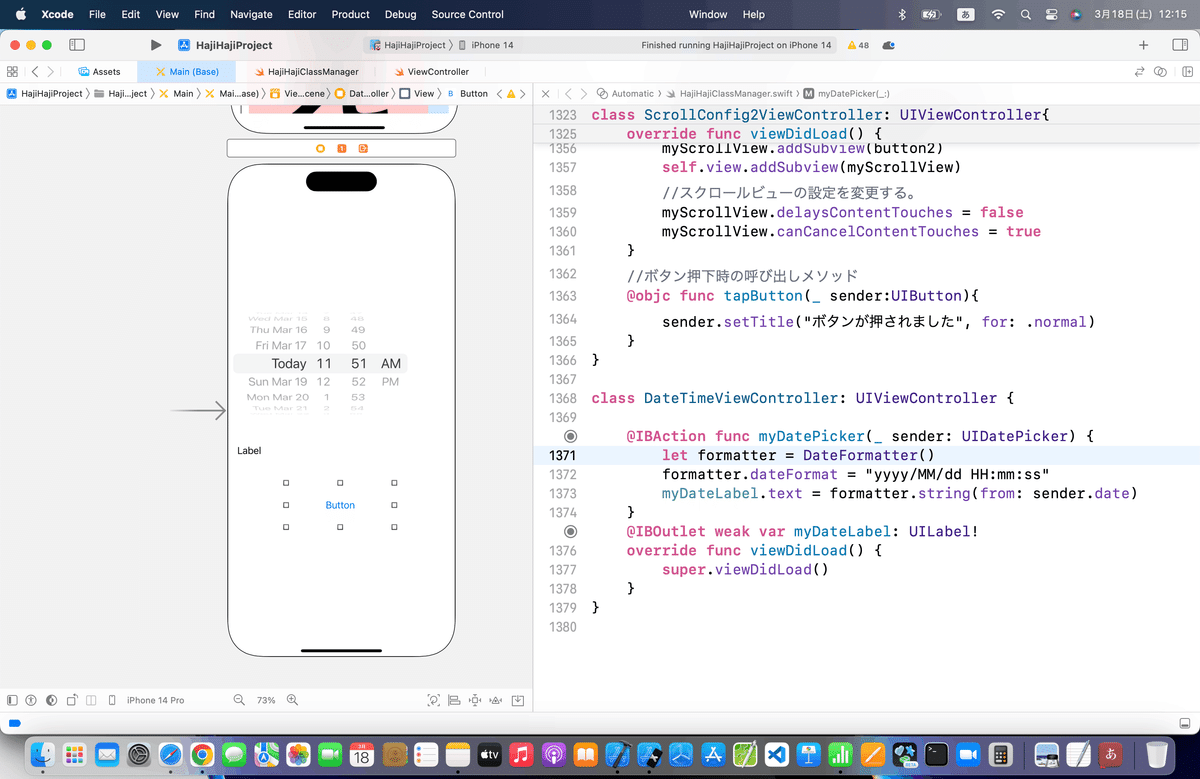
⒈デートピッカーを配置


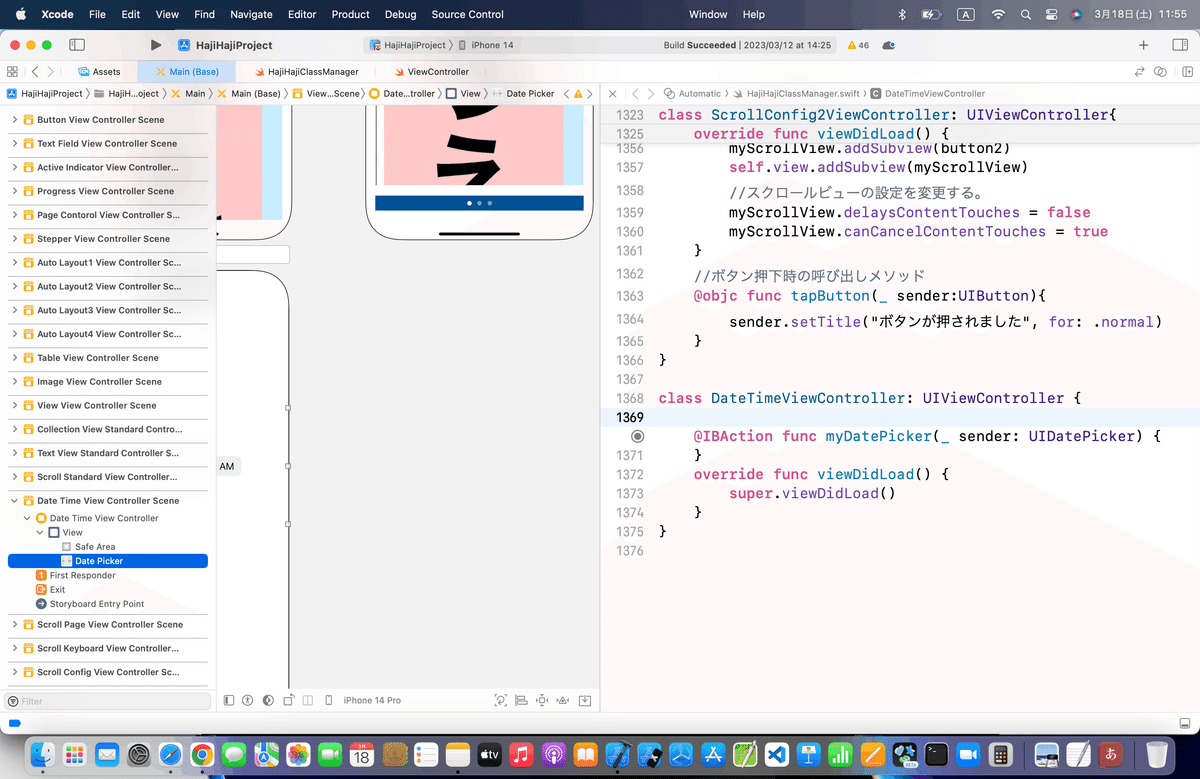
⒉コードにアクション接続
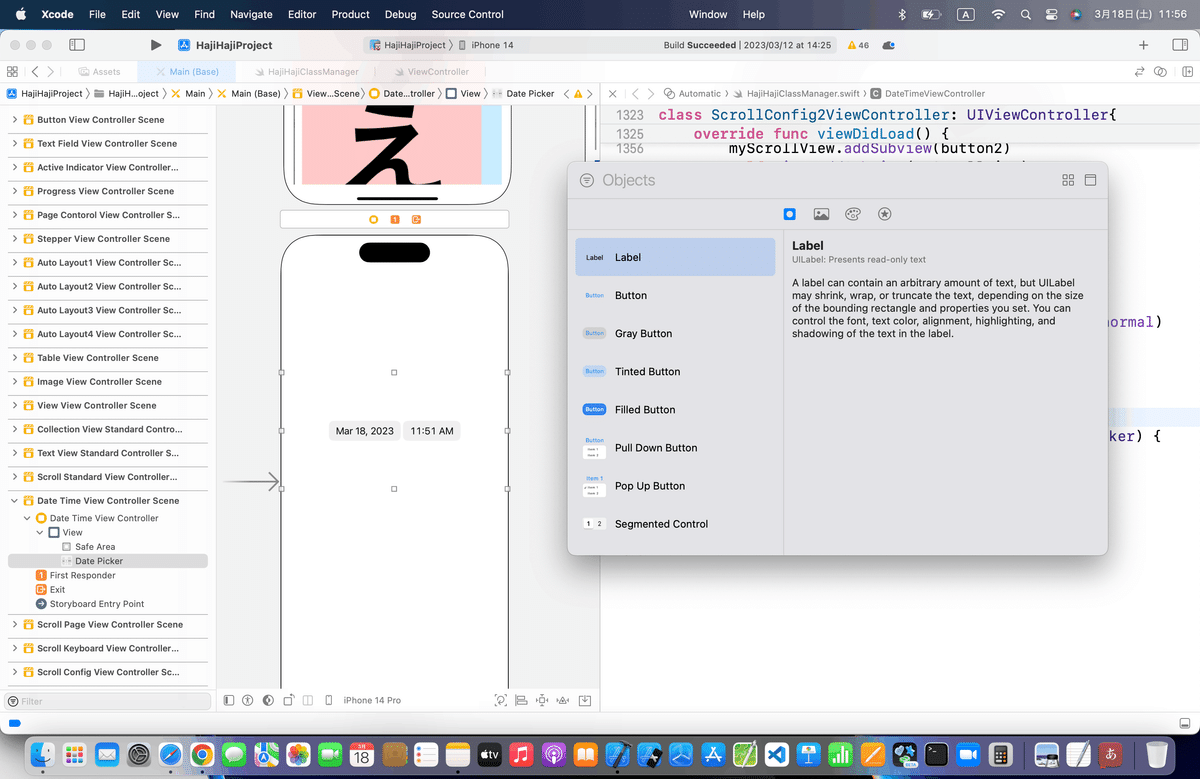
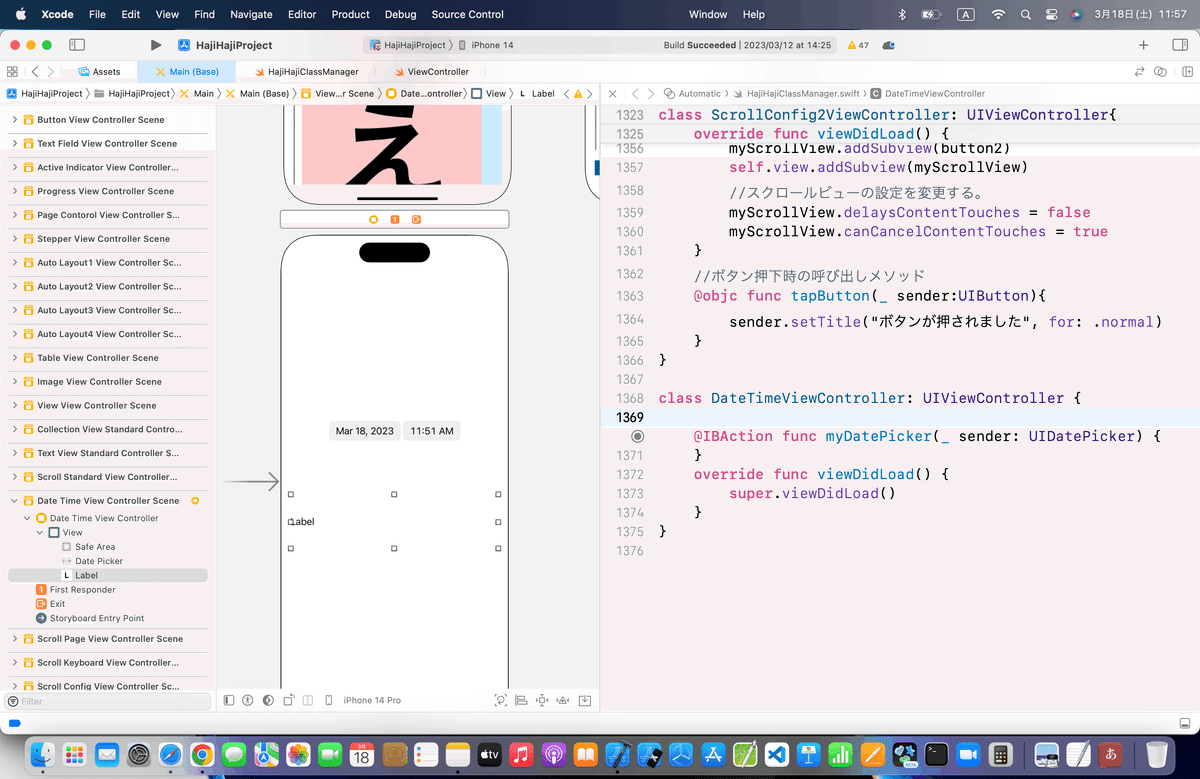
⒊ラベルをデバイス画面に配置して、アウトレット接続


⒋以下のコードを組み込む
import UIKit
class ViewController: UIViewController {
@IBOutlet weak var testLabel: UILabel!
//データ変更時の呼び出しメソッド
@IBAction func changeDate(sender: UIDatePicker) {
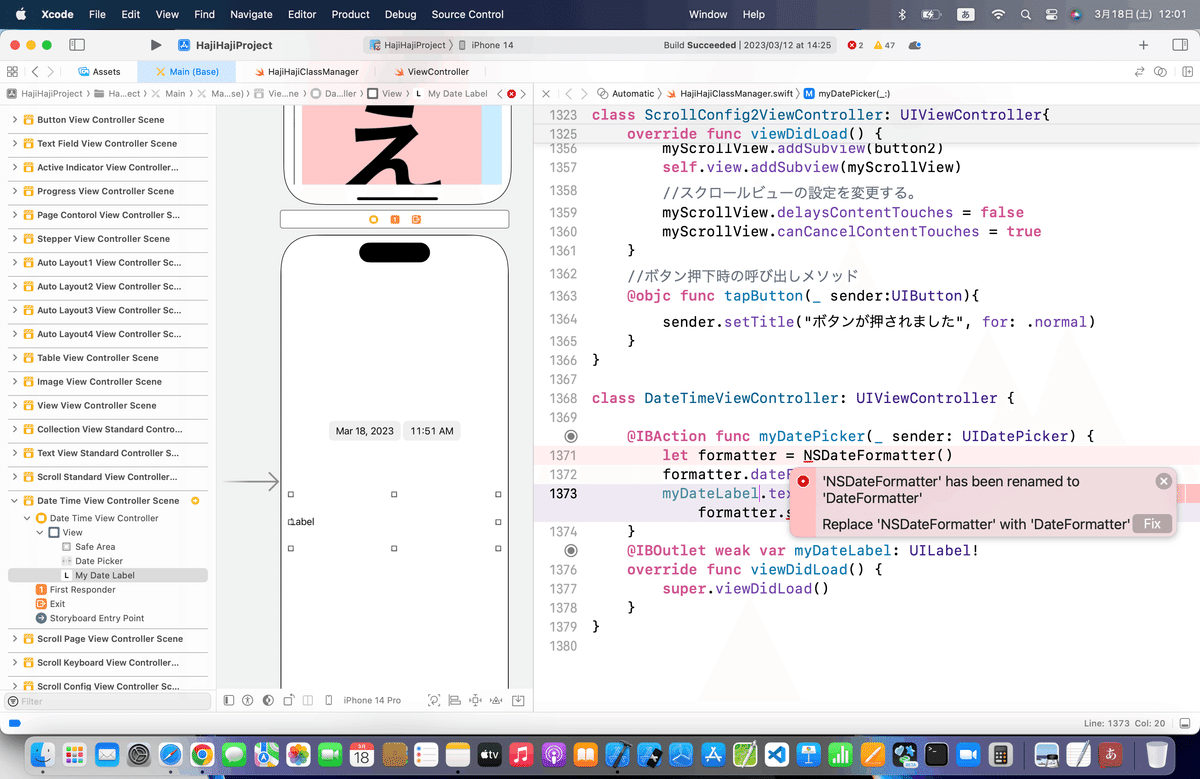
let formatter = NSDateFormatter()
formatter.dateFormat = "yyyy/MM/dd HH:mm:ss"
testLabel.text = formatter.stringFromDate(sender.date)
}
//最初からあるメソッド
override func viewDidLoad() {
super.viewDidLoad()
}
}組み込むと、、

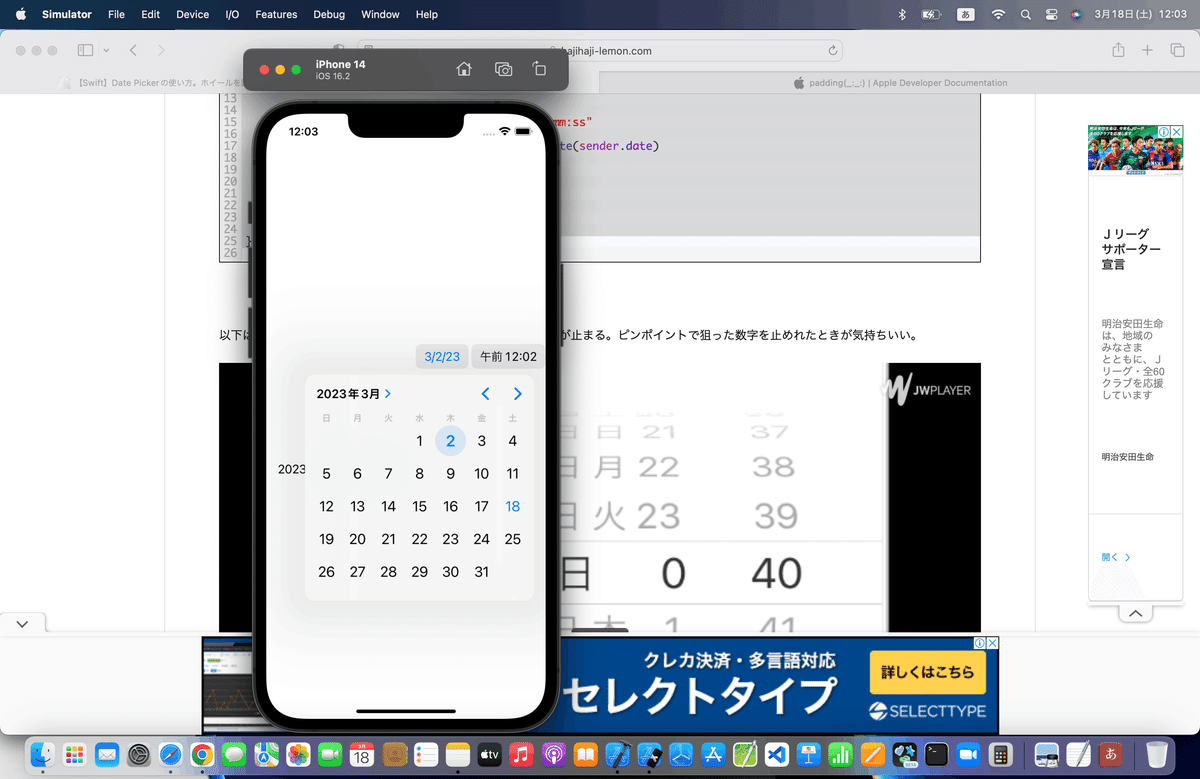
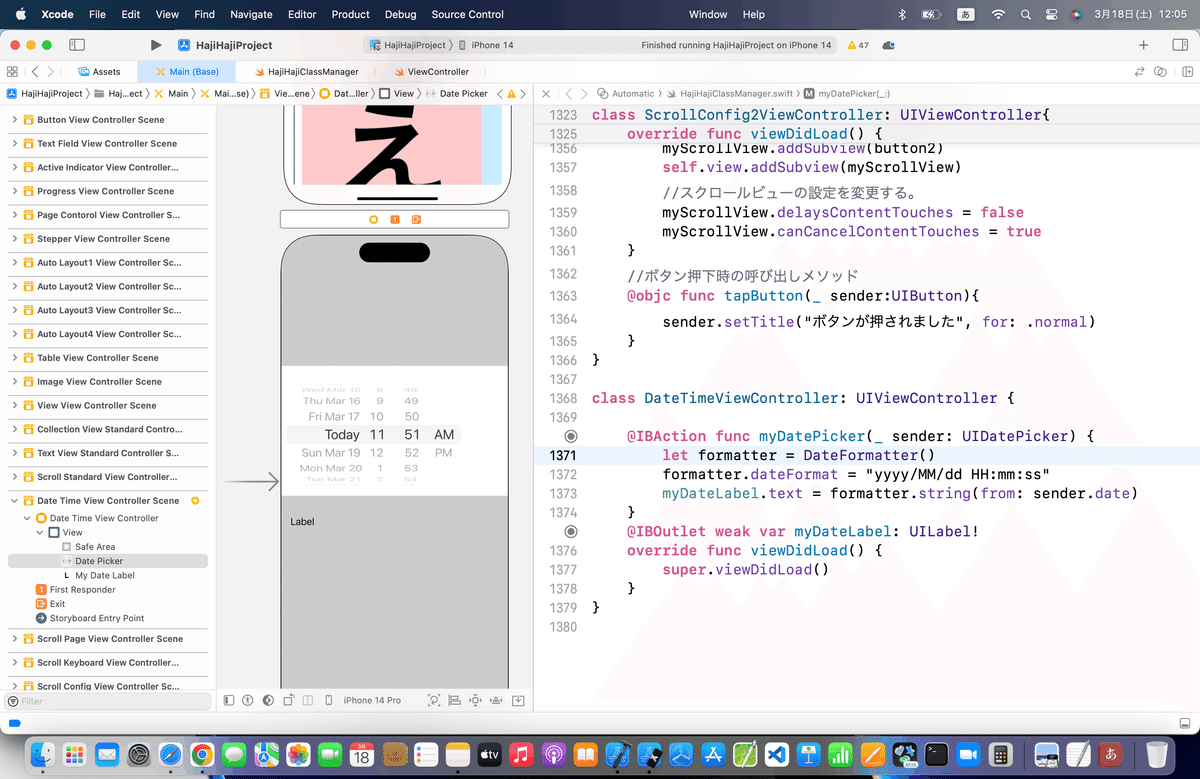
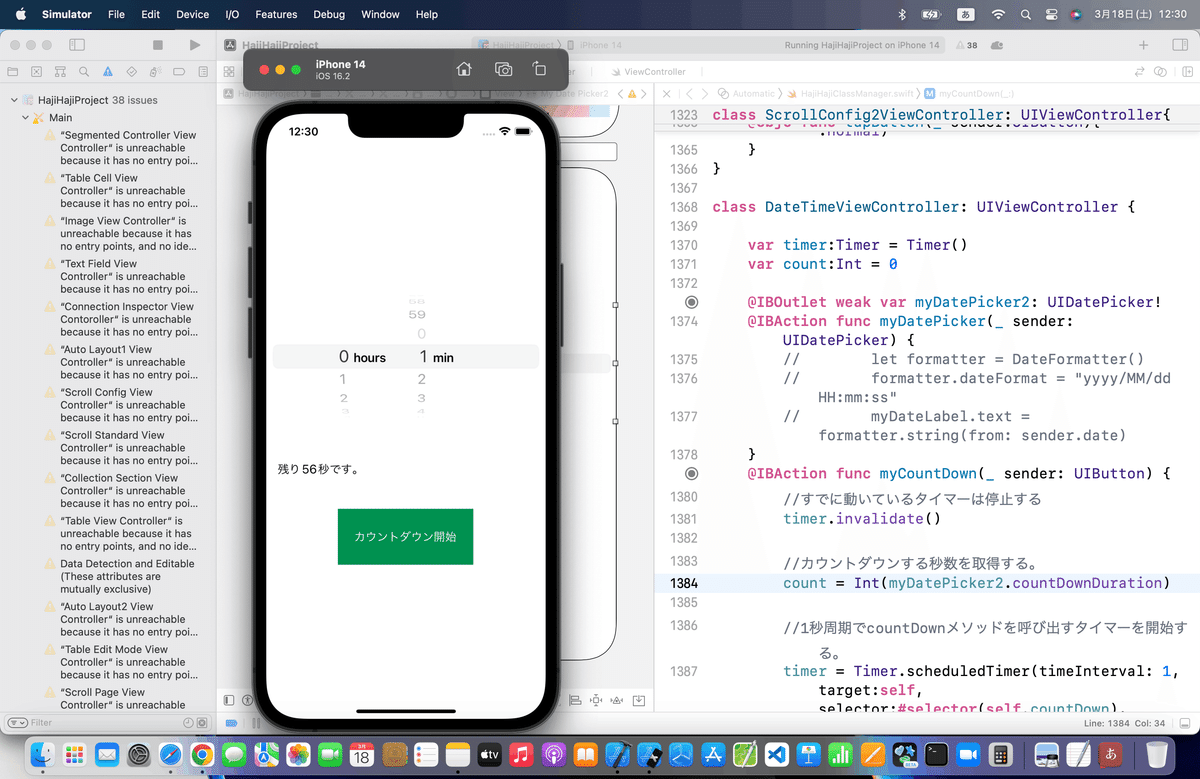
⒌シミュレータで実行

Wheelsに変更🕺

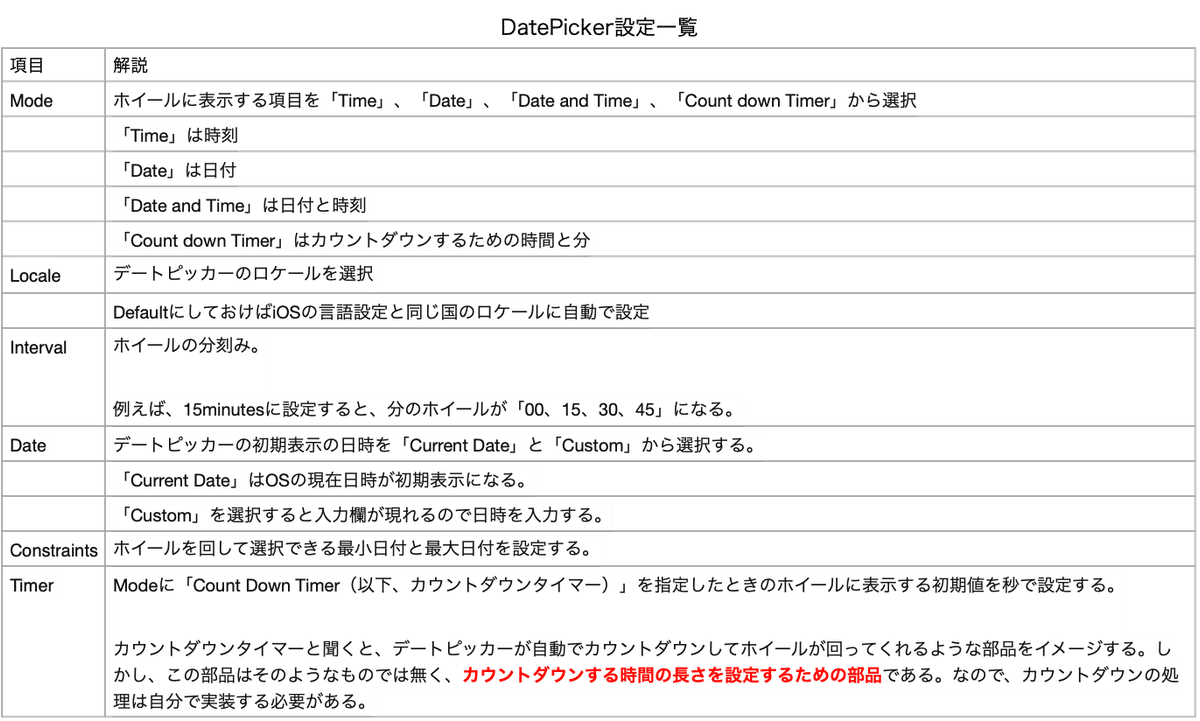
⒍続きは、
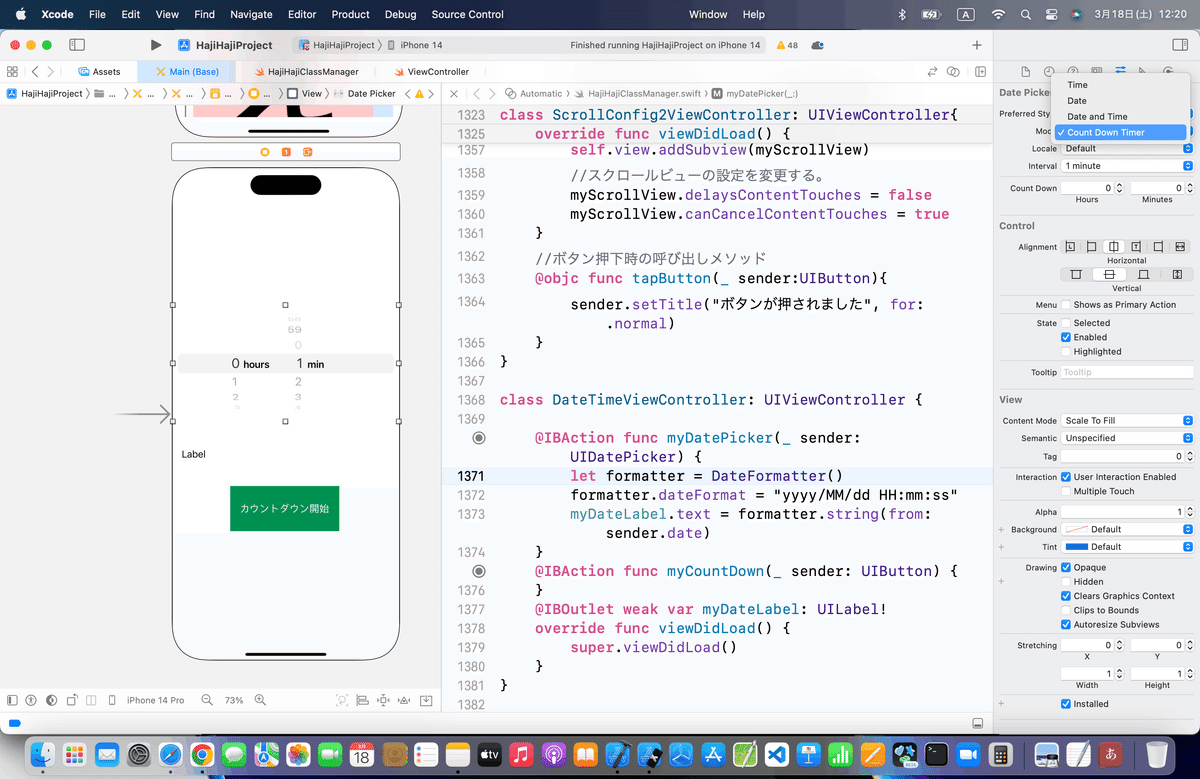
アトリビュートインスペクターでの設定のようなので、一覧表で
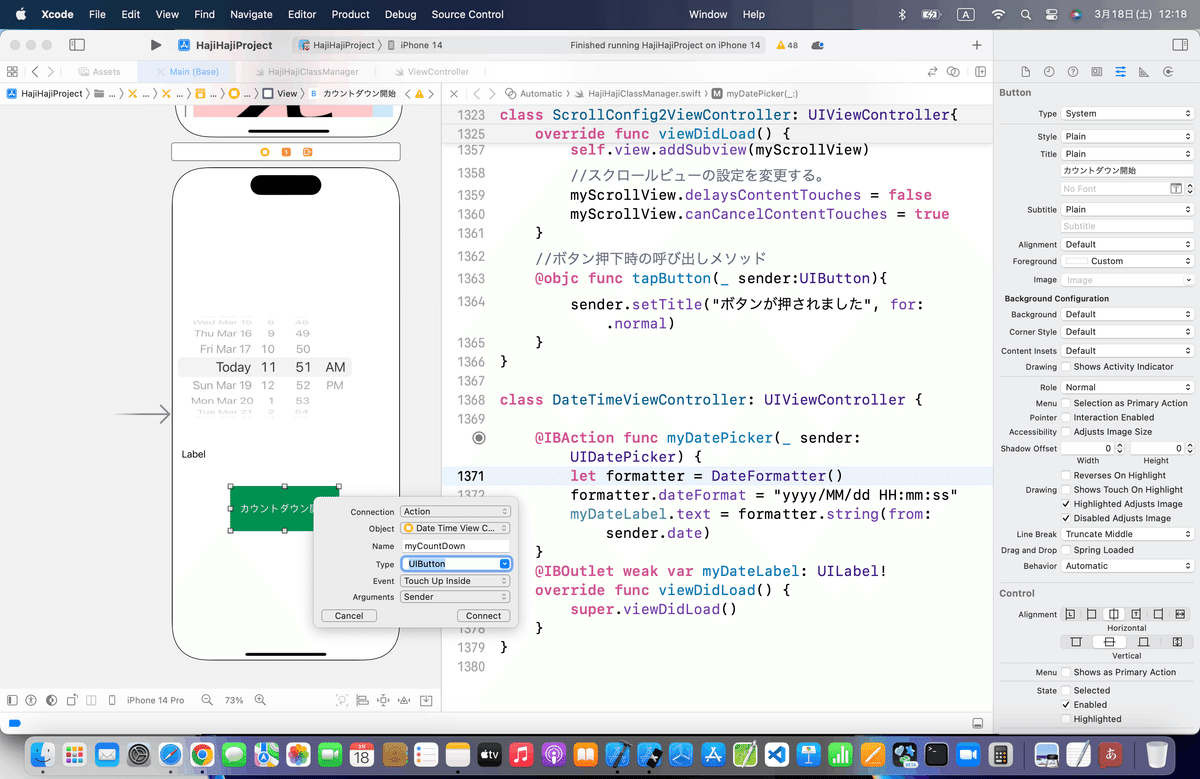
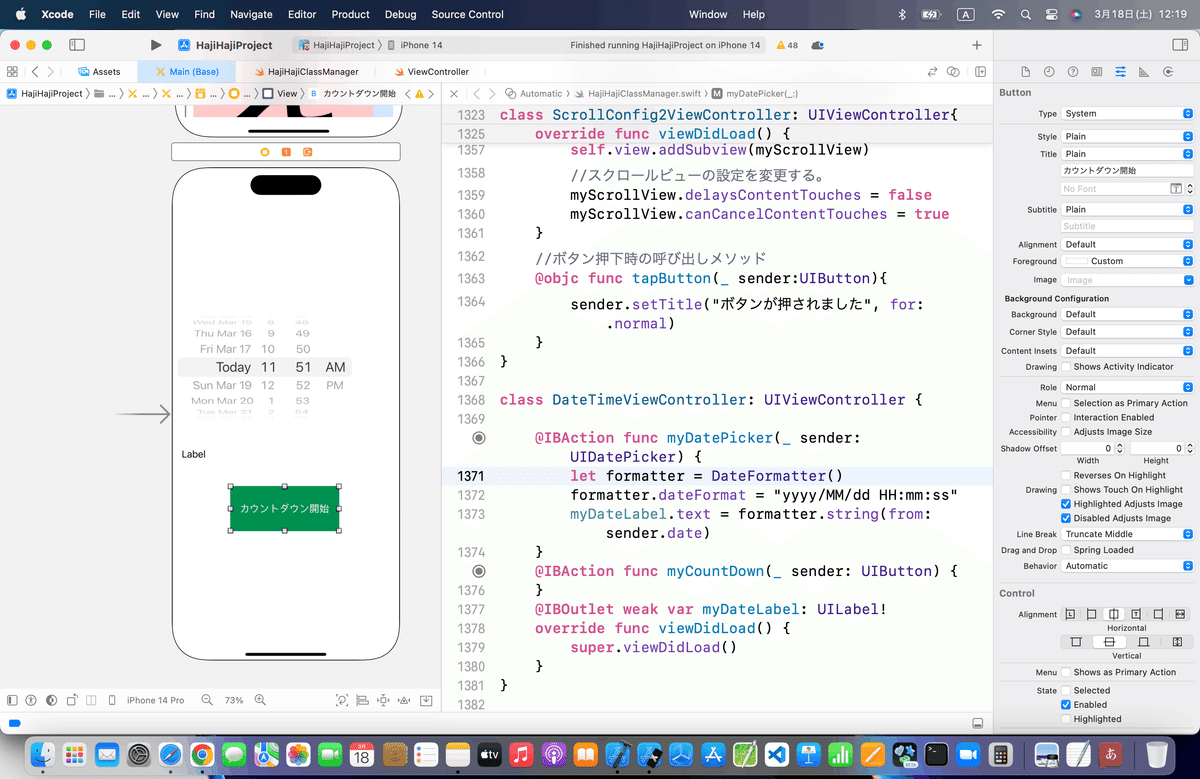
⒎カウントダウンタイマー


//
//  ViewController.swift
//
import UIKit
class ViewController: UIViewController {
    @IBOutlet weak var testLabel: UILabel!
    @IBOutlet weak var testDatePicker: UIDatePicker!
    var timer:NSTimer = NSTimer()
    var count:Int = 0
    //データ変更時の呼び出しメソッド
    @IBAction func changeDate(sender: UIDatePicker) {
        //何もしない。
    }
    //ボタン押下時の呼び出しメソッド
    @IBAction func startCountDown(sender: UIButton) {
        //すでに動いているタイマーは停止する
        timer.invalidate()
        //カウントダウンする秒数を取得する。
        count = Int(testDatePicker.countDownDuration)
        //1秒周期でcountDownメソッドを呼び出すタイマーを開始する。
        timer = NSTimer.scheduledTimerWithTimeInterval(1, target:self, selector:"countDown", userInfo:nil, repeats:true)
    }
    //タイマーから呼び出されるメソッド
    func countDown(){
        //カウントを減らす。
        count--
        //カウントダウン状況をラベルに表示
        if(count > 0) {
            testLabel.text = "残り\(count)秒です。"
        } else {
            testLabel.text = "カウントダウン終了"
            timer.invalidate()
        }
    }
    //最初からあるメソッド
    override func viewDidLoad() {
        super.viewDidLoad()
    }
}
いつもどおりコードを組み込んで、

サイト記事の内容は以上✨
ブラッシュアップ
一気に繋いじゃったので、前半とカウントダウンタイマーのビューを分けようかなとも思ったんだけど、、、
ひとつのビューで一気にまとめてしまおう👀

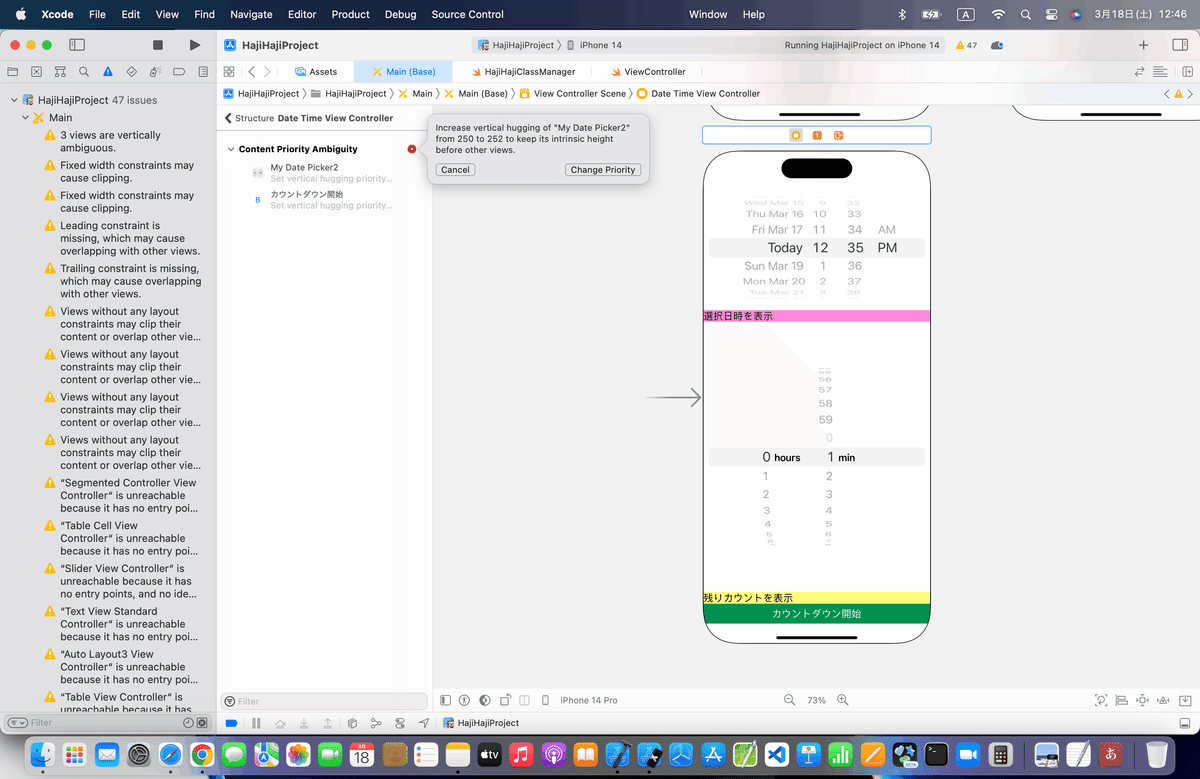
恒例のAutoLayout〜〜〜
今回は、ひとつのビューにパーツも多いので、VerticalStackViewでまとめよう
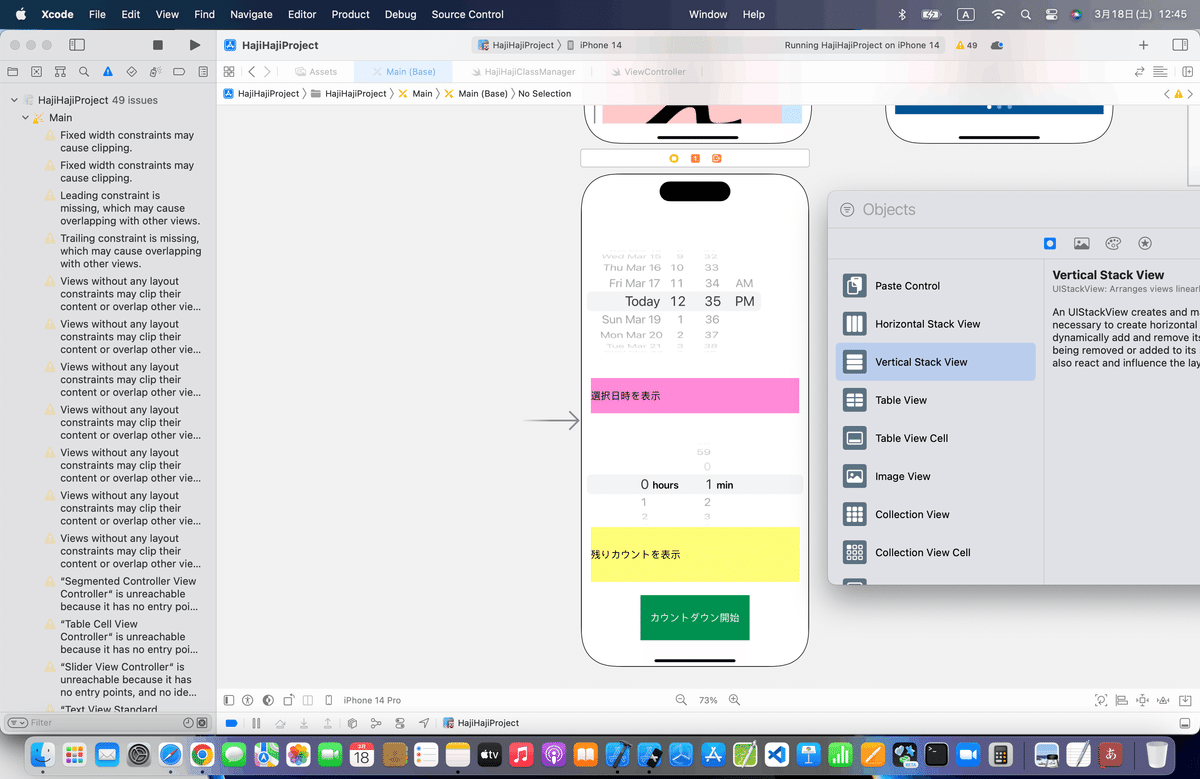


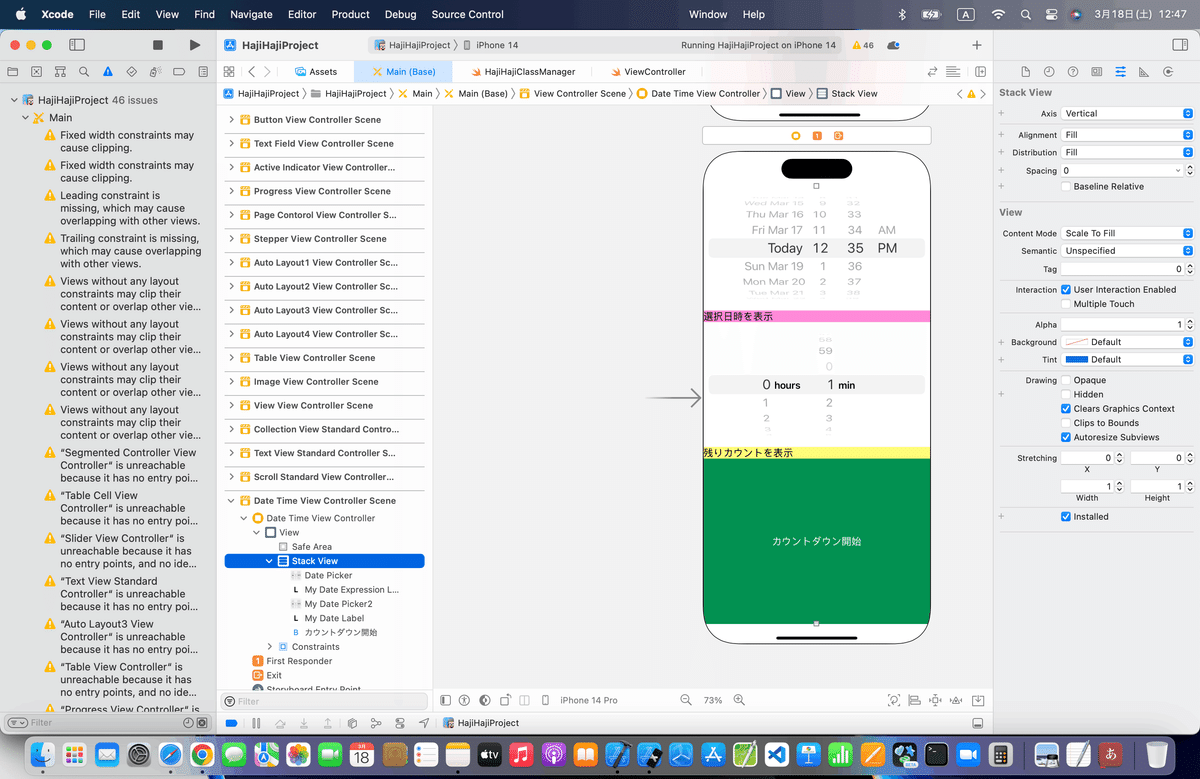
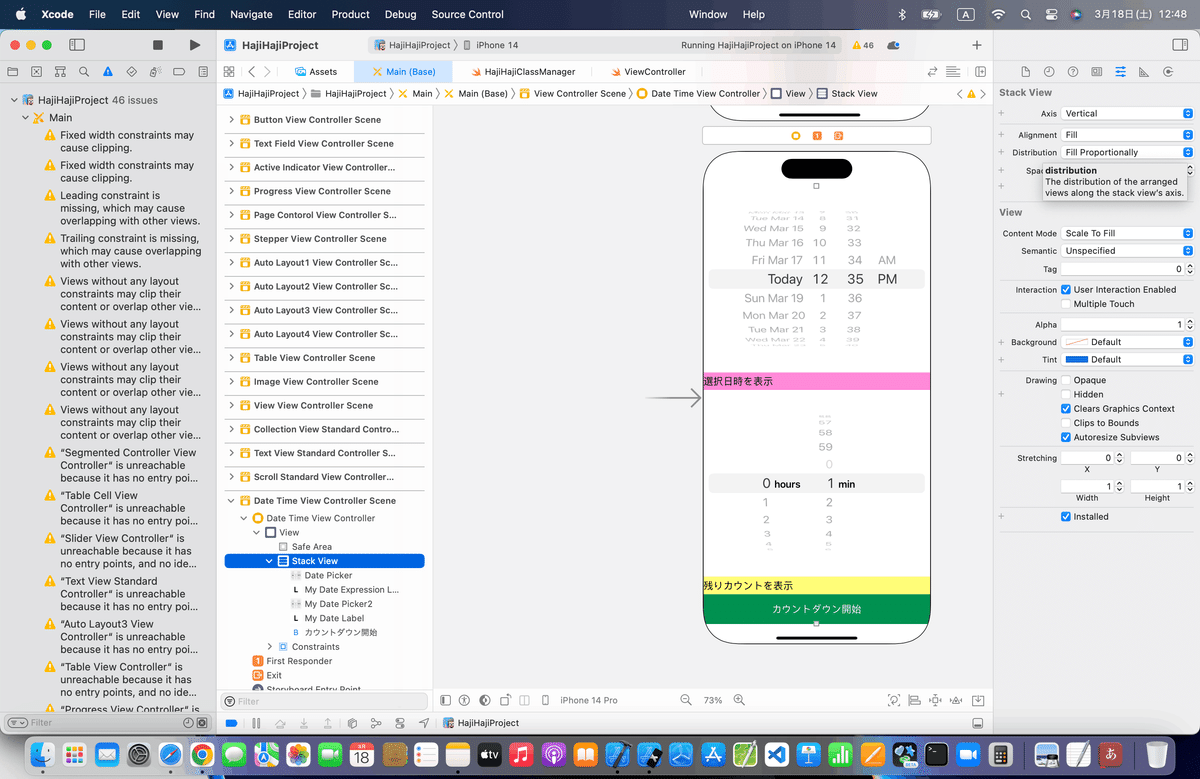
と、ボタンと表示ラベルがこのままだとどれがボタンか区別がつきにくいので〜〜〜


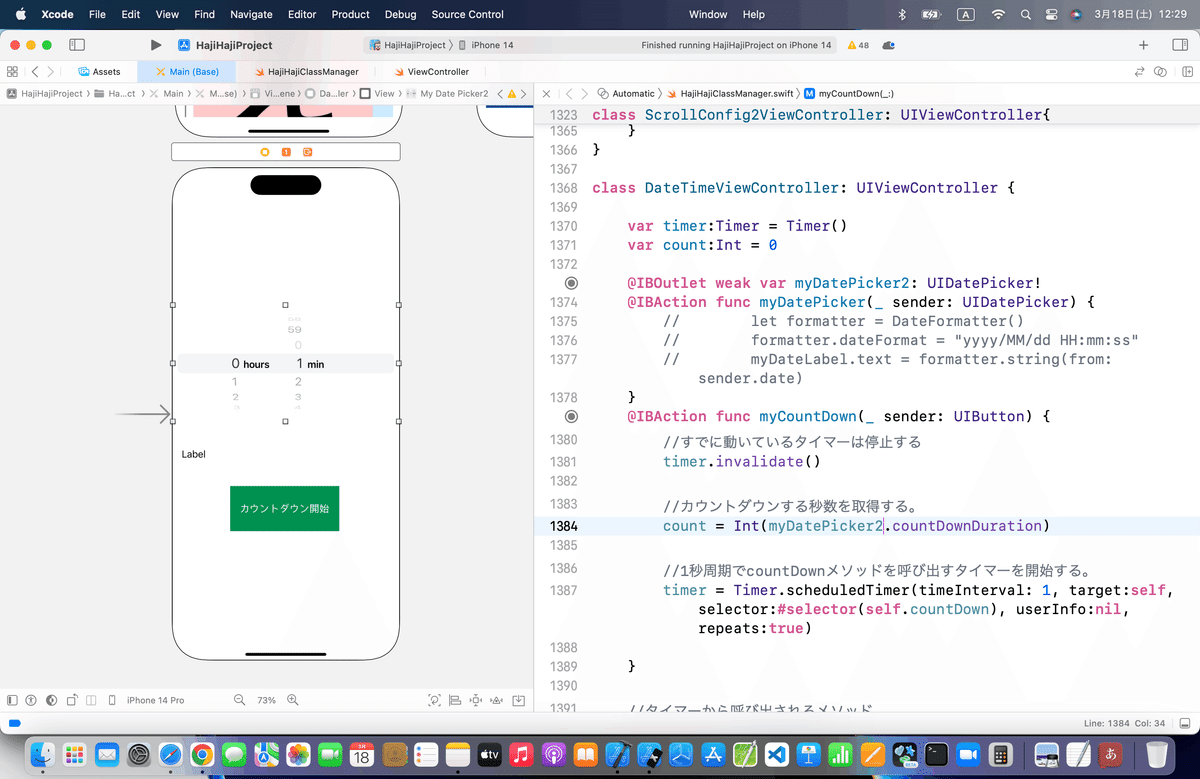
今回のコード(まとめ)
class DateTimeViewController: UIViewController {
override func viewDidLoad() {
super.viewDidLoad()
}
var timer:Timer = Timer()
var count:Int = 0
@IBOutlet weak var myDateExpressionLabel: UILabel!
@IBAction func myDatePicker1(_ sender: UIDatePicker) {
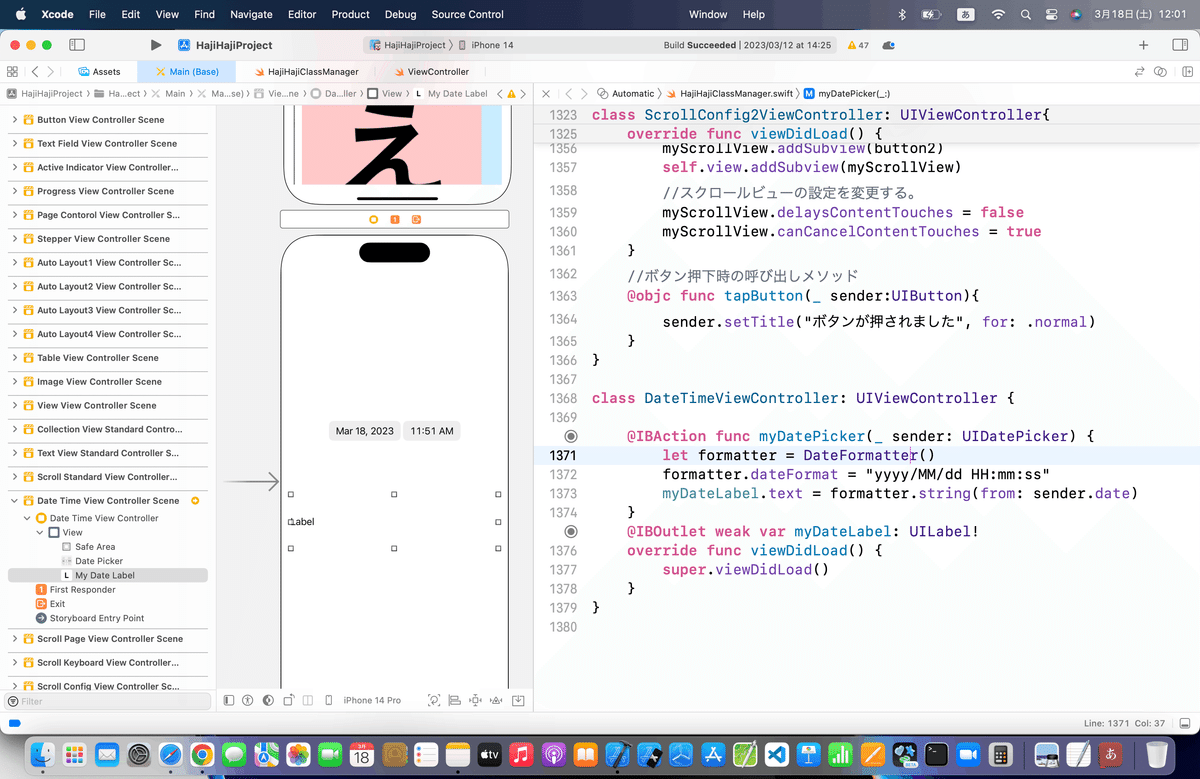
let formatter = DateFormatter()
formatter.dateFormat = "yyyy/MM/dd HH:mm:ss"
myDateExpressionLabel.text = formatter.string(from: sender.date)
}
@IBOutlet weak var myDatePicker2: UIDatePicker!
@IBAction func myDatePicker(_ sender: UIDatePicker) {
//何もしない
}
@IBAction func myCountDown(_ sender: UIButton) {
//すでに動いているタイマーは停止する
timer.invalidate()
//カウントダウンする秒数を取得する。
count = Int(myDatePicker2.countDownDuration)
//1秒周期でcountDownメソッドを呼び出すタイマーを開始する。
timer = Timer.scheduledTimer(timeInterval: 1, target:self, selector:#selector(self.countDown), userInfo:nil, repeats:true)
}
//タイマーから呼び出されるメソッド
@objc func countDown(){
//カウントを減らす。
count -= 1
//カウントダウン状況をラベルに表示
if(count > 0) {
myDateLabel.text = "残り\(count)秒です。"
} else {
myDateLabel.text = "カウントダウン終了"
timer.invalidate()
}
}
@IBOutlet weak var myDateLabel: UILabel!
}Apple公式
さて、次回は
をレッツゴする🕺