
【徒然iOS】気ままにUIKit74〜Segue シーンとシーン接続して画面遷移〜

概要
このマガジンは四十を過ぎたおっさんが、
を参考にStoryboardでiOSアプリを完全に趣味で楽しんでいるだけな記事を気ままに上げてます。
今回
をハイ、レッツゴ🕺
前々回で、ボタンを配置して、各ビューを繋いでたアレの、
Navigation Controllerのないバージョンと思っていただけると〜〜〜〜💦
前準備
念の為、
バックアップ
新しいクラス
ビューコントローラの追加
イニシャルビューの変更
をいつも通りやってから本題へ💃

本題
Segueとは
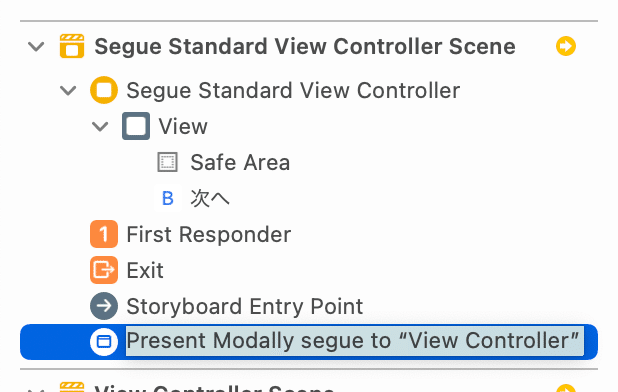
シーンとシーンを接続し画面遷移を行うための部品
前々回ですでにやってるから、すでにSegueがいっぱい💦
⒈もう一個、ビューを配置して、色を変えて、ボタンを配置


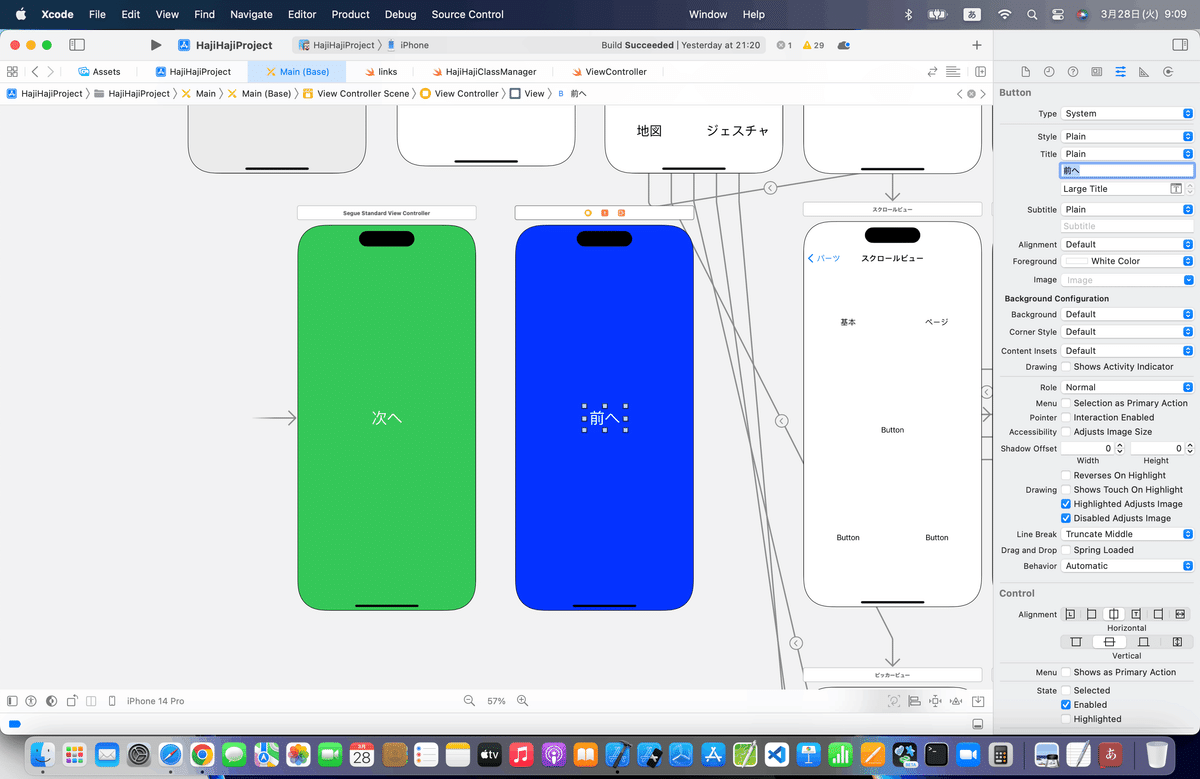
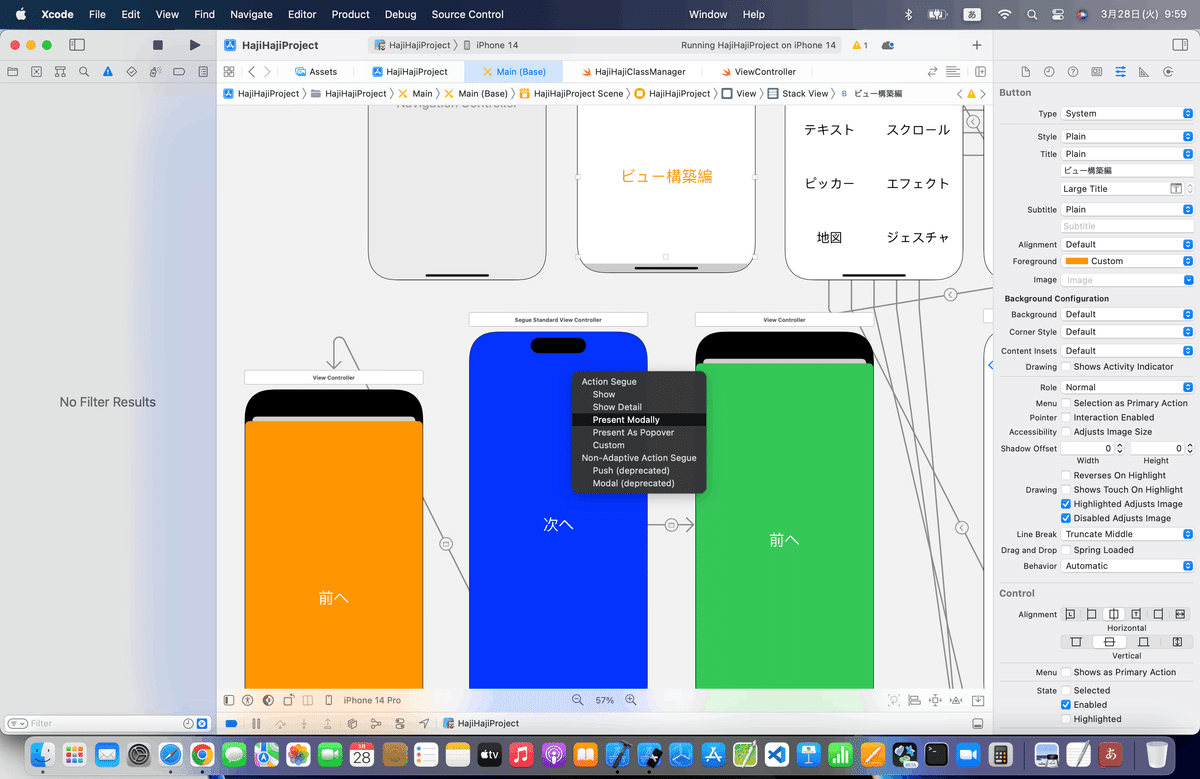
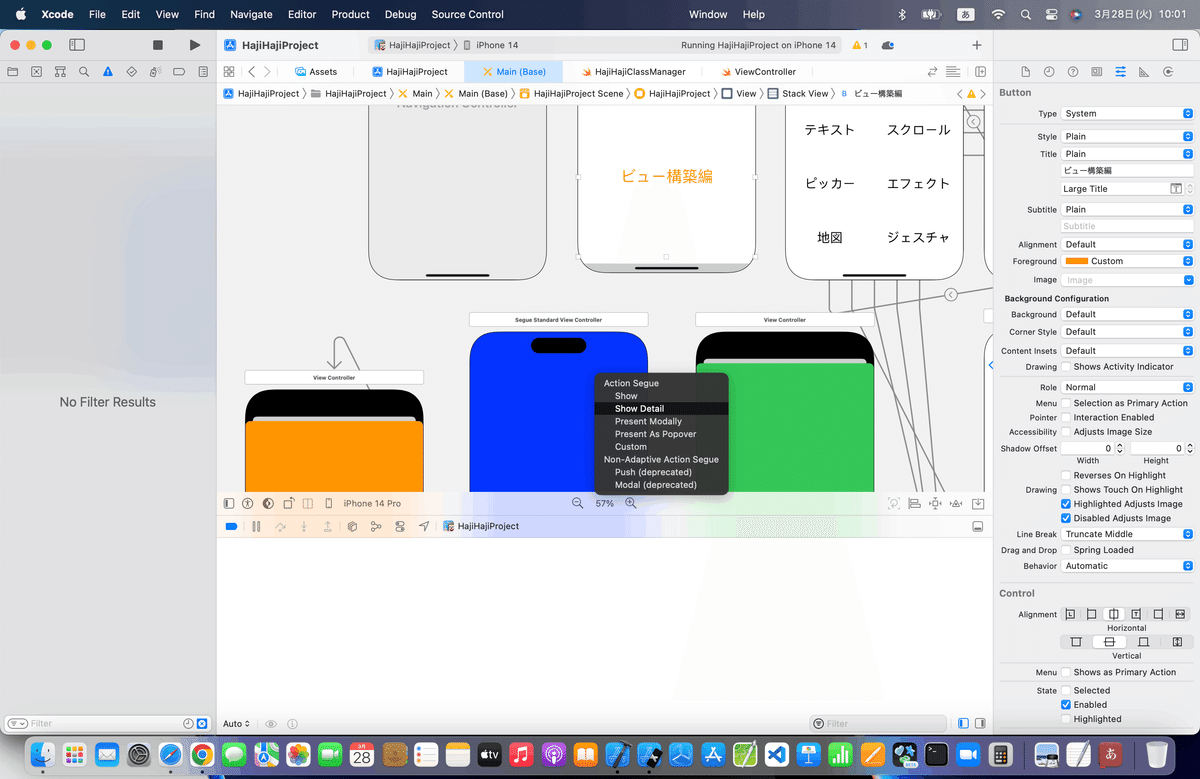
⒉ドラッグしてModalを選択

ので、Present Modallyってのを選んで

とりあえず、SizeClassもチェックを入れとこう

おそらくTraitVariationだな💦
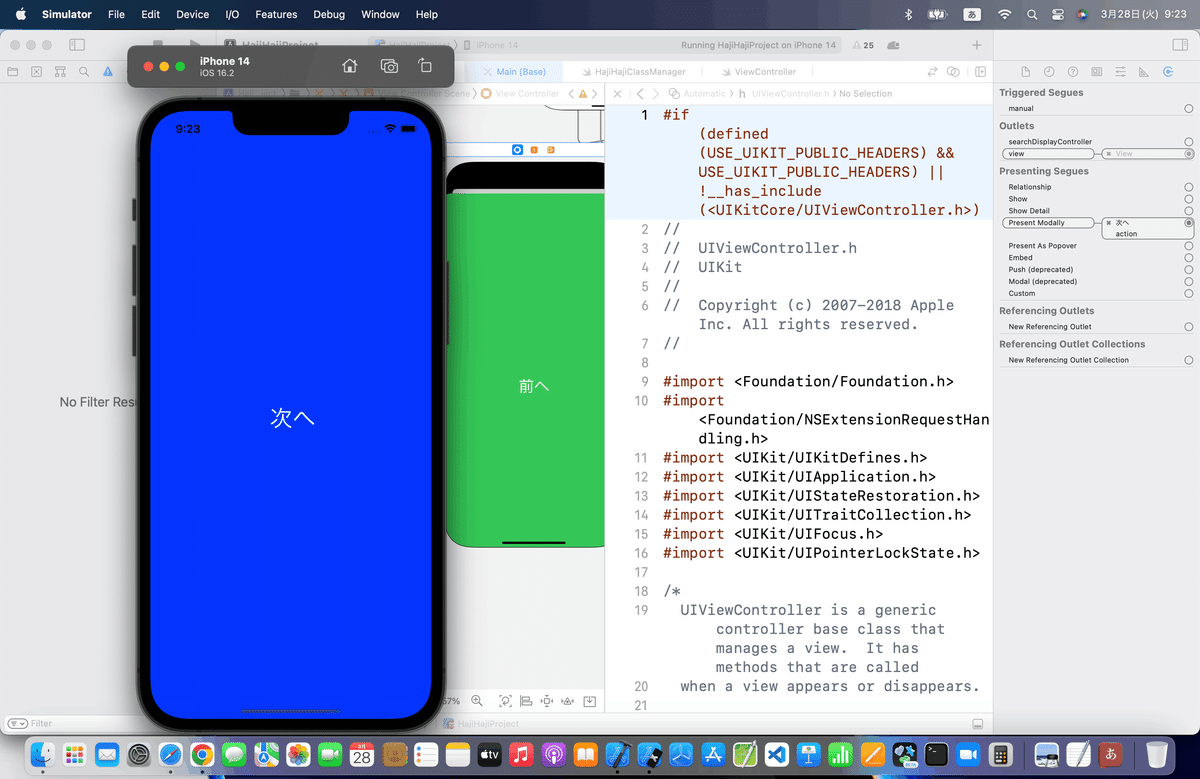
⒊シミュレータを実行
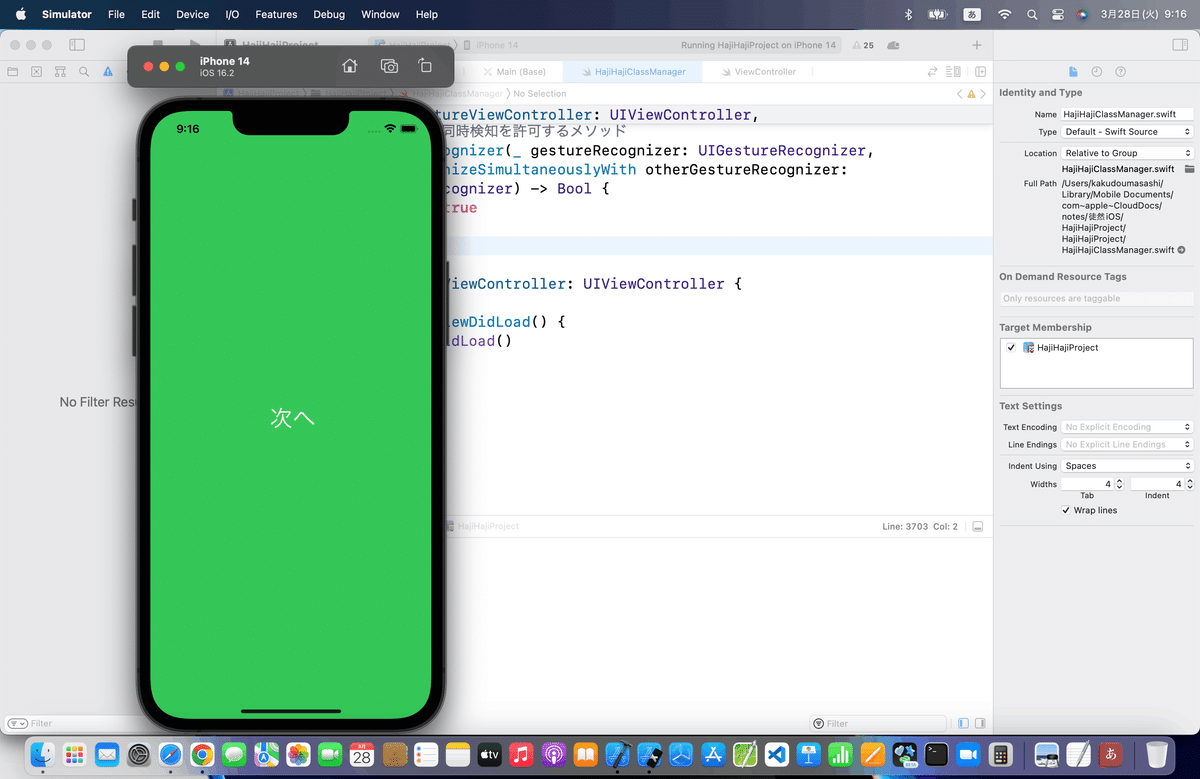

っと、ここでサイト記事と色が逆なので〜〜〜〜

⒋コード組み込み
 //青画面に戻るときの呼び出しメソッド
 @IBAction func prevGamen(segue: UIStoryboardSegue) {
        //処理無し
 }
を組み込めと言ってるようなので、、、


⒌条件によって、遷移先を変更


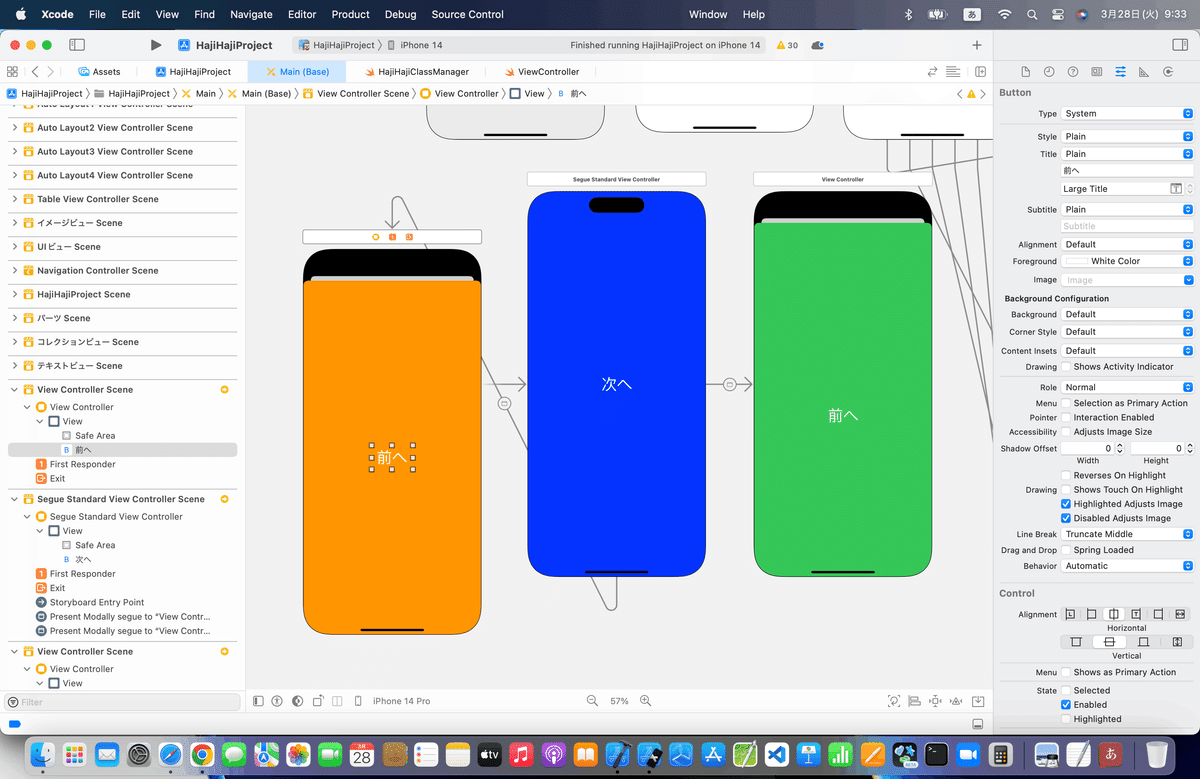
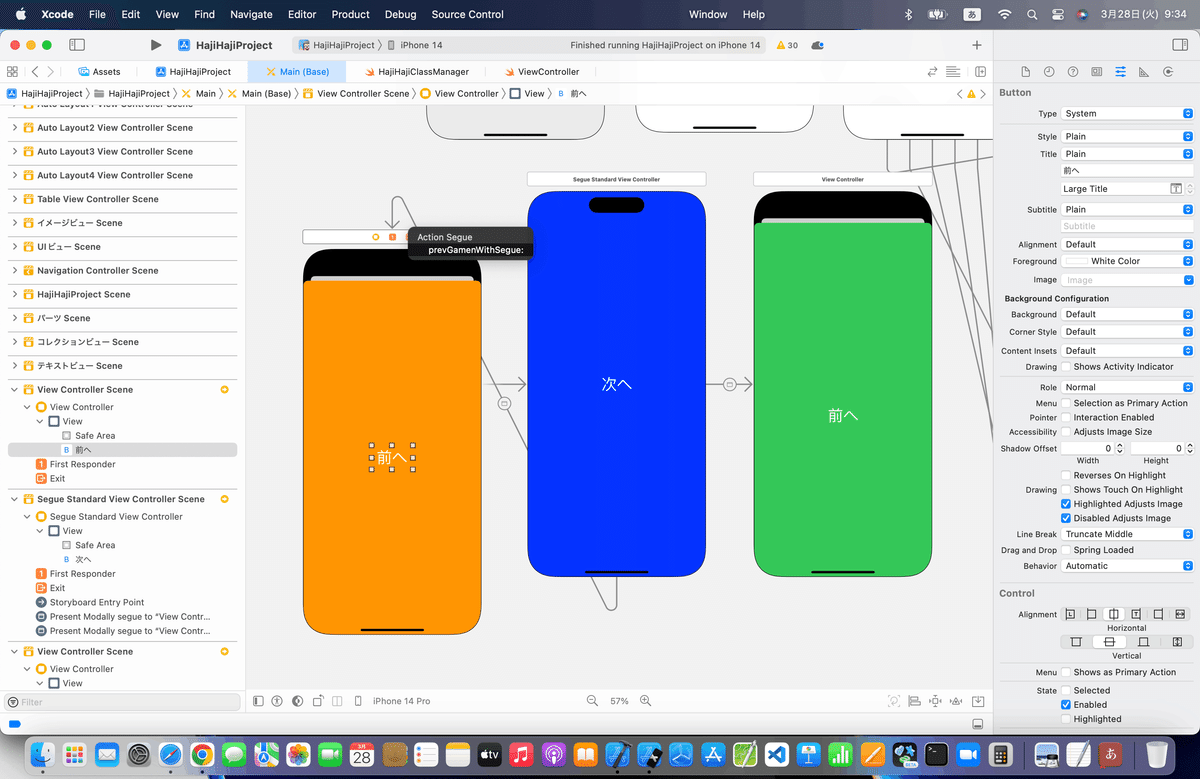


⒍次へボタンをアクション接続


⒎コード組み込み
//
//  ViewController.swift
//
import UIKit
class ViewController: UIViewController {
    //最初からあるメソッド
    override func viewDidLoad() {
        super.viewDidLoad()
    }
    //青画面に戻るときの呼び出しメソッド
    @IBAction func prevGamen(segue: UIStoryboardSegue) {
        //処理無し
    }
    //ボタンドラッグ時の呼び出しメソッド
    @IBAction func dragExit(sender: UIButton) {
        //識別子「GreenSegue」のセグエを実行する。
        performSegueWithIdentifier("GreenSegue", sender: nil)
    }
    //ボタンダブルタップ時の呼び出しメソッド
    @IBAction func doubleTap(sender: UIButton) {
        //識別子「YellowSegue」のセグエを実行する。
        performSegueWithIdentifier("YellowSegue", sender: nil)
    }
}
⒏シミュレータ実行


サイト記事としては、以上🕺
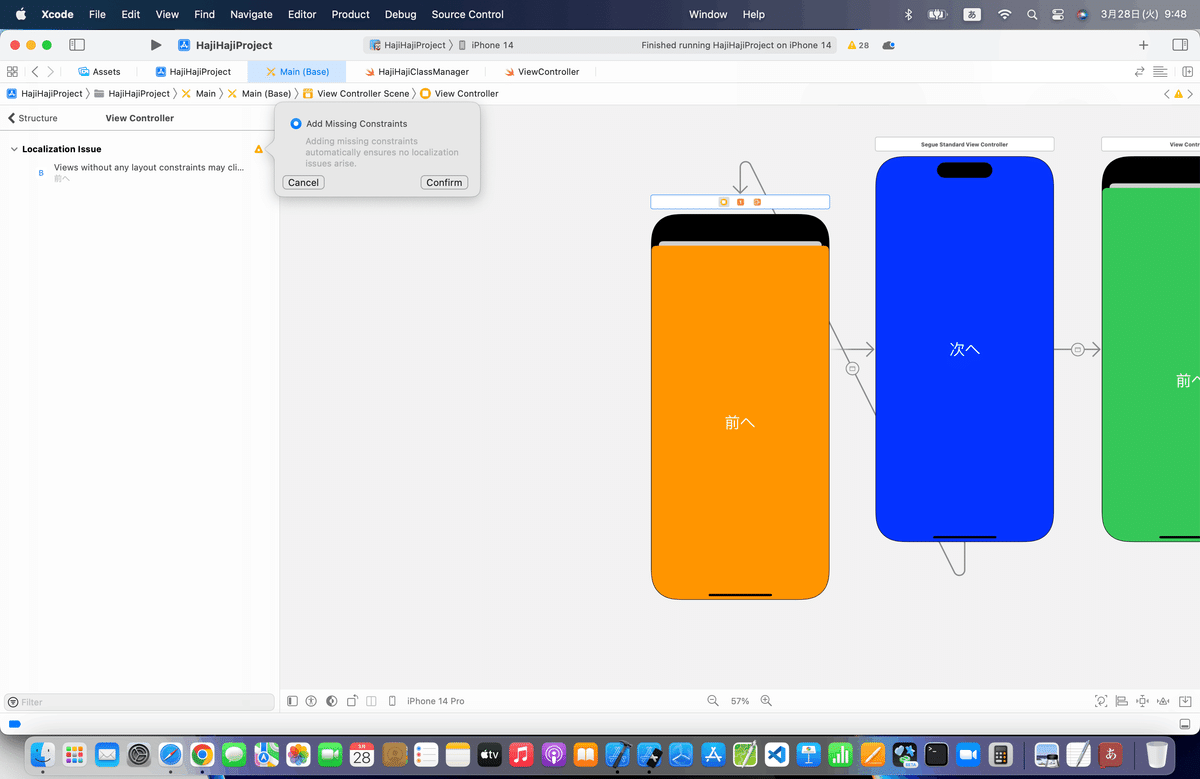
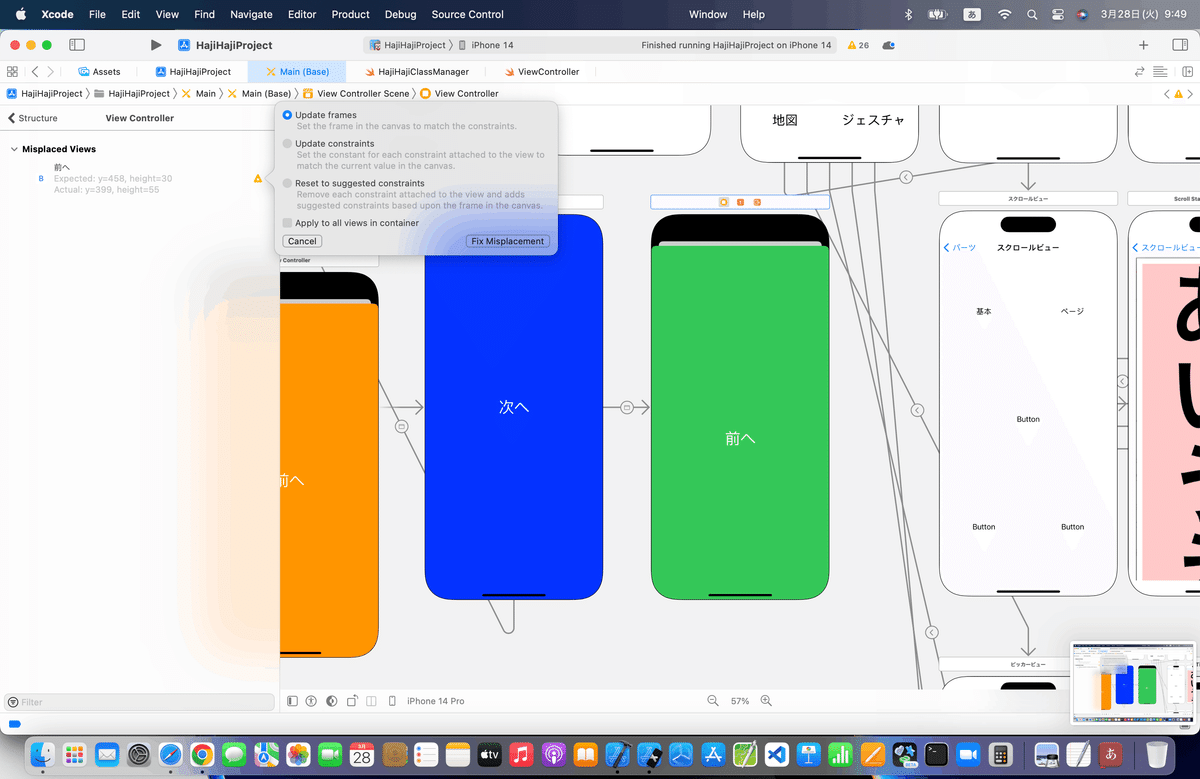
ブラッシュアップ
AutoLayoutだけやっとこう


今回のコード(まとめ)
class SegueStandardViewController: UIViewController {
    //最初からあるメソッド
    override func viewDidLoad() {
        super.viewDidLoad()
    }
    //青画面に戻るときの呼び出しメソッド
    @IBAction func prevGamen(segue: UIStoryboardSegue) {
        //処理無し
    }
    //ボタンドラッグ時の呼び出しメソッド
    @IBAction func myDragExit(_ sender: UIButton) {
        //識別子「GreenSegue」のセグエを実行する。
        performSegue(withIdentifier: "GreenSegue", sender: nil)
    }
    //ボタンダブルタップ時の呼び出しメソッド
    @IBAction func myDoubleTap(_ sender: UIButton) {
        //識別子「YellowSegue」のセグエを実行する。
        performSegue(withIdentifier: "OrangeSegue", sender: nil)
    }
}
ちょっと試しに、、、
NavigationControllerと今回の青画面を繋いでみよう👀
どうなるかドキドキ💦

Showに〜〜〜


他のも試してみたけど、結果は同じ。なんかNavigationControllerと詳細なSegueは、
思ったとおり、相性悪いね藁🤣
たしか、Customでハンドラーを使うとできた気がするけど、
この記事の趣旨と反するので、
💃残りの記事を一旦、進めよ🕺
Apple公式
さて、次回は
をレッツゴする🕺