
【徒然iOS】気ままにUIKit78〜Segue カスタムクラス。遷移先ビューの登場シーンを自作〜

概要
このマガジンは四十を過ぎたおっさんが、
を参考にStoryboardでiOSアプリを完全に趣味で楽しんでいるだけな記事を気ままに上げてます。
今回
をハイ、レッツゴ🕺
遂にSegueも最後だねえ〜〜〜〜〜😭
前準備
念の為、
バックアップ
新しいクラス
ビューコントローラの追加
イニシャルビューの変更
をいつも通りやってから本題へ💃
本題
セグエのカスタムクラスで画面遷移の動きを自作する方法
てことなので、
ならば、見せていただこう!
Swiftの本当の実力とやらを
(なぜに、赤い彗星風👀藁🤣)
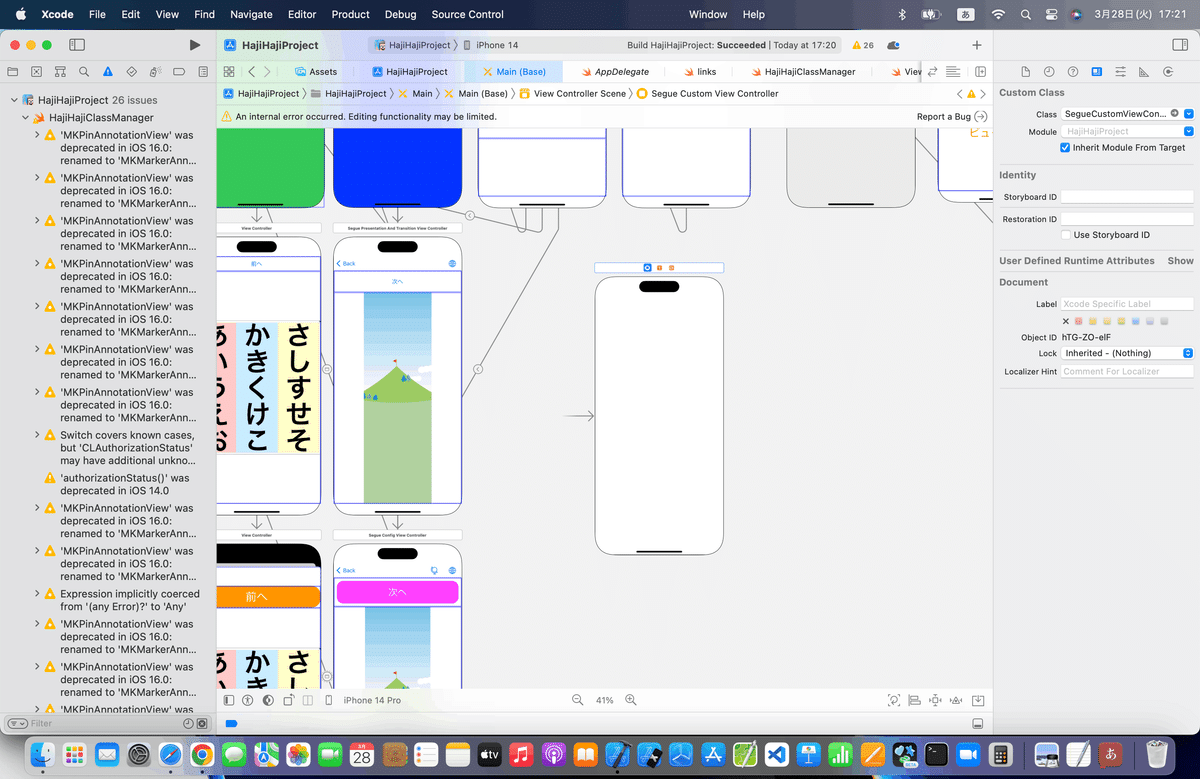
⒈とりあえず、必要なビューなんかの準備〜〜〜
ここでやった操作がまずは必要なようだ🤖
⒉Customクラスを作る〜〜〜
サイト記事では、CocoaTouchClassから作ってるけど、
MapKit以降でやってるとおり、今回も直接、以下のサンプルコードを参考に
//
//  TestSegue.swift
//

import UIKit
class TestSegue: UIStoryboardSegue {
    override func perform() {
        //遷移元と遷移先のビューを取得する。
        let firstView = self.sourceViewController.view
        let secondView = self.destinationViewController.view
        //画面高さを取得
        let screenHeight = UIScreen.mainScreen().bounds.size.height
        let screenWidth = UIScreen.mainScreen().bounds.size.width
        //識別子で配置場所を分ける。
        if(identifier == "GreenSegue") {
            //画面上側の外に配置する。
            secondView.frame = CGRectMake(0, -screenHeight, screenWidth, screenHeight)
        } else {
            //画面左側の外に配置する。
            secondView.frame = CGRectMake(-screenWidth, 0, screenWidth, screenHeight)
        }
        //遷移元ビューに遷移先ビューを追加する。
        firstView.addSubview(secondView)
        //アニメーション
        UIView.animateWithDuration(1.5, animations: { () -> Void in
            secondView.frame = CGRectMake(0, 0, screenWidth, screenHeight)
        }) { (Finished) -> Void in

            //遷移先のビューコントローラーをモーダル表示にする。
            self.sourceViewController.presentViewController(self.destinationViewController, animated: false, completion: nil)
        }
    }
}
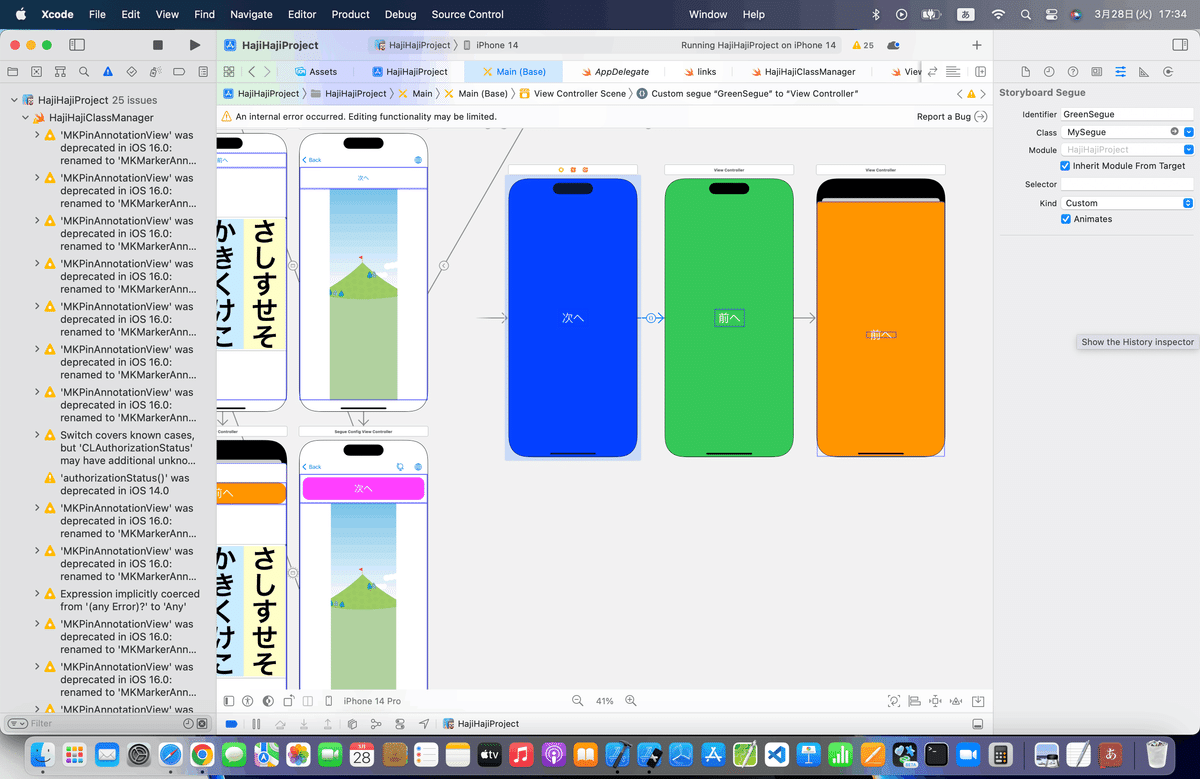
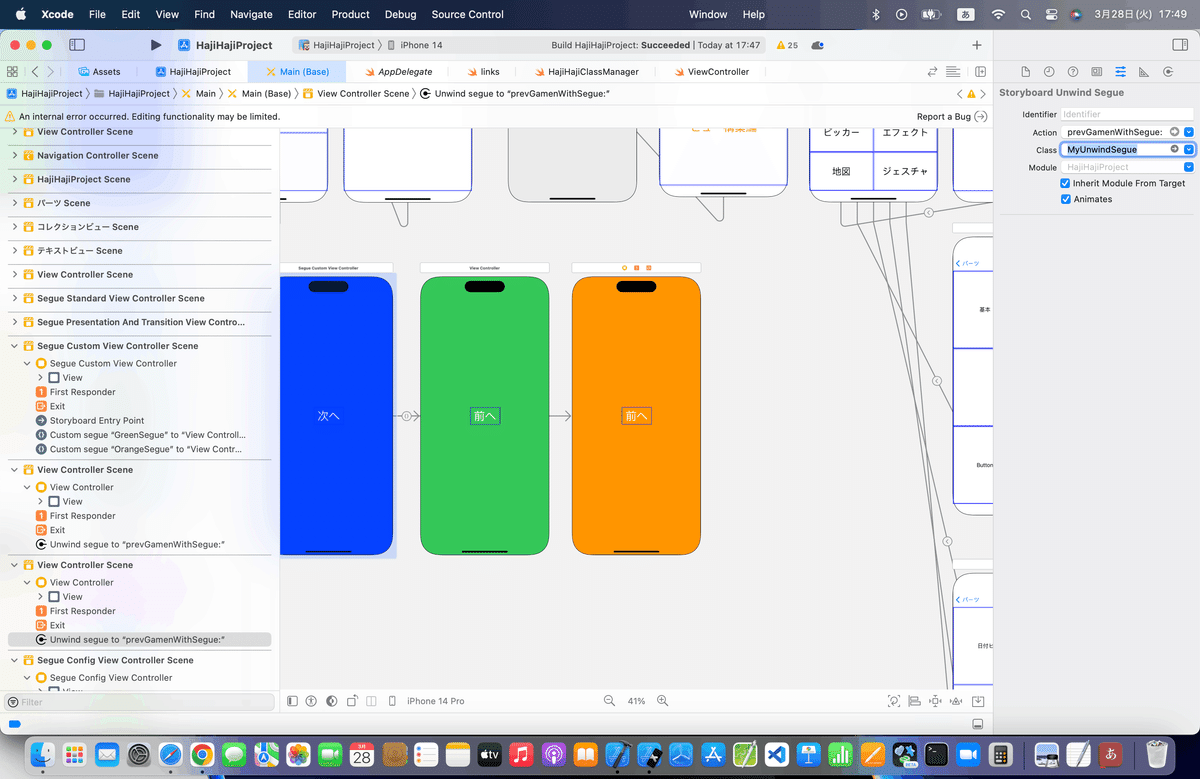
⒊セグエの設定を変更
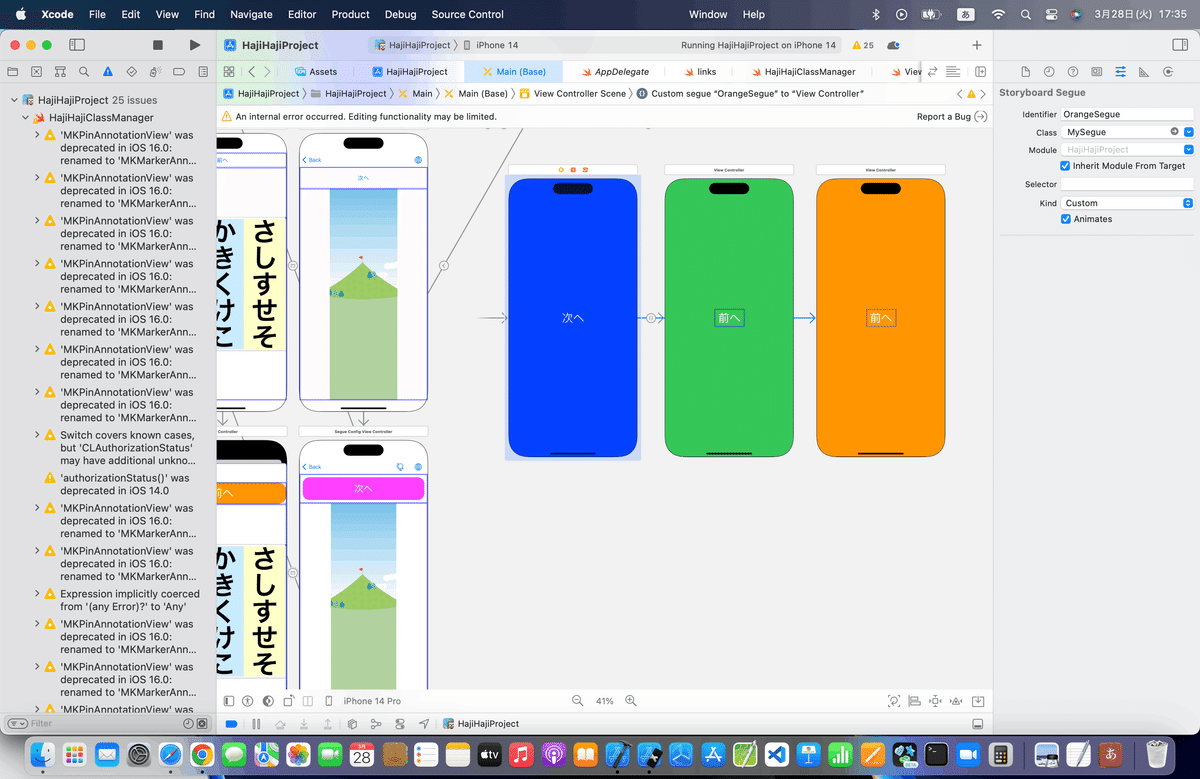
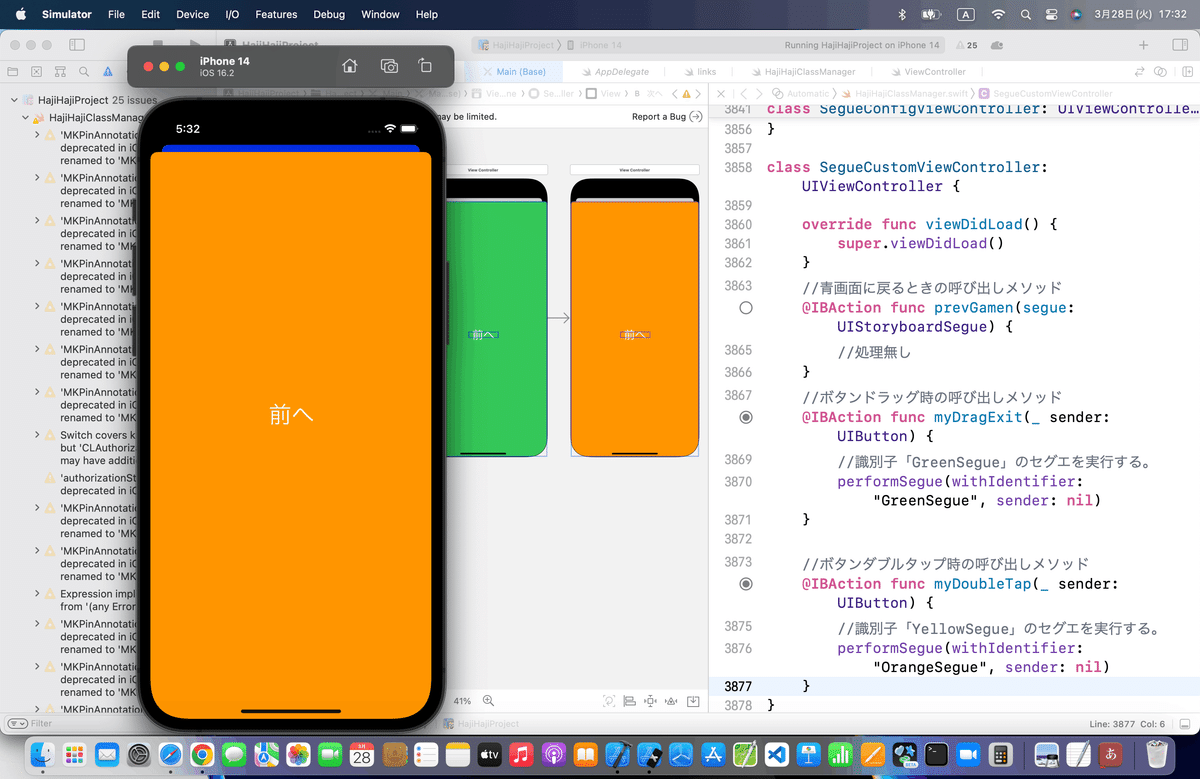
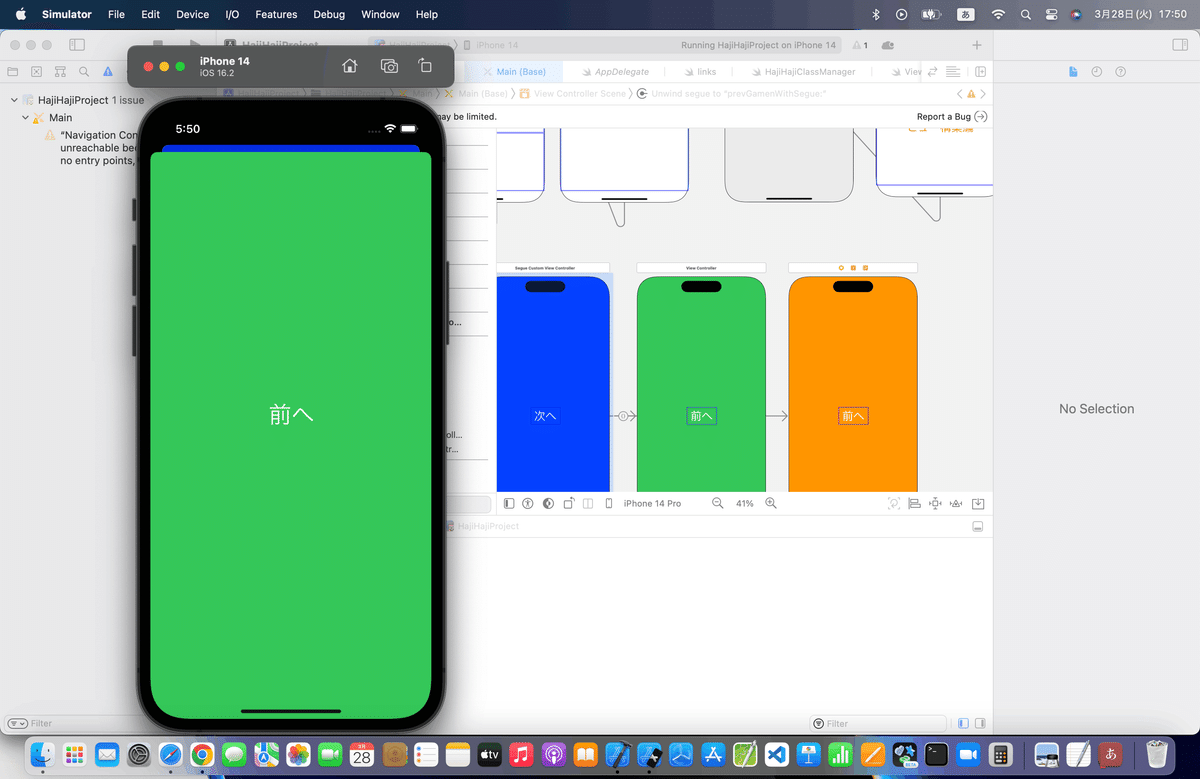
⒋シミュレータで実行
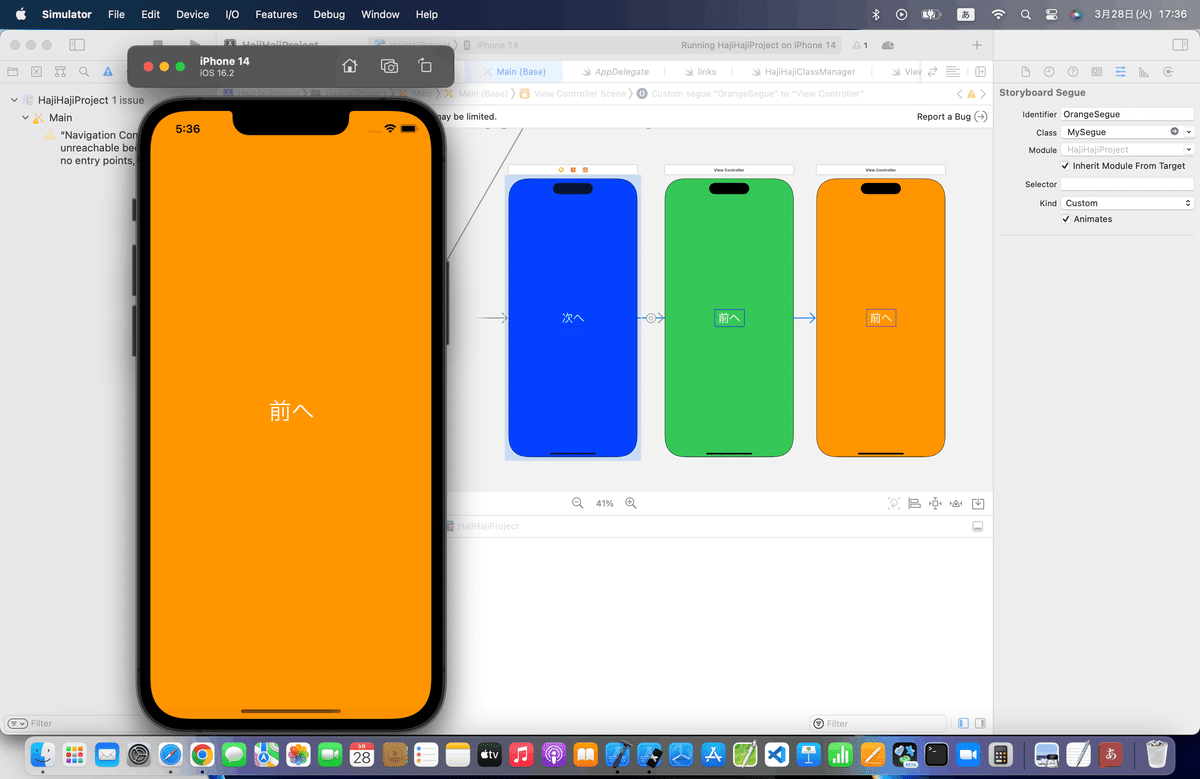
ちょっと動きは違うけど、、、
コードの書き振りとオプショナルの許容なんかが当時よりも厳密になってるから、これが限界な気もする👀
ここまでのコード
class SegueCustomViewController: UIViewController {
override func viewDidLoad() {
super.viewDidLoad()
}
//青画面に戻るときの呼び出しメソッド
@IBAction func prevGamen(segue: UIStoryboardSegue) {
//処理無し
}
//ボタンドラッグ時の呼び出しメソッド
@IBAction func myDragExit(_ sender: UIButton) {
//識別子「GreenSegue」のセグエを実行する。
performSegue(withIdentifier: "GreenSegue", sender: nil)
}
//ボタンダブルタップ時の呼び出しメソッド
@IBAction func myDoubleTap(_ sender: UIButton) {
//識別子「YellowSegue」のセグエを実行する。
performSegue(withIdentifier: "OrangeSegue", sender: nil)
}
}
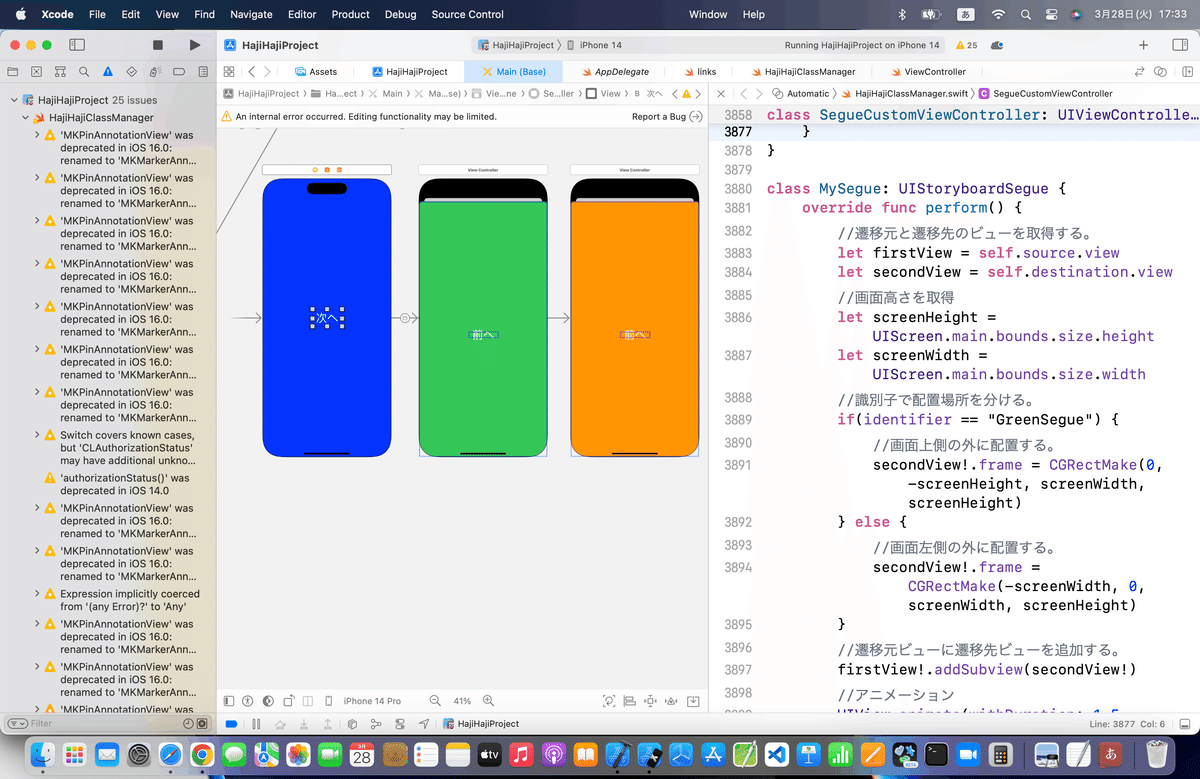
class MySegue: UIStoryboardSegue {
override func perform() {
//遷移元と遷移先のビューを取得する。
let firstView = self.source.view
let secondView = self.destination.view
//画面高さを取得
let screenHeight = UIScreen.main.bounds.size.height
let screenWidth = UIScreen.main.bounds.size.width
//識別子で配置場所を分ける。
if(identifier == "GreenSegue") {
//画面上側の外に配置する。
secondView!.frame = CGRectMake(0, -screenHeight, screenWidth, screenHeight)
} else {
//画面左側の外に配置する。
secondView!.frame = CGRectMake(-screenWidth, 0, screenWidth, screenHeight)
}
//遷移元ビューに遷移先ビューを追加する。
firstView!.addSubview(secondView!)
//アニメーション
UIView.animate(withDuration: 1.5, animations: { () -> Void in
secondView?.frame = CGRectMake(0, 0, screenWidth, screenHeight)
}) { (Finished) -> Void in
//遷移先のビューコントローラーをモーダル表示にする。
self.source.present(self.destination, animated: false, completion: nil)
}
}
}前の画面に戻る動きを自作する
ここも、XIBファイルがないので、今回もクラスを直接追加する感じで〜〜〜
⒈まずはクラスを追加〜〜〜
//
//  TestUnwindSegue.swift
//
import UIKit
class TestUnwindSegue: UIStoryboardSegue {
    override func perform() {
        //遷移元と遷移先のビューを取得する。
        let firstView = self.sourceViewController.view
        let secondView = self.destinationViewController.view
        //画面高さを取得
        let screenHeight = UIScreen.mainScreen().bounds.size.height
        let screenWidth = UIScreen.mainScreen().bounds.size.width
        //アニメーションさせるためのビューを作成
        let thirdView = UIView();
        thirdView.frame = CGRectMake(0, 0, screenWidth, screenHeight)
        thirdView.backgroundColor = firstView.backgroundColor
        //遷移元ビューに遷移先ビューを追加する。
        firstView.addSubview(secondView)
        firstView.addSubview(thirdView)
        //アニメーション
        UIView.animateWithDuration(1.0, animations: { () -> Void in
            //画面右下に回転しながら移動する。
            thirdView.frame = CGRectMake(screenWidth, screenHeight, screenWidth, screenHeight)
            thirdView.transform = CGAffineTransformMakeRotation(CGFloat(M_PI))
        }) { (Finished) -> Void in
            //モーダル表示されているビューコントローラーを解放する。
            self.sourceViewController.dismissViewControllerAnimated(false, completion:nil)
        }
    }
}
を参考に〜〜〜
⒉セグエのunwindにクラス適用
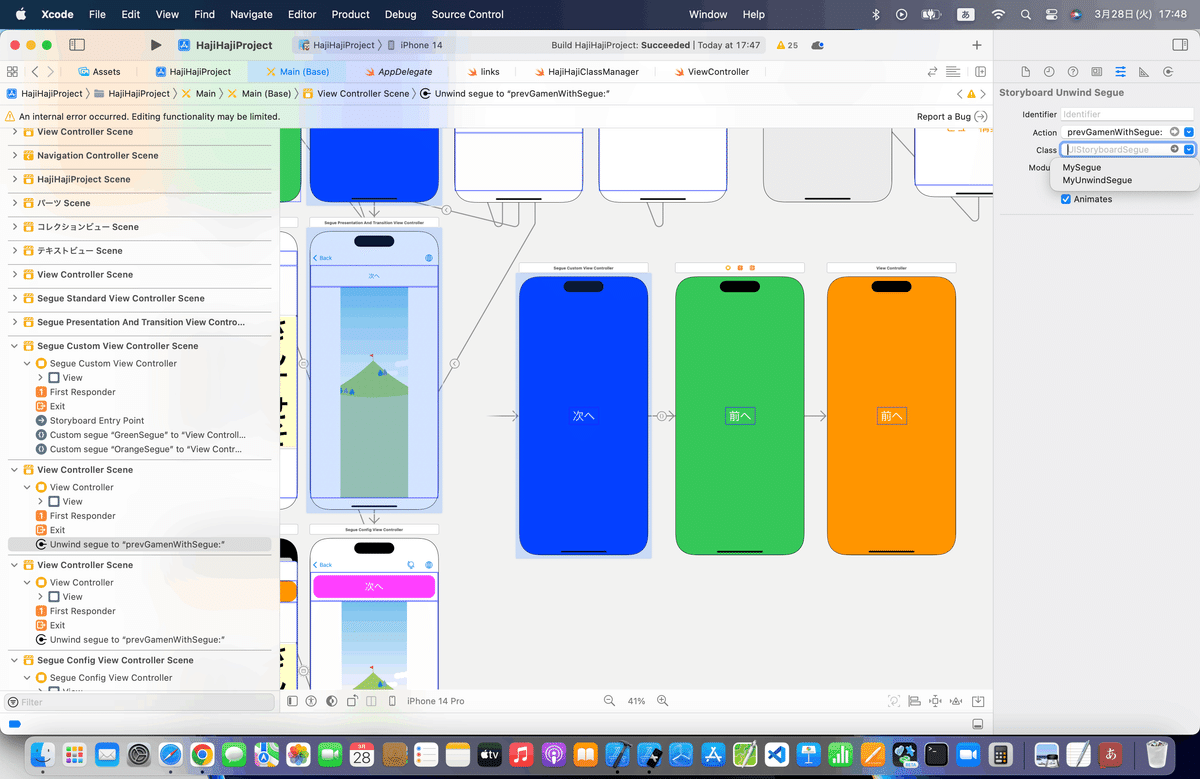
⒊シミュレータで実行
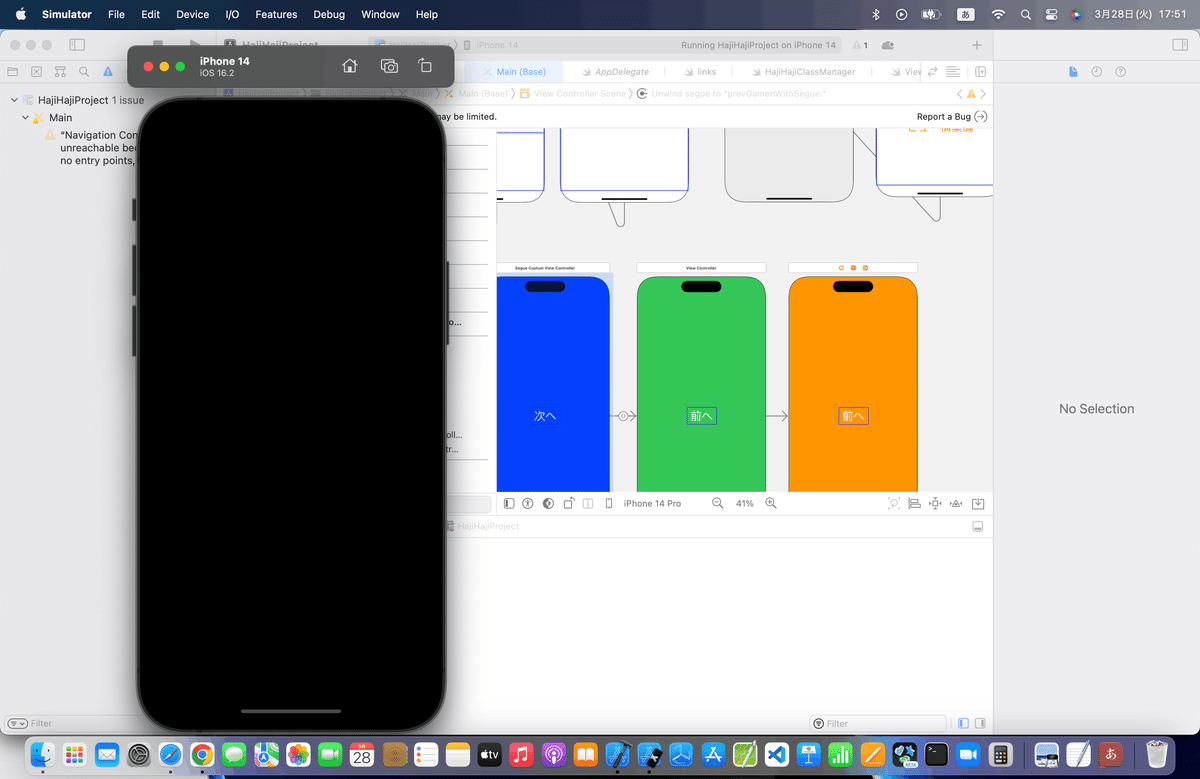
そら、dismissされたら、結果はこうなるね🕺
dismiss=ビューを解放
してるってことだから👀
今回のコード(まとめ)
class SegueCustomViewController: UIViewController {
override func viewDidLoad() {
super.viewDidLoad()
}
//青画面に戻るときの呼び出しメソッド
@IBAction func prevGamen(segue: UIStoryboardSegue) {
//処理無し
}
//ボタンドラッグ時の呼び出しメソッド
@IBAction func myDragExit(_ sender: UIButton) {
//識別子「GreenSegue」のセグエを実行する。
performSegue(withIdentifier: "GreenSegue", sender: nil)
}
//ボタンダブルタップ時の呼び出しメソッド
@IBAction func myDoubleTap(_ sender: UIButton) {
//識別子「YellowSegue」のセグエを実行する。
performSegue(withIdentifier: "OrangeSegue", sender: nil)
}
}
class MySegue: UIStoryboardSegue {
override func perform() {
//遷移元と遷移先のビューを取得する。
let firstView = self.source.view
let secondView = self.destination.view
//画面高さを取得
let screenHeight = UIScreen.main.bounds.size.height
let screenWidth = UIScreen.main.bounds.size.width
//識別子で配置場所を分ける。
if(identifier == "GreenSegue") {
//画面上側の外に配置する。
secondView!.frame = CGRectMake(0, -screenHeight, screenWidth, screenHeight)
} else {
//画面左側の外に配置する。
secondView!.frame = CGRectMake(-screenWidth, 0, screenWidth, screenHeight)
}
//遷移元ビューに遷移先ビューを追加する。
firstView!.addSubview(secondView!)
//アニメーション
UIView.animate(withDuration: 1.5, animations: { () -> Void in
secondView?.frame = CGRectMake(0, 0, screenWidth, screenHeight)
}) { (Finished) -> Void in
//遷移先のビューコントローラーをモーダル表示にする。
self.source.present(self.destination, animated: false, completion: nil)
}
}
}
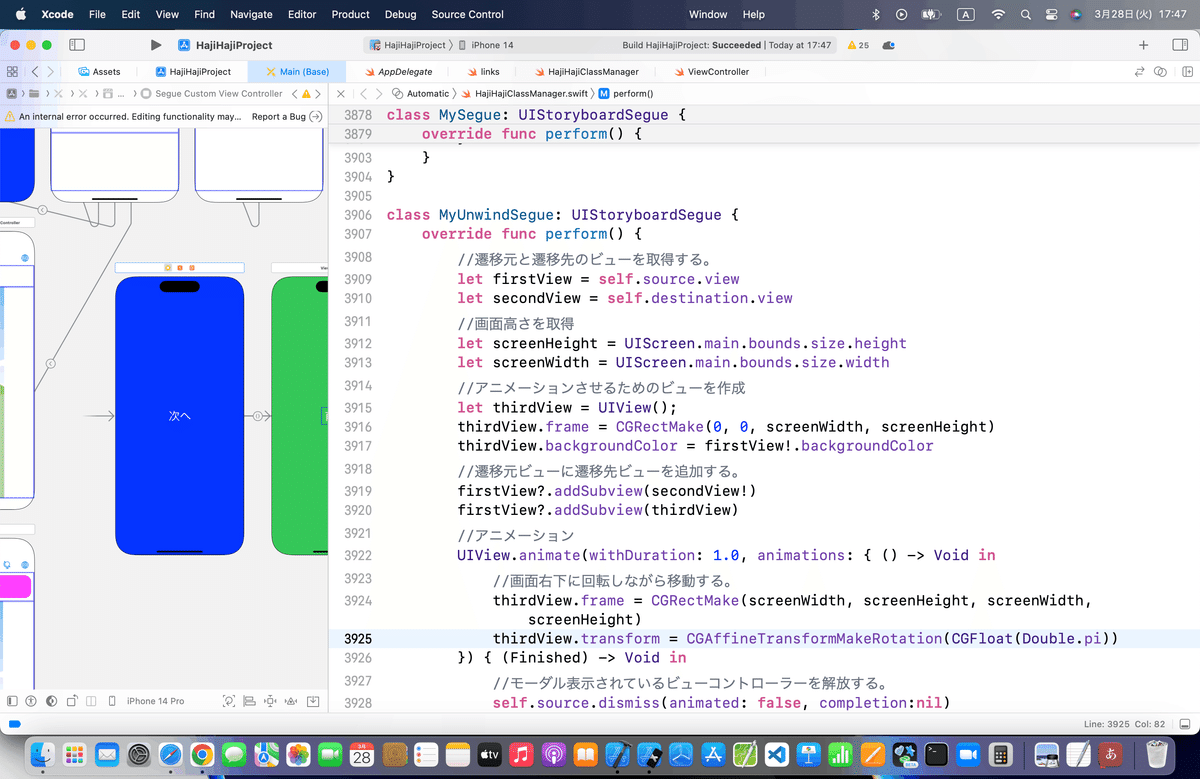
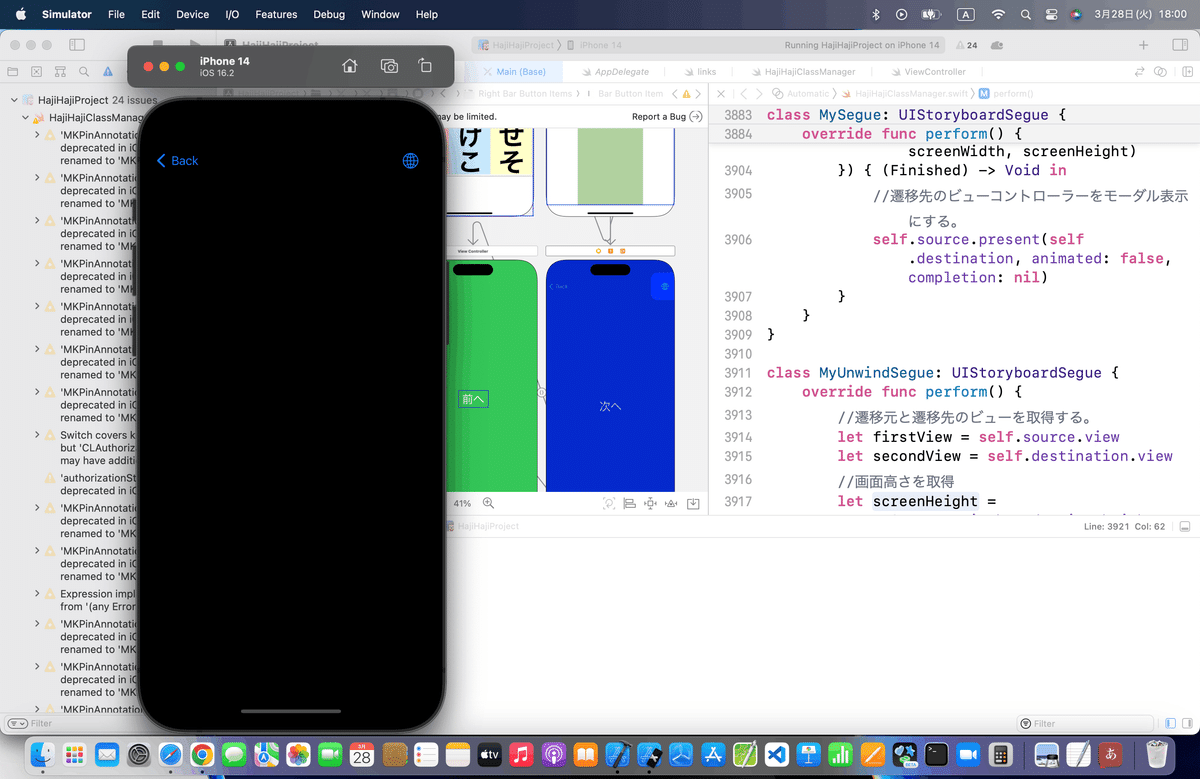
class MyUnwindSegue: UIStoryboardSegue {
override func perform() {
//遷移元と遷移先のビューを取得する。
let firstView = self.source.view
let secondView = self.destination.view
//画面高さを取得
let screenHeight = UIScreen.main.bounds.size.height
let screenWidth = UIScreen.main.bounds.size.width
//アニメーションさせるためのビューを作成
let thirdView = UIView();
thirdView.frame = CGRectMake(0, 0, screenWidth, screenHeight)
thirdView.backgroundColor = firstView!.backgroundColor
//遷移元ビューに遷移先ビューを追加する。
firstView?.addSubview(secondView!)
firstView!.addSubview(thirdView)
//アニメーション
UIView.animate(withDuration: 1.0, animations: { () -> Void in
//画面右下に回転しながら移動する。
thirdView.frame = CGRectMake(screenWidth, screenHeight, screenWidth, screenHeight)
thirdView.transform = CGAffineTransformMakeRotation(CGFloat(Double.pi))
}) { (Finished) -> Void in
//モーダル表示されているビューコントローラーを解放する。
self.source.dismiss(animated: false, completion:nil)
}
}
}ブラッシュアップ
前回までと同様にしとこ👀
記事公開後、
個人的な感想
今までアプリを色々作ってきた中でも、
Segueはあくまでも、ナビゲーションコントローラで繋ぐ中で使うだけで、ボタンでセグエを繋ぐことも、ましてやカスタムクラスを使わないといけないってことって滅多になかったんだよね〜〜〜
理由:
ビュー間の遷移の時に、特別な動きをさせるってことよりも遷移後のビューで見せることがほとんど
何か特別な動きを説明もなしにされると、使う側って非常に戸惑う
から、なんだけどね、、、💦
個人的には仕組みは分かっても
使わないから、これ以上は深入りしない。
どうしても、サイト記事の動画の動きを再現したい人はやれば?
程度。。。
で触れた小技、
ボタン自体のカスタム
の方がみんなよっぽど使うんでないかい?🤔
おっさんにはデザインやら映えるやらよくわからないけど💦
Apple公式
さて、次回は
をレッツゴする🕺