
SS車●水陸両用バス[◆作り方①]

基本バスですが、尖った船首・開放的な窓・船尾のスクリューが特徴です。
ポイントになるパーツは、スクリューを取り付ける1x2片軸ホイールホルダー(21445)です。スクリューはタイヤを外した小径ホイールです。

まずは土台です。
2x6プレートの中央に2x4ブロックをのせます。

前部には2x4の逆スロープ、後部には1x2ブロックをのせます。

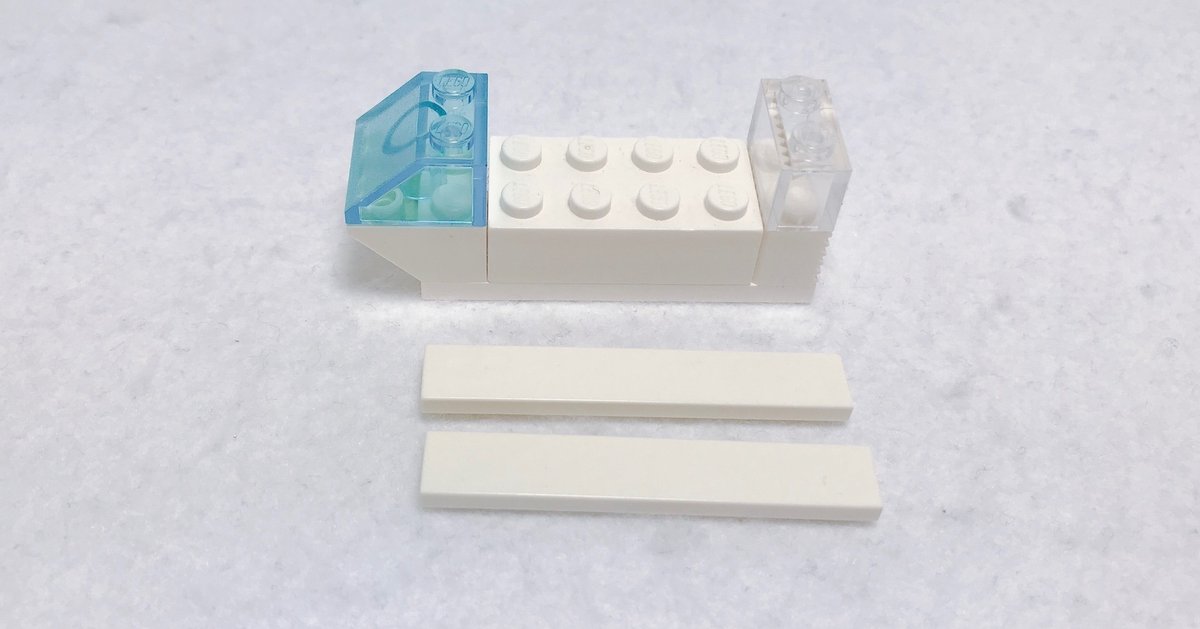
前部には、透明の2x2スロープ、後部には1x2ブロックをのせます。
今回は、涼しげな透明水色のパーツがあったので使いました。

真ん中を空けた状態で、1x6タイル2枚でフタをして屋根にします。
車両本体の出来上がりです。

※ [◆作り方②]につづく