
Let's Encrypt による HTTPS 設定

はじめに
書籍 [ASP.NET Core Blazor 作成のアプリをインターネット上に公開する手順] の [Let's Encrypt による HTTPS 設定] の項目を抜き出しています。
前提条件
有料ドメインを購入取得していることが前提です。
リモートデスクトップ接続でサーバー作業を行います。

ファイアウォールの設定で HTTPS (443) のポートで接続できるようにする
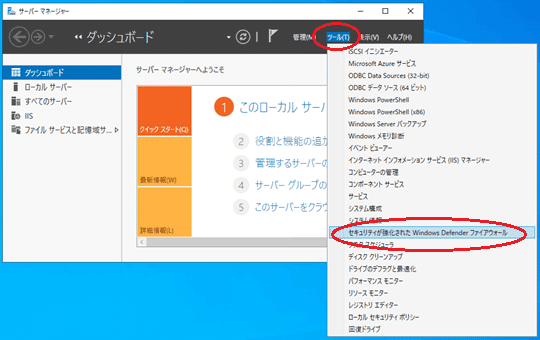
1.サーバーマネージャーの [ツール] をクリックし、表示された一覧から [セキュリティが強化された Windows Defender ファイアウォール] を選択してください。
2.[受信の規則] をクリックしてください。

3.[新しい規則] をクリックしてください。

4.[ポート] を選択し、[次へ] をクリックしてください。
ここから先は
1,185字
/
20画像
¥ 500
この記事が気に入ったらチップで応援してみませんか?