
"IIS (Webサーバー)" の設定方法

IIS は、Windows Server をインストールすると既存で入っているものです。
本記事では、Blazor のデプロイ用に、IIS の設定を行います。
IIS (Webサーバー) の設定
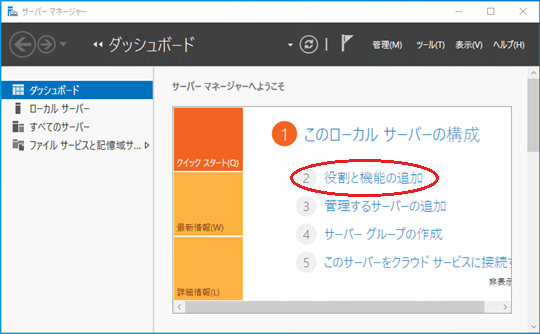
1.Windows Server を起動し、自動起動するサーバーマネージャーの [役割と機能の追加] をクリックしてください。
2.[既定でこのページを表示しない] にチェックを入れ、[次へ] をクリックしてください。
(次回の IIS 起動時以降に、このページは表示されません。)

3.[インストールの種類] タブで、[役割ベースまたは機能ベースのインストール] を選択し、[次へ] をクリックしてください。

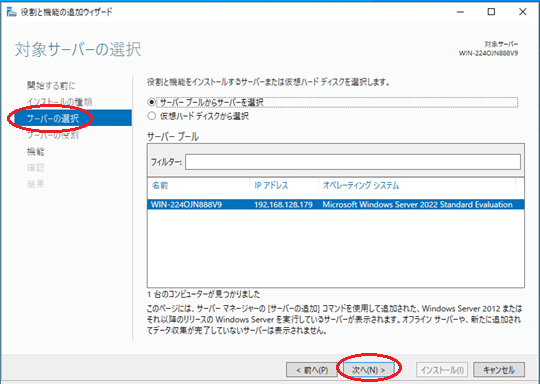
4.[サーバーの選択] タブで、[次へ] をクリックしてください。
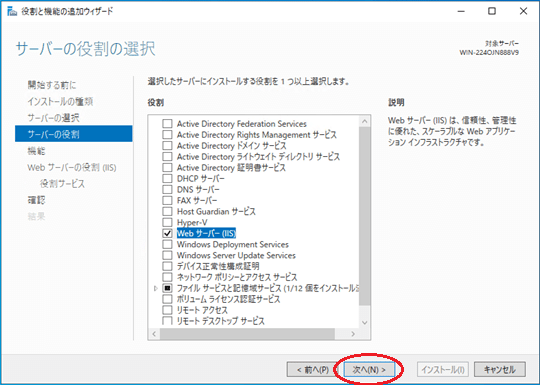
5.[サーバーの役割] タブで、[WebサーバーIIS]にチェックをつけてください。

6.[WebサーバーIIS] にチェックをつけると [役割と機能の追加] 画面がポップアップするので、そこで [機能の追加] ボタンをクリックしてください。

7.[次へ] をクリックしてください。
8.[機能] タブで、[NET Framework 4.8 Features] を展開してください。
ここから先は
701字
/
14画像
¥ 100
この記事が気に入ったらチップで応援してみませんか?