
Vroidを使ってStable Diffusion Web UIのAnimateDiff(メモ6)

試したStable Diffusionの設定をメモする。
Vroidを使ったモーション動画作成
Vroidにモーションを与えてVroid HUBの機能で動画を作成する。
みはるが投稿
— kongo jun (@jun_kongo) September 14, 2024
VRoid pic.twitter.com/fXGHo3uNlW
フレーム分割
動画から画像に分割するためにFFmpegを使うので、FFmpegを導入する。
FFmpegを使って、動画をフレームごとにpngファイルに分割する。
ffmpeg -i input.mp4 -vf "fps=30" frame_%04d.png
Stable Diffusionでimg2img(animatediff)
ControlNetを使う必要があるので、Hugging Faceからモデルをダウンロードし、以下のフォルダに各種モデルを配置する。
stable-diffusion-webui\extensions\sd-webui-controlnet\modelsdepthのモデルは以下から「diffusers_xl_depth_full.safetensors」をダウンロードする。
cannyのモデルは以下から「diffusers_xl_canny_full.safetensors」をダウンロードする。
scribbleのモデルは以下から「diffusion_pytorch_model.safetensors」をダウンロードする。
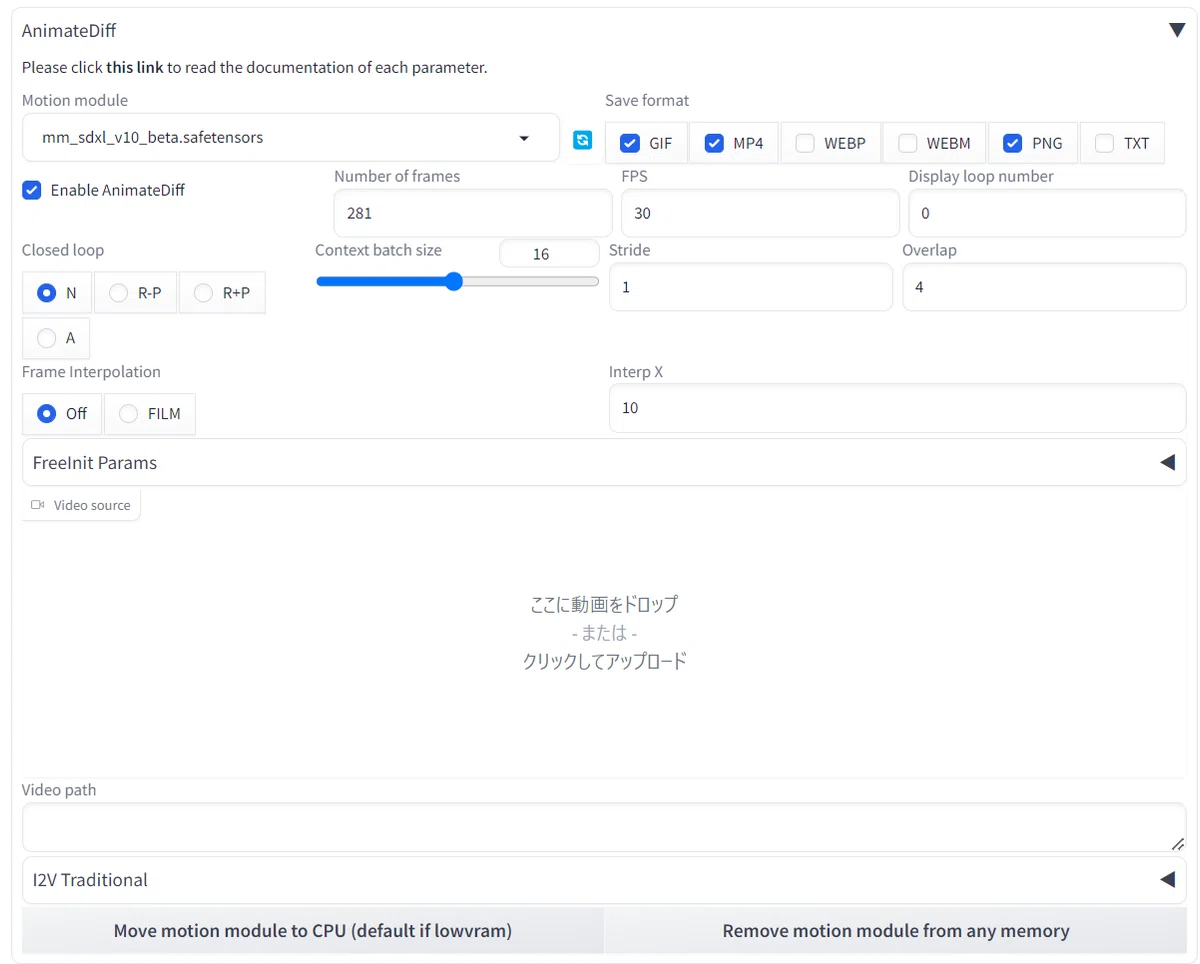
SDXLのAnimateDiffの手順。
Dreambooth
モデルについては、以下でファインチューニングを使って、再学習を行っている。
以下の設定で動画生成する。


みはるが投稿
— kongo jun (@jun_kongo) September 14, 2024
VRoid→AnimateDiff pic.twitter.com/Ammq2v0N5m
Stable Diffusionでimg2img(img2imgでupscale)


animatediffで生成される画像は「00000-00000.png」というようなファイル名なので、以下のコマンドでファイル名を変更する。
ren 00000-00000.png 0000.png
ren 00001-00001.png 0001.png
ren 00002-00002.png 0002.png
ren 00003-00003.png 0003.png
ren 00004-00004.png 0004.png
ren 00005-00005.png 0005.png
ren 00006-00006.png 0006.png
ren 00007-00007.png 0007.png
ren 00008-00008.png 0008.png
ren 00009-00009.png 0009.png
ren 00010-00010.png 0010.png
ren 00011-00011.png 0011.png
ren 00012-00012.png 0012.png
ren 00013-00013.png 0013.png
ren 00014-00014.png 0014.png
ren 00015-00015.png 0015.png
.
.
.
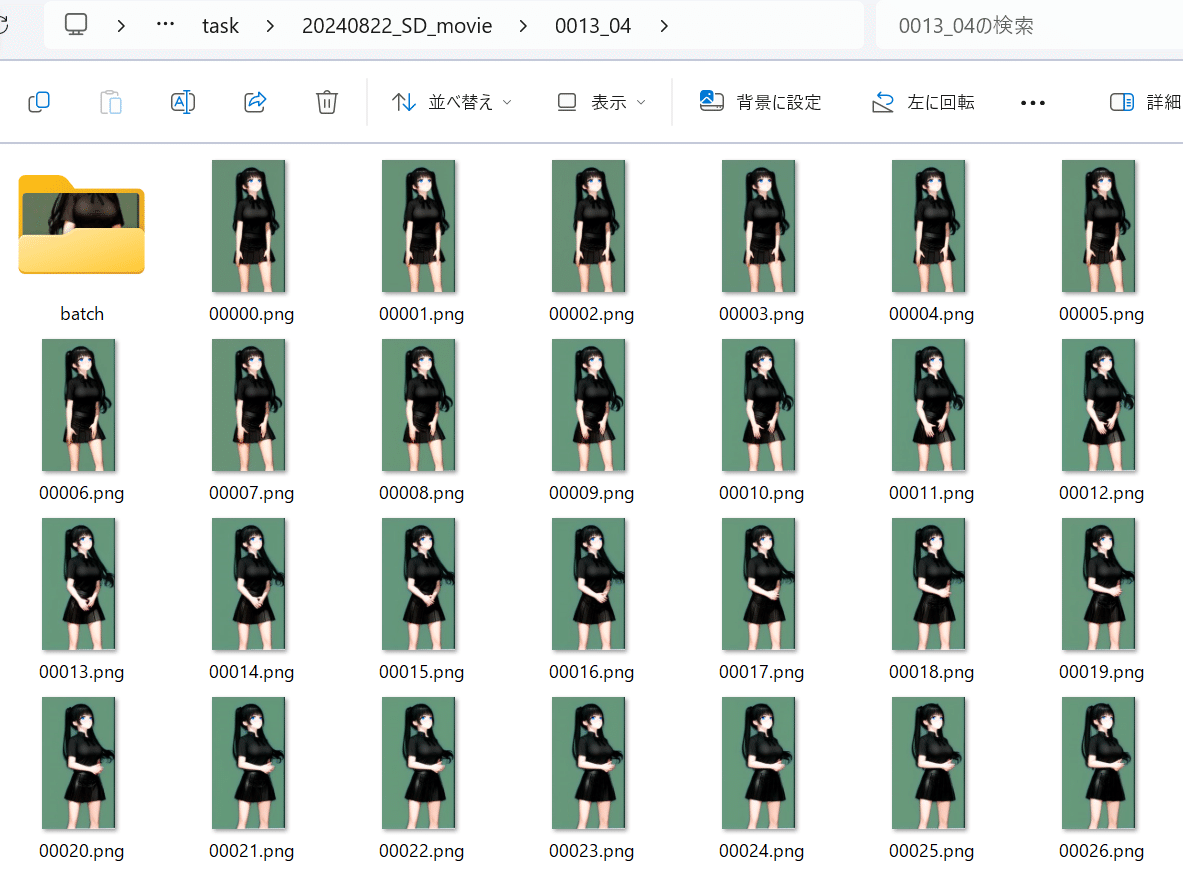
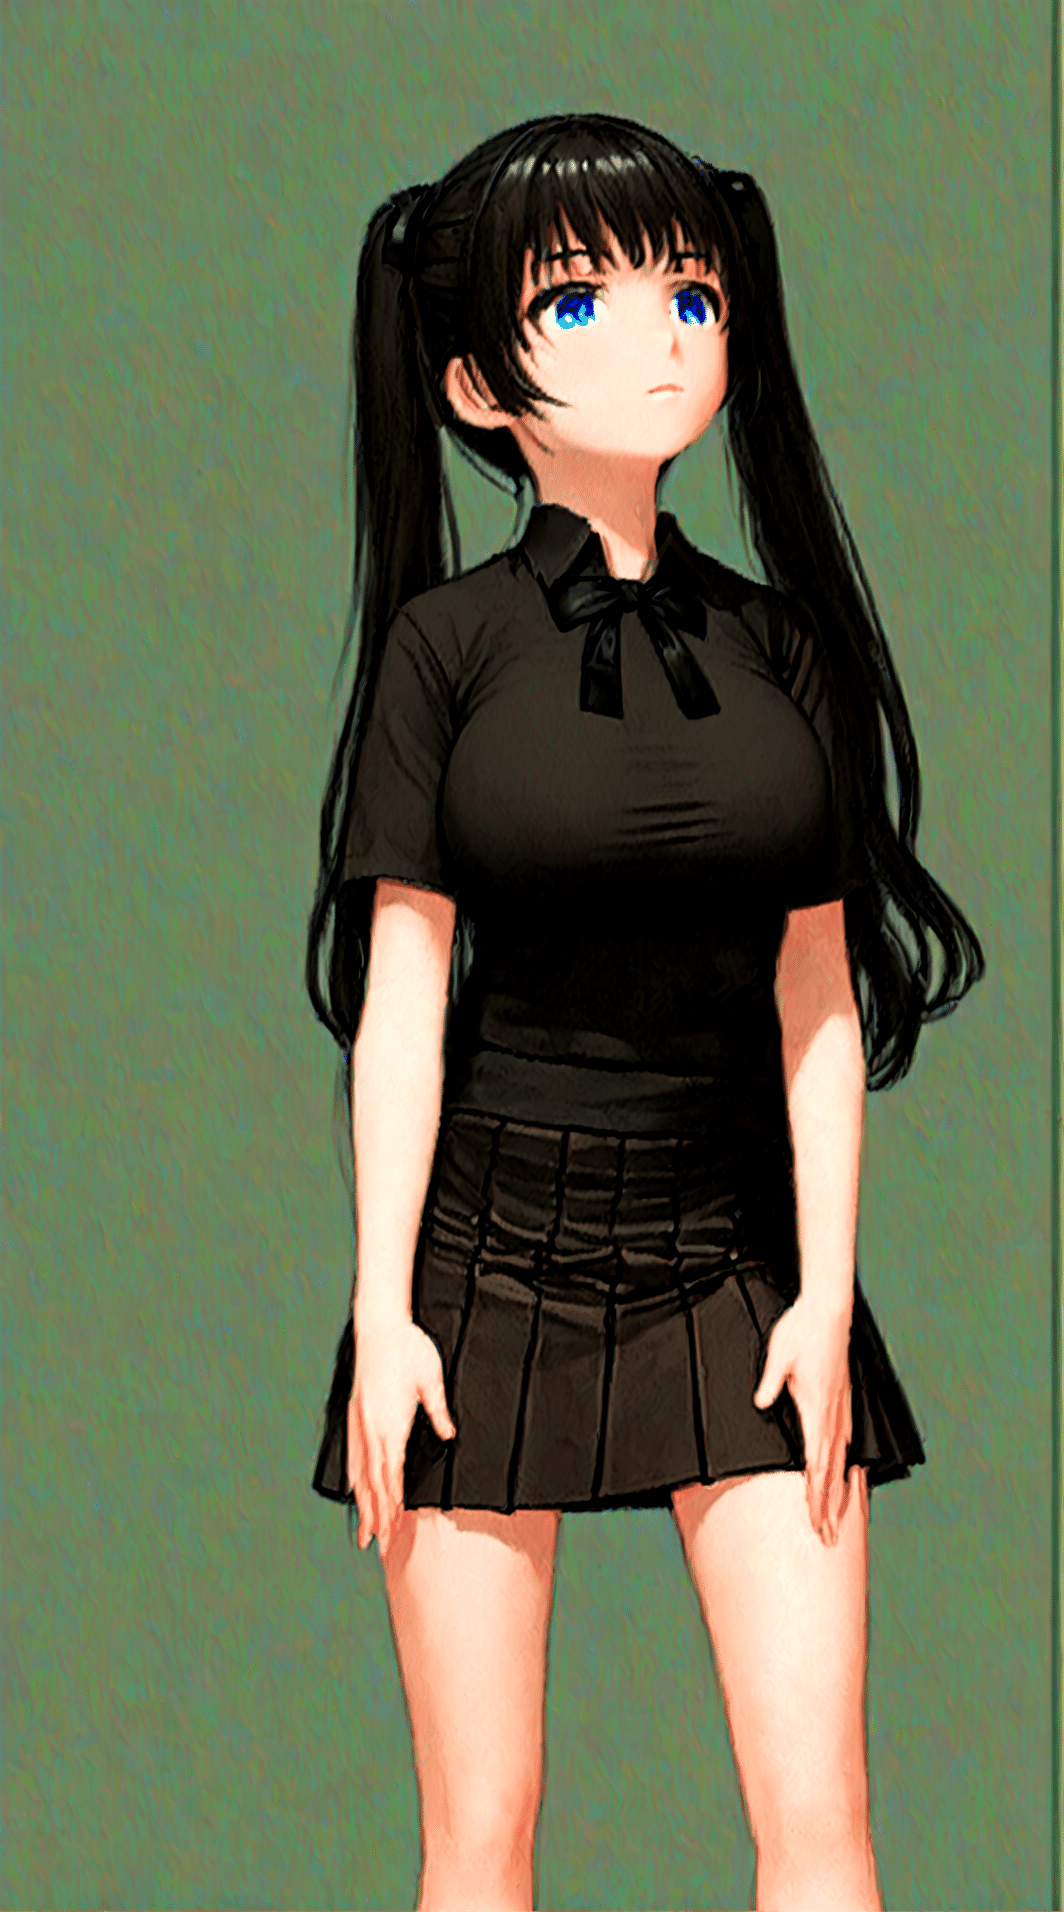
画像自体は以下のような出力になっている。
以下のコマンドで画像をつなぎ合わせる。
ffmpeg -framerate 30 -i %04d.png -c:v libx264 -pix_fmt yuv420p output.mp4みはるが投稿
— kongo jun (@jun_kongo) September 14, 2024
animatediff→img2img pic.twitter.com/tlv5wO2kNp
dreambooth/animatediff/img2img2全てで、市販のPCの最高スペック(RTX4090 24G/CPUメモリ128G)は必要だが、かなりの一貫性と解像度を保持した動画が生成可能。