
職業訓練日誌(6/20)~WordとExcelについて~

本日はExcelについて学び始めました。
関数を使うのは大学ぶりなので、忘れていることがたくさんありました(-_-;)
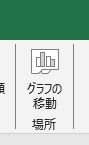
・グラフの移動
グラフのデザインタブ→場所グループの「グラフの移動」をクリック
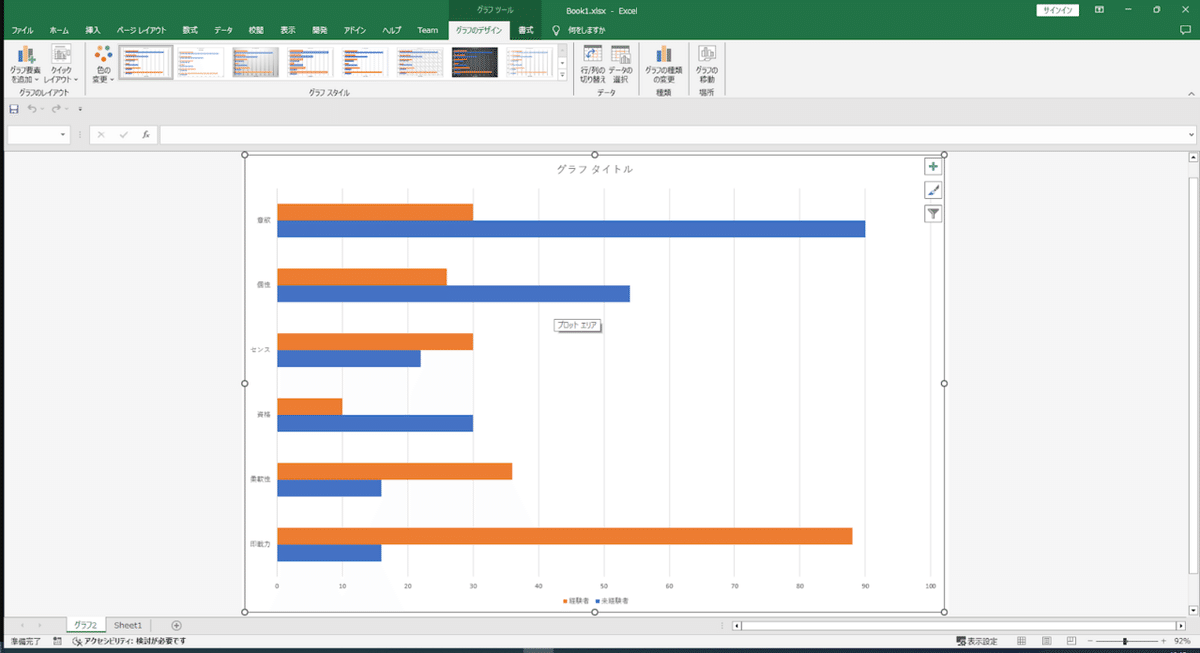
「オブジェクト」から「新しいシート」に変更→新しいページに表を移動できる
戻す際は、同じように操作し、「新しいシート」から」「オブジェクト」に選択変更する

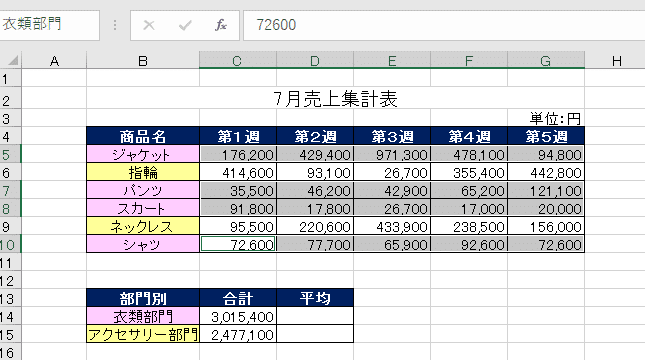
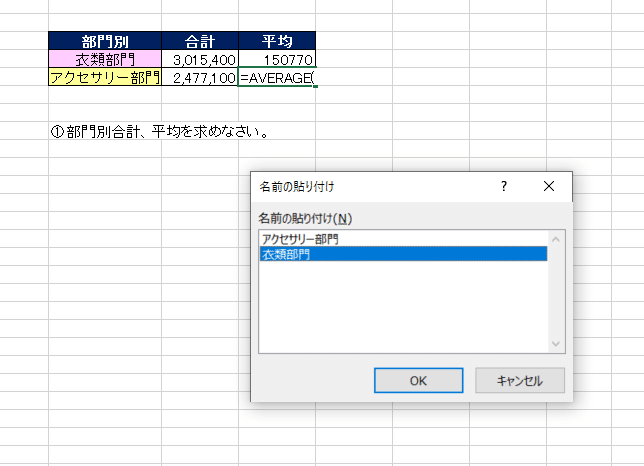
・合計数を入力
B4セルからF9セルまで選択→ホームタブ→編集グループの「オートタブ」を
押下→F列と9行に合計数が入力できる

・名前を付ける
名前の付け方①
まとめたい範囲を選択→名前ボックスをクリックして、名前を付ける→Enter
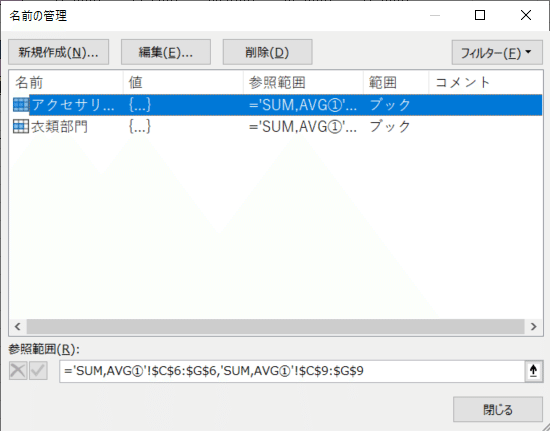
確認方法
名前ボックスで下矢印をクリックすると、名前登録したものが出てくる
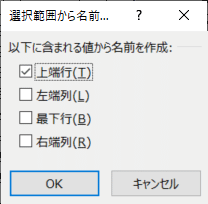
名前の付け方②
数式タブ→定義された名前グループ→選択範囲から作成

・上端行:上部にある名前
・左端列:左にある名前
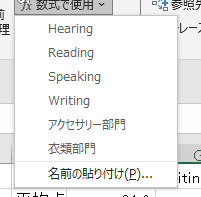
「F3」を押すと名前選択が出来るので、関数に埋め込む際、「F3」押す。
説明を聞きながら操作をすると、昔に一度していたので思い出して
スムーズに関数を使えました。
忘れないように復習を繰り返ししていこうと思います!