STEP4. Dify WebApp × 認証機能の統合
★追記★
「Next.js+Supabaseで認証機能の実装」で設定している以下変数が「.env.local作成」の手順から抜けていたので追記しました。
# SUPABASE URL
NEXT_PUBLIC_SUPABASE_URL=https://[your-projectid].supabase.co
# SUPAGASE KEY
NEXT_PUBLIC_SUPABASE_ANON_KEY=[supabase_key]
はじめに
今回は、以前に以下の記事で検証したアプリの機能をマージして「認証機能付きのチャットアプリ」にしてみます。
(以前書いた記事の続編になります)
※STEP1 は本記事の前提ではありません。
前提
Supabaseの登録含め、前述の「Next.js+Supabaseで認証機能の実装」と「Next.js × Vercel × Dify:WebAppでフロントエンドアプリ作成」の実装が完了していること。
Next.jsの機能統合などナレッジ共有が目的であり、完全なアプリの提供を目的とする記事ではありません。
最終的に「profile画面を自動で再読み込みしない」(手動でEnterが必要)という残課題が残っていますので、ご理解ください。
準備
ローカルにクローンするところから準備を行う手順なので、すでにローカルリポジトリが整っていれば不要となります。(自分の備忘メモとして記載)
webapp-conversation クローン
GitHubの自分のネームスペースにある、前回VercelにデプロイしたDifyチャットアプリをローカルにクローンします。
git clone https://github.com/[自分のネームスペース]/webapp-conversation.gitNext.js インストール
プロジェクトのルートディレクトリで以下のコマンドを実行して、Next.js をインストールします。
npm install next react react-domパッケージ再インストール
依存関係が正しくインストールされていない可能性があるため、node_modules フォルダを削除して再インストールします。
rm -rf node_modules
npm install
.env.local作成
※Next.js × Vercel × Dify:WebAppでフロントエンドアプリ作成の「3.3 環境変数について」参照
ローカルで実行できるように、Vercelの環境変数で定義している環境変数を「.env.local」で定義します。(プロジェクトルートフォルダにある「.env.example」をリネームコピーして利用)
★追記★
「Next.js+Supabaseで認証機能の実装」で設定している以下変数が「.env.local」から抜けていたので追記しました。
# SUPABASE URL
NEXT_PUBLIC_SUPABASE_URL=https://[your-projectid].supabase.co
# SUPAGASE KEY
NEXT_PUBLIC_SUPABASE_ANON_KEY=[supabase_key]
# APP ID
NEXT_PUBLIC_APP_ID=
# APP API key
NEXT_PUBLIC_APP_KEY=
# API url prefix
NEXT_PUBLIC_API_URL=
# SUPABASE URL
NEXT_PUBLIC_SUPABASE_URL=https://[your-projectid].supabase.co
# SUPAGASE KEY
NEXT_PUBLIC_SUPABASE_ANON_KEY=[supabase_key]
起動確認
ローカルで問題なく起動できることを確認します。
$ npm run dev

> webapp-conversation@0.1.0 dev
> next dev

  ▲ Next.js 14.2.11
  - Local:        http://localhost:3000
  - Environments: .env.local

 ✓ Starting...
 ✓ Ready in 3s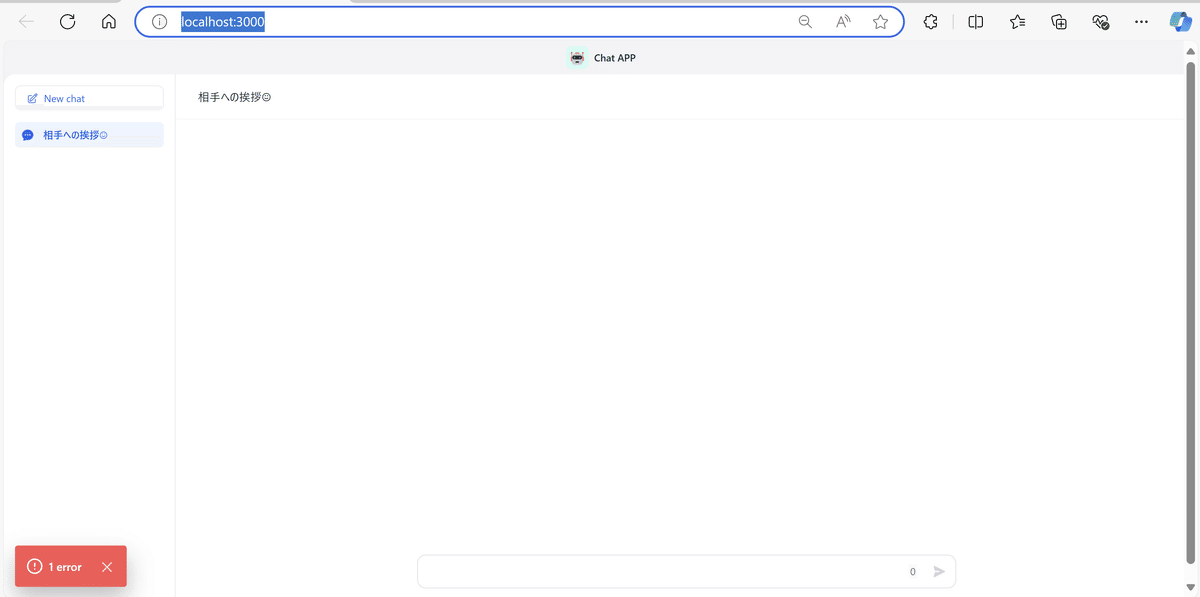
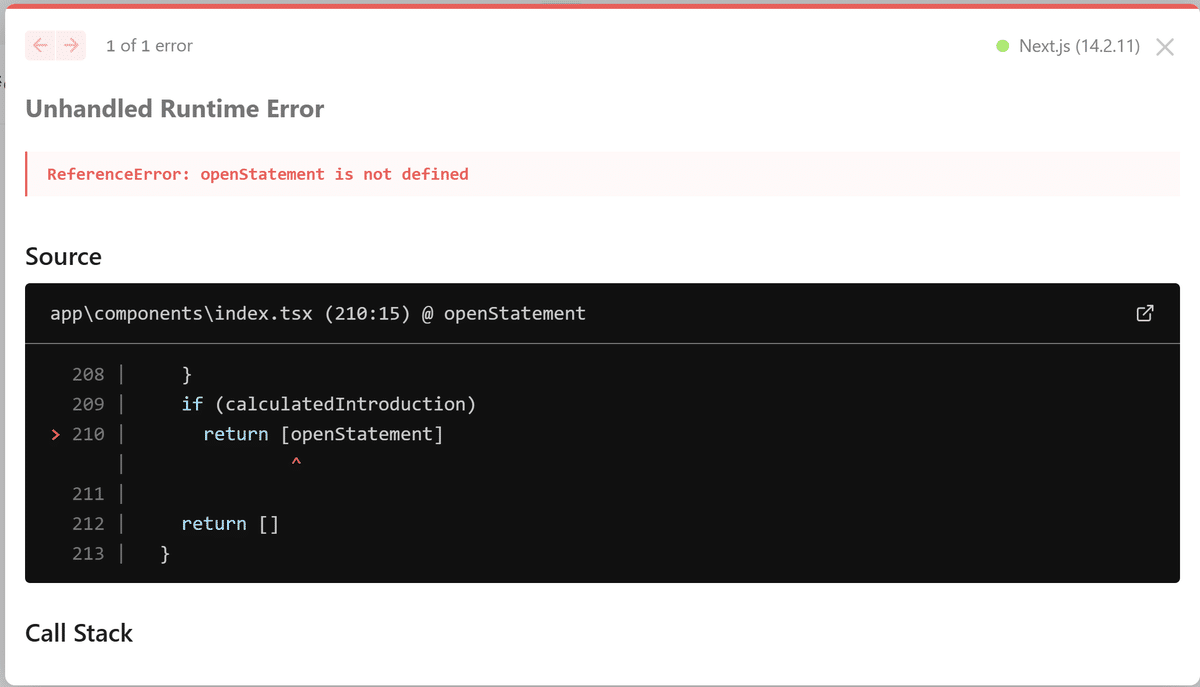
認証アプリの機能取り込み
こちらの認証機能の定義ファイルを利用させていただきます。
補足:講座の無料公開部分でLINE 登録すると、完成版のソースをダウンロードすることもできます。以前の記事「Next.js+Supabaseで認証機能の実装」でログイン機能の実装を試した、こちらのソースコードを利用させていただきます。(※有料部分の記載や記事の転用はしておりません)
プロジェクトルート階層
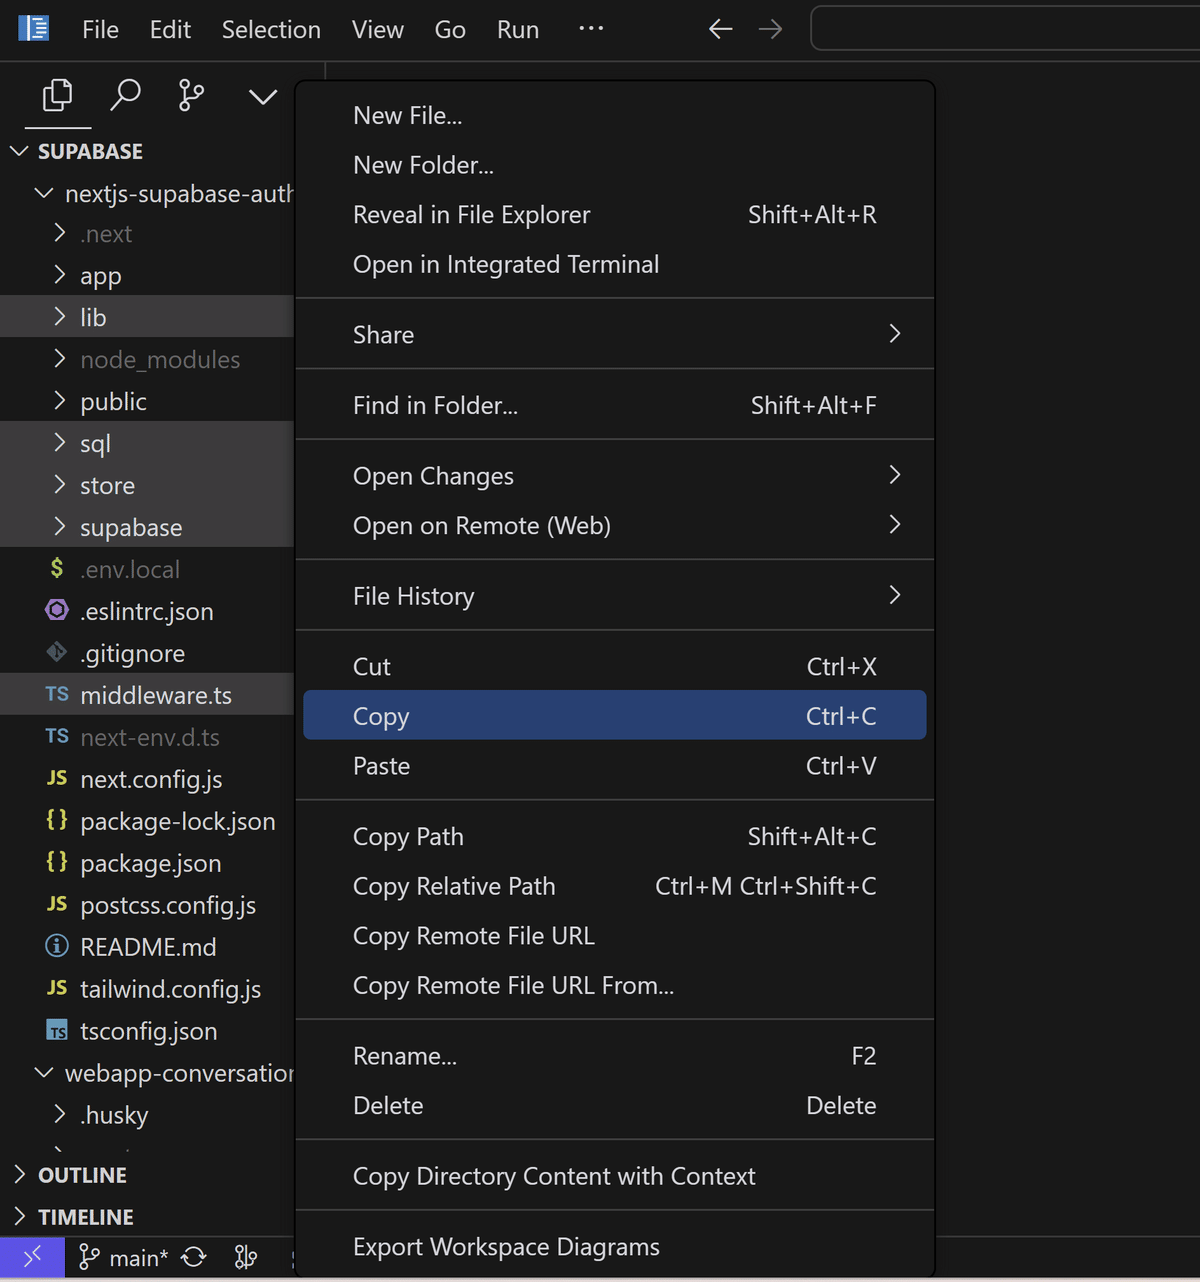
認証アプリ側からDifyアプリ(webapp-conversation)へ、以下の定義情報をコピーします。
lib/
sql/
store/
supbabase/
middleware.ts
publicフォルダ
認証アプリ側からDifyアプリ(webapp-conversation)へ、 publicフォルダの以下定義情報をコピーします。
default.png
next.svg
vercel.svg
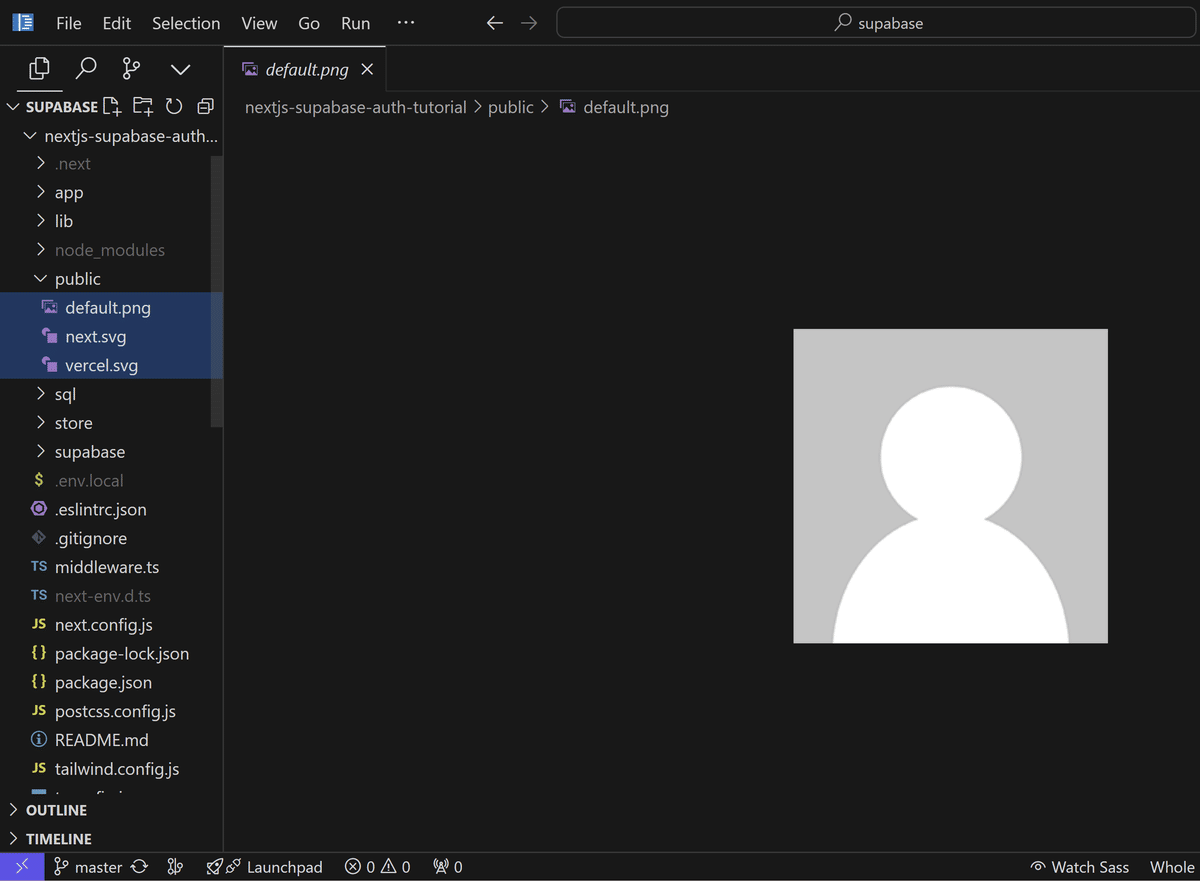
コピー後のDifyアプリ(webapp-conversation)のプロジェクトのルート階層の状態は以下になります。
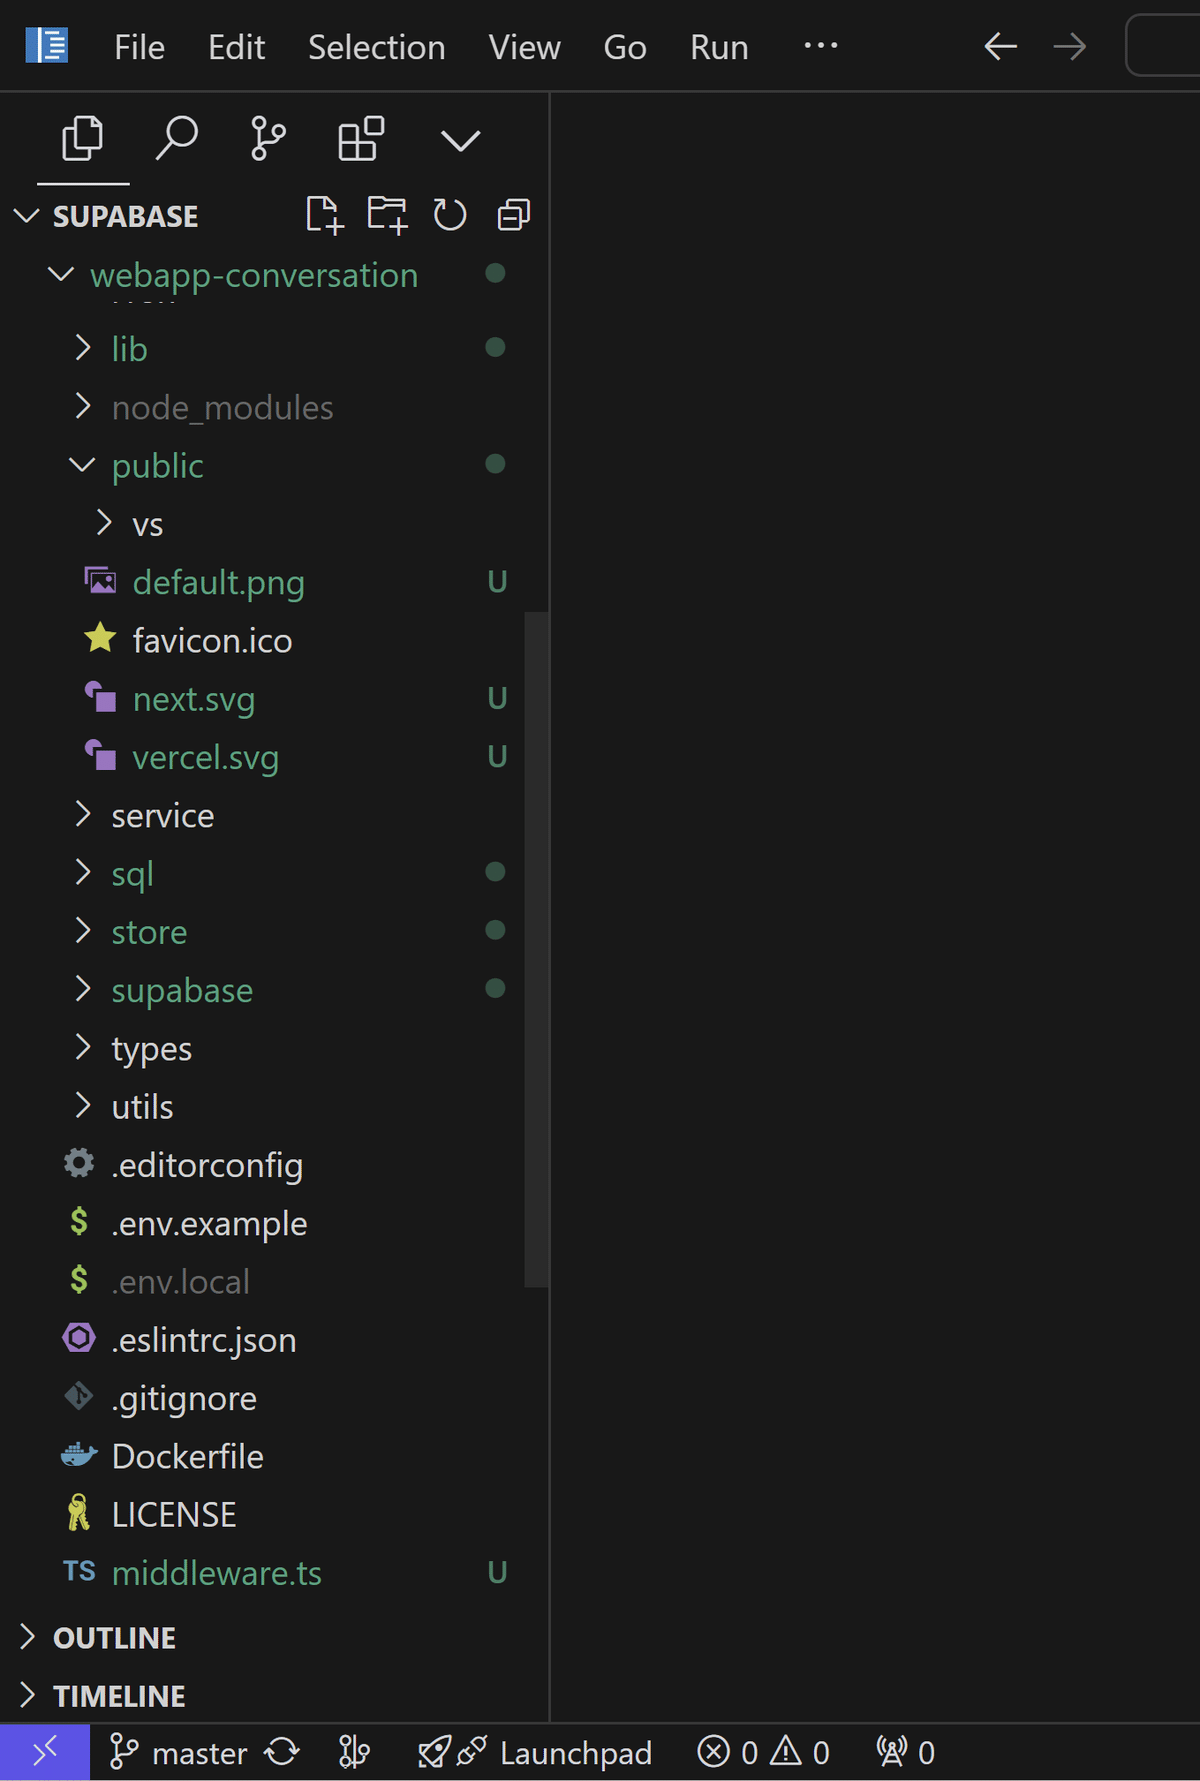
appフォルダ
①まず「app/chat」フォルダを作成し、チャットアプリの以下定義情報を移動します。
styles/
global.d.ts
layout.tsx
page.tsx
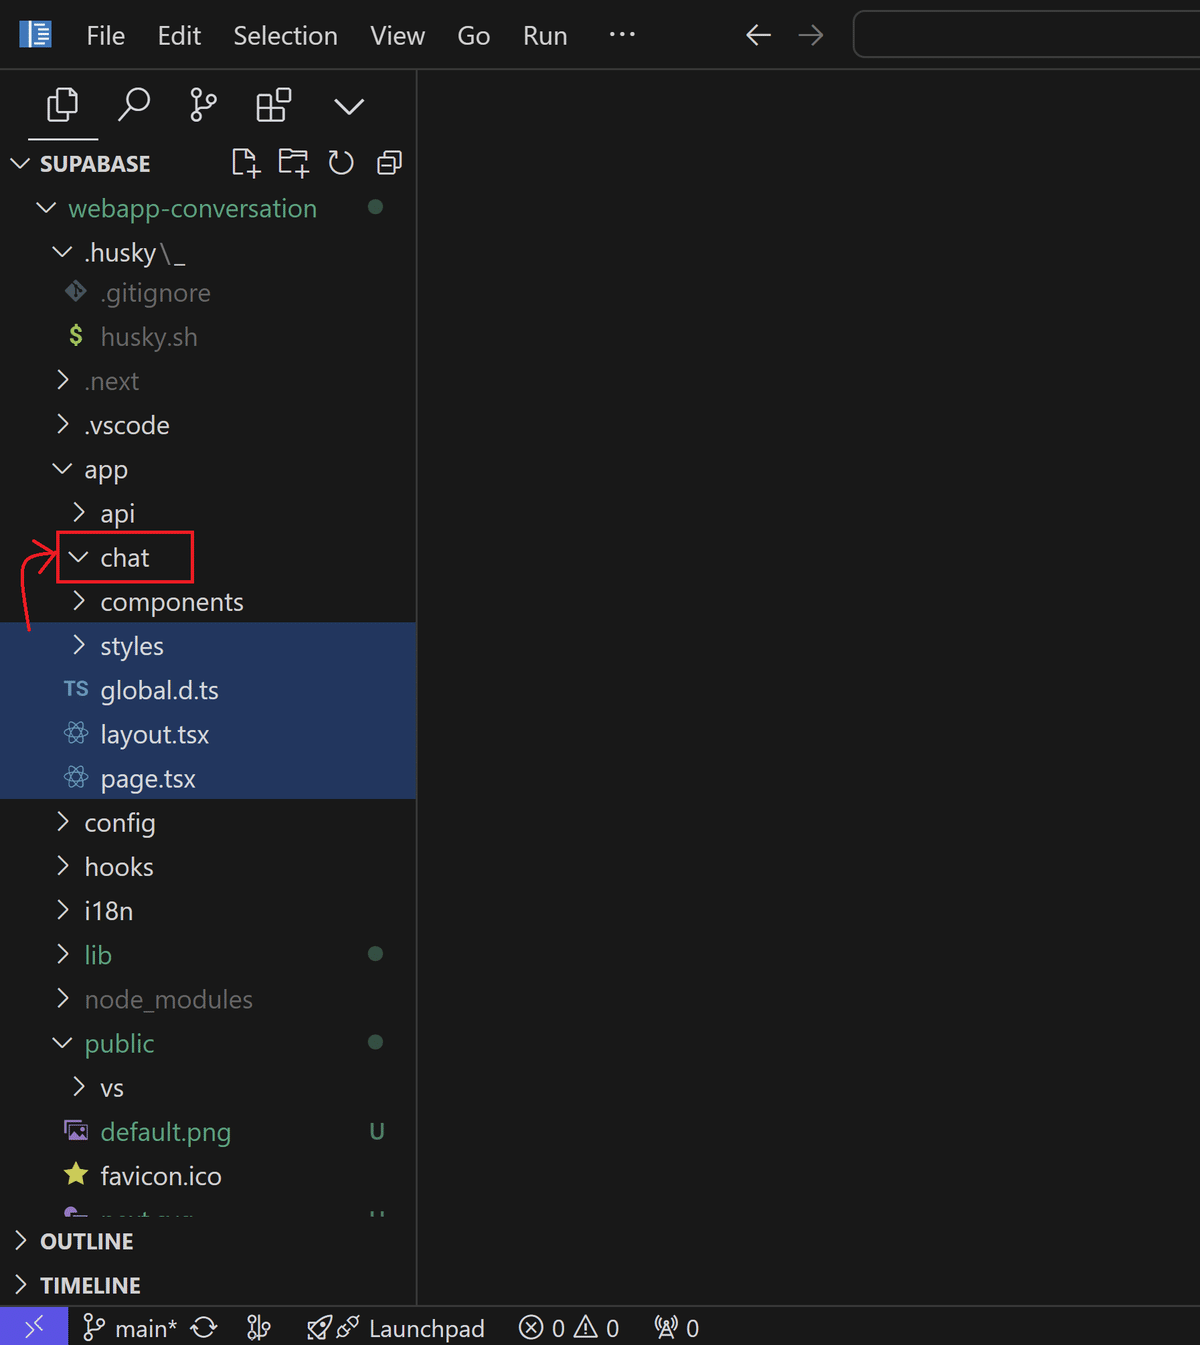
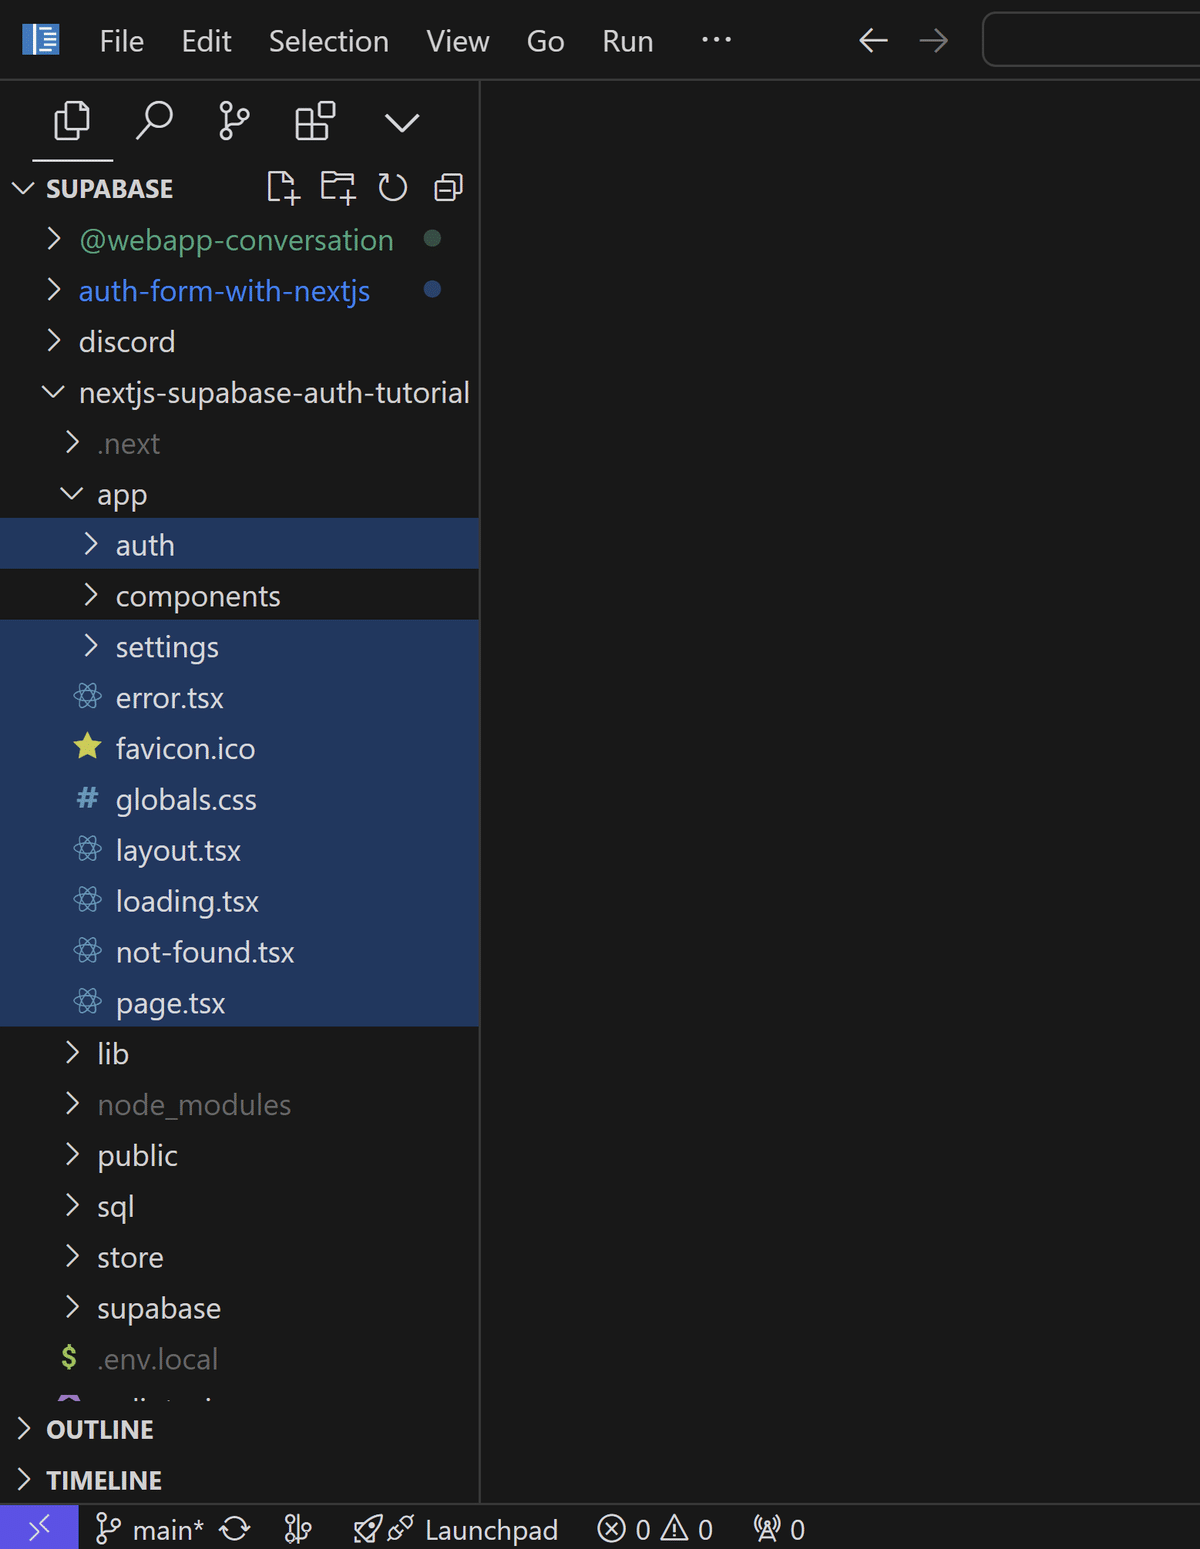
②次に、認証アプリ側からDifyアプリ(webapp-conversation)へ、 appフォルダの以下定義情報(重複するcomponentsフォルダ以外)をすべてコピーします。
auth/
settings/
error.tsx
favicon.ico
globals.css
layout.tsx
loading.tsx
not-found.tsx
page.tsx
app/componentsフォルダ
認証アプリ側からDifyアプリ(webapp-conversation)へ、 app/componentsフォルダのすべての定義情報をコピーします。
email.tsx
login.tsx
logout.tsx
navigation.tsx
password.tsx
profile.tsx
reset-password.tsx
signup.tsx
supabase-listener.tsx
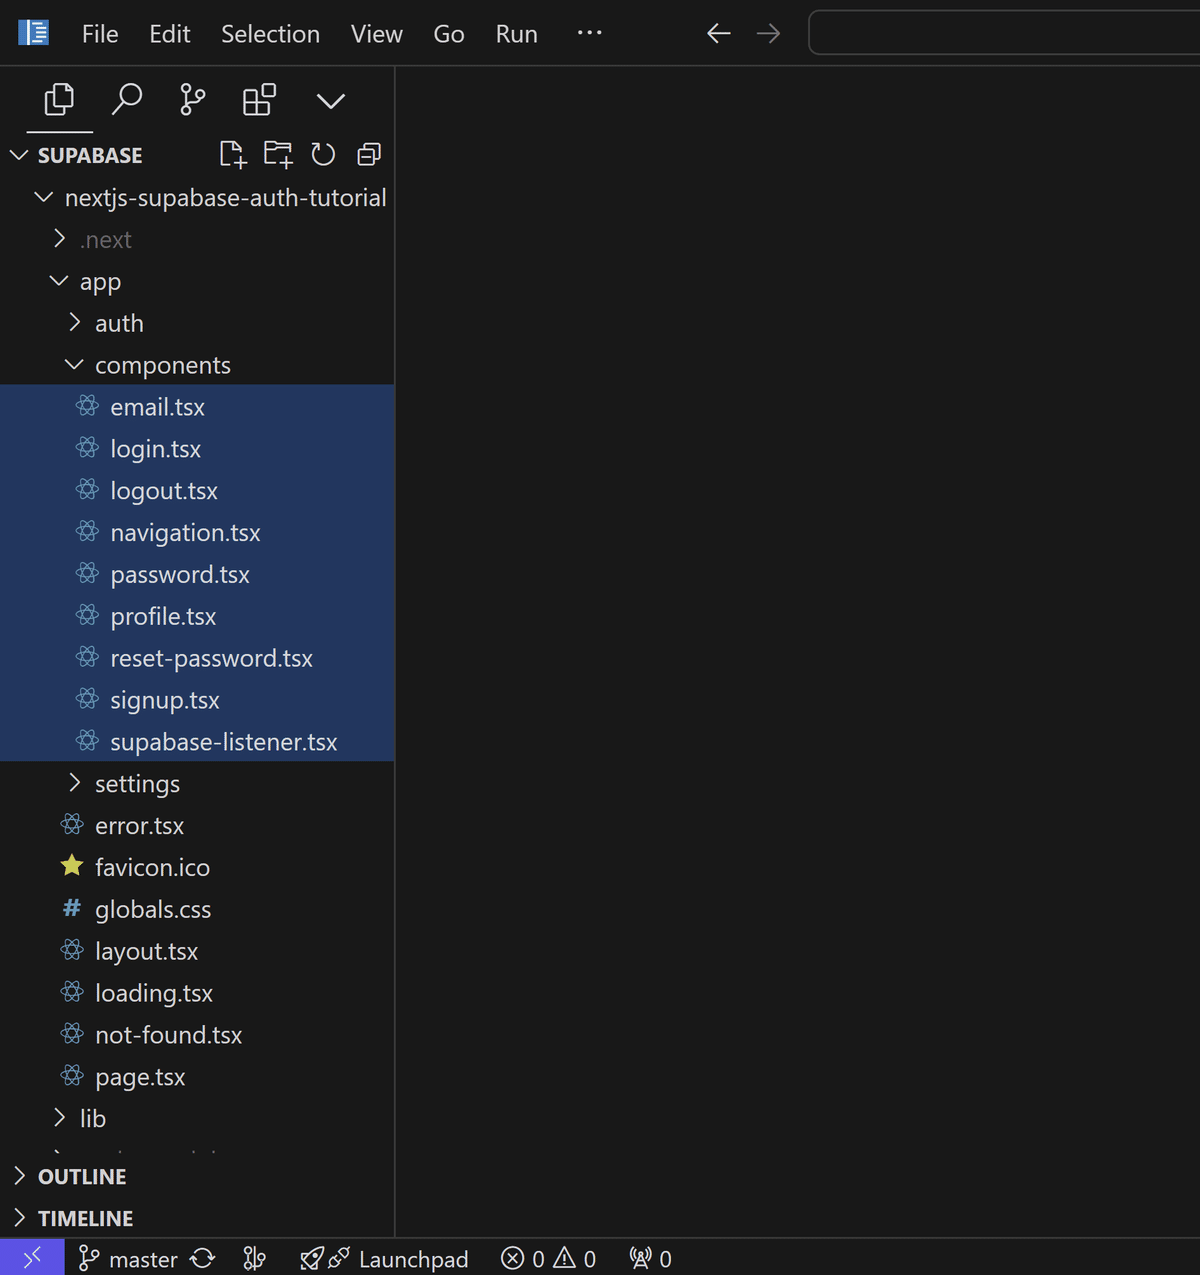
コピー後のDifyアプリ(webapp-conversation)のappフォルダ配下の状態は以下になります。
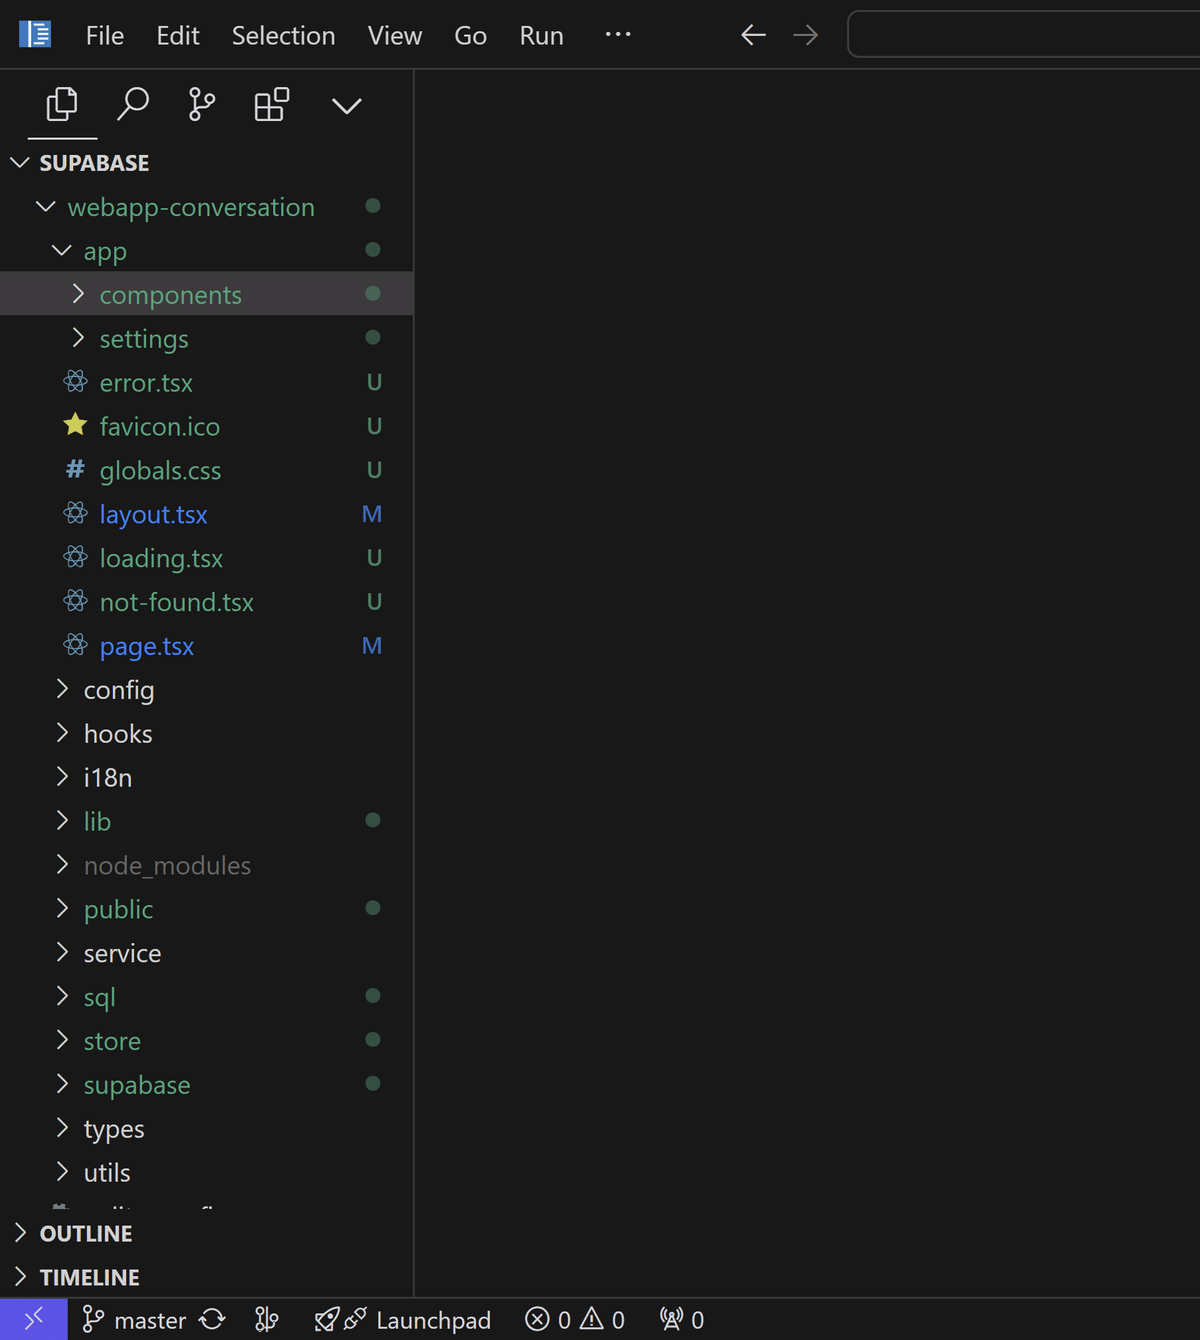
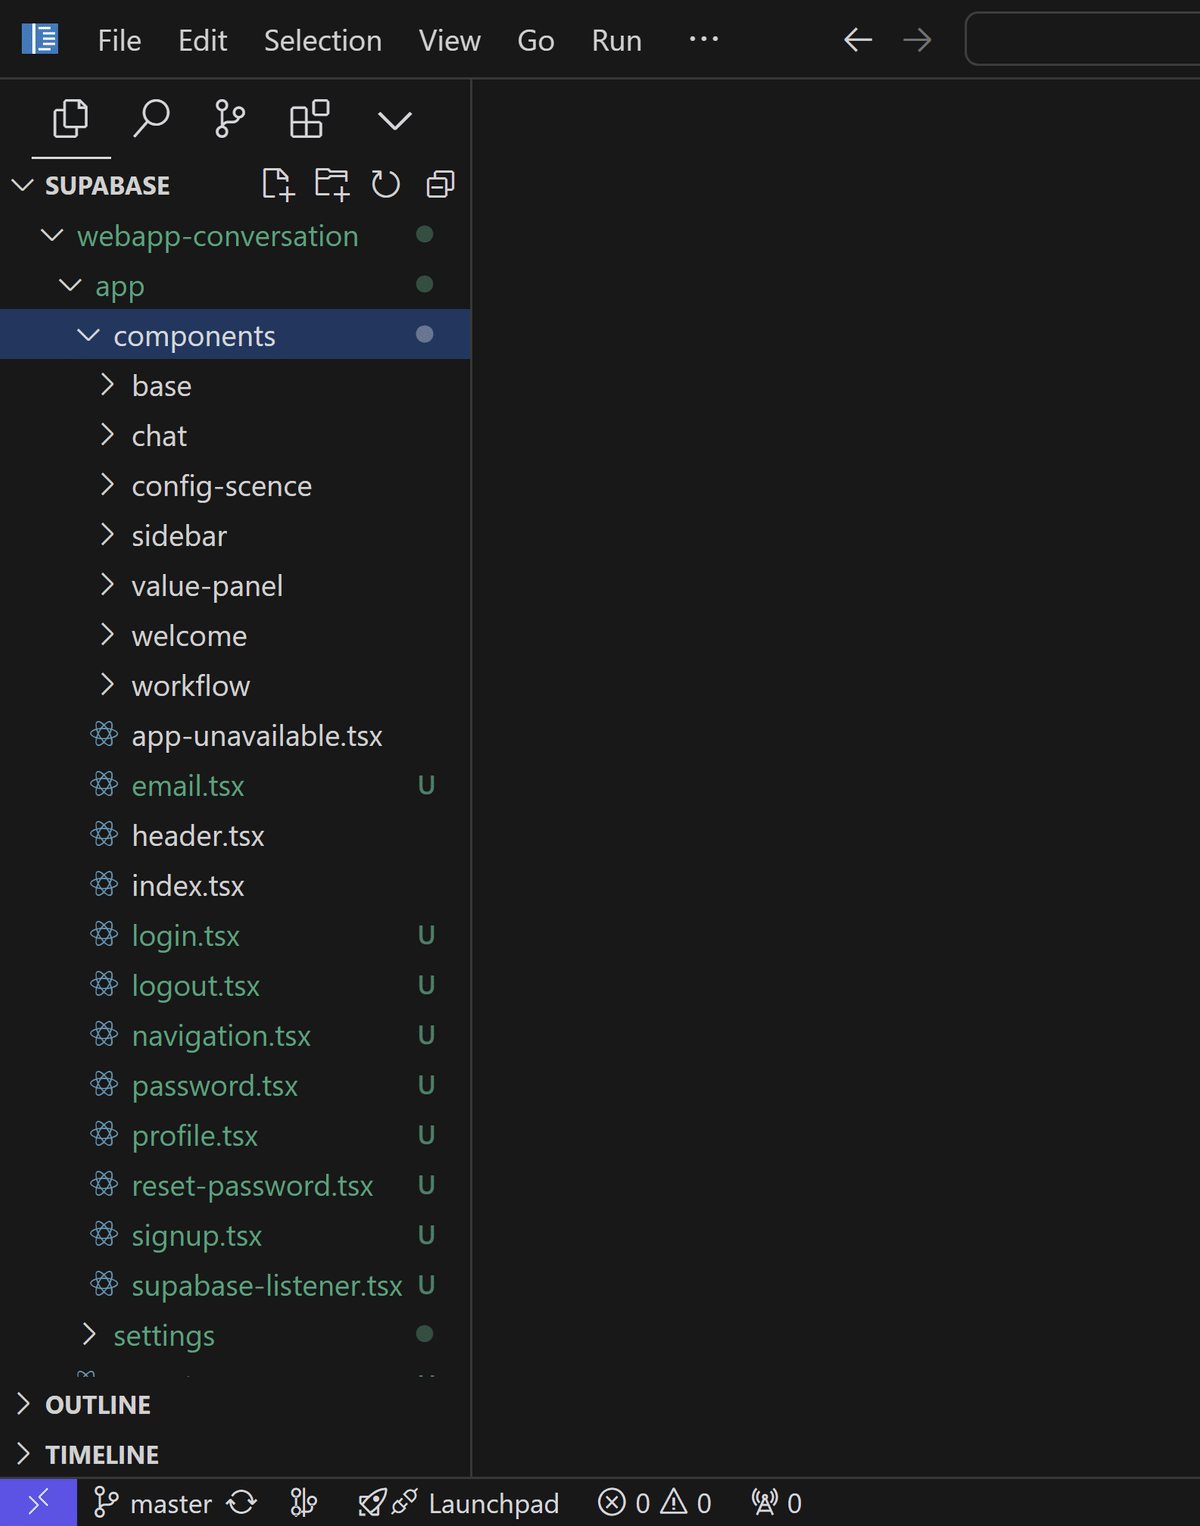
ライブラリのインストール
参照記事(無料公開部分)を見ながらライブラリのインストールを実施します。
中間動作確認
機能情報の取り込みが終わった時点の動作確認として、Difyアプリ(webapp-conversation)のプロジェクトフォルダで起動してみます。
$ npm run dev

> webapp-conversation@0.1.0 dev
> next dev

  ▲ Next.js 14.2.11
  - Local:        http://localhost:3000
  - Environments: .env.local

 ✓ Starting...
 ✓ Ready in 7.3s
 ○ Compiling /middleware ...
 ✓ Compiled /middleware in 1849ms (211 modules)
 ○ Compiling / ...
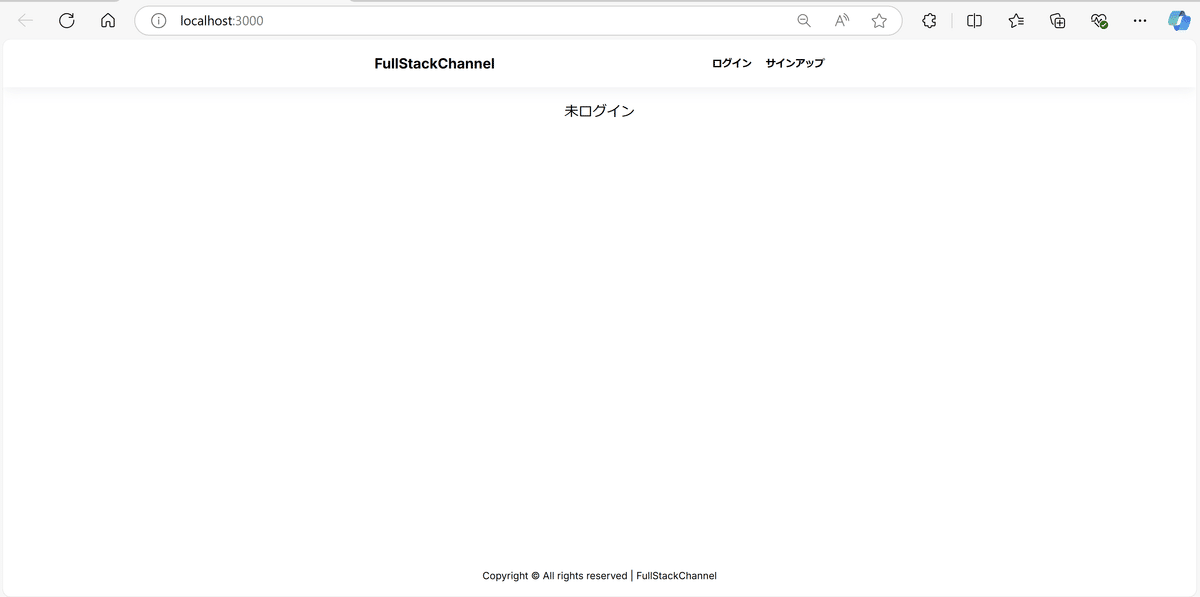
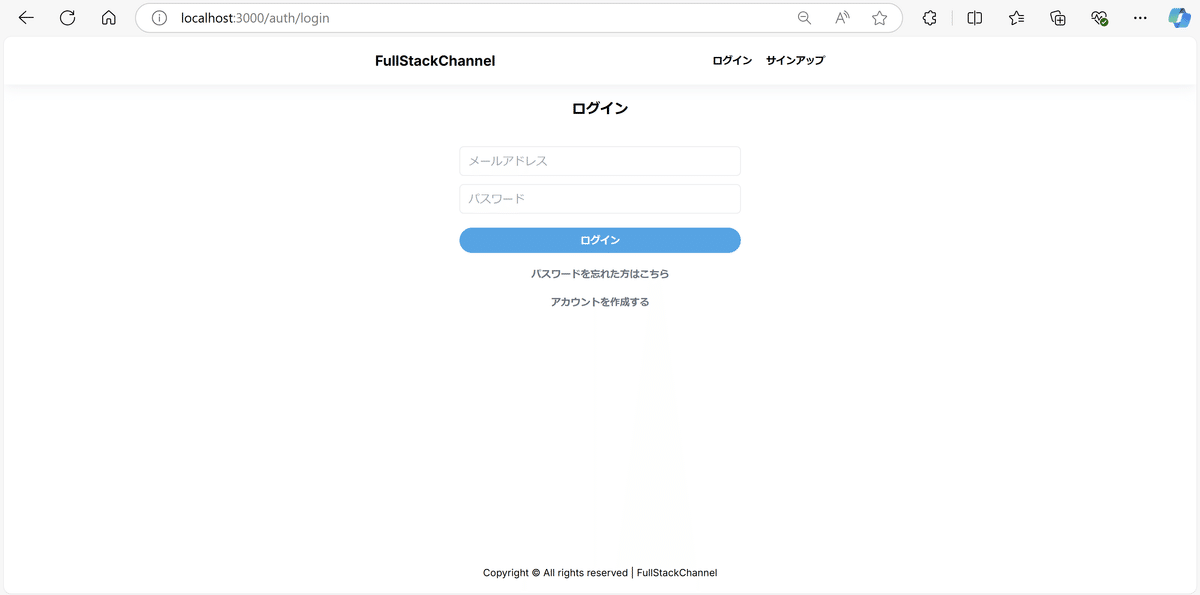
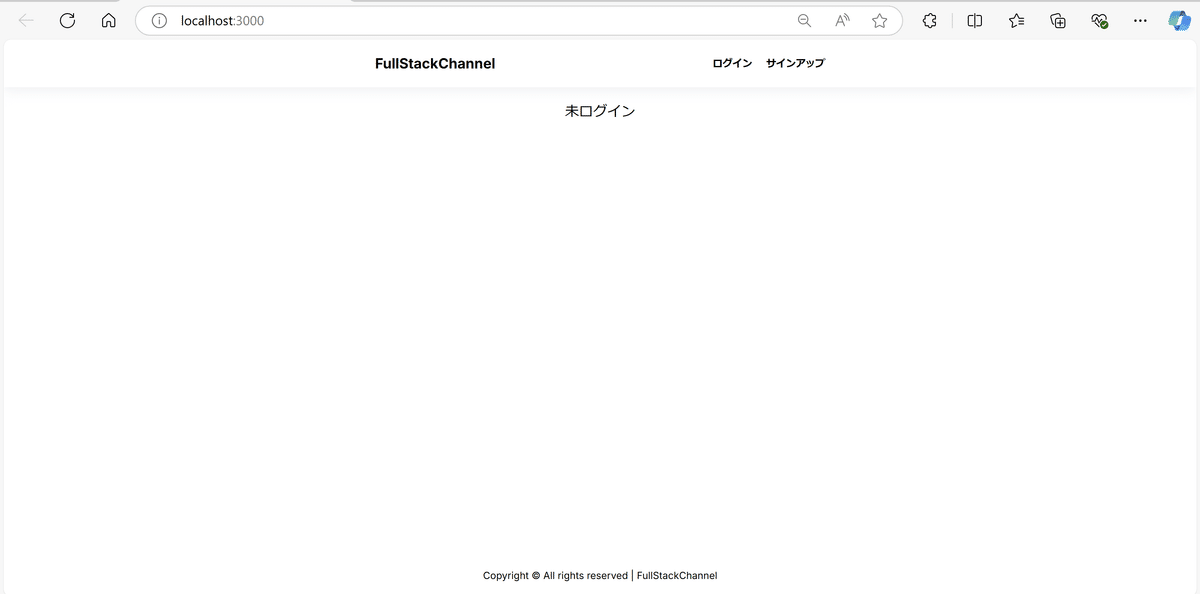
認証アプリの動作確認
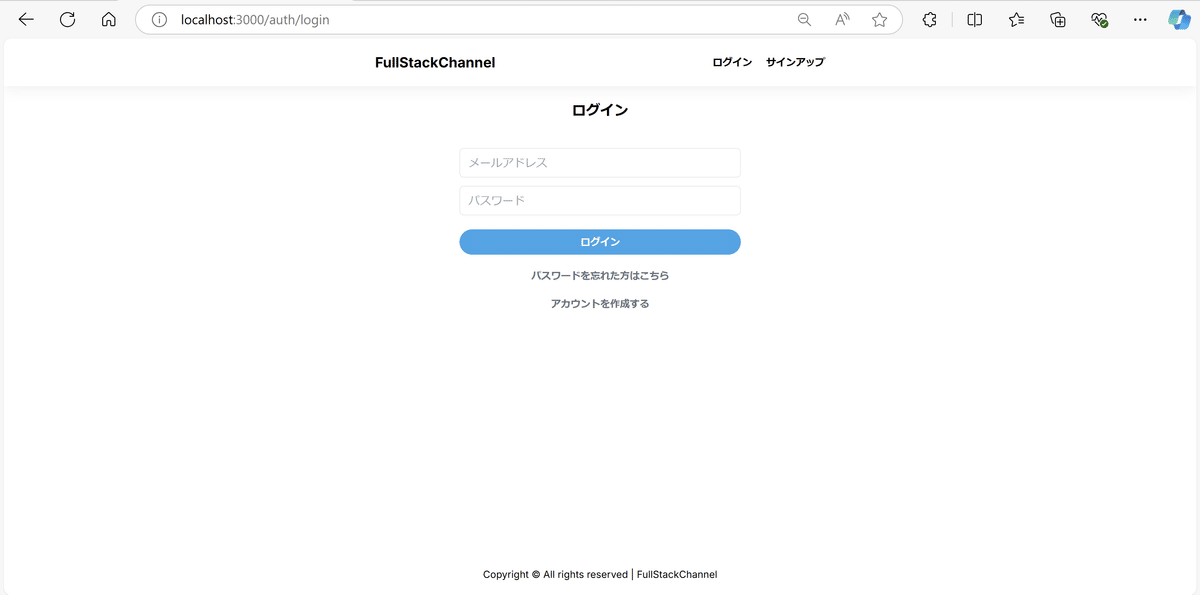
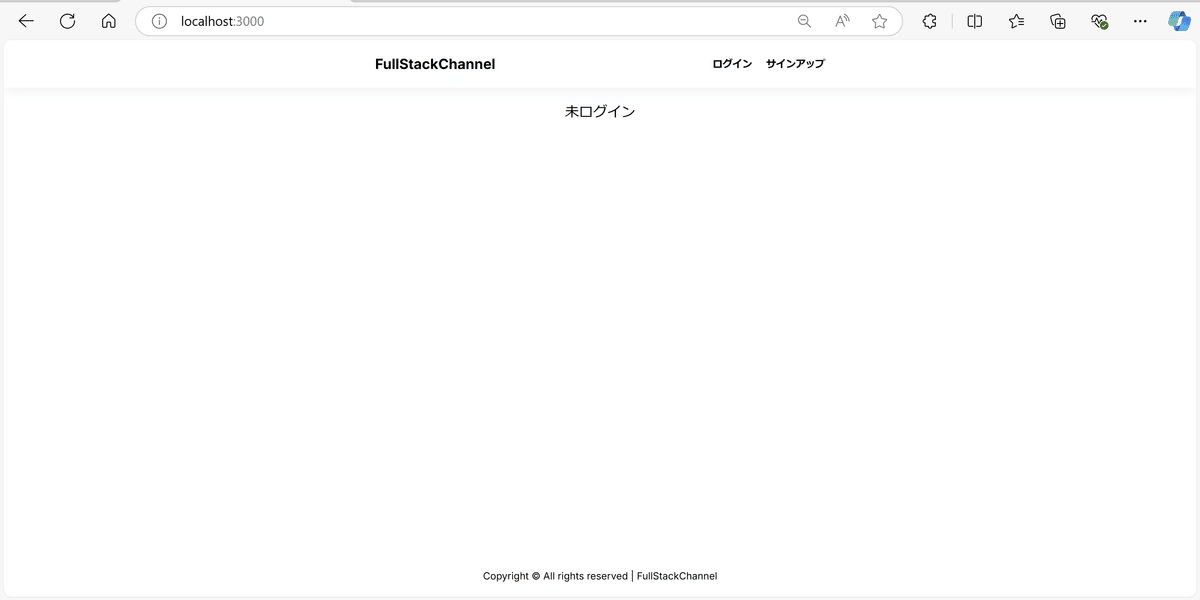
「http://localhost:3000/」に接続して認証アプリの動作確認を行います。
後ほどログイン後の画面遷移を確認するため、動作確認は最後ログアウト状態で終了してください。
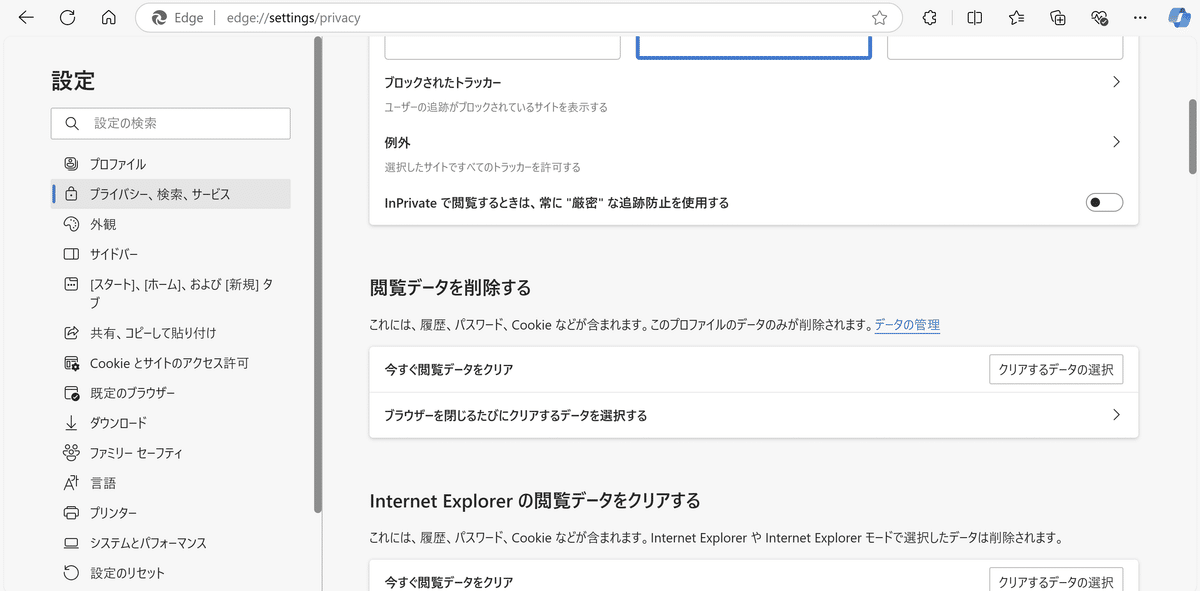
補足:コード修正中の動作確認の時にログアウトしなかったことで、状態不一致のようなエラーが起きた際は、ブラウザの履歴をクリアしてください
Difyアプリの動作確認
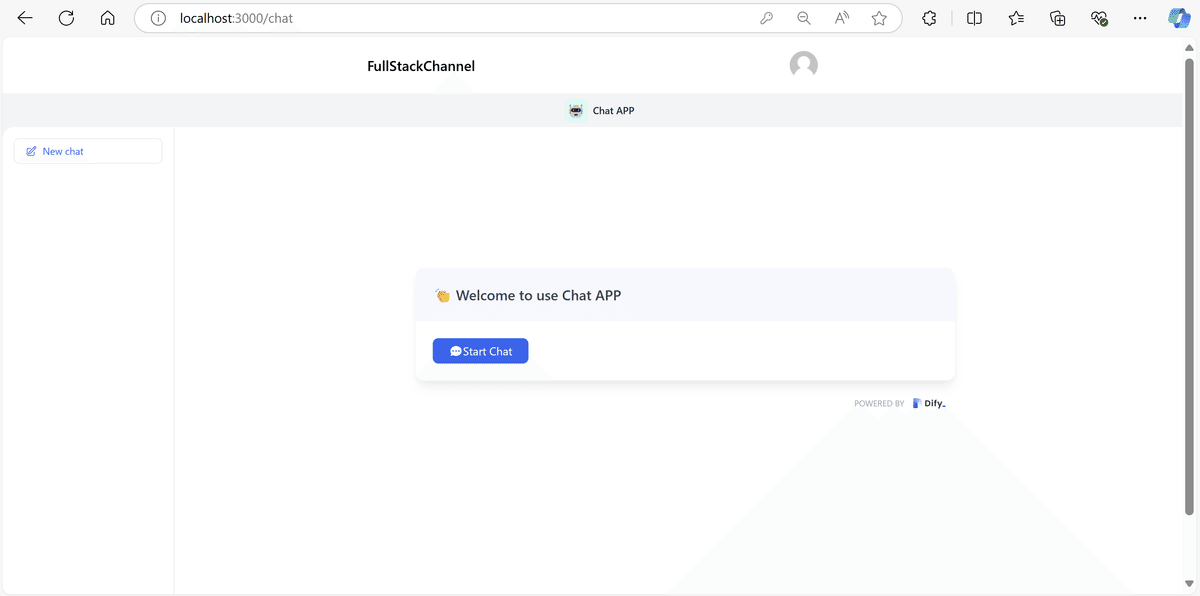
「http://localhost:3000/chat」に接続してDifyアプリ(webapp-conversation)の動作確認を行います。
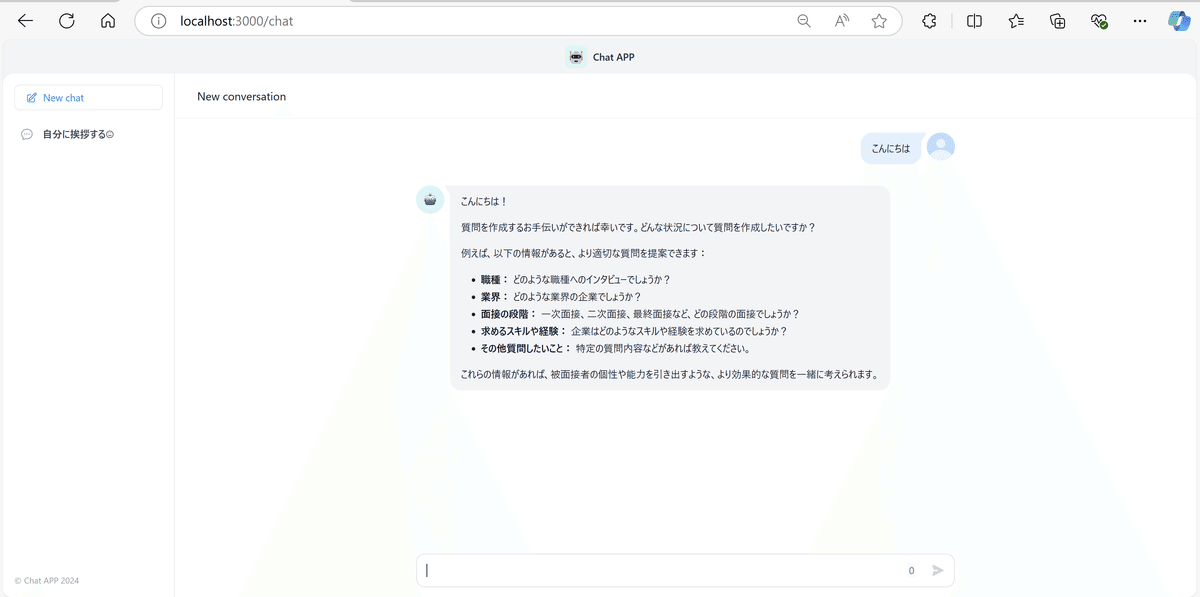
ログイン後にチャット画面へ遷移させる
app/page.tsx修正 ~その1~
以下2点を追記します。
「import { redirect } from 'next/navigation'」
「 if (session) { redirect('/chat') }」
これにより、ホーム画面が読み込まれた際に、ログイン状態であれば /chat へリダイレクトしDifyアプリの画面に遷移します。
import { createServerComponentClient } from '@supabase/auth-helpers-nextjs'
import { cookies } from 'next/headers'
import { redirect } from 'next/navigation' // ★追記★
import type { Database } from '@/lib/database.types'

// メインページ
const Home = async () => {
  const supabase = createServerComponentClient<Database>({
    cookies,
  })

  // セッションの取得
  const {
    data: { session },
  } = await supabase.auth.getSession()

   // ★追記★
  if (session) {
    redirect('/chat')
  }

  return (
    <div className="text-center text-xl">
      {session ? <div>ログイン済</div> : <div>未ログイン</div>}
    </div>
  )
}

export default Home
これでログイン後の画面遷移自体は可能となります。
ただ、タイミングによっては画面遷移されず、アドレスバーでEnter押下やF5キーなど、手動で画面の再読み込みが必要な場合があります。
そのため、クライアントコンポーネントで再読み込みの機能を追加します。
以下のファイル(app/components/ReloadTrigger.tsx)を作成してください。
// app/components/ReloadTrigger.tsx

'use client'

import { useEffect } from 'react'
import { useRouter } from 'next/navigation'
import { createClientComponentClient } from '@supabase/auth-helpers-nextjs'
import type { Database } from '@/lib/database.types'

const ReloadTrigger = () => {
  const router = useRouter()
  const supabase = createClientComponentClient<Database>()

  useEffect(() => {
    const checkSession = async () => {
      const { data: { session } } = await supabase.auth.getSession()
      if (!session) {
        router.refresh()
      }
    }

    checkSession()
  }, [router, supabase])

  return null
}

export default ReloadTrigger
app/page.tsx修正 ~その2~
以下2点を追記します。
「import ReloadTrigger from '@/app/components/ReloadTrigger'」
(returnセクション内に)「<ReloadTrigger />」
これにより、ログイン後に再読み込みの処理が走り、チャット画面に遷移します。
import { createServerComponentClient } from '@supabase/auth-helpers-nextjs'
import { cookies } from 'next/headers'
import { redirect } from 'next/navigation'
import type { Database } from '@/lib/database.types'
import ReloadTrigger from '@/app/components/ReloadTrigger' // ★追記★

// メインページ
const Home = async () => {
  const supabase = createServerComponentClient<Database>({
    cookies,
  })

  // セッションの取得
  const {
    data: { session },
  } = await supabase.auth.getSession()

  if (session) {
    redirect('/chat')
  }

  return (
    <div className="text-center text-xl">
      <ReloadTrigger /> // ★追記★
      {session ? <div>ログイン済</div> : <div>未ログイン</div>}
    </div>
  )
}

export default Home
補足:npm run 初回起動時、Difyアプリ起動直後のタイミング?なのか、画面遷移の反応が少し遅れたり遷移しないこともあるので、その場合アドレスバーでEnterを押すことでも画面遷移させることができます。
動作確認
アプリを起動し、ログイン後に画面遷移することを確認します。
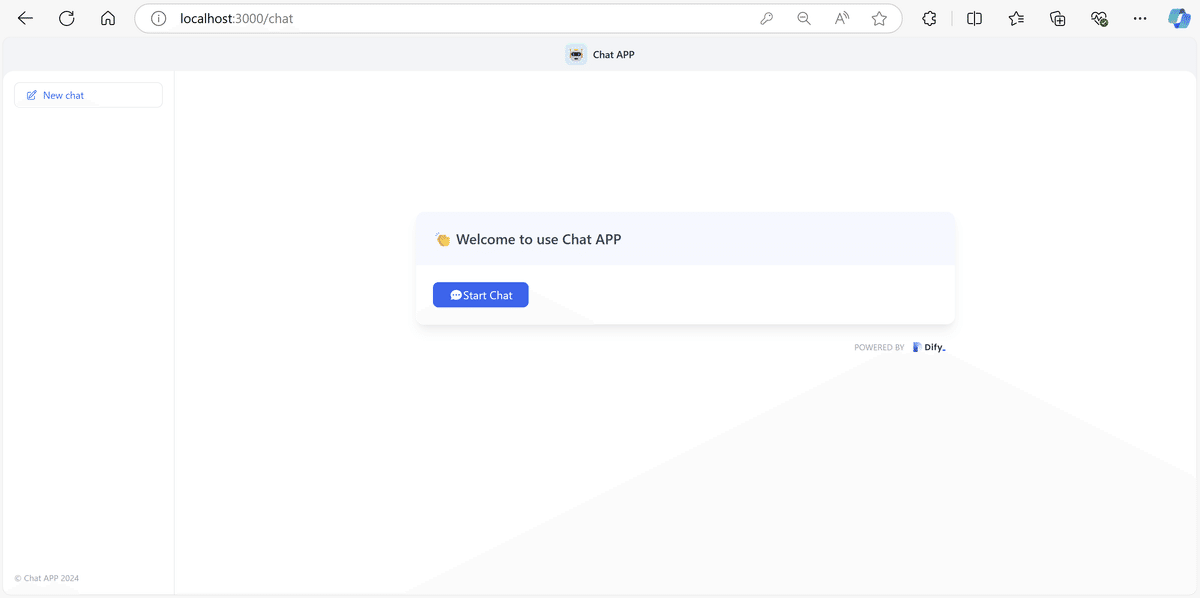
これでいったん機能統合自体は完了です・・・
が、チャット画面をよく見ると「ログアウト」出来るものがありません。
また「http://localhost:3000/chat」を「http://localhost:3000」に書き換えても、ログイン状態なのでチャット画面に引き戻されてしまいログアウトの操作ができません。
いったんキャッシュをクリアのうえブラウザを閉じてください。
(キャッシュクリアしたくない場合はPC再起動などでもOK)

チャット画面にログアウト機能の追加
app/chat/layout.tsx 修正
以下2点を追記します。
「import SupabaseListener from '../components/supabase-listener'」
(returnセクション内に)「<SupabaseListener />」
これにより、認証アプリのヘッダーおよびログイン後に表示される profile画面へ遷移するアバターアイコンが表示されます。
import { getLocaleOnServer } from '@/i18n/server'
import SupabaseListener from '../components/supabase-listener' // ★追記★

import './styles/globals.css'
import './styles/markdown.scss'

const LocaleLayout = ({
  children,
}: {
  children: React.ReactNode
}) => {
  const locale = getLocaleOnServer()
  return (
    <html lang={locale ?? 'en'} className="h-full">
      <body className="h-full">
		<SupabaseListener /> // ★追記★
        <div className="overflow-x-auto">
          <div className="w-screen h-screen min-w-[300px]">
            {children}
          </div>
        </div>
      </body>
    </html>
  )
}

export default LocaleLayout
動作確認
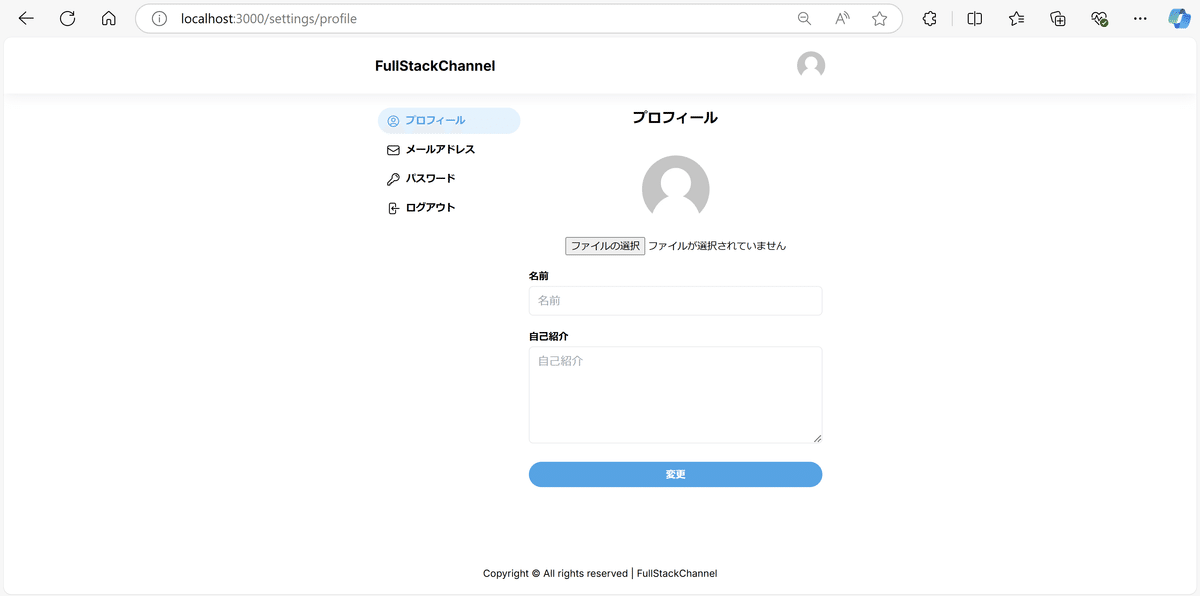
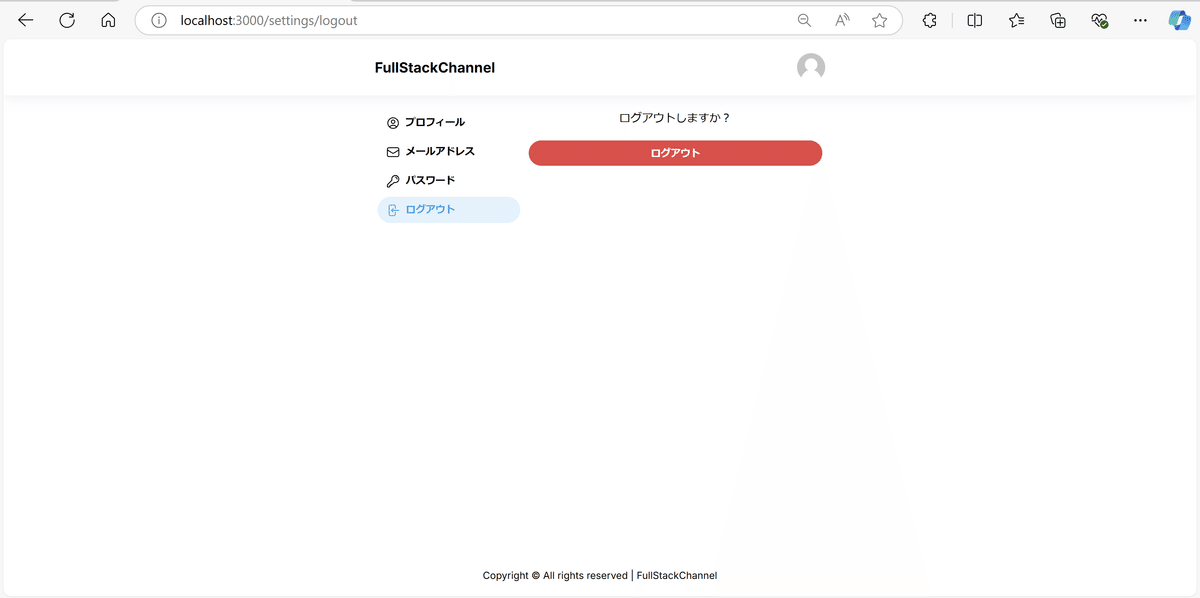
チャット画面にヘッダーが追加され、アバターアイコンからprofileの画面へ遷移し、ログアウトまで行えることを確認します。
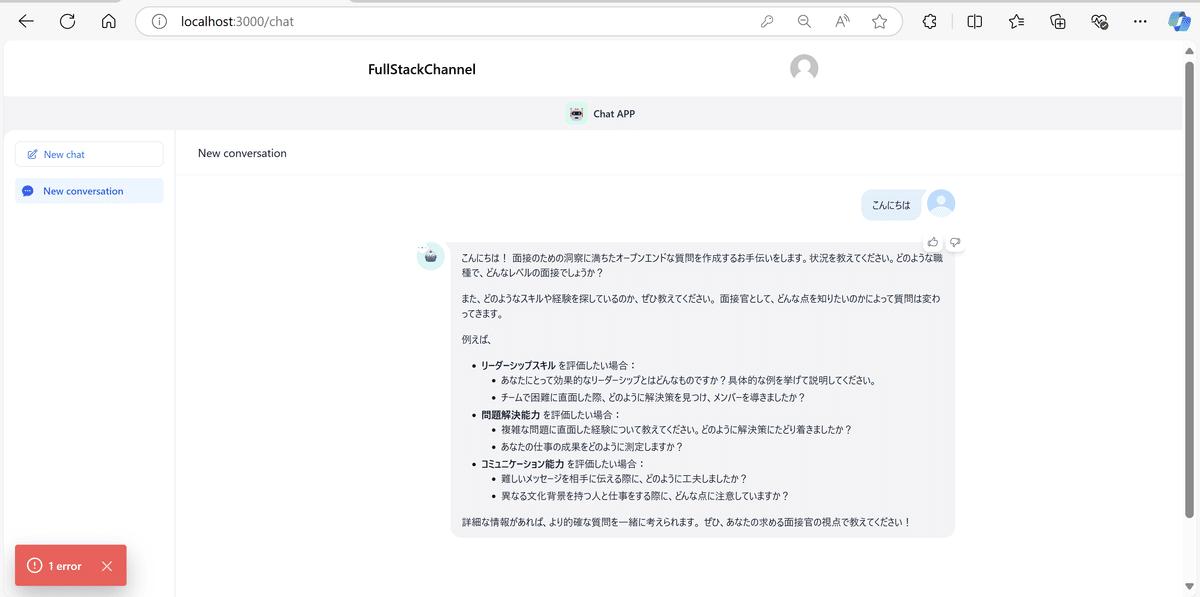
アバターアイコンをクリックすると、アドレスバーに「http://localhost:3000/settings/profile」が表示され、Enterを押すことでProfile画面へ遷移します。
補足:画面遷移の状態追跡にはクライアントコンポーネントの機能が必要、チャットアプリはサーバーコンポーネント等から、ReloadTriggerコンポーネントなど試してみましたが解消することができませんでした。
チャット画面の未認証接続規制
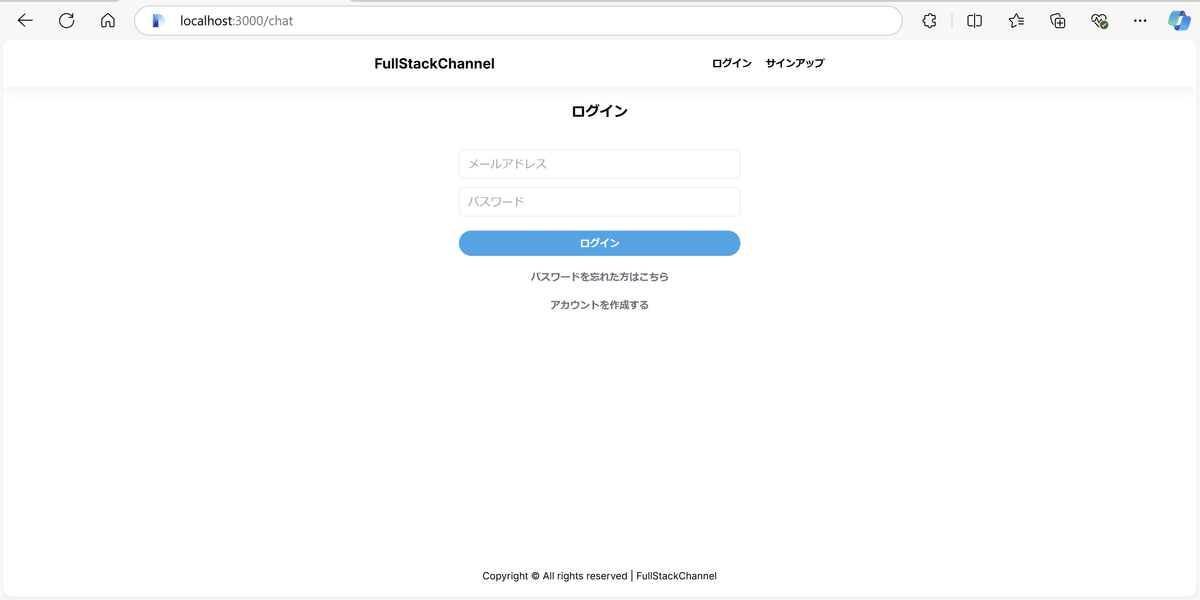
試していただくとわかりますが、アドレスバーに「http://localhost:3000/chat」を入力すると、ログアウト状態にかかわらずチャット画面に接続できてしまいます。そのため、未認証時はログイン画面にリダイレクトするようにチャット画面に追記します。
差分が多いため、 app/chat/page.tsx を以下に書き換えてください。
(差分は後述するWinMerge画面を参照)
import { cookies } from 'next/headers'
import { createServerComponentClient } from '@supabase/auth-helpers-nextjs'
import { redirect } from 'next/navigation'
import type { Database } from '@/lib/database.types'
import type { FC } from 'react'
import React from 'react'

import type { IMainProps } from '@/app/components'
import Main from '@/app/components'

const App: FC<IMainProps> = async ({
  params,
}: any) => {
  const supabase = createServerComponentClient<Database>({ cookies })

  // セッションの取得
  const {
    data: { session },
  } = await supabase.auth.getSession()

  // 未認証の場合、リダイレクト
  if (!session) {
    redirect('/auth/login')
  }

  return (
    <Main params={params} />
  )
}

export default React.memo(App)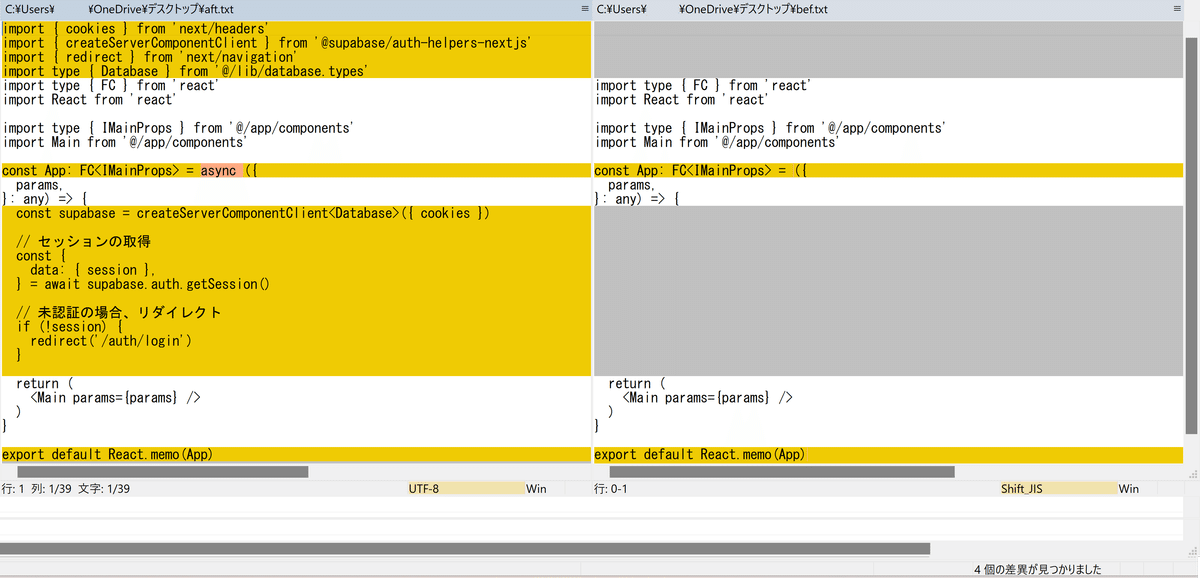
動作確認
ログアウト状態でアドレスバーに直接「http://localhost:3000/chat」を入力しても、ログイン画面に戻されることを確認
いったんこの記事の目的としては完了です。
まとめ
Profile画面遷移の自動読み込みという課題は残りましたが、個人的な感想としてnext.jsのファイルの関係性や機能追加を行うイメージを持つことができて、とてもいい練習になったと思っています。
今回インフラ構築からクラウドアプリケーションのデプロイまで通しでやってみた感想として、クラウドインフラまわり(VPS、Supabase、Vercel、Docker、GitHub、etc…)からアプリケーションやコードまわり(Next.js、Python、API、JSON、YAML、Markdown、etc…)まで、幅広く知る機会・勉強する機会になるので、Difyはほんといい教材だなって改めて思いました。
この記事が、チャットアプリの改良や機能追加にチャレンジするきっかけになればうれしい限りです。
余談:当初この機能統合をVercelのV0もしくはCursorで行う想定でしたが、やりたいことにそれぞれはまらない部分(または自身のスキル不足)があり断念。
V0やCursorを使って「2つのリポジトリの機能をマージする」のは難しいな、というのが個人的な感想でした。
おまけ
Next.jsの App Router をとてもわかりやすく解説してくれています。
こちら Server component と Client component の使い分け方を対比表でまとめてくれています。
