【自作discord bot】Googleスプレッドシートへアクセスする

botからスプシにアクセスして読み書きしたいよねって
用意するもの
Discord
Glitch
discord.js v14
Googleアカウント
やる気
botそのもののつくり方はこちらを
Google Cloud Platformの設定
プロジェクトを新規作成する
Google Cloud Platformにアクセスします
※Googleアカウントが必要です
まずAPIを取得するプロジェクトを作成します
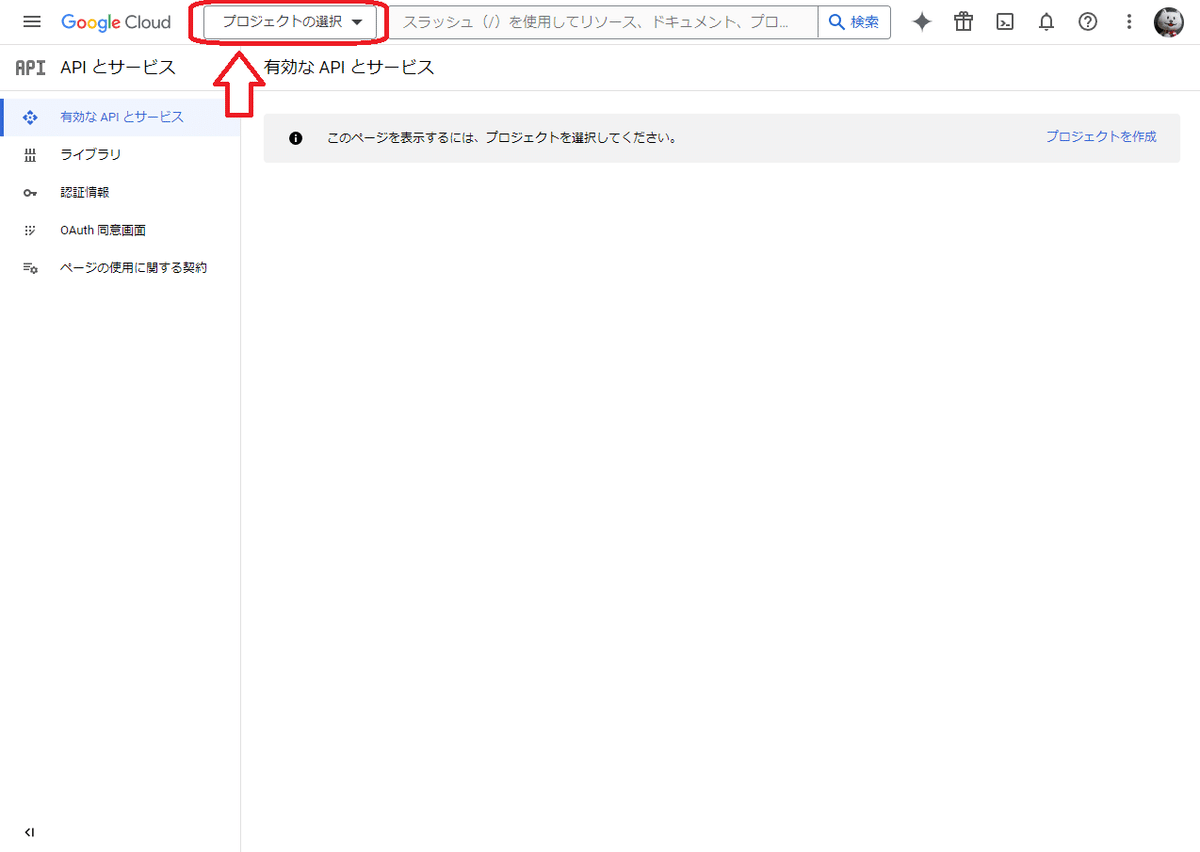
「新しいプロジェクト」を選択します
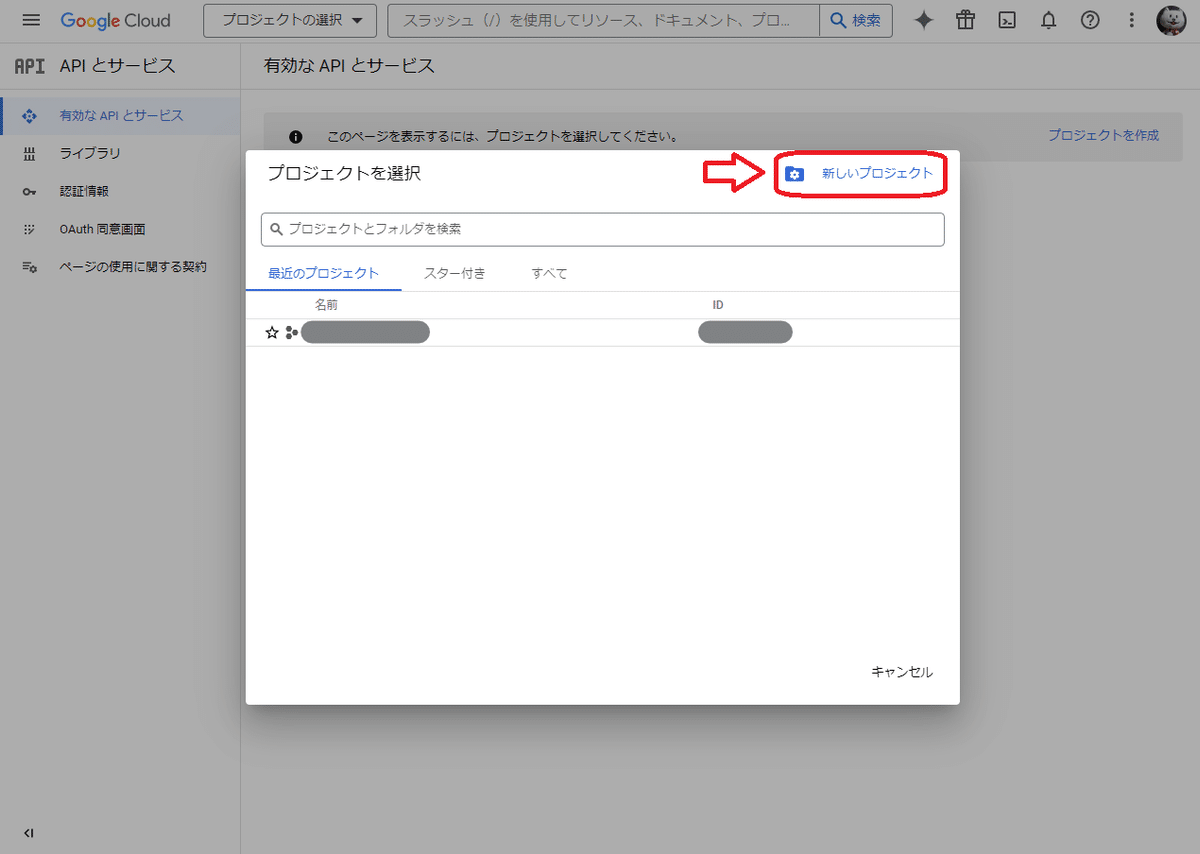
プロジェクトの名前を入力します
今後discordの開発で使いたいので『discord-spreadsheet』にしてみました

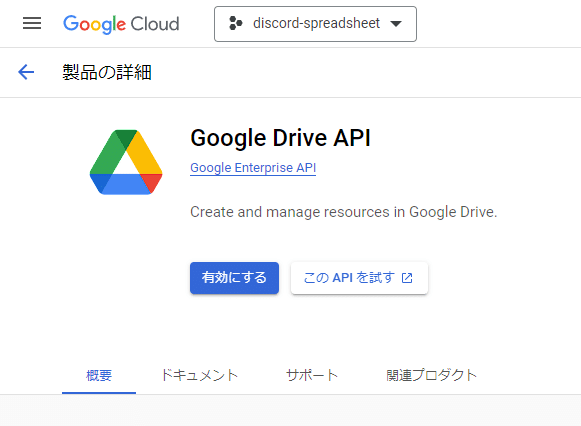
Google Drive APIを有効にする
プロジェクトを作成したら次はAPIを有効にしていきます
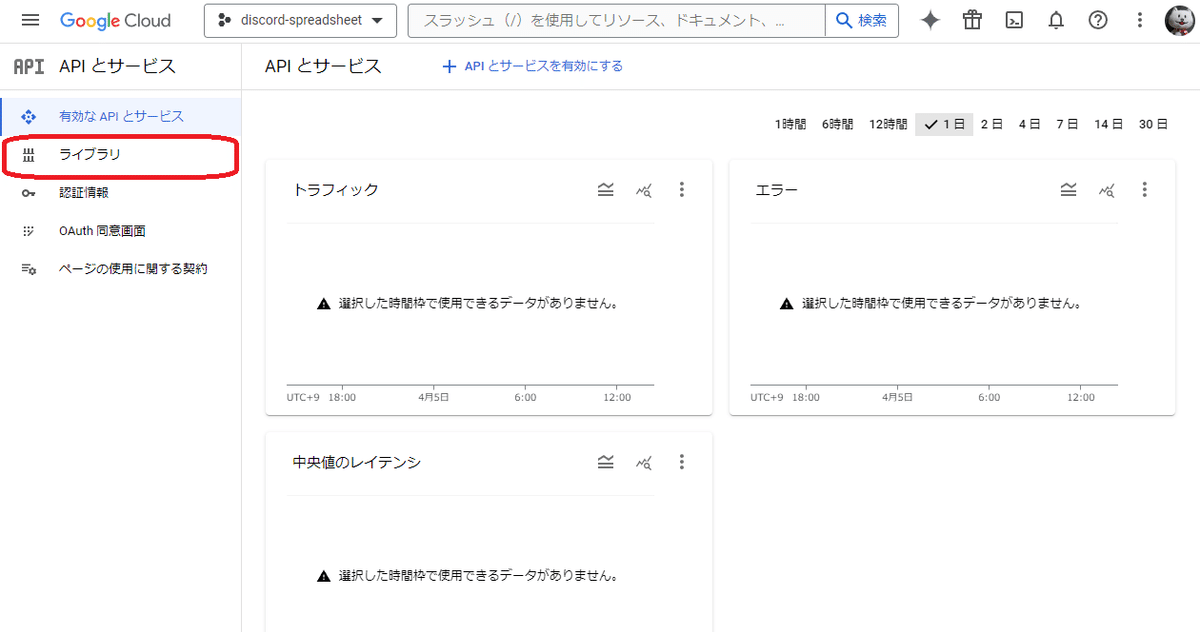
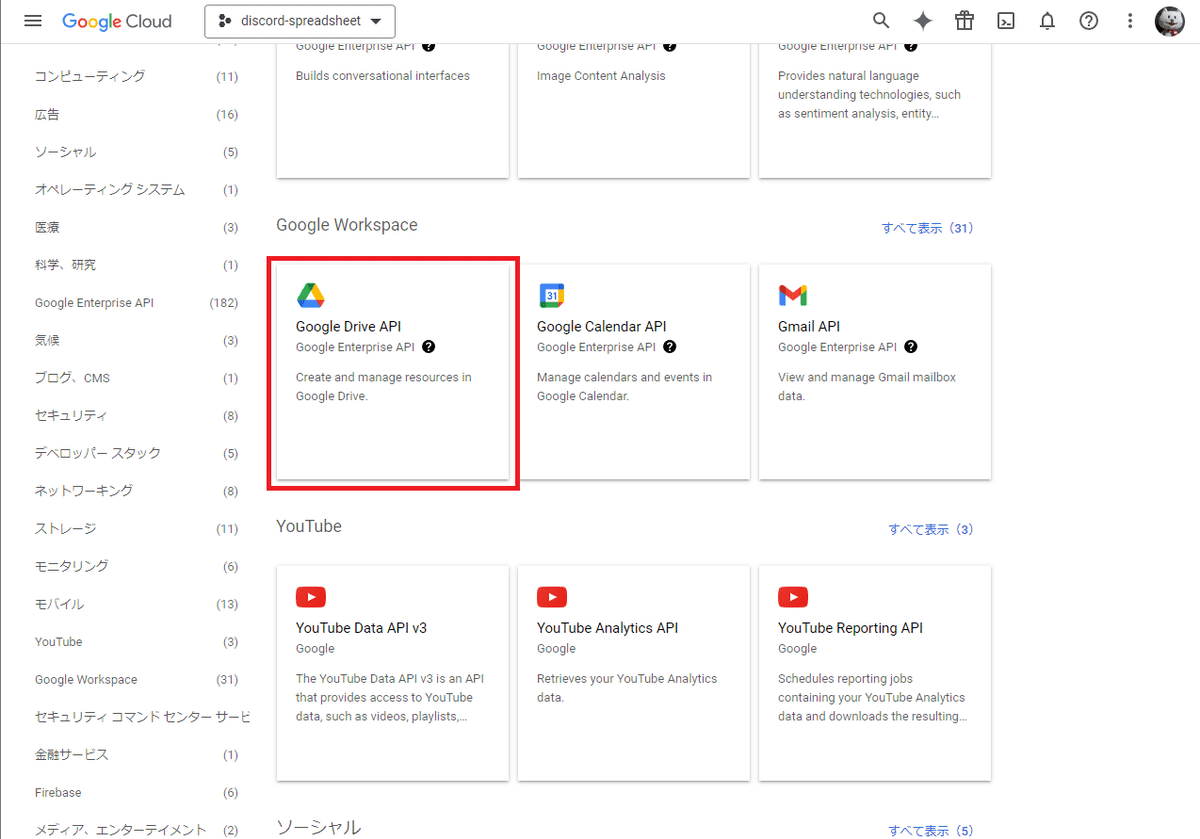
検索フォームでdriveと入力するか少しスクロールすると「Google Drive API」が出てくるのでこれを選択します
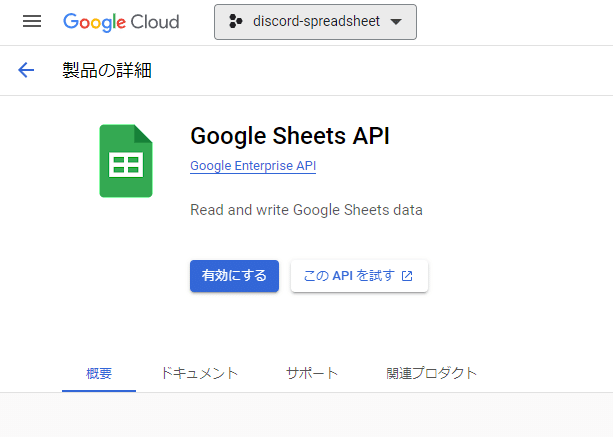
Google Sheets APIを有効にする
Google Driveと同様にGoogle Sheets APIを有効にします
こちらは検索バーから検索した方が見つけるのは早いかも
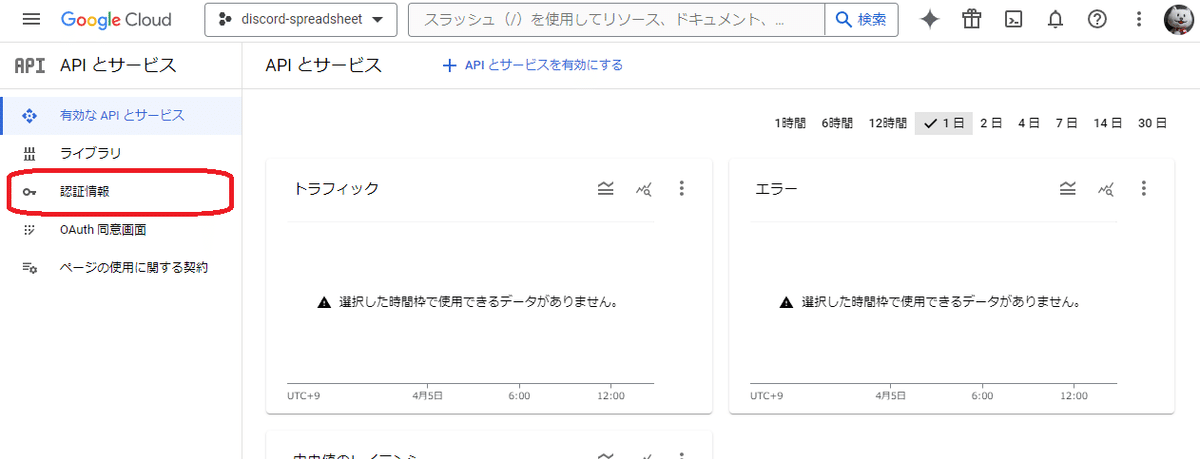
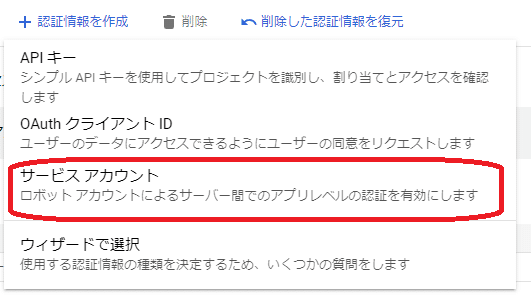
認証情報を設定する
discordからスプシにアクセスするために必要なキーを作成します
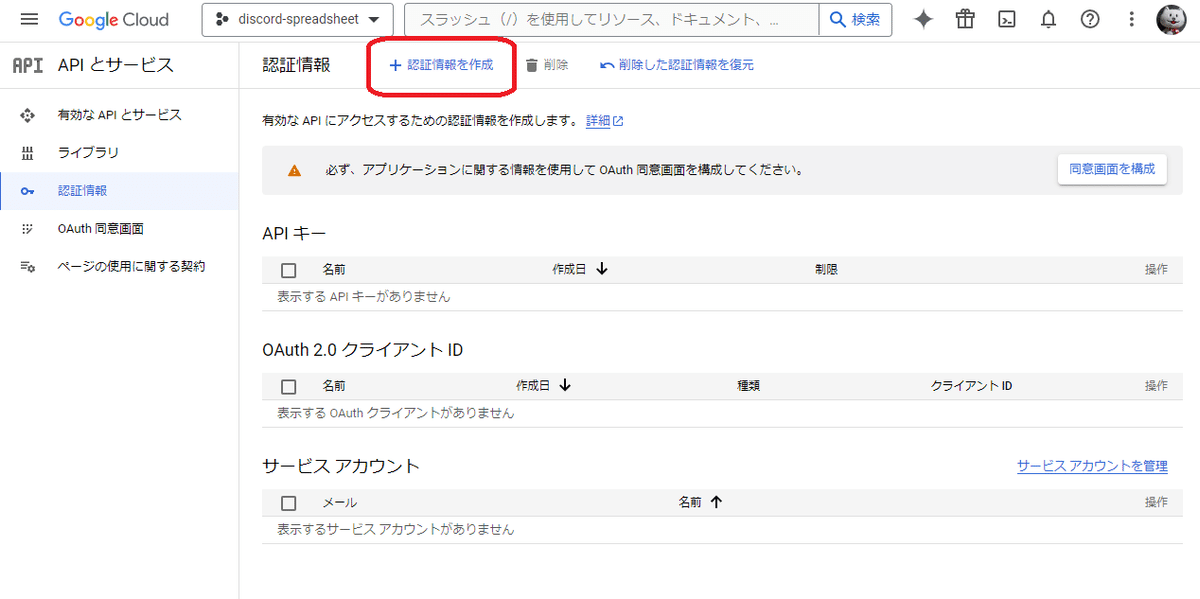
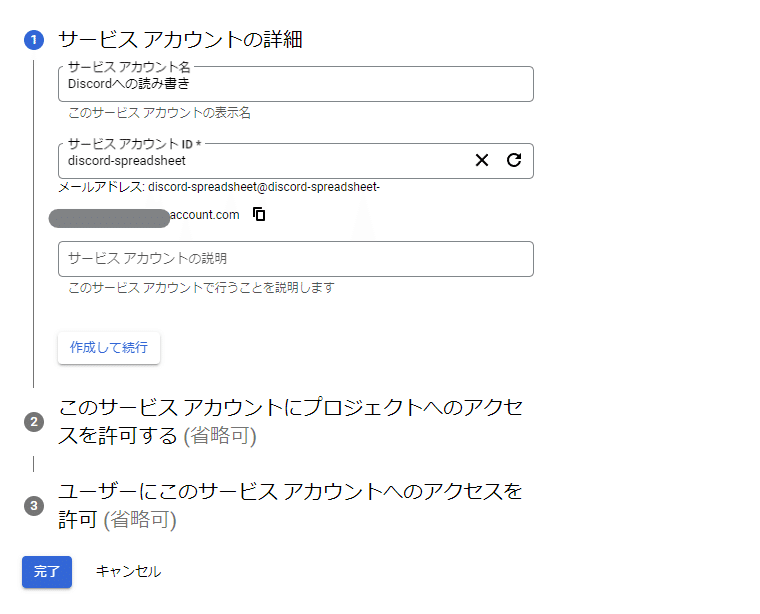
サービスアカウントの詳細でアカウント名やIDを設定していきます
特に決まりはないので分かりやすければOK(多分)
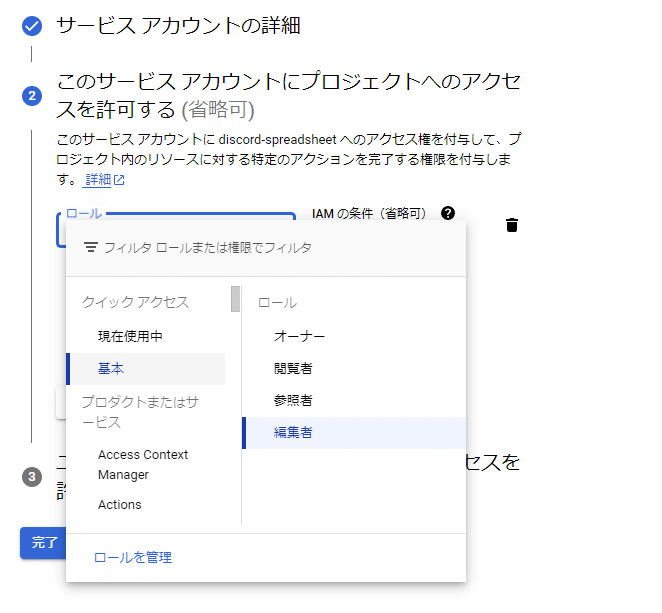
権限は編集者くらいでいいと思います
用途によって変更してください
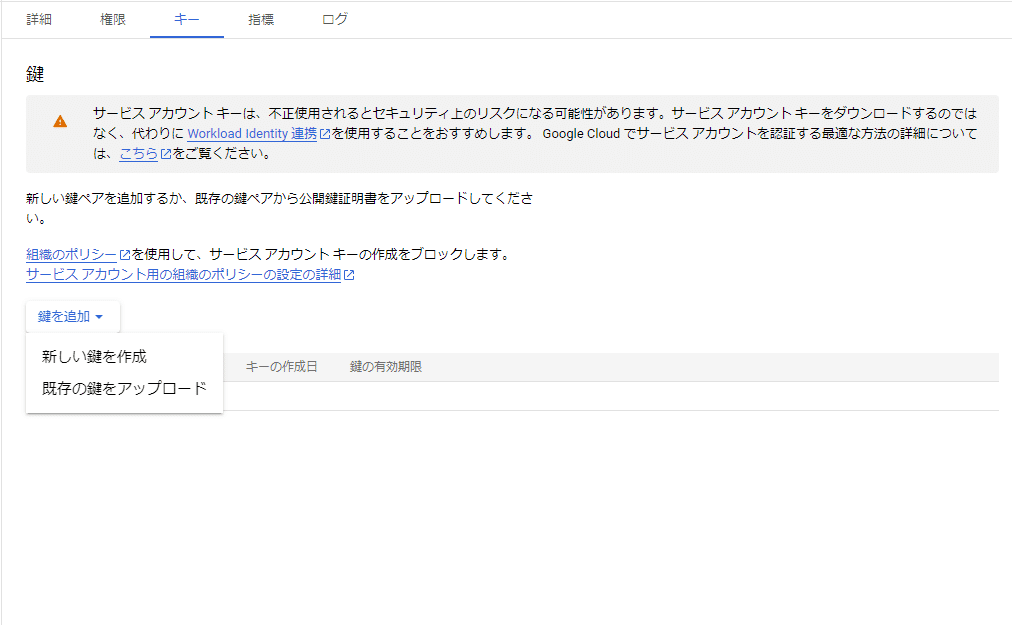
作成したらキータブから鍵を生成します
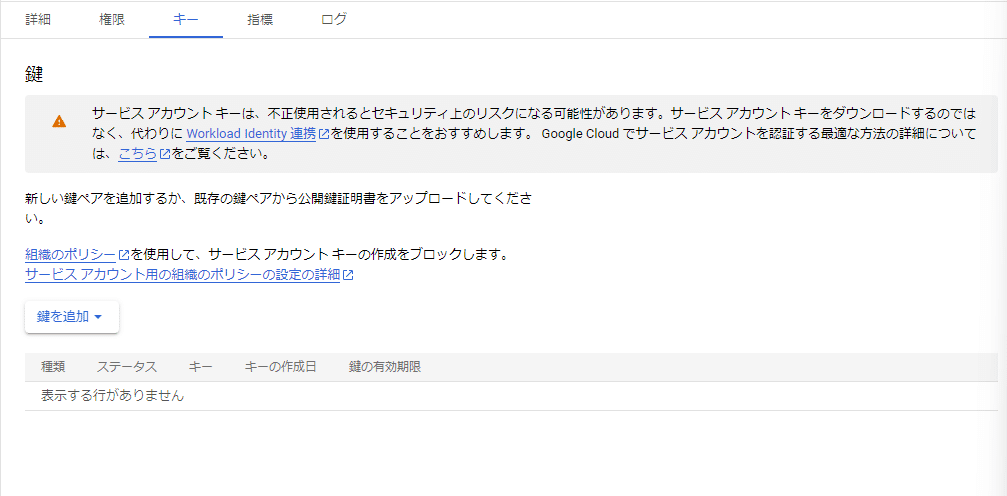
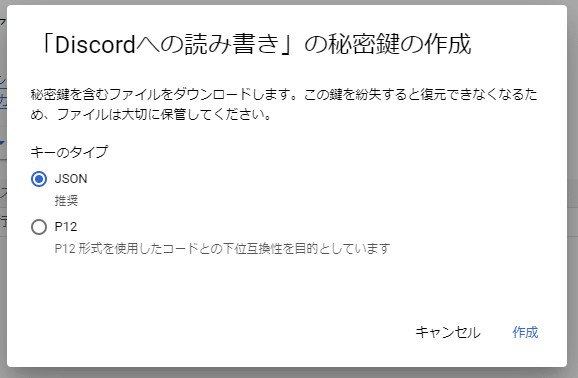
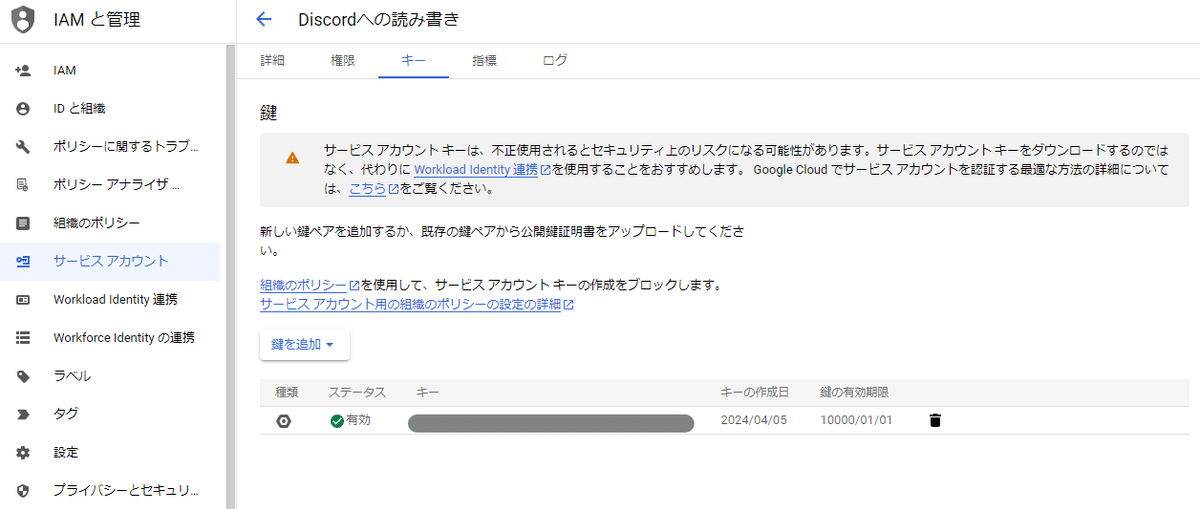
キーのステータスが有効になっている且つJSONファイルがダウンロードされていればGCPの設定は終わりです
注意書きにもありますがキーは失くしたり他人に教えないように注意してください
スプレッドシートの設定
GCPで生成したキーを確認
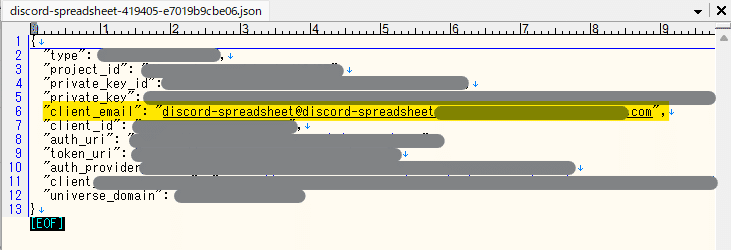
JSONファイルをエディタで開いて『client_email』の内容をコピーしておきます
下図は先ほどDLしたファイルですがあまりにも見せられる項目がないので海苔弁みたいになってます
シートの共有設定
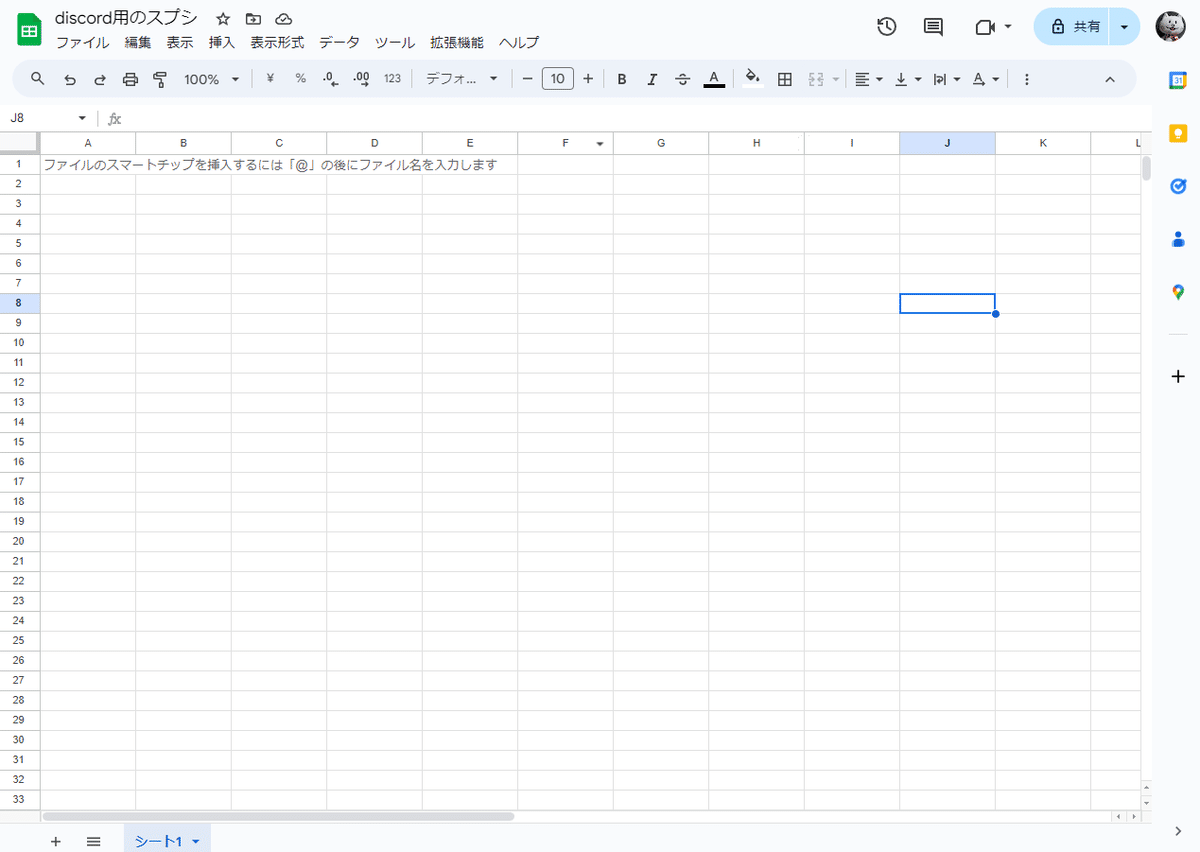
適当なスプレッドシートを用意します
共有設定に先ほどコピーしたアドレスを編集者として設定します
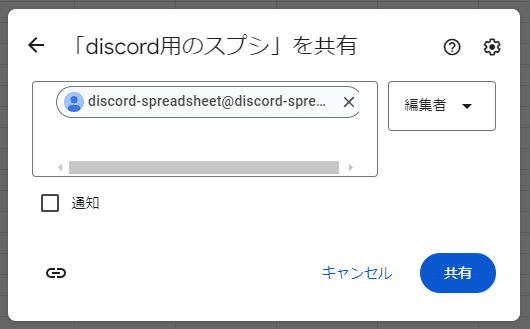
以上でGoogleアカウント側でやることは終わりです
discord botからアクセスしてみよう
毎度のごとくGlitchを使用しています
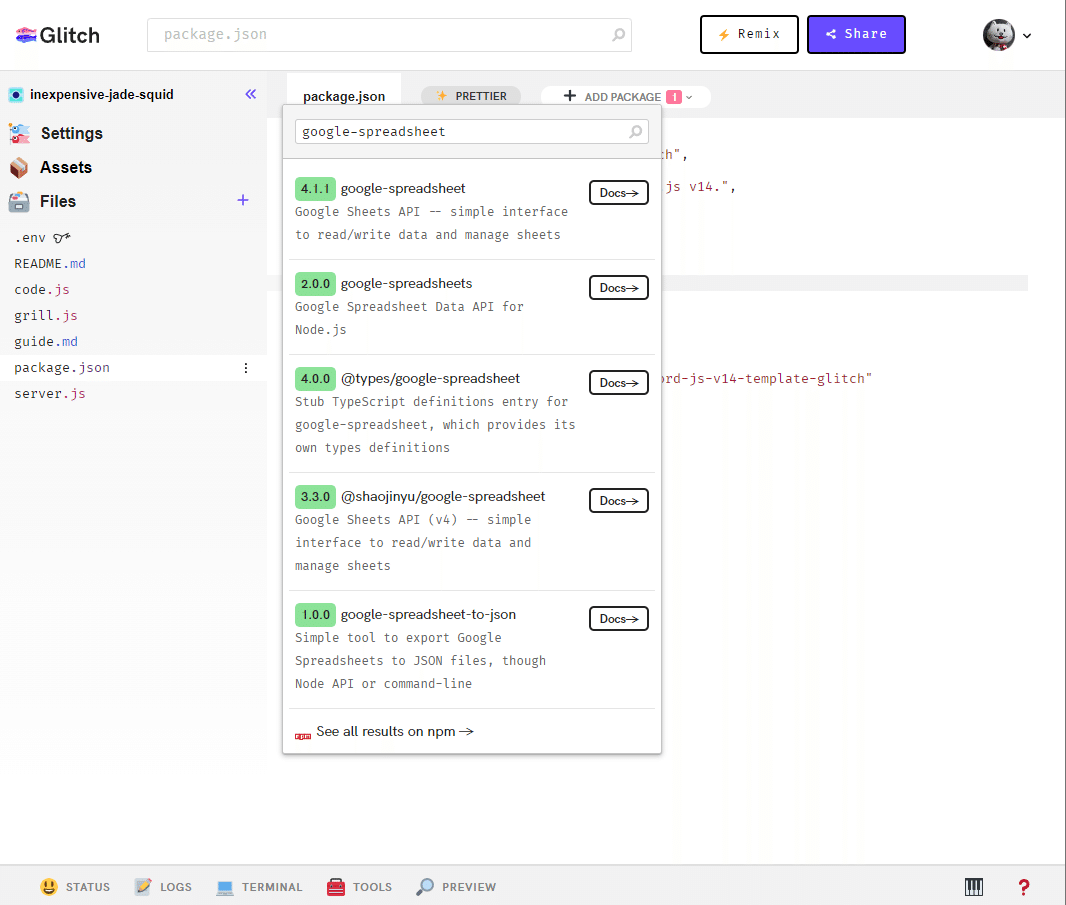
google-spreadsheetのインストール
package.jsonにgoogle-spreadsheetがなければ「ADD PACKAGE」からインストール
後述しますが使用するメソッドがv4.1.1だと使えないのでv3.3.0にダウングレードしています
Glitchの場合だとpackage.jsonのバージョンを書き換えて保存すると勝手に更新してくれます
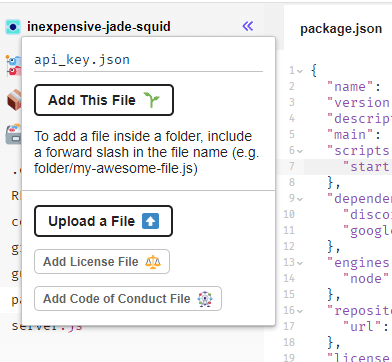
jsonファイルの作成
生成したjsonファイルをコピペする用のファイルを作成します
拡張子がjsonであればファイル名は何でもOK
ファイルを作成したらjsonの中身をコピペします
ソースに読み込む
魔法のコード召喚
const {
  ~中略~
} = require("discord.js");
const client = new Client({
  intents: [
    ~中略~
  ],
});

// スプシのモジュールを読み込む
const { GoogleSpreadsheet } = require('google-spreadsheet');
// APIキーを読み込む
const API_KEY_JSON = './api_key.json';
const CREDS = require(API_KEY_JSON);
// 読み書きしたいスプシのIDを「xxxxx」に書く
const doc = new GoogleSpreadsheet('xxxxxxxxxxxxxxxxxxxxxxxxxxxxxxxxxxxxxx');
実際に呼び出してみる
以前作ったVCに入ったときに通知する機能に+αでスプシにもログをつけてみます
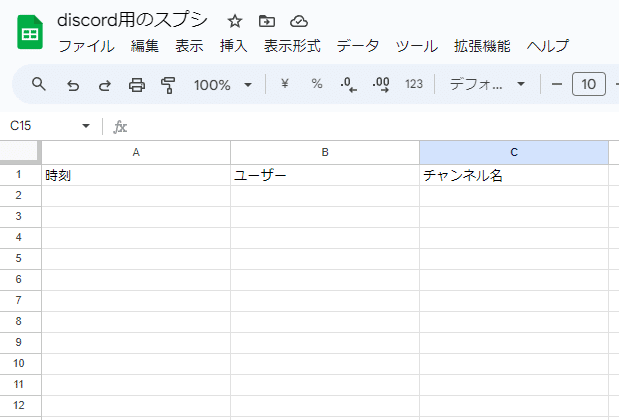
スプシにヘッダーを作っておきます
何でもいいので「時刻」「ユーザー」「チャンネル名」としてみます
次にソースに追記していきます
コメントアウトで色々補足しておきます
// awaitを使うので「async」をつけます
client.on("voiceStateUpdate", async (oldState, newState) => {
  if (oldState.guild.id !== GUILD) return;
  const channel = oldState.member.guild.channels.cache.get(CHANNEL);

  // 例外スローのためのtry catch
  try {
    // スプシ読み込み
    // useServiceAccountAuthはv4.1.1だと使えなかったのでv3.3.0にダウングレードしました
    await doc.useServiceAccountAuth(CREDS);
    await doc.loadInfo();
    // シート名を配列に指定
    const sheet = doc.sheetsByTitle['シート1'];

    // 日付
    const date = new Date().toLocaleString('ja-JP', { timeZone: 'Asia/Tokyo' })

    if (oldState.channelId === null && newState.channelId !== null) {
      let message = '@everyone \n'
        + newState.channel.name + 'に' + oldState.member.user.tag + 'さんが入室しました\n';

      // データをスプレッドシートに追加
      // オブジェクトのキーはスプシのヘッダーの項目にすること
      await sheet.addRow({
        時刻: date,
        ユーザー: oldState.member.user.tag,
        チャンネル名: newState.channel.name,
      });

      return channel.send(
        message
      );
    } else if (oldState.channelId !== null && newState.channelId === null) {
      return channel.send(
        `**退出** ${newState.member.user.tag}さんが退出しました。`
      );
    }
  } catch (error) {
    // 例外エラー用
    console.error('Error recording message:', error);
  }
});
VCに入ってみよう
適当なVCに入ります。
前回同様テキストチャンネルに通知が入っています

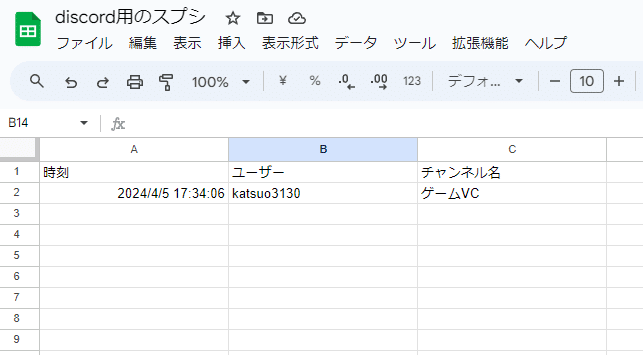
スプシも確認してみます
同じタイミングで記録されています
以下の記事はスプシの書き込みを応用して作りました
おしまい
やってみれば簡単なので活動ログなどが必要な場合はぜひやってみてください
小規模なサーバーでの使用はあまり問題ないですが、APIのリクエストには制限があったと思うので人数が多いサーバーで使うのには注意が必要です
おわり
いいなと思ったら応援しよう!