[ロボ実験記録] ROS2でロボットアーム(CRANE-X7)の動作テスト
概要
ROS2 (robot operating system)を使って、ロボットアームを動かします
ロボットアーム(CRANE-X7)を使います
日本の会社が開発しており、サンプルコードやドキュメントが多々あるのが嬉しい点です
実機は99万円しますが、シミュレータは無料です。
セットアップ
はじめに、前回の記事などを参考に、ubuntuにros2を入れておきます。
次に、gitを参考にcrane-x7のモジュールを入れます(ROS2のbranchを選ぶこと)。
関連app関連
sudo apt install git
sudo apt install python3-rosdep
sudo apt install colcon
パッケージのダウンロード
mkdir -p ~/ros2_ws/src
cd ~/ros2_ws/src
git clone -b ros2 https://github.com/rt-net/crane_x7_ros.git
git clone -b ros2 https://github.com/rt-net/crane_x7_description.git
依存関係のあるパッケージの追加
git clone -b humble https://github.com/ros-controls/gz_ros2_control.git
rosdep install -r -y -i --from-paths .
ビルド
cd ../
colcon build --symlink-install
インストール (~/.bashrcに追加した方が楽かもしれません)
source ~/ros2_ws/install/setup.bash動作テスト
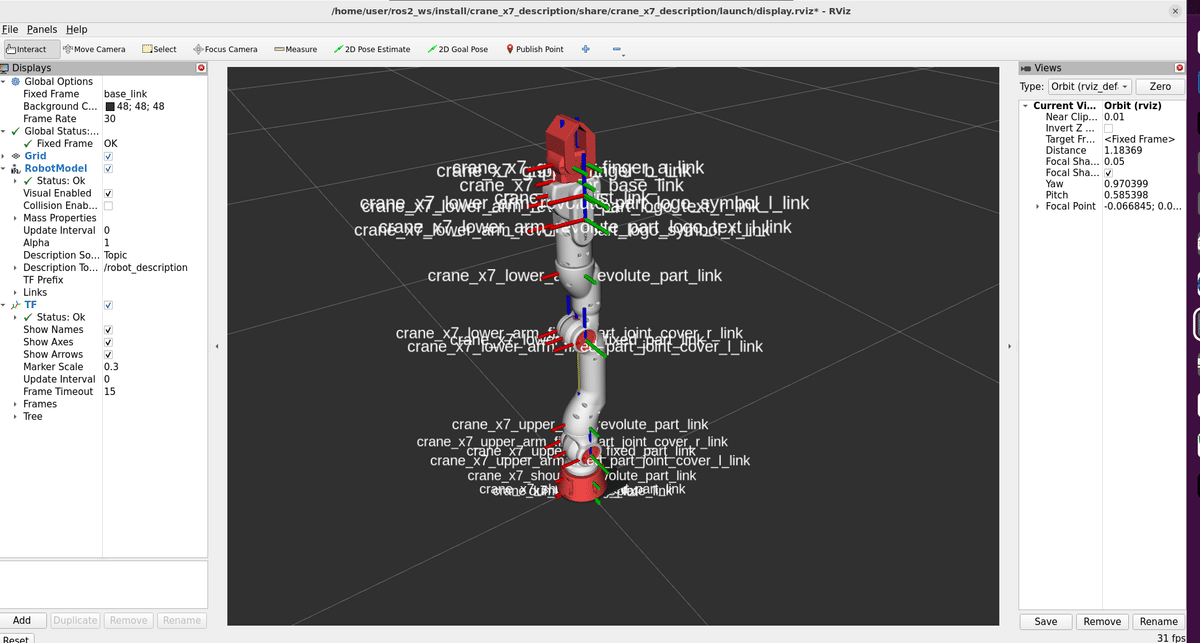
モデルの表示
ros2 launch crane_x7_description display.launch.py
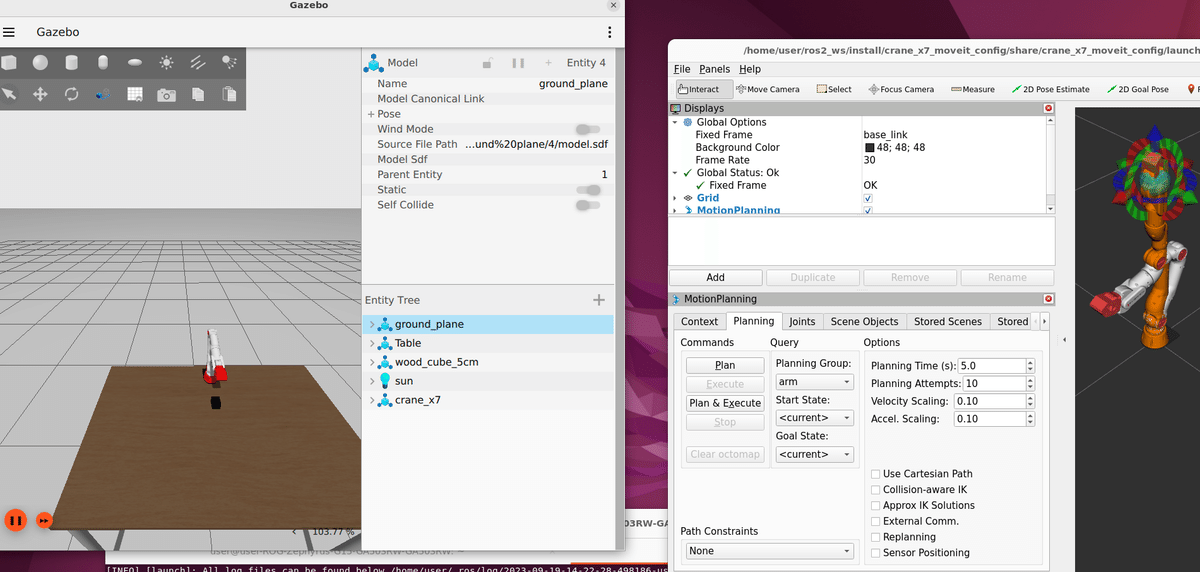
3Dシミュレータ(Gazebo)上での動作確認
まずはGazeboを起動しておきます。
ros2 launch crane_x7_gazebo crane_x7_with_table.launch.py
この状態で、アーム制御プログラムを走らせてみます(こちらにサンプルコード集)。
グリッパの開閉
ros2 launch crane_x7_examples example.launch.py example:='gripper_control' use_sim_time:='true'アームの上下
ros2 launch crane_x7_examples example.launch.py example:='pose_groupstate' use_sim_time:='true'ピックアンドプレース
ros2 launch crane_x7_examples example.launch.py example:='pick_and_place' use_sim_time:='true'以下のような感じに動けばOKなようです。
ros2 + gazebo + crane-x7の練習(simulator) pic.twitter.com/b0YwQjhW45
— 畠山 歓 Kan Hatakeyama (@kanhatakeyama) September 18, 2023
実機の利用
実機もわりと簡単に動かせました。
アームをusb接続した後、ポートを調べます。
ls /dev/ttyUSB*「ttyUSB0」などと表示されるはずです。
次に、このポートの権限を変更します。
sudo chmod 666 /dev/ttyUSB0あとはROSを動かすだけです。
通信の待機(起動したままにする)
ros2 launch crane_x7_examples demo.launch.py port_name:=/dev/ttyUSB0ピックアンドプレース(別のターミナルで実行)
ros2 launch crane_x7_examples example.launch.py example:='pick_and_place'実機も動きました。
— 畠山 歓 Kan Hatakeyama (@kanhatakeyama) September 18, 2023
dobot magicianと比べると、流石に迫力があります。 https://t.co/f6llt9ZbUB pic.twitter.com/VpoNnWTPon
サンプルでは、深度カメラ(realsense)をつかったプログラムもあります。
深度カメラ付きの時の待機コマンド
ros2 launch crane_x7_examples demo.launch.py port_name:=/dev/ttyUSB0 use_d435:=true物体検出をしてpick and place ※
ros2 launch crane_x7_examples camera_example.launch.py example:='point_cloud_detection'※ 深度カメラのマウンタがあるので、これを3Dプリンタで印刷して取り付ける必要があります(取り付けが結構、大変そうです。試行錯誤中)。
適当に両面テープで固定したら、諸々失敗しました。
両面テープで深度カメラを固定しきれなかった動画
— 畠山 歓 Kan Hatakeyama (@kanhatakeyama) September 19, 2023
(固定位置も雑なので、モノを掴めていない) pic.twitter.com/95QvUxl7Wy
