
PHPによるZoom APIの実装例(第1回(全4回))

第1回:Server-to-Server OAuth認証の方法、Zoom IDの取得
1.前提
Zoom APIを利用して
・Zoom会議参加者一覧の表示
・今後予定されているZoom会議一覧の表示
・Zoom会議の登録
など、色々なことができます。
その他、Zoom APIで何ができるかは、Zoom APIのドキュメントを参照するとわかりやすいです。
https://developers.zoom.us/docs/api/
Zoom APIを呼び出すにはZoom側で認証が必要となります。
認証の種類はJWT、OAuth、Server-to-Server OAuthとありますが、
2023年9月1日以降はJWTアプリタイプの認証が無効になるため、
ここではServer-to-Server OAuthでの説明をしていきます。
また、PHP環境構築済み、Zoomアカウント作成済みを前提として説明をします。
2.Marketplaceへの登録
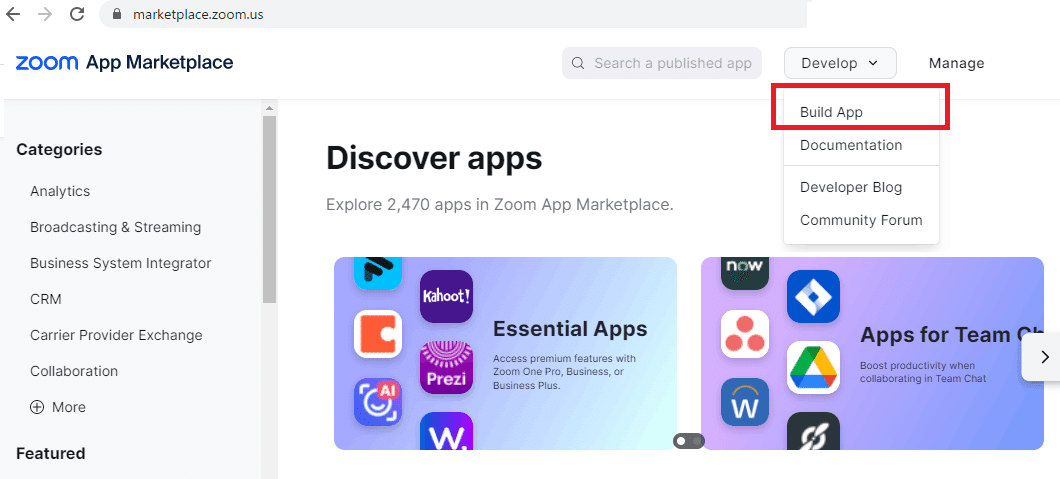
(1)Zoom AppMaketplaceにサインインします。
サインイン後、Developのドロップダウンリストから「Build App」をクリックします。
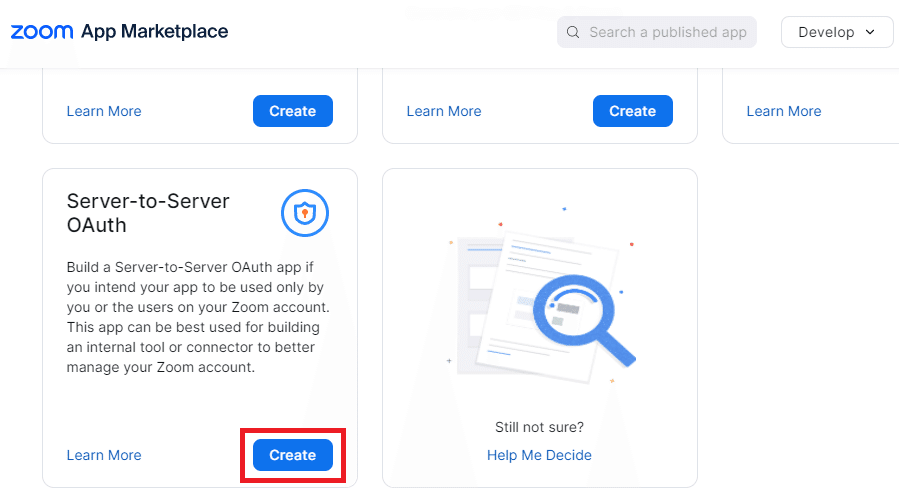
(2)Server-to-Server OAuthの「Create」をクリックします。
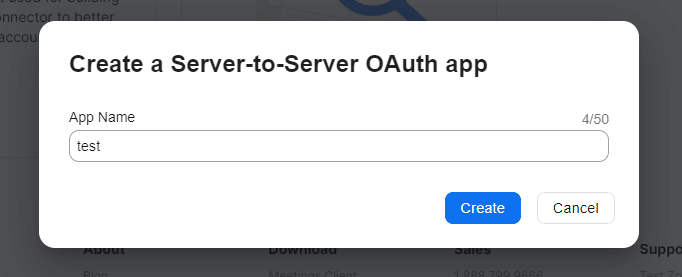
(3)App Nameにアプリケーションの名前を入れ、Createをクリックします。(何でもよいです)
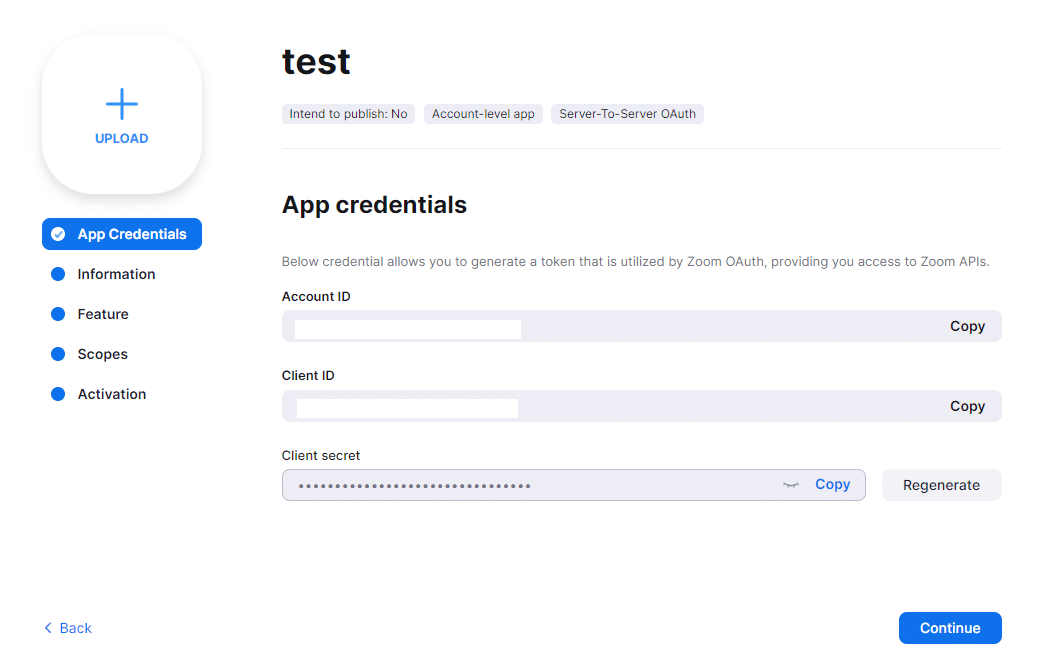
(4)Account ID, Client ID, Client secret をそれぞれコピーしてメモ帳にでも控えた後(後で使います)、Continueをクリックします。
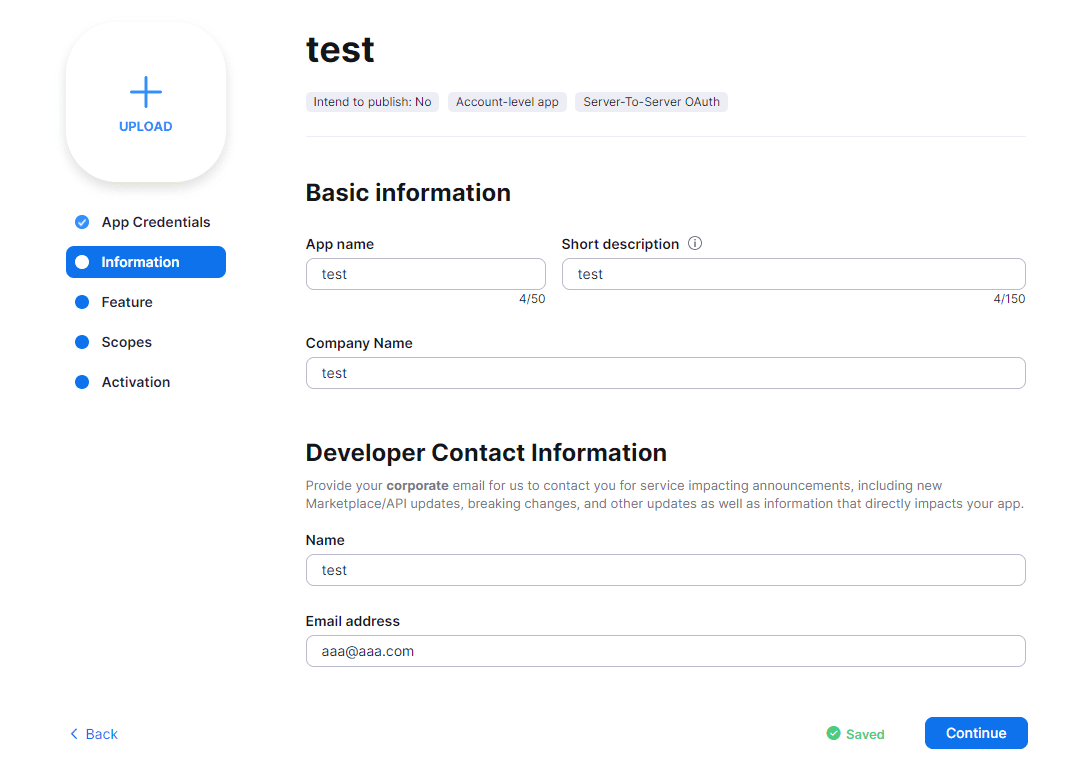
(5)テキストボックスに必要な情報を入れます。メールアドレスは、Zoomにサインインするアカウント用のメールでよいかと思います。
入力が終わったらContinueをクリックします。
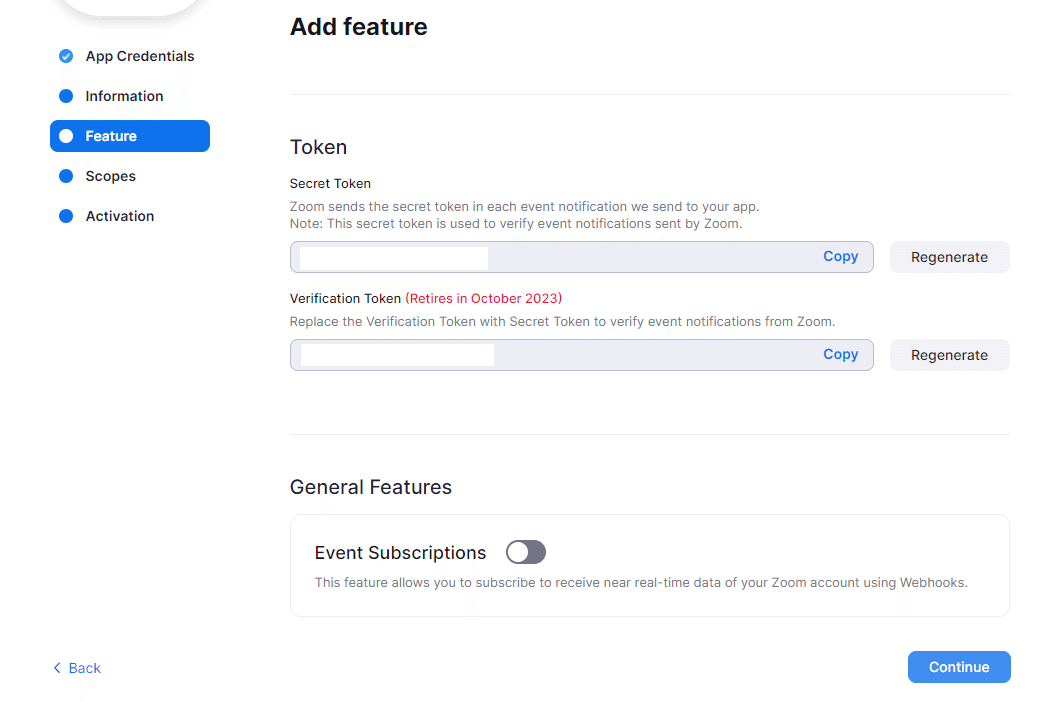
(6)次はそのままContinueでよいです。
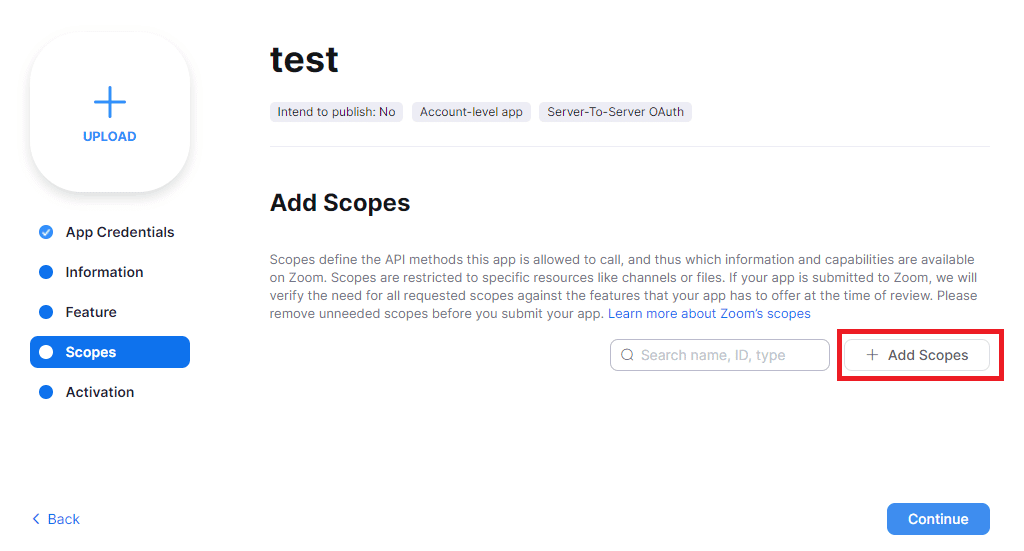
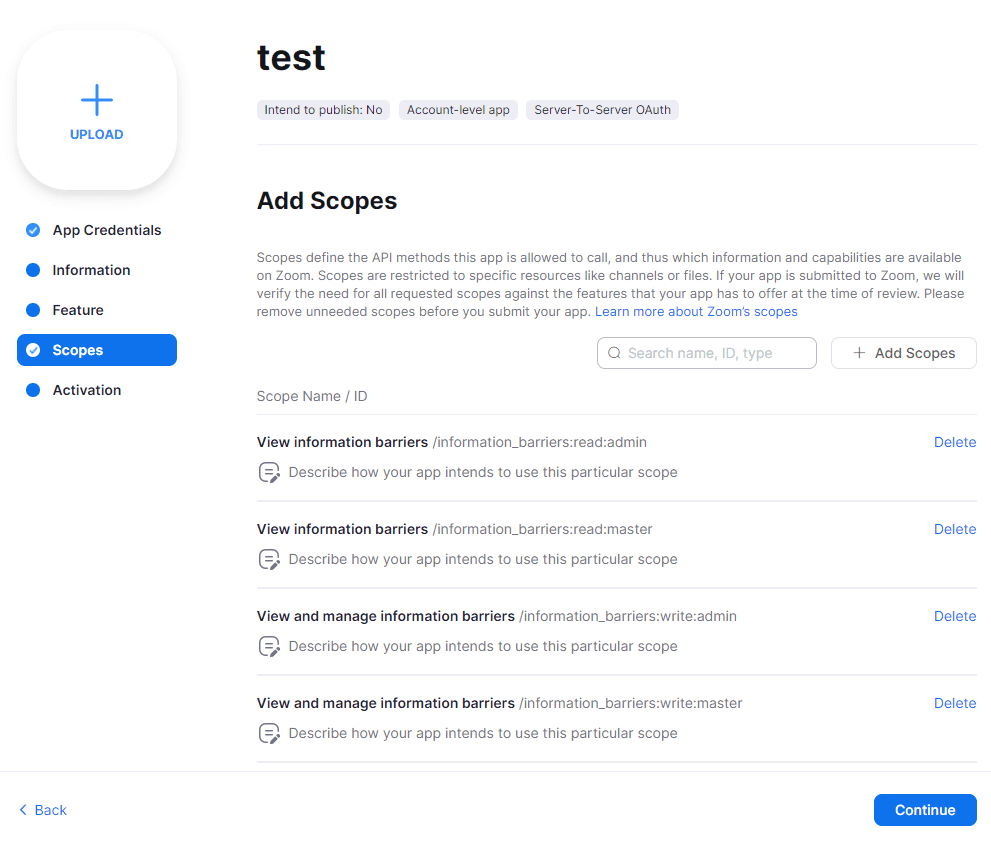
(7)Add Scopesをクリックします。
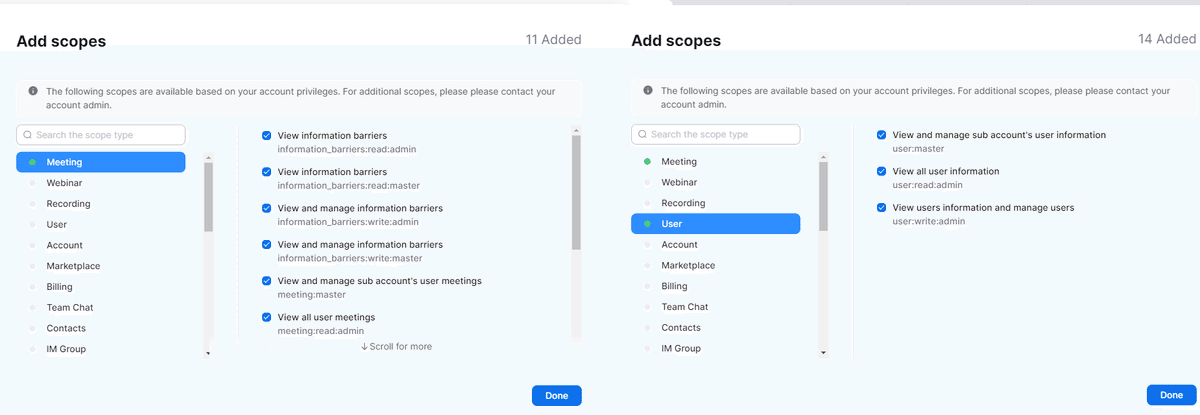
(8)とりあえず今回は、MeetingとUserの項目をチェックしておきます。
この辺りは使用するAPIによって変わってくるかと思います。
チェックしたらDoneをクリックします。
(9)そのままContinueでよいです。
(10)Activate your appをクリックします。
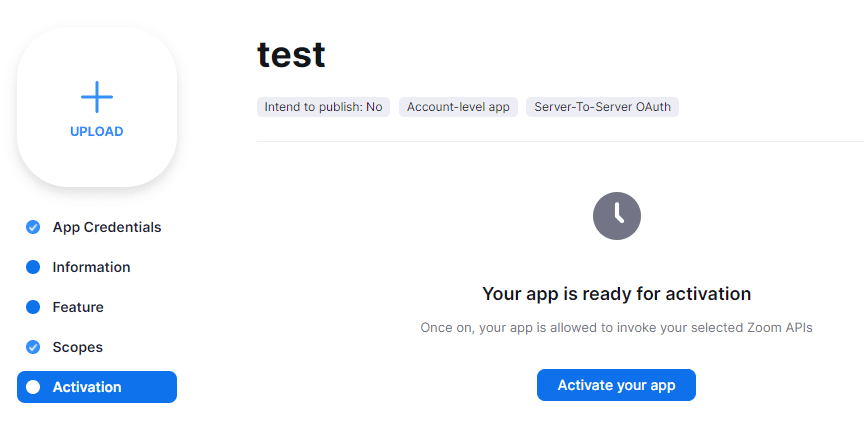
これでMarketplaceへの登録は完了です。
3.ZoomIDの取得
Zoom APIを利用するにはZoomのIDを特定する必要があります。
IDとは、サインインに利用するメールアドレスとは別に内部で持っているユニークなキーとなります。
下記ページにある"id" になります。
https://developers.zoom.us/docs/api/rest/reference/zoom-api/methods/#operation/users
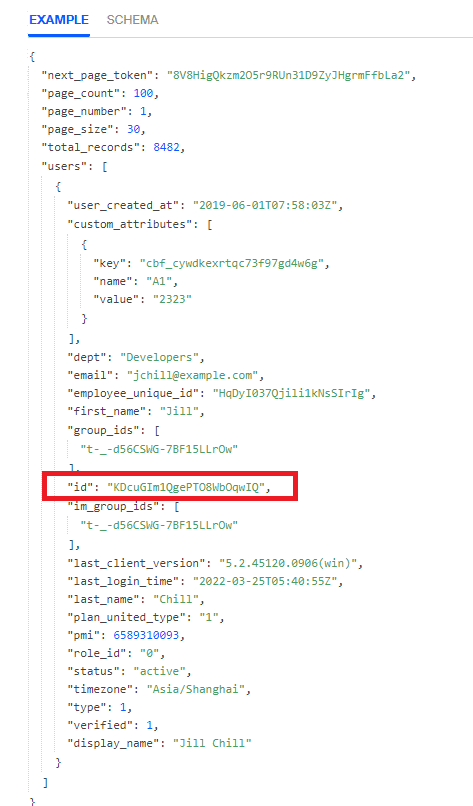
この"id"を指定して、対象のZoomアカウントに対するAPI操作を行うことになりますので、"id"を取得しましょう。
流れとしては、
(1)Server-to-Server OAuth認証にてトークンを発行する
(2)発行されたトークンを利用して、Zoom APIのList usersからidを取得する
ことになります。
コード
この記事が気に入ったらチップで応援してみませんか?