
Streamlit standalone executable 1.18.1

現時点のStreamlit最新版である1.18.1でexe作成をしたい.cli.pyを作成する必要がなくなったため,手順が簡単になっている.すでにまとめてくださっている方々がいらっしゃるので,再現を目的に踏襲してやっていく.
手順
1.pycharmエディタで適当にプロジェクト作製.今回はstreamlit_standalone_executable1.18.1というフォルダにvenvでプロジェクトを作成.
2.必要なパッケージのインストール.
・streamlit 1.18.1
・pyinstaller 5.7
3.任意のapp作成.簡単な以下のコードをexeにする.
main.py
import streamlit as st

if __name__ == '__main__':
    st.header("Streamlit Standalone Executable 1.18.1")
4.main.pyを実行するための,run_main.pyを作成.
run_main.py
import streamlit.web.cli as stcli
import os
import sys

def streamlit_run():
    src = os.path.dirname(sys.executable) + '/main.py'
    sys.argv=['streamlit', 'run', src, '--global.developmentMode=false']
    sys.exit(stcli.main())

if __name__ == "__main__":
    streamlit_run()
5.streamlit_standalone_executableのフォルダ内にhooksというフォルダを作成し,hook-streamlit.pyを作成.
hook-streamlit.py
from PyInstaller.utils.hooks import copy_metadata
datas = copy_metadata('streamlit')
6.1回目のpyinstaller.ターミナルで下記を実行.
pyinstaller --onefile --additional-hooks-dir=./hooks run_main.py --clean7.run_main.specができるので,下記に書き換える.iconなどは必要に応じて加える.今回はテストも兼ねて,snowflakeというiconをつけてみる.
run_main.spec
# -*- mode: python ; coding: utf-8 -*-
import site
import os

block_cipher = None

assert len(site.getsitepackages()) > 0

package_path = site.getsitepackages()[0]
for p in site.getsitepackages():
    if "site-package" in p:
        package_path = p
        break

a = Analysis(
    ['run_main.py'],
    pathex=[],
    binaries=[],
    datas=[(os.path.join(package_path, "altair/vegalite/v4/schema/vega-lite-schema.json"), "./altair/vegalite/v4/schema/"),
        (os.path.join(package_path, "streamlit/static"), "./streamlit/static"),
        (os.path.join(package_path, "streamlit/runtime"), "./streamlit/runtime")],
    hiddenimports=[],
    hookspath=['./hooks'],
    hooksconfig={},
    runtime_hooks=[],
    excludes=[],
    win_no_prefer_redirects=False,
    win_private_assemblies=False,
    cipher=block_cipher,
    noarchive=False,
)
pyz = PYZ(a.pure, a.zipped_data, cipher=block_cipher)

exe = EXE(
    pyz,
    a.scripts,
    a.binaries,
    a.zipfiles,
    a.datas,
    [],
    name='run_main',
    debug=False,
    bootloader_ignore_signals=False,
    strip=False,
    upx=True,
    upx_exclude=[],
    runtime_tmpdir=None,
    console=True,
    disable_windowed_traceback=False,
    argv_emulation=False,
    target_arch=None,
    codesign_identity=None,
    entitlements_file=None,
    icon=['snowflake.ico'],
)
8.ここまできたら,ディレクトリ構成は下記のようになっているはず.
streamlit_standalone_executable1.18.1
|- .idea - ...
|- build - ...
|- dist - run_main.exe
|- hooks - hook-streamlit.py
|- venv - ...
|- main.py
|- run_main.py
|- run_main.spec
|- snowflake.co
二回目のpyinstallerで,下記をターミナルから実行.
pyinstaller run_main.spec --clean9.windows + R で ie4uinit.exe -showを実行してiconをリフレッシュしよう.すると下記のようにdistにexeが完成する.

10.distにstreamlitのconfigファイルを作成する.
distに.streamlitフォルダを作成後,下記をconfig.tomlとして作成.今回はデザインを指定してみるので,色やフォントを指定.
config.toml
[theme]
primaryColor="#710039"
backgroundColor="#FAF4E6"
secondaryBackgroundColor="#DAD1C9"
textColor="#484848"
font="sans-serif"

[global]
developmentMode = false

[server]
port = 8533
11.exeを起動.完成.これで最新のAPIを使用できるようになった.しかし,sidebarの幅の調整といった,一部のhtmlコマンドは効かなくなっている.将来の改善を期待.
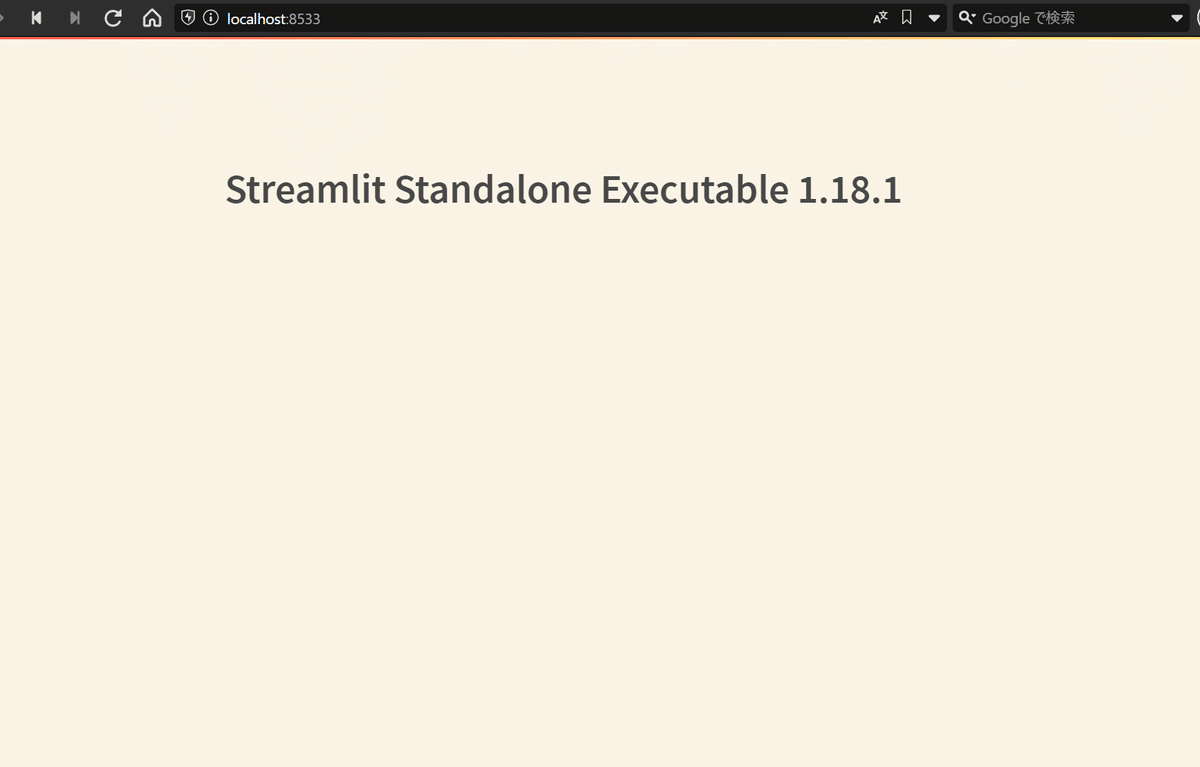
最終的なディレクトリ構成は下記になっている.
streamlit_standalone_executable1.18.1
|- .idea - ...
|- build - ...
|- dist - run_main.exe
        - .streamlit - config.toml
        - main.py
|- hooks - hook-streamlit.py
|- venv - ...
|- main.py
|- run_main.py
|- run_main.spec
|- snowflake.ico