
Undefeated Jiren 8-0 at 250 players regional, 5-0 online regional guide

Hello guys, I'm IceLoom, a DBS Fusion World player who has had a lot of success at recent events with my Jiren playstyle, finishing undefeated both at the online regional and in-person regional Swiss.
I apologize for this guide being in English only, but I currently do not speak any Japanese.
I stream every day on the following Twitch channel, where I mostly speak Italian, but I also answer any questions in English.
Why Jiren?
First things first, why did I focus on testing and playing this leader?
Jiren is consistent. Probably the most consistent deck of the format. Always having tons of cards in hand ensures you're never missing a good play on curve, and as the game progresses, you build up your hand size even more to 14/15+. The sheer number of options to deal with both standard and unexpected plays is unmatched.
Jiren is durable. Good luck finishing off a Jiren player. With a 10+ card hand, a 25k body, ToP Arena on board, drawing on every damage, and being immune to Double Strike if 30k+ is on board, Jiren can deflect attacks with the SR 4-cost Jiren and draw at the same time. This leader is a beast when it comes to defense: most of the time, the opponent won't risk an all-in unless cornered. With the meta consisting mostly of 30k attackers, this leader is so good at blocking those by using only one card if needed. You can get away with playing a list with less combo power than usual since, post-awakening, you get a virtual 5k free combo on every attack compared to the usual 20k body leaders.
Jiren is always a threat. Did you think being super good at defense makes this leader a punching bag? Think twice. This is one of the best offensive leaders too, going for a 170k+ lethal turn thanks to a big hand size, Marcarita, and Double Strike/3-cost ToP Vegeta. As soon as the opponent drops to 3 HP (achievable in many different ways, but mostly through Sphere of Destruction), they're in lethal range. If they take another attack and drop to 2, they're most likely dead the following turn. Never underestimate the offensive power of Jiren: every opponent needs to be extra careful not to get obliterated by the absurd amount of combo power this deck can dish out.
Jiren is red. And we all know how much Bandai loves this color. A lucky Kefla draw by turn 4 can snowball the game by itself. The elephant is INSANE in this metagame: so many good hits, the tempo and value gain is obscene. There are many strong red cards you might consider playing that are not included in my list, only because I had to make some tough choices and cut it down to 51. I think it's the color with the most tech options out there as of set 3. Sometimes the opponent will play around a card you didn't even include in your list in the first place.
The First Draft (5-0 online event) 1/9
This is the list I decided to play at the online regional event, where I managed to achieve a 5-0 perfect score. I made a couple of videos about my matches, which you can check out on my YouTube channel. This is part 1 of 2:
In depth look at the cards used
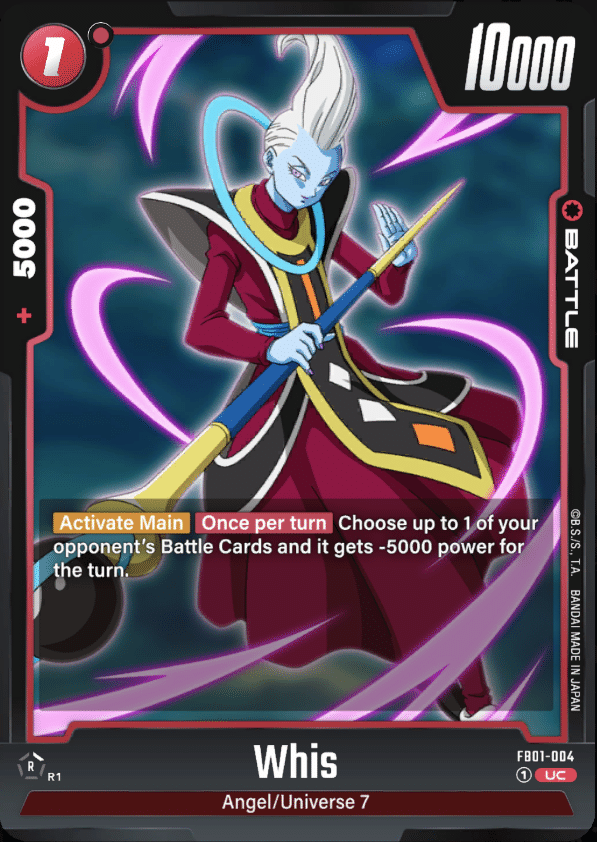
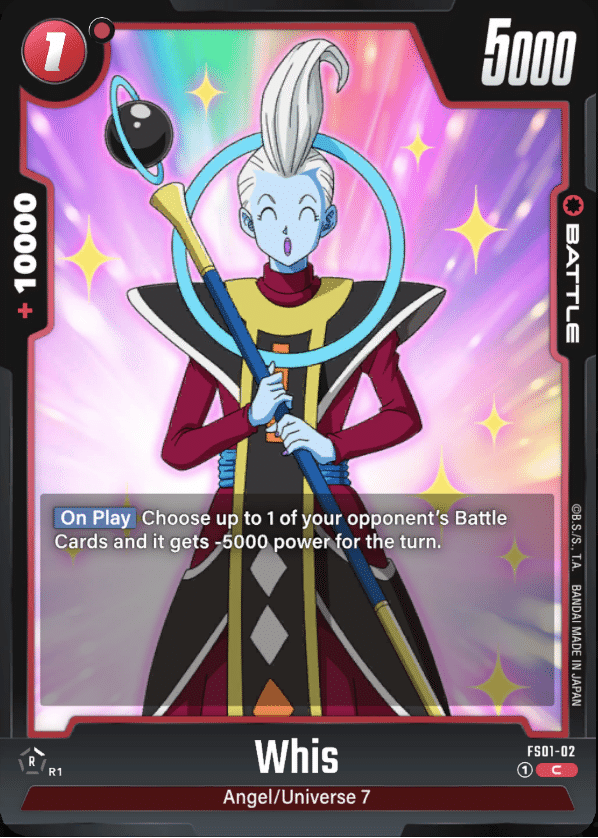
This card is, most of the time, the best play on turn 1 when going second, as it allows for easy removal of the opponent's t1 cantrip. The longer it stays on your board, the more value it generates. The -5k combo power synergizes really well with other removal cards in the list, making it useful even later in the game. It can even be played as a finisher if you need to remove a 5k or +10k combo power card from your opponent's board.
Its 10k base stats mean it can swing easily for 15k pre-flip, and it's an okay choice to split lethal on the last turn.
It's the better Whis early to mid-game, with the only disadvantage being its +5k combo power.
I didn’t include 4 copies because I think 10 t1 plays are enough, and this card really shines when starting second, but most of the time, you want to go first with this list.
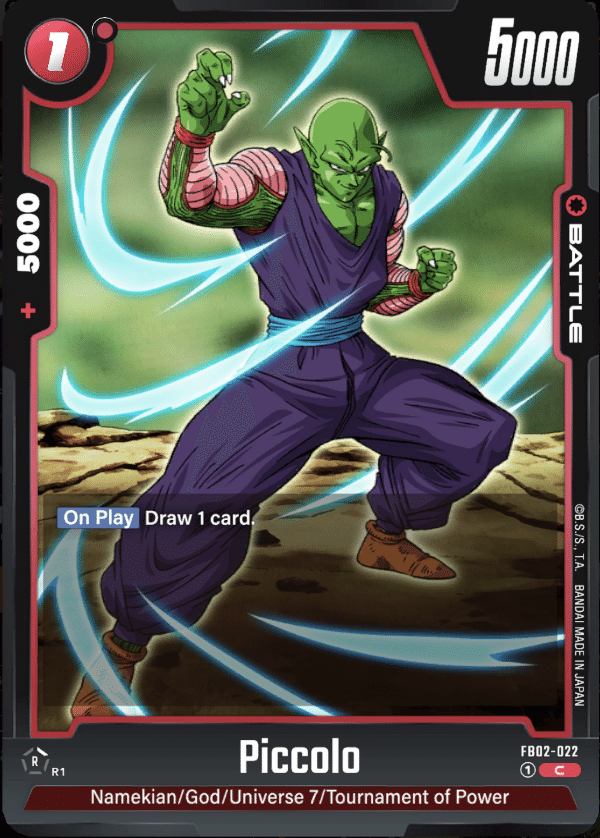
Not much to say about these cantrips — they're the best play on T1 when going first and a solid play when going second. I tried Basil at first, but most of the cards you'd want to see in the first few turns aren't ToP (and yes, Tournament of Power Arena doesn’t have the ToP tag), so I decided to cut them all.
Since the optimal T2 play is usually Arena, I don’t think more than 7 copies are necessary. You could even arguably go down to 6. You have so many strong in-curve options that there's usually no energy left to use on these, but they're a godsend when you're digging for a specific answer or didn’t find your best play.
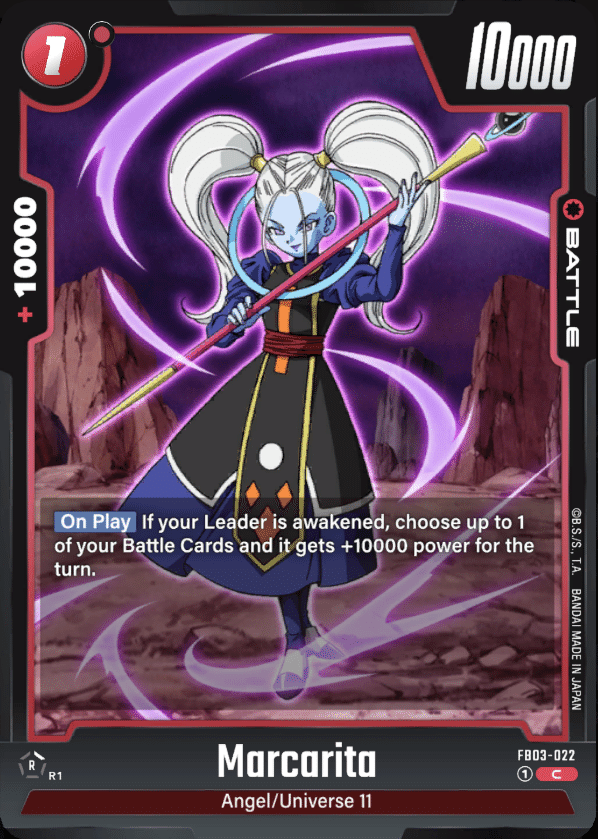
Marcarita is insane: this card alone enables all-in plays, either by hitting for 20k or providing 20k combo power. It’s your opponent's worst nightmare. I usually call it an offensive Super Combo because it only blocks for 10k on your opponent's turn but contributes 20k combo power on your turn.
I cut it down to 3 copies because it’s only played around your 6/7+ energy turns. The list is already tight, and I'd rather see other +10k combo power cards like Fuwa or Rumsshi in the early to mid stages of the game.
Remember, this card can buff itself to 20k, so keep that in mind when you're going all-in with your opponent at 3 life total.
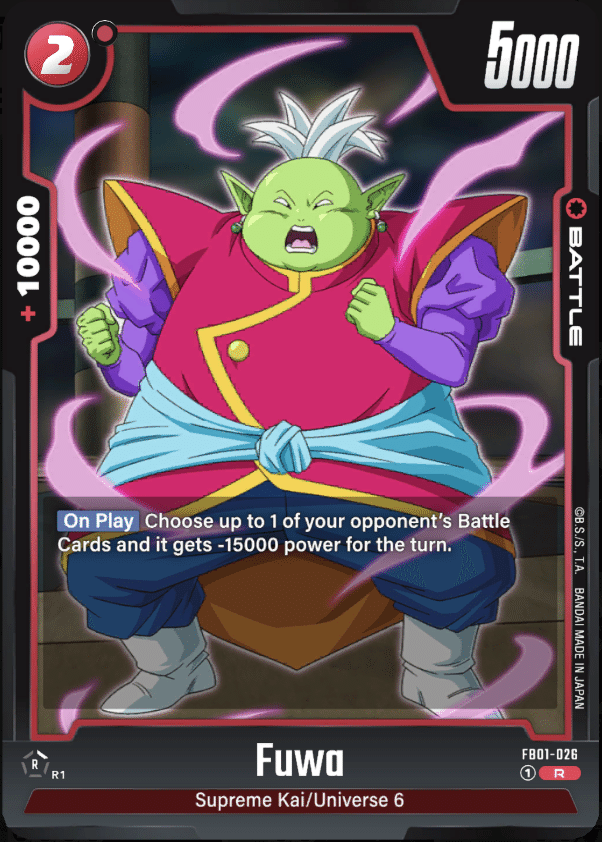
Fuwa is a great removal card that synergizes very well with other -X cards in our list. It’s usually played on turn 2 to deal with an opponent's 2-cost card, or in the midgame to remove a 30k with Gohan or a 40k paired with Vegeta/Sphere of Destruction.
If you get to 7 energy against Green, you can also Fuwa + Rumsshi their Broly. With 10k combo power, it’s never a dead card in hand, so I included 4 copies.
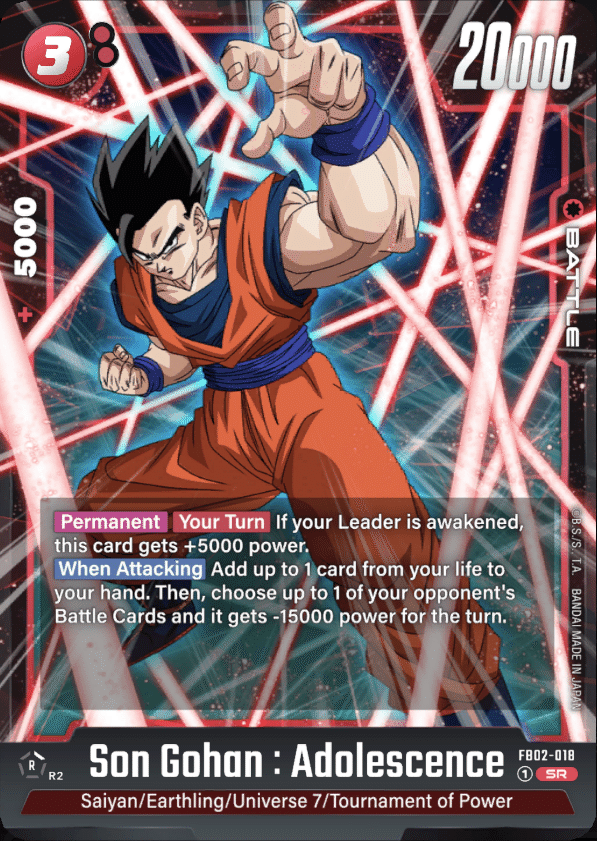
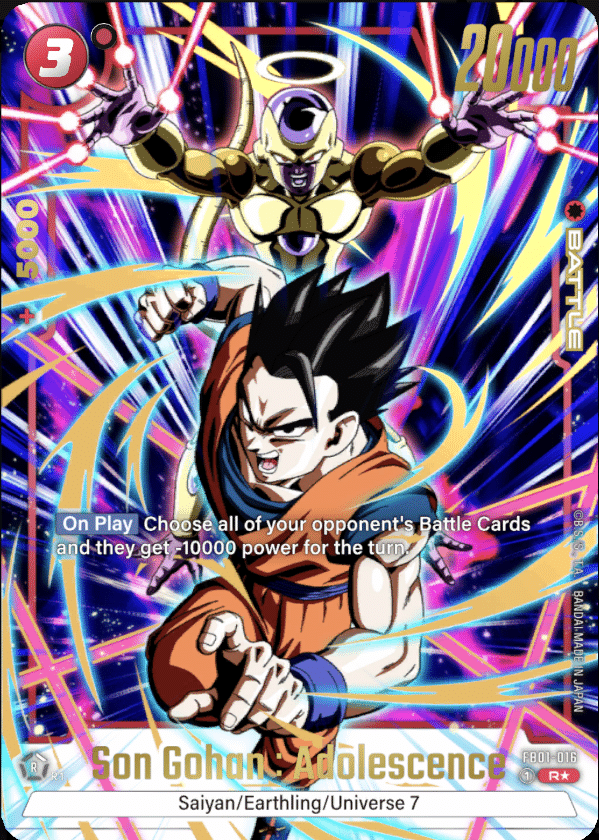
You always want to see this card on turn 3. Especially when going first, you can drop it, swing for 20 at the leader, -15k their 2-cost, and trade it with your cantrip. The -15k effect synergizes well with other cards like Whis, Fuwa, Sphere, and Vegeta. It can be played off Kefla and is the deck's only self-awaken card.
Most of the time, you won’t use its self-harm effect, but there are certain situations (usually when you're at 4 life going into 5 energy on your opponent's turn) where awakening is the best option. Even in those cases, I prefer swinging for 20k and drawing an extra card from the leader’s attack rather than swinging for 25k by flipping on its attack. It’s a core card, so 4 copies are needed.
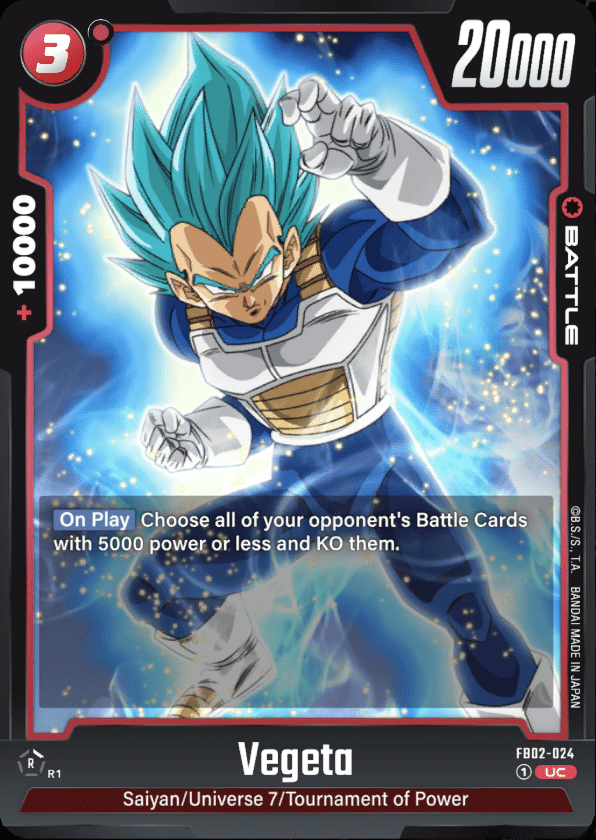
This card is basically a board clear. It’s better than Katopesla when there are more than two 5k cards on the board, or if you don’t want to attack early on to avoid forcing hits on your leader. You can also use it as a 10k combo power to clear the board before going all-in. Katopesla can definitely fill this slot—it’s really a matter of preference.
The 10k combo power is always useful, and I originally played it because it was searchable by Basil in the first draft of the list.
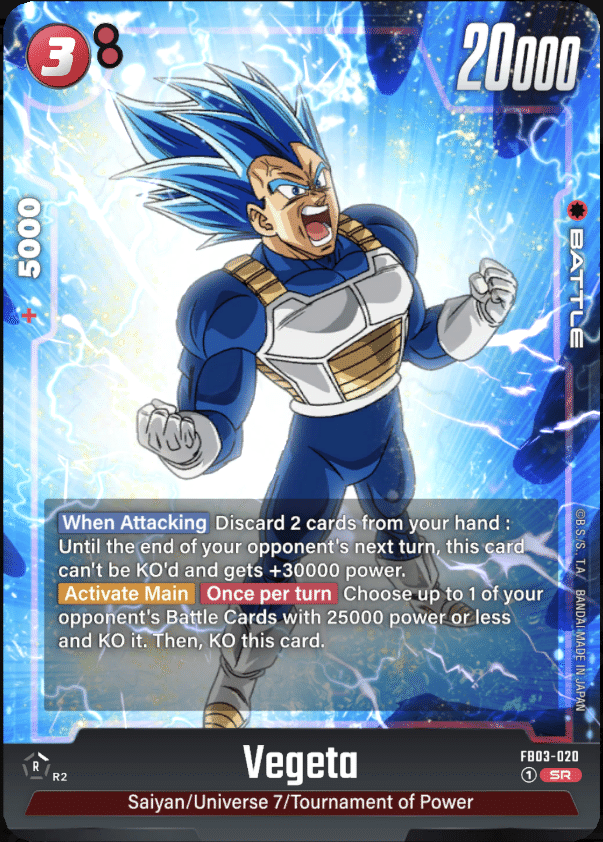
The 3-cost Vegeta puts so much pressure on the opponent. It helps convert dead hands with multiple +0 or +5k combos into +30k combo power while removing a battle card at the same time. It creates mind games when paired with Sphere of Destruction because the opponent can't play around both. If they block all your attacks and stay at 4 life, you can use Sphere; if they take the hit from 4 to 3 to play around Sphere, you just drop this, discard the Sphere and another card, and still destroy a 25k battle card while swinging for 50k.
It’s also a decent play on turn 3 as a 20k swing plus removal for basically any 2-cost card. Once your opponent is at 2 life, they face a tough choice: block every attack and risk losing to a double strike play, or go down to 1 life and face an even worse situation with Vegeta, who can discard the double strike and another dead card while swinging for 50?
I love this card, but I’m not playing 4 copies because I usually only use 1 or 2 at most each game, and it’s just a 5k combo.
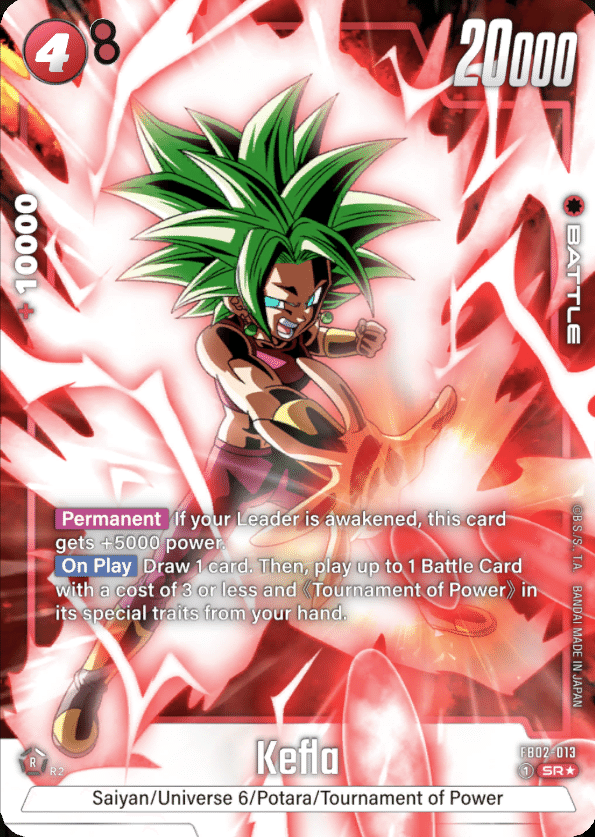
It's limited for a reason. Kefla might not be as strong as in the last set, but it’s still an insane play when you draw it, especially on curve on turn 4. Playing a free 25k body for 1 mana that cycles itself is just so good.
We don’t have that many targets here because I decided to cut most of the ToP package, but both the 3-cost Gohan and 3-cost Vegeta are prime targets. Thanks to its 4-cost, it’s out of range of the 4-cost blue Gohan and the 10x Kamehameha effect.
Always an auto-include in every red deck.
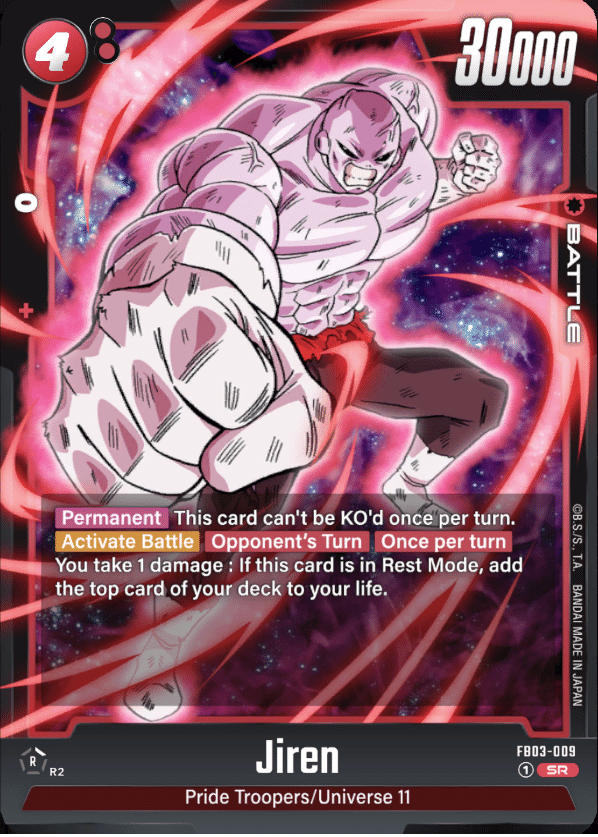
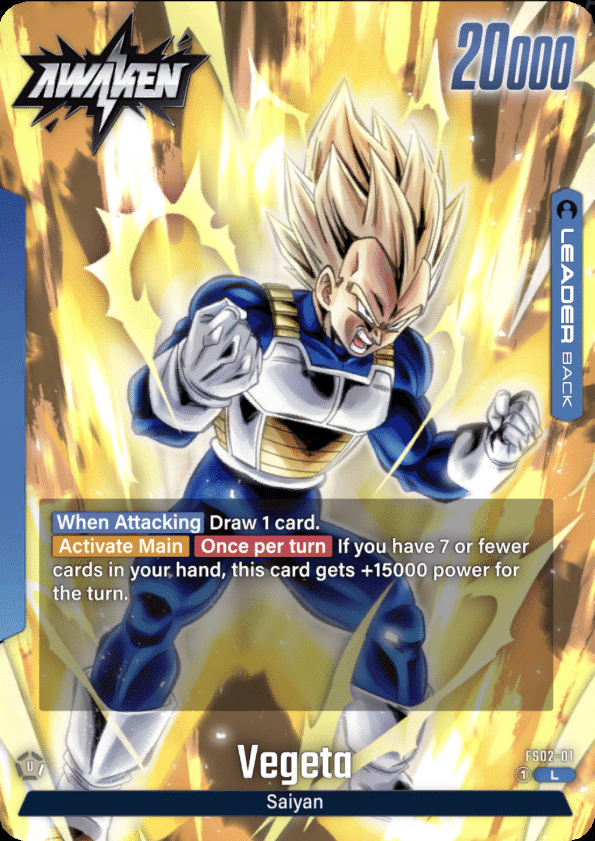
The Jiren card alone auto-wins green and yellow matchups, allowing me to use all the tech slots to deal with blue and black decks. This card is incredibly oppressive if it sticks on the board: it generates +1 or +2 cards a turn, can deflect an attack, and ignores K.O. once per turn. Every top meta deck needs a way to address it; otherwise, it can snowball games very quickly.
It's the mulligan criterion against green, yellow, and red, and it’s the fastest energy charge against blue. In the black matchup, there are some good angles with Jiren if the opponent bricks on a crucial turn, but most of the time, I’m just charging it. Activating his effect while untapped acts as a self-awakener, taking one life but not replacing it.
Most of the time, I don’t swing with the first Jiren of the match to awaken as soon as possible. This is especially decisive against green, where you can even ignore a double strike hit if you’re at 4 life with an untapped Jiren: activate the effect, flip, and the leader's passive prevents you from taking any more damage.

Set 3 is where Rumsshi really shines: there are so many strong 30k cards in the current metagame that you'll rarely find a better 5-cost play. Blue SCR Vegito, Blue 4-cost Gohan, and Black SCR Goku SSJ4 are some of the best cards to pop. The current metagame has developed around one big play per turn, making this card insane in both value and tempo.
Being a 30k power also synergizes with the leader's effect, so I’d never drop it below 4 copies. The 10k combo power is just the icing on the cake.
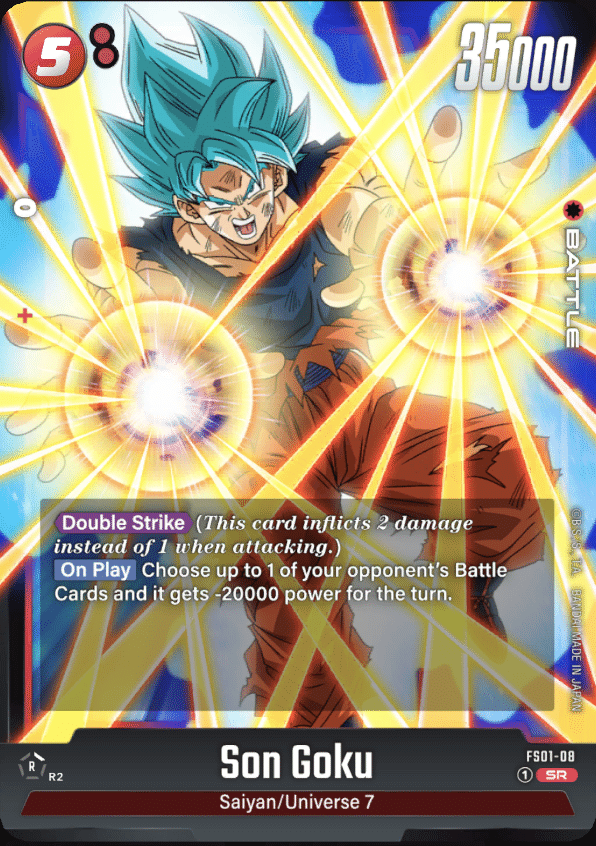
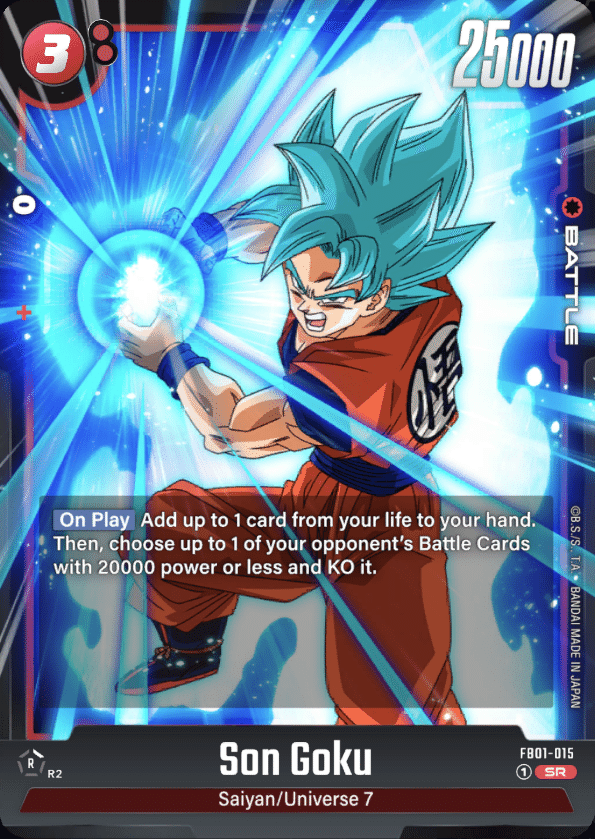
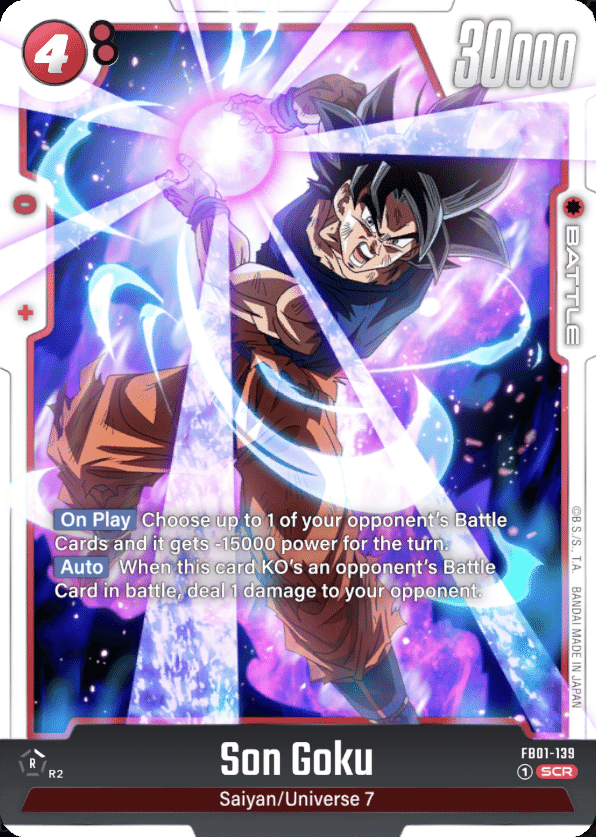
Goku is THE finisher. Paired with Marcarita, he can dish out an insane amount of power to close out the game when the opponent is at 2 or 3 life. The on-play effect helps remove combo power from the board when going for lethal. It’s actually a pretty good play on curve if they're at 5 life and their board consists of small battle cards, but I wouldn’t waste it there unless I have a second copy in hand.
I decided to go with 3 copies because I was worried I wouldn't find it by turn 6 or 7 with only 2 copies, and I think a full playset is a bit too much for most matchups, where you’re primarily playing it as a finisher. When going all-in from 3 life, I'd advise you to learn the 3-way split damage formula; I made a video on my YouTube channel that explains the calculations.
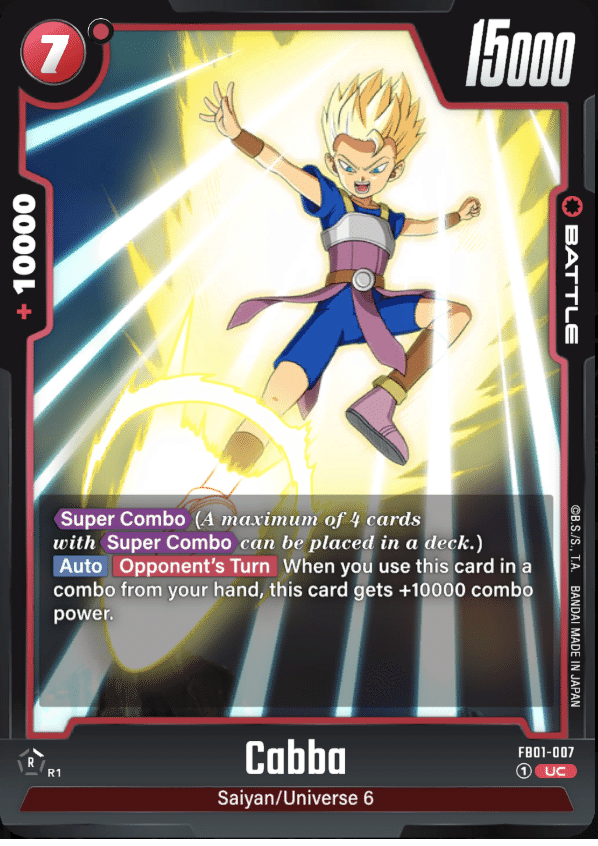
Not much to say about super combos—4x is an auto-include in every list. Surprisingly, this isn’t as critical as for other decks because, most of the time, you’re just going to tank enemy hits or block them with minimal combo power investment, so you’re not as screwed as you might think if you don’t see a lot.
80% of the time, you’re the one all-inning your opponents, so you can consider burning super combos earlier if you need to save a crucial piece.
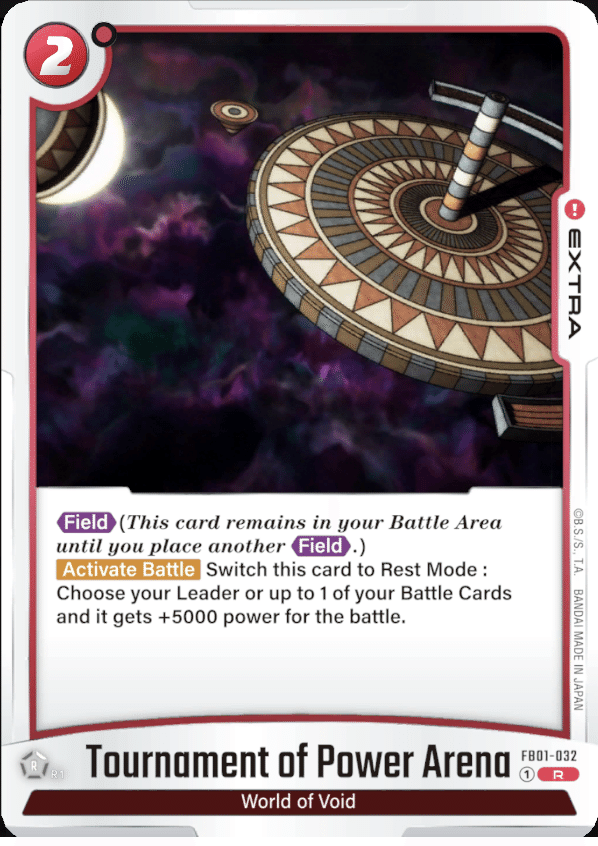
This is the best turn 2 play, especially when starting first.
Free combo power every turn? Yes, please! It helps stall the game until your Rumsshi train starts wreaking havoc, and it’s a powerful offensive tool in the later stages, allowing the Jiren leader to swing for 30k for free.
It's also useful against green, as it can block the C17 leader’s 30k swing at 4-cost Jiren for free every turn. However, don’t block early swings at your leader; you still want to fast awaken! When starting second, it often won't fit on curve because you need to address your opponent's board first. If they brick their turn 2 play and you can safely drop Arena, the game is already won—GG.
I run 4 copies because this is the mulligan criterion when starting first, and I absolutely want to see it by turn 2. Any extra copies drawn can be charged or discarded by Vegeta, so I’m not too worried about having 3 dead cards in my deck.
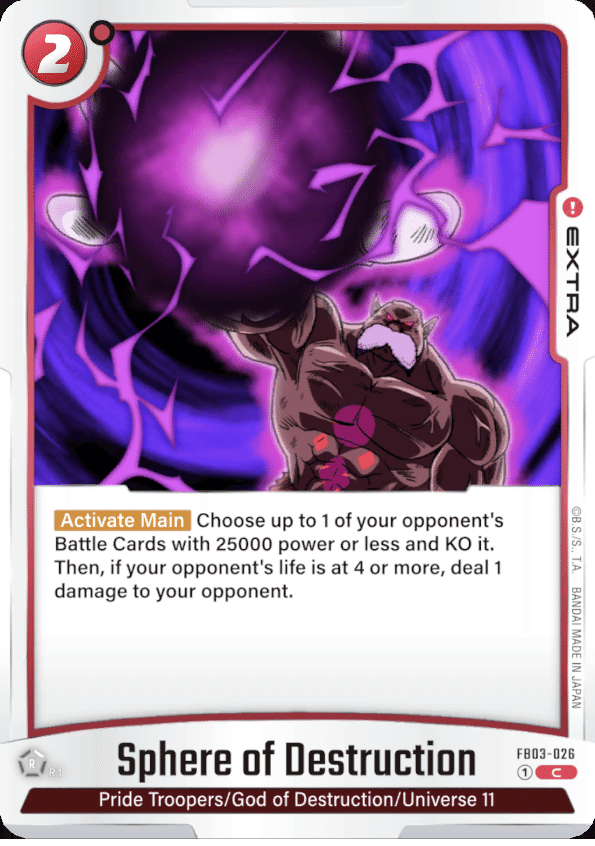
I love this new spell; it’s such a great tool for disruption, especially in the blue matchup. It brings every opponent down to all-in range (3 life) and is super tricky to play around, especially because of the 3-cost Vegeta.
If you have extra copies, you can safely play it as removal in the early game, but try to keep at least 1 copy after your opponent awakens. It messes with blue's hand size, disabling most of their plays on the following turn, including the Vegeta leader's effect. Just by existing, it makes them wary and forces them to adjust their plays to avoid getting punished too hard, sometimes outplaying themselves in the process.
I decided to only play 3 copies because I’m already heavy on +0 combo power cards, and I only want to play it once or twice per game.
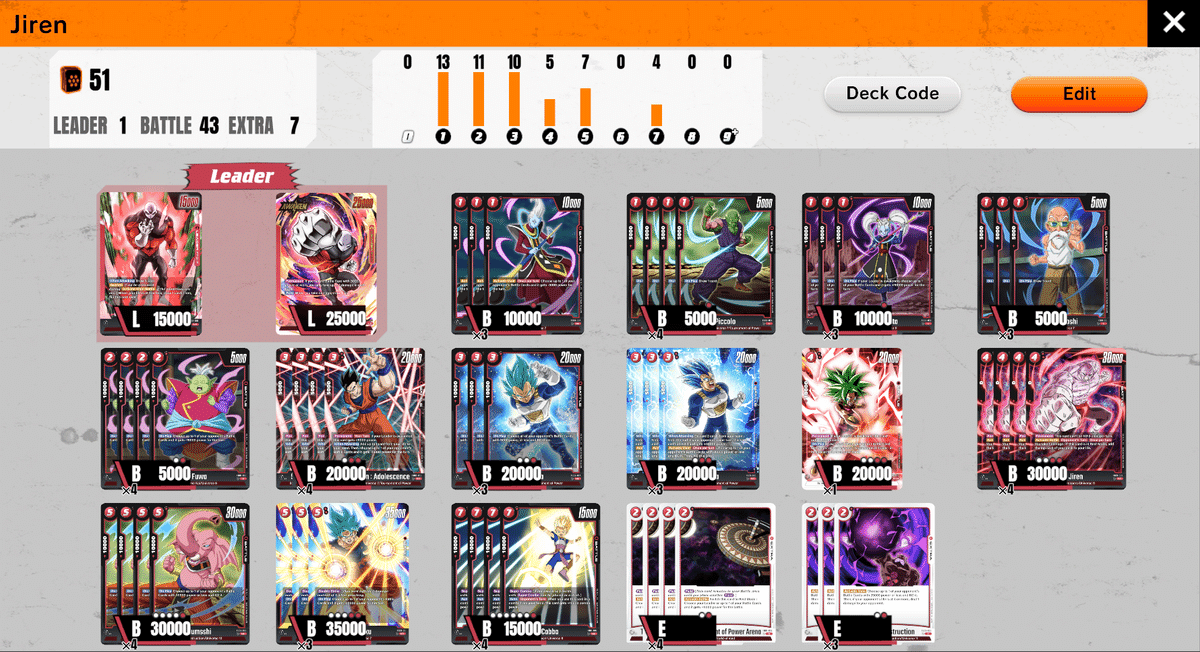
Bologna Regional list (8-0 swiss) 14/9
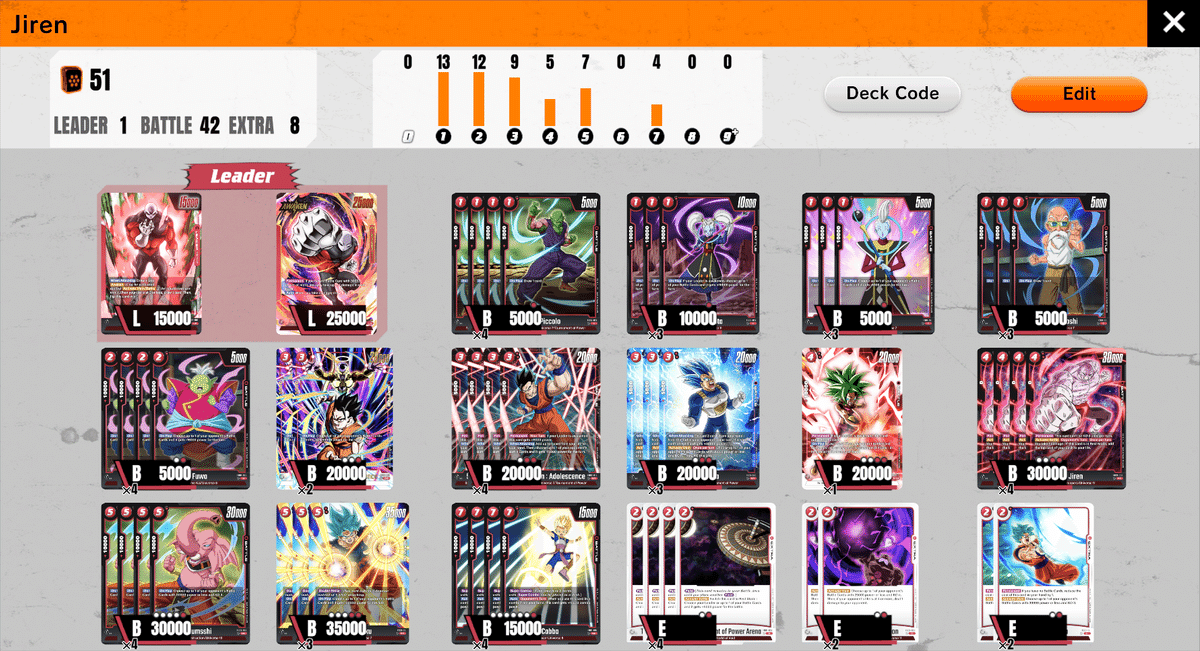
This is the final list I ended up playing at the Bologna Regional this weekend (around 250 people). I expected the environment to be dominated by Blue decks, followed by Green, Black, Red, and Yellow in that order. Thus, I decided to adjust my list by adding more options to deal with Blue and Black decks, giving up some mirror match potential, as I didn’t expect many other Red players to show up at the event.
My choices paid off as I faced in swiss:
Blue Vegeta
Blue Vegeta
Goku GT
Androids
Trunks
Blue Vegeta
Androids
Blue Vegeta
Most people assumed I got lucky in Swiss by facing mostly green players, and they were astonished to learn that I actually played against many blue players instead—and won every game. I'll explain my strategy for beating blue later in the matchups section of the notes.
Changes to my list
I considered many different tech cards to include in my list, but I ultimately made only minimal changes to an already solid build.
I swapped out the on-field Whis for the 10k combo power version, primarily to keep my 10k combo power cards around the same amount as in the previous list. This Whis is worse in the early game, but it gets better as the game progresses, especially for quickly applying a -5k power to a battle card.
It synergizes really well with God Kamehameha, allowing you to use it as combo power to empty your own board and get a discount on the extra card cost. Since current meta decks have an easy way to deal with 1-cost 10k power battle cards, I’ve found from experience that the other Whis rarely sticks on board for more than 1 or 2 turns. So, I think playing this version isn’t much different.
This Gohan is absolutely the best option for the 3-cost slot out of all the choices I considered (like Katopesla and Vegeta), with the +5k combo power being the only downside. This is the main reason I swapped out the 1-cost Whis, as I believe this combination of cards provides more overall value.
It offers the same utility as both Katopesla and Vegeta, and even more. It’s a solid turn 3 play, increasing the number of optimal turn 3 options from 4 to 6, and it serves as an AOE -X card that synergizes with the entire deck.
It’s especially strong against blue, as it allows for a clean board clear on Pilafs and Trunks Army, while also enabling favorable trades against their 2-cost Videl or Vegeta by swinging twice for 20 on 10. I don’t think more than 2 copies are needed because, most of the time, the other Gohan is still a better play, and it’s only a 5k combo power.
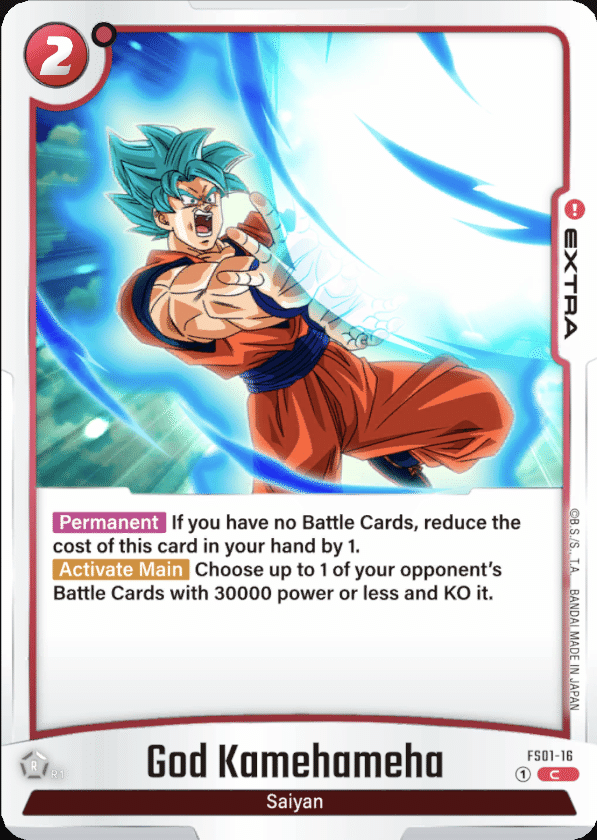
Days before the event, I tested my worst matchup: Goku GT. That leader can pump their key battle cards to 45/50k power, and I had a really hard time clearing them with my previous build. That’s why I decided to include 2 copies of God Kamehameha. If you’re facing Black, this is a card I’d mulligan for, as it helps immensely.
Compared to Sphere of Destruction, it has different advantages and disadvantages, but most of the time, they provide the same effect of removing opponents' threats. God Kamehameha is better against Black, while Sphere is better against Blue. Sometimes the extra 5k range helps; other times, the damage to life is preferred.
I decided to run 2 copies of both spells for a total of 4 extra removal cards. Ideally, you want to draw God Kamehameha first and Sphere once the opponent’s leader is at 4 life, but it doesn’t really matter, as the main focus of both spells is to remove threats efficiently. I’m quite happy with the current build.
Tech cards excluded from my list
As I mentioned in the introduction, there are many strong Red tech cards that I tried but didn’t prefer over the current options. However, I’ll provide a quick description of them in case you want to experiment with different builds.

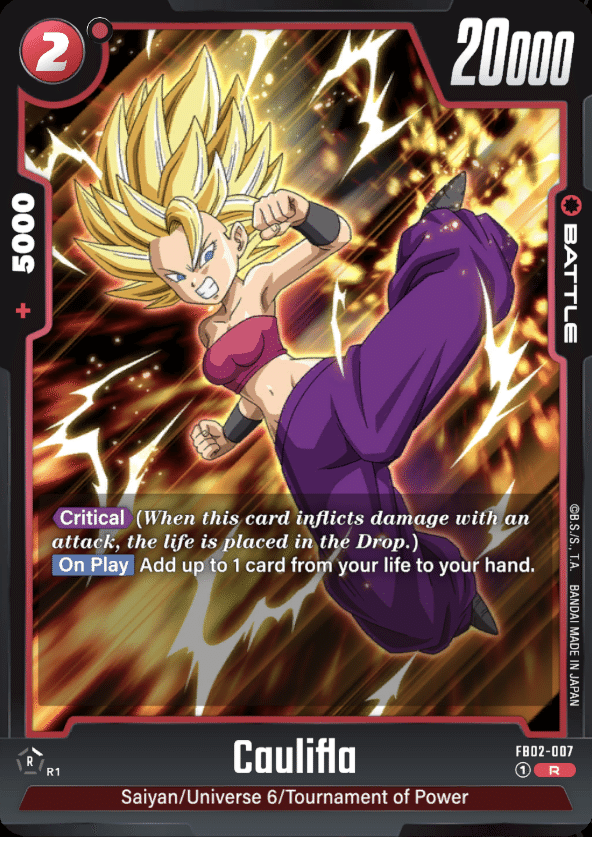
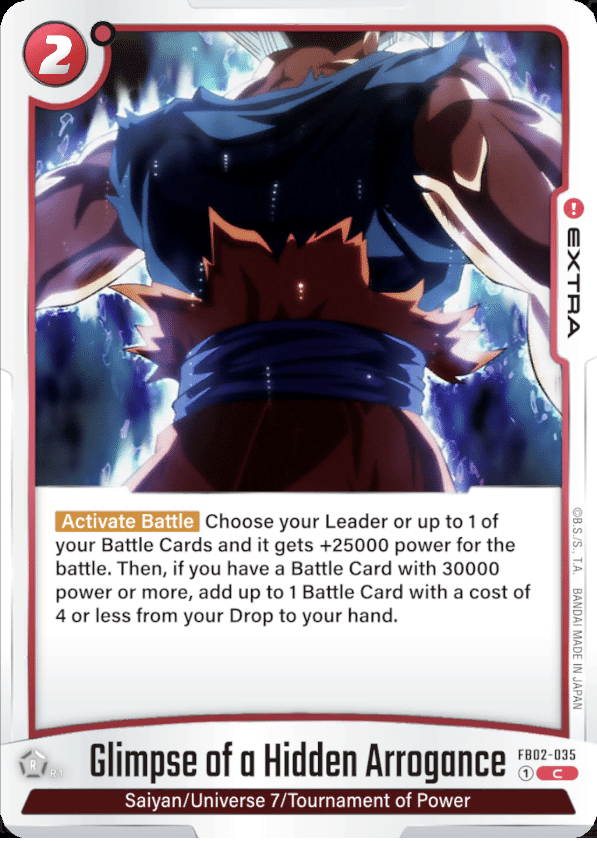
I experimented with some heavy ToP builds, including 2-cost Caulifla and Glimpse, but ultimately had to cut all of those cards to make space for better options. The problem is that Basil doesn’t help you draw Arena or Jiren, so most of the time, it’s better to play a simple +1 draw to dig for those cards on curve.
You can experiment with this approach, but it limits your deckbuilding too much for what it brings to the table.
As soon as I discovered the untapped Jiren interaction, I completely cut every 2-cost self-awakener from my list. I don’t need extra ways to self-awaken if my best option is also my win condition. The same goes for Hit; I don’t feel the need to play any 2-drop, especially because most of the time, developing an Arena is the better play.
I really hate that I had to cut this card. I still think it’s super strong, but this Goku is competing for the +0 combo power slot, and the competition is fierce. With 4 Jirens, 3 double-strike Gokus, 4 Arena, and 3 or 4 removal spells, I already have 14/15 +0 combo power cards. I just don’t want to fit in more.
I believe I have solid 3-cost plays with both Gohans I’m running, and Arena/removal spells are far more valuable than this card, so it didn’t make it to the final list.
Unfortunately, this card is another competitor for the +0 slot. It synergizes well with the leader’s effect as a 30k power card and has good spots where it could be the optimal play. However, it specifically competes with Sphere of Destruction for a way to deal 1 free damage, and I believe Sphere is far more versatile since it only costs 2 energy.
Another reason is that the meta has developed around one big threat per turn, so most of the time, the opponent can just defend against this Goku’s attack, preventing both the damage and the removal, while they have no counterplay against Sphere.
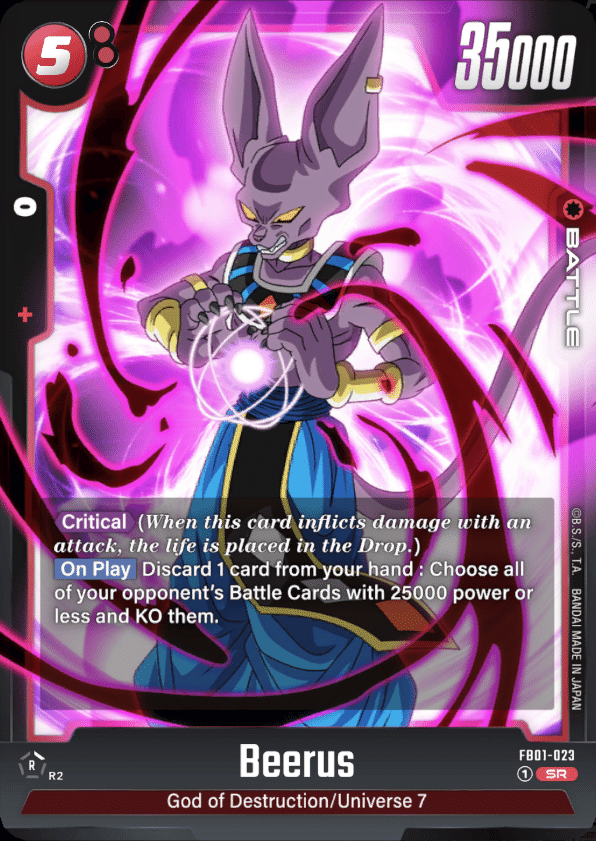
Yeah, why do all the good cards need to be +0 combo? To be completely honest, I don’t think this card is that effective in this deck. Jiren’s leader packs a 25k body and can handle swarm decks that develop many 20k cards on board. We’re not the Beerus leader; we can’t remove a big threat along with small fries, so I’d prefer cards that allow me to deal with significant plays rather than an AOE super situational removal.
This card is insanely strong in mirror matches, so if you’re concerned about facing many mirrors, you might consider playing it. However, it didn’t make it to my list because it’s another competitor for the +0 combo power slot. I usually spend all of my energy each turn dealing with the enemy board.
It’s not a bad card, and I haven’t tested it that much, but it doesn’t fit with my current playstyle—especially since this expansion has given red decks Marcarita as a better and more flexible finisher.
Match ups explained
In this section, I’ll dive into each major matchup I prepared for and how to deal with meta decks. I’ll assign a difficulty rating as follows:
⭐Easy
⭐⭐Favorable
⭐⭐⭐Even
⭐⭐⭐⭐Unfavorable
⭐⭐⭐⭐⭐Hard
Blue Vegeta
Difficulty ⭐⭐⭐
I think this matchup is a 50/50, leaning slightly favorable if the opponent doesn’t have much experience facing Jiren.
Best start: FIRST
Starting first is recommended against Vegeta because you can set up a T2 Arena without any worries.
Gameplan starting 1st
Mulligan criteria: Arena.
You always want to hard mulligan for a T2 Arena. Having extra copies of cantrips is nice, but I’ll keep them only if I see no 1-drop besides Arena in my starting hand.
The general gameplan is to clear the blue board and try to sneak in a few attacks at the leader to reduce their total life.
T1 Roshi/Piccolo
T2 Arena
ここから先は
この記事が気に入ったらサポートをしてみませんか?