DLLを使ったEAのWeb認証システムをつくる

はじめに
web認証を使いたいけど、MQLのWebRequest関数はユーザーにURLを入力してもらわないといけないので少しハードルが上がりますよね。
かといって手打ちで認証してもめんどくさくてやってられないし、IB切り替えでEAを持ってかれるしでWeb認証は必須です。
今回はDLLを使ったやり方を紹介します。
あとHTTPSを使うのでセキュアです。
誰におすすめ?
IBでEAを配りたいけどWeb認証のやり方がわからない人におすすめです。
なんで書いたの?
ネットで検索してもでてこなかった。
難しい?
コピペなので20分~30分で作れる。
月額費用
利用料金は無料枠に収まるレベルだと思うので無料だと思います。
第二部を追加
第二部はちょっと難しいのでやりたいかたは挑戦してみてね。
フロントサイトを静的ホスティングして、

データベースで管理するよ。

これでスマホからでも利用者の口座番号をいつでも追加できます。
初心者なら工数2時間程度かかると思います。
EAセット時の使い方

DLLの使用を許可するにチェックを入れる。
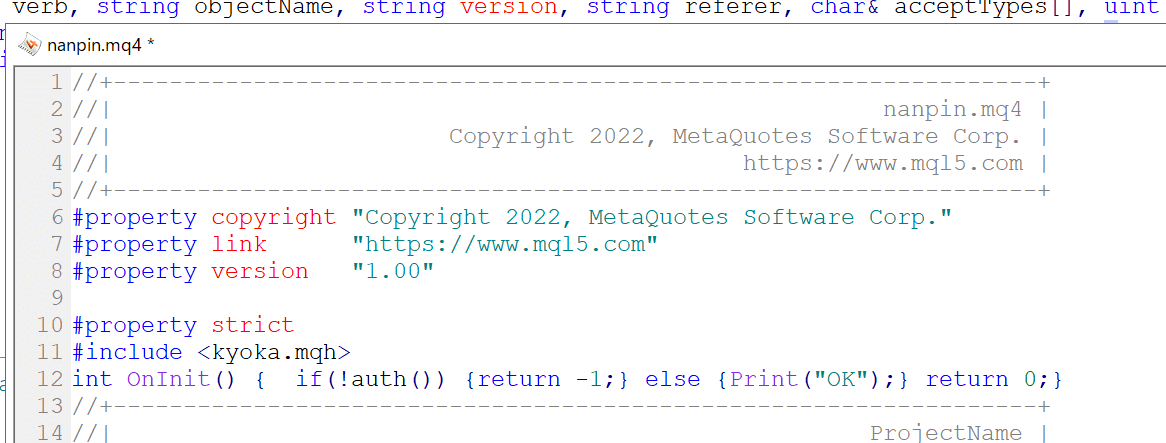
includeファイルを作成する

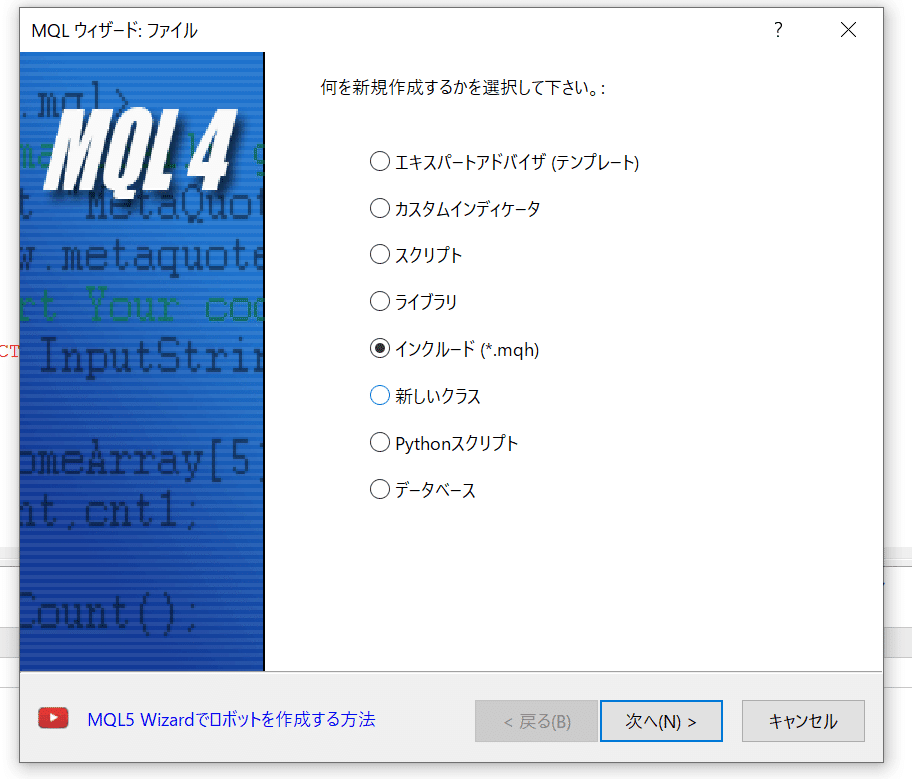

kyoka .mqh
// kyoka.mqh

#import "wininet.dll"
int InternetOpenW(string agent, int accessType, string proxyName, string proxyByPass, int flags);
int InternetConnectW(int internet, string serverName, int port, string userName, string password, int service, int flags, int context);
int HttpOpenRequestW(int connect, string verb, string objectName, string version, string referer, char& acceptTypes[], uint flags, int context);
bool HttpSendRequestW(int hRequest, string &lpszHeaders, int dwHeadersLength, uchar &lpOptional[], int dwOptionalLength);
int InternetReadFile(int, uchar &arr[], int, int &byte);
int InternetCloseHandle(int winINet);
#import

#define DEFAULT_HTTPS_PORT 443
#define SERVICE_HTTP 3
#define FLAG_SECURE 0x00800000
#define FLAG_PRAGMA_NOCACHE 0x00000100
#define FLAG_KEEP_CONNECTION 0x00400000
#define FLAG_RELOAD 0x80000000

string your_url = "asia-northeast1-optical-legend-32601.cloudfunctions.net";
string your_endpoint = "/kyoka";

//+------------------------------------------------------------------+
//|                                                                  |
//+------------------------------------------------------------------+
bool auth() {
   if(IsDemo() || IsTesting()) {
      return true;
   }

if(AccountNumber()==0){return true;}

   string host = your_url;
   string UserAgent = "MT4 Authentication";
   string nill = "";
   int session = InternetOpenW(UserAgent, 0, nill, nill, 0);
   int connect = InternetConnectW(session, host, DEFAULT_HTTPS_PORT, nill, nill, SERVICE_HTTP, 0, 0);
   string Vers    = "HTTP/1.1";
   string Method    = "GET";
   string Object  = your_endpoint + "?account_number=" + DoubleToString(AccountNumber(), 0);
   string Types = "";
   char acceptTypes[];
   StringToCharArray(Types, acceptTypes);
   int context = 0;
   int hRequest = HttpOpenRequestW(connect, Method, Object, Vers, nill, acceptTypes,  FLAG_SECURE | FLAG_KEEP_CONNECTION | FLAG_RELOAD | FLAG_PRAGMA_NOCACHE, context);
   string headers = "Content-Type: application/x-www-form-urlencoded\r\n";
   uchar body[];
   int dwHeadersLength = 0;
   int dwOptionalLength = 0;
   bool hSend = HttpSendRequestW(hRequest, headers, dwHeadersLength, body, dwOptionalLength);
   uchar ch[100];
   string toStr = "";
   int dwBytes;
   while(InternetReadFile(hRequest, ch, 100, dwBytes)) {
      if(dwBytes <= 0) break;
      toStr = CharArrayToString(ch, 0, dwBytes);
   }
   InternetCloseHandle(hSend);
   InternetCloseHandle(hRequest);
   InternetCloseHandle(session);
   InternetCloseHandle(connect);
   if(!IsDllsAllowed()) {
      Comment("DLLを許可してください。");
   }
   bool is_allow = StringFind(toStr, "1") > 0 || StringToInteger(toStr) == 1;
   if(!is_allow) {
      Alert("口座番号の認証に失敗しました。");
      return is_allow;
   }

   Comment("web認証成功");
   return is_allow;
}
//+------------------------------------------------------------------+
EAのソースに以下を挿入する
#property strict
#include <kyoka.mqh>
int OnInit() {  if(!auth()) {return -1;} else {Print("OK");} return 0;}
これで起動したときにOnInit()で認証が行われます。

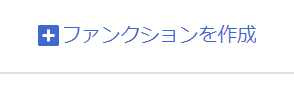
WEBアプリケーションを作成する
GCPのCloud Functionなら無料で使えるのでこれを使います。

メニューから


関数名は「kyoka」にしました。
リージョンはサーバーの地域です。近い方がレイテンシー低いです。


トリガーはHTTPです。

認証は未認証の呼び出しを許可にします。

保存

ランタイムの変更(ランタイムはプログラミングの言語)

Python3.10へ

ソースコードを全部消して以下のソースコードを貼り付けます。

def hello_world(request):
    request_args = request.args
    if request_args and 'account_number' in request_args:
        account_number = request_args['account_number']
        if account_number in ['56075226', '56055728']:
            return '1'
    return '0'
この配列に許可する口座番号を入力します。
['56075226', '56055728']2世代のcloud Functionsならこれです。
import functions_framework

@functions_framework.http
def hello_http(request):
    """HTTP Cloud Function to check account number.
    Args:
        request (flask.Request): The request object.

    Returns:
        '1' if the account_number is '56075226' or '56055728',
        '0' otherwise.
    """
    request_args = request.args
    if request_args and 'account_number' in request_args:
        account_number = request_args['account_number']
        if account_number in ['56075226', '56055728']:
            return '1'
    return '0'

これで待ちます。

5分ぐらいすると

トリガータブを開きます。

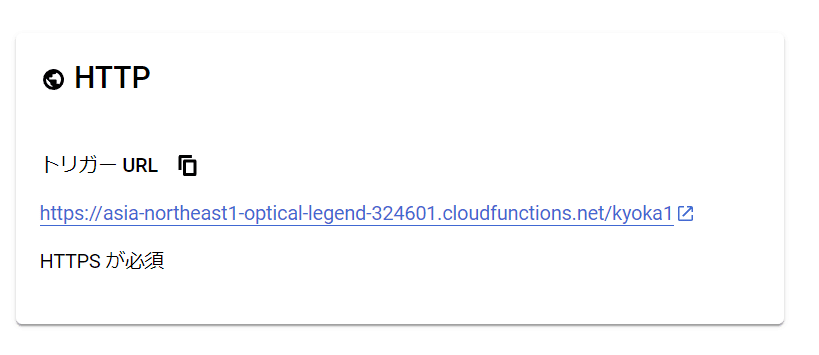
このトリガーURLを使います。
kyoka .mqhを書き換える
19行目にURLがあるので上記のURLから情報を抜き出します。

//https://asia-northeast1-optical-legend-324601.cloudfunctions.net/kyoka1
string your_url = "asia-northeast1-optical-legend-324601.cloudfunctions.net";
string your_endpoint = "/kyoka1";
これで

EAもコンパイルしないと適応が反映されないので再度コンパイルして保存します。
これで終わりです。
おさらい
includeを作成する。
EAでincludeを読み込む。
EAのOnInit関数を書き換える。
WEBアプリケーションを作成する。
WEBアプリケーションのトリガーURLでincludeファイルを書き換える。
EAを再度コンパイルする。
EA使用時はDLLを許可するを忘れない。
デモ口座とバックテストは許可してあるので許可を外したい場合は以下を書き換えてください。
デフォルトだとバックテストとデモ口座なら使用可能になってます。
不都合がある場合は以下を消してください。
bool auth(){
   if(IsDemo() || IsTesting()) {
      return true;
   }
わからないことはコメントで教えてください。
第二部:GUIで口座番号を登録するようにする
ここからは、趣味の世界なので機能としての役割は同じです。
スマホで口座番号を新規登録できるようにする方法です。
参考サイト

使う技術はGCPのCloud Strageとfirestore DBを使います。
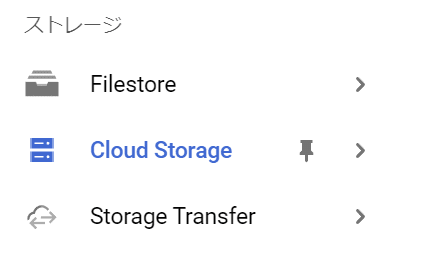
クラウドストレージを選択
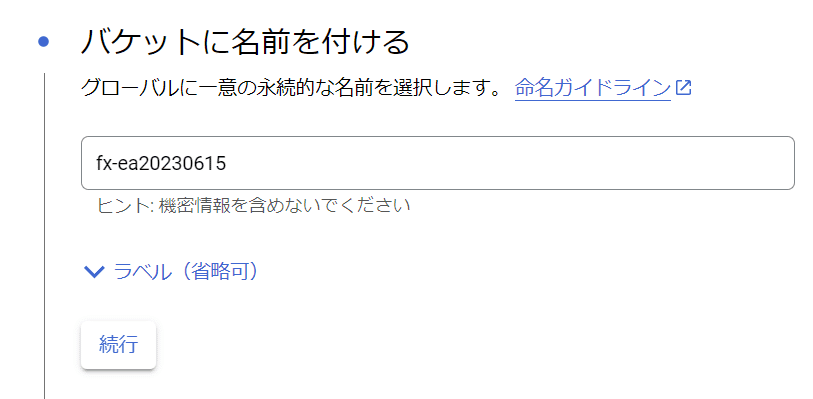
バケット作成します

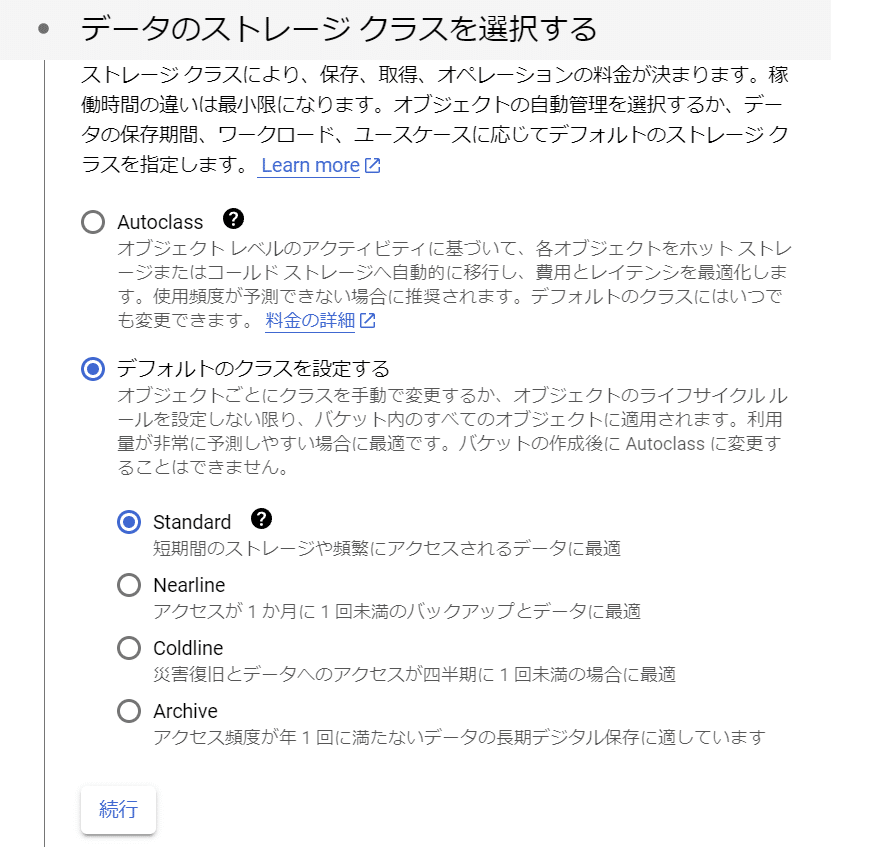
このバケットに対する公開アクセス禁止を適用するのチェックボックスをオフにします。


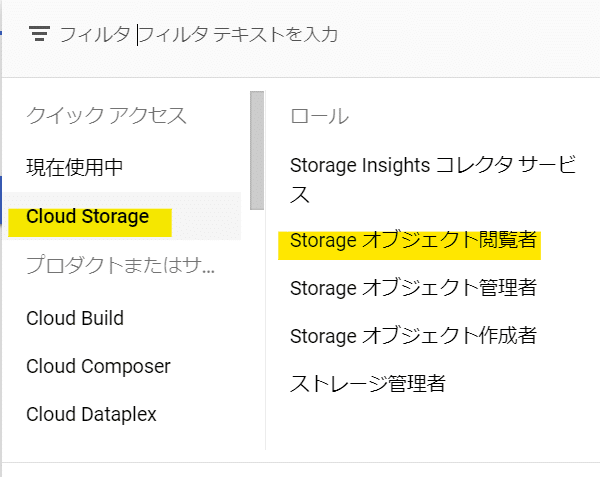
権限のタブを開きます。


プリンシパルは、
allUsers

権限はオブジェクト閲覧可能にします。
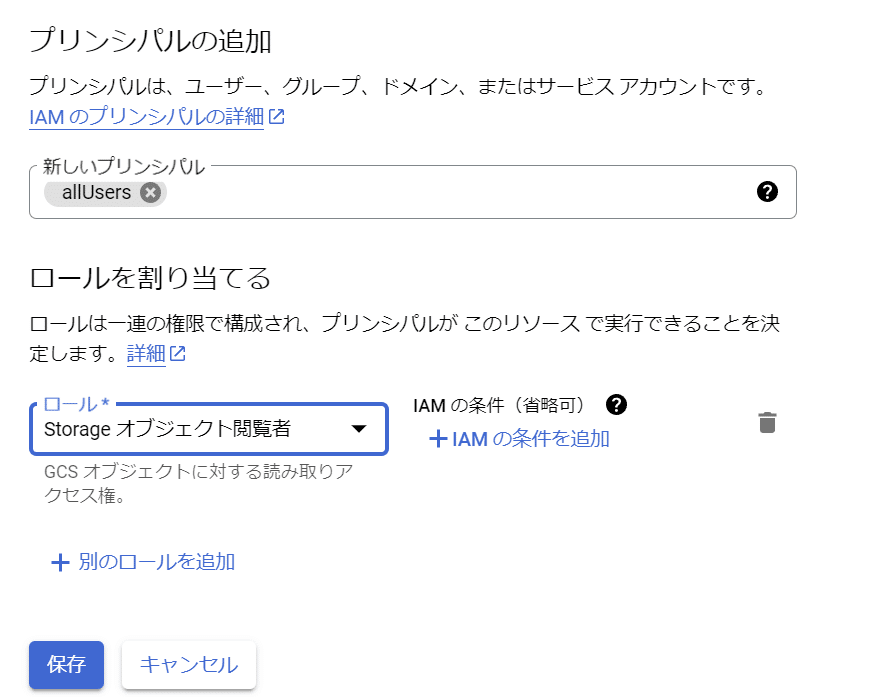
これで保存

許可します。
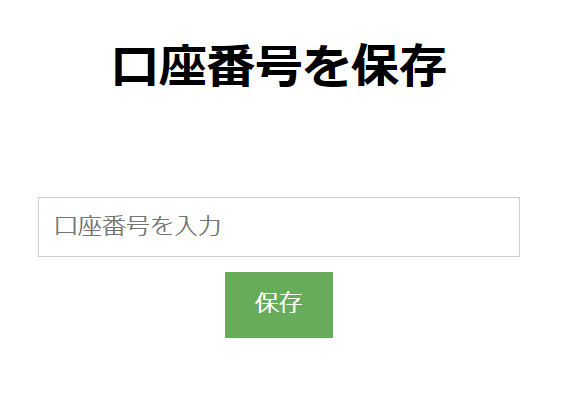
ローカルでHTTPファイルを作成します。
名前は、
<!DOCTYPE html>
<html lang="ja">

<head>
    <meta charset="UTF-8">
    <meta name="viewport" content="width=device-width, initial-scale=1.0"> <!-- 追加:ビューポート設定 -->
    <title>口座番号を保存</title>
    <style>
        /* 追加:スタイルシート */
        body {
            font-family: Arial, sans-serif;
            margin: 0;
            padding: 0;
        }

        h1 {
            padding: 20px;
            text-align: center;
        }

        #account-form {
            display: flex;
            flex-direction: column;
            align-items: center;
            padding: 20px;
        }

        #account-number {
            margin-bottom: 10px;
            padding: 10px;
            font-size: 16px;
            width: 100%;
            max-width: 300px;
            border: 1px solid #ccc;
        }

        button {
            padding: 10px 20px;
            font-size: 16px;
            border: none;
            background-color: #4CAF50;
            color: white;
            cursor: pointer;
        }

        button:hover {
            background-color: #45a049;
        }

        @media screen and (max-width: 600px) {
            h1 {
                font-size: 24px;
            }
        }
    </style>
</head>

<body>
    <h1>口座番号を保存</h1>

    <form id="account-form">
        <input type="text" id="account-number" placeholder="口座番号を入力" required>
        <button type="submit">保存</button>
    </form>

    <script>
        document.getElementById('account-form').addEventListener('submit', async function(event) {
            event.preventDefault();
            const accountNumber = document.getElementById('account-number').value;

            try {
                const response = await fetch('https://asia-northeast1-optical-legend-33333.cloudfunctions.net/kouzabangou', {
                    method: 'POST',
                    headers: {
                        'Content-Type': 'application/json',
                    },
                    body: JSON.stringify({ accountNumber }),
                });

                if (response.ok) {
                    alert('口座番号が保存されました。');
                } else {
                    alert('保存に失敗しました。');
                }
            } catch (error) {
                console.error('Error:', error);
                alert('エラーが発生しました。');
            }
        });
    </script>
</body>

</html>
この部分のURLはあとで変更してください。
const response = await fetch('https://asia-northeast1-optical-legend-33333.cloudfunctions.net/kouzabangou', { method: 'POST',
あとはバケットにドラッグアンドドロップでアップロードします。

URLをコピーすると
フロント側のアプリケーションが完成です。
データベースへ書き込むWEBアプリケーションを用意する
事前準備として、firestoreデータベースの初期化をしてください。
ここからは再度Cloud Functionsに新規関数を用意します。
エントリーポイントを関数名に変更します。

main .py
import datetime
import functions_framework
from google.cloud import firestore
from flask import jsonify

db = firestore.Client()

@functions_framework.http
def save_account_number(request):
    """HTTP Cloud Function to save account number in Firestore.

    Args:
        request (flask.Request): The request object.

    Returns:
        The response text, or any set of values that can be turned into a
        Response object using `make_response`.
    """
    headers = {
        'Access-Control-Allow-Origin': '*',
        'Access-Control-Allow-Methods': 'POST, OPTIONS',
        'Access-Control-Allow-Headers': 'Content-Type'
    }

    # Handling CORS preflight
    if request.method == 'OPTIONS':
        return '', 204, headers

    request_json = request.get_json(silent=True)
    request_args = request.args

    if request_json and 'accountNumber' in request_json:
        account_number = request_json['accountNumber']
    elif request_args and 'accountNumber' in request_args:
        account_number = request_args['accountNumber']
    else:
        return jsonify({'error': 'No account number provided!'}), 400, headers

    # Save to Firestore
    account_ref = db.collection('accountNumbers').document(account_number)
    account_ref.set({
        'accountNumber': account_number,
        'createdAt': datetime.datetime.utcnow()
    })

    return jsonify({'message': 'Account number saved successfully!'}), 200, headers
requirements .txt
functions-framework==3.*
google-cloud-firestore==2.1.3
これでデプロイします。
デプロイしたらトリガーURLを先ほどのhtmlファイルに上書きして保存して再度ストレージへアップロードします。(省略)

これで口座番号をデータベースで管理することができます。
次にデータベースへアクセスして照会を行う認証アプリを更新します。

main .py
import functions_framework
from google.cloud import firestore

# Initialize Firestore client
db = firestore.Client()

@functions_framework.http
def check_account_number(request):
    """HTTP Cloud Function to check account number.
    Args:
        request (flask.Request): The request object.

    Returns:
        '1' if the account_number is in the list of document names in Firestore collection,
        '0' otherwise.
    """
    # Get document names from Firestore
    account_numbers_ref = db.collection('accountNumbers')
    account_numbers = [doc.id for doc in account_numbers_ref.stream()]

    # Check if account_number is in the list
    request_args = request.args
    if request_args and 'account_number' in request_args:
        account_number = request_args['account_number']
        if account_number in account_numbers:
            return '1'
    return '0'
requirements .txt
functions-framework==3.*
google-cloud-firestore==2.1.3
これで完成です。
関数は2個ある状態です。

リソースの確認
今回作ったのは
ローカルファイルのリソース
MT4のkyoka .mqh
MT4のEAの認証コードの埋め込み
GCPリソース
cloud storageのバケット1台
フロント静的サイト1枚(index .html)
firestore database1台
cloud functionsのpythonの関数2個
サクッとつくったけど、初心者向けじゃあ無いですね。
わからないことはコメントに書いてください。
いいなと思ったら応援しよう!