10/2 blender 動畫設定跟後製

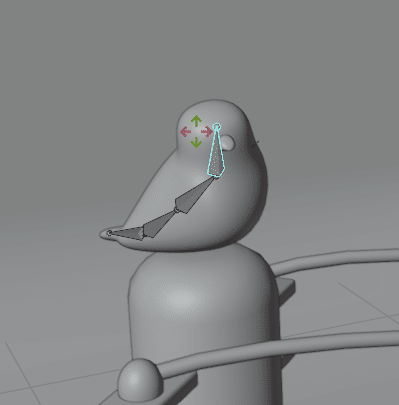
▲製作骨架的動畫
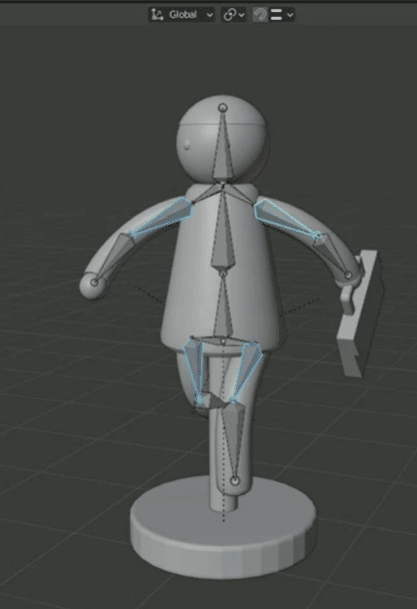
幫骨架插入關鍵影格時,都是選取要移動的骨架後插入關鍵影格
(如圖,選取的骨架是我要移動的骨架,選取起來後>I 插入關鍵影格)
▲Follow Paty / 跟著路徑移動
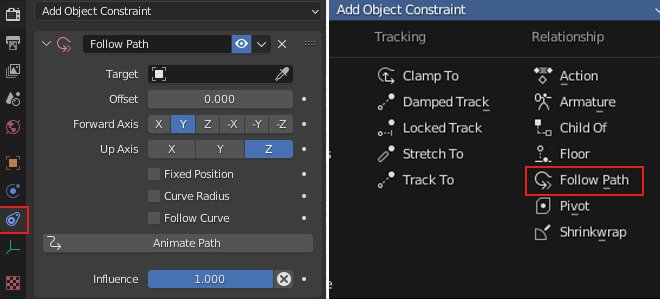
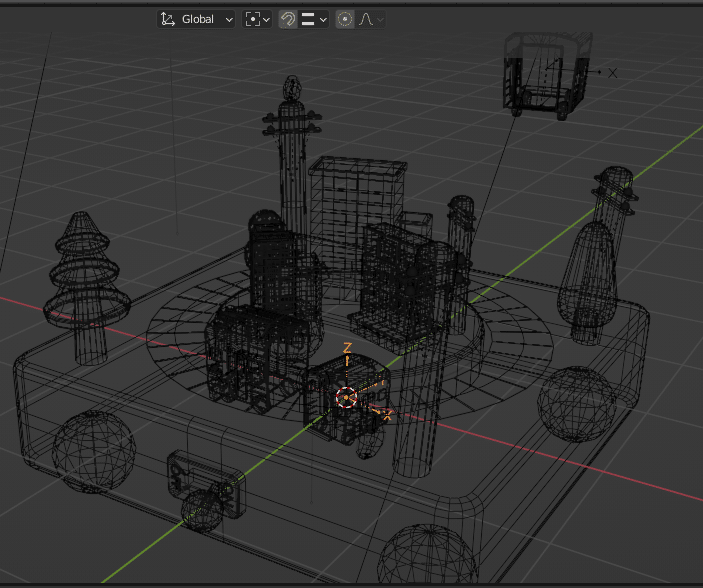
先把物件移回正中央 (alt+G)>做Follow Path關聯性>選擇物件後用滴管吸取路經>調整數值(如下圖)
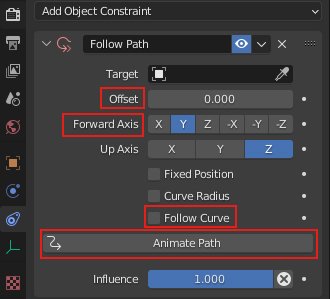
◎選擇 Animate Path (跟著動畫的路徑走)
◎Follow Curva要勾選 (物體個著路徑來移動)
◎Forward Axis / 物體的方向
◎Offset / 移動物體之間的距離
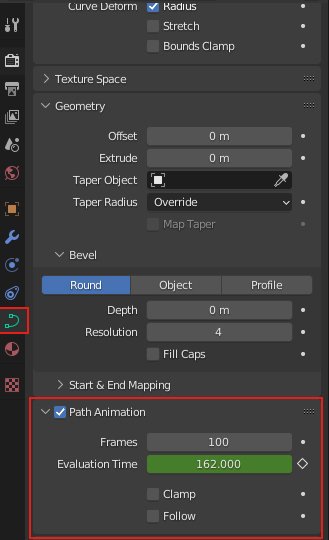
●移動的速度太快的話
可以到路徑設定>Path Animation做調整
▲Graphic Editor / 增加動作雜訊
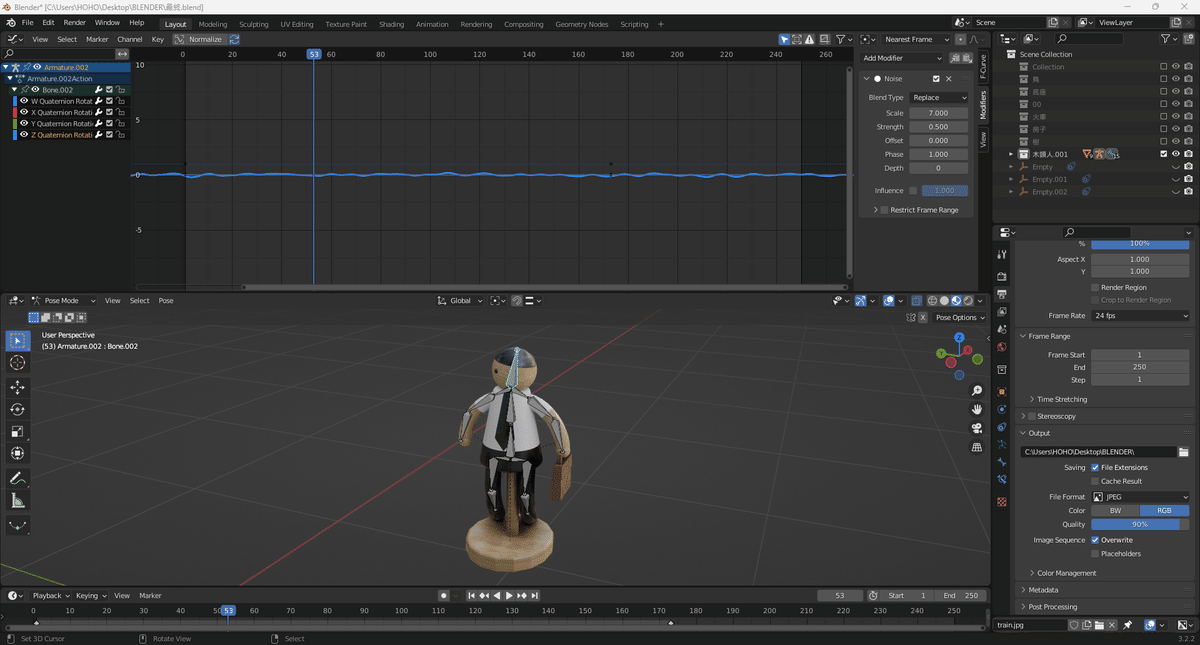
◎視窗選擇Graphic Editor
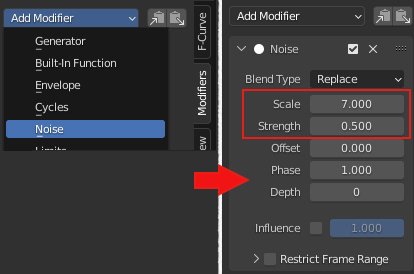
◎在Graphic Editor視窗按 N>modifiers>Noise(增加雜訊)>調整Scale和Stremgh的數值
●Scale / 頻率 (頻率越大速度會越慢)
●Stremgh / 強度
◎在插入關鍵影格時,如果很清楚是要做G、R、S哪一個操作的話,針對那個操作插入關鍵影格就好
**重要**
骨架的軸向跟 3d viewport 的軸向可能會不一樣,所以在給物件增加雜訊時,軸向要按兩次,確認骨架軸向的位子
(ex:我要旋轉增加頭部骨頭Y軸的雜訊,R+Y+Y,先確認頭部骨頭的Y軸是否就是 3d viewport的Y軸,如果不是就要選別的軸)
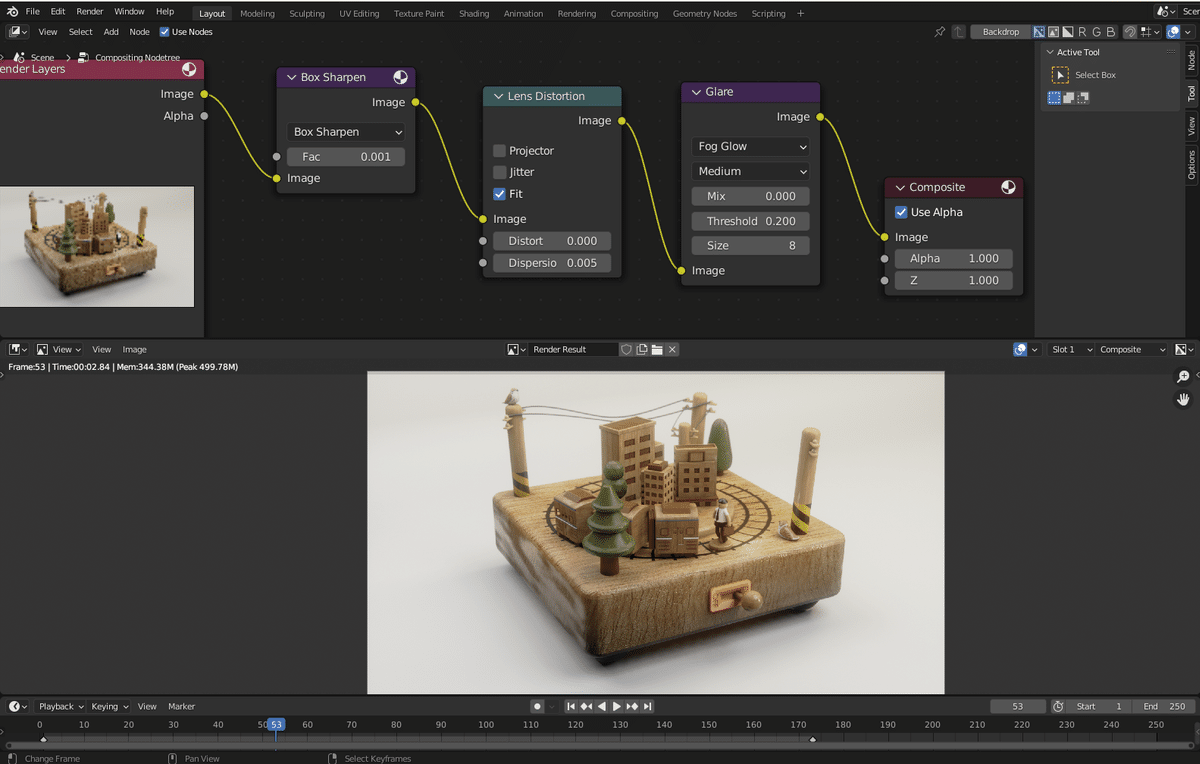
▲後製的一些調整

把視窗改成 Compositor
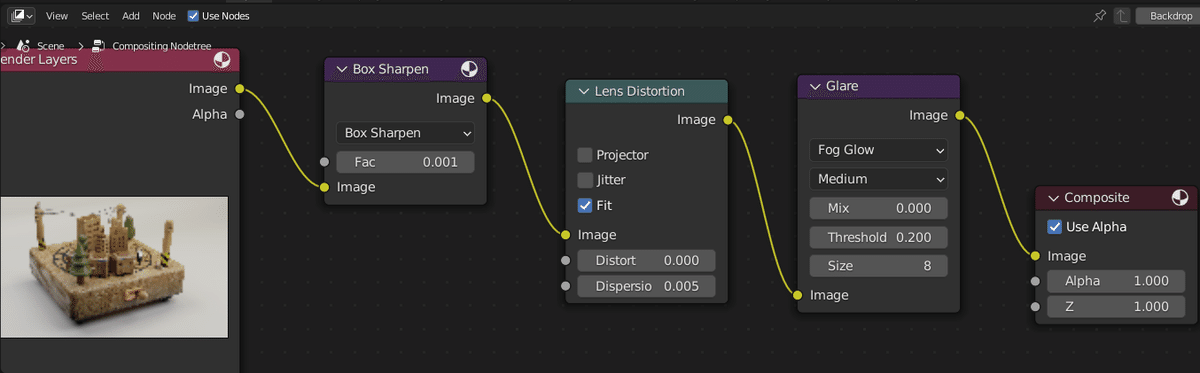
◎Use Nodes記得要打勾,節點才會出現
●Box Shapren / 銳利化
(Shart+A>Filter>Filter>Box Shapren)
●Lens Distortion / 鏡頭的影響
(Shart+A>Distort>Lens Distortion>Fit打勾)
●Glare / 類似濾鏡功能
(Shart+A>Filter>Glare)
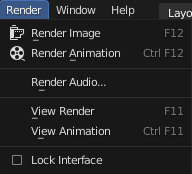
▲輸出動畫
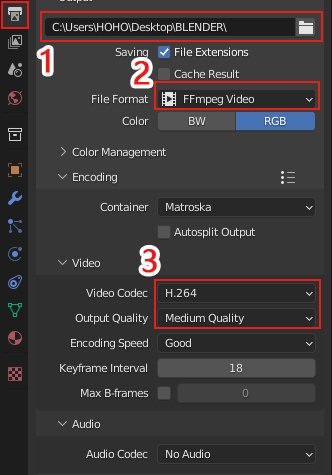
幾個要注意的點
1、存檔位子
2、存檔格式
3、確認影片是不是H.264,品質選擇 Medium Quality 即可
然後就可以看是要輸出圖片還是影片了~
●補充 骨架的旋轉角度
按R兩次,就可以365度選轉骨架
●不一定要做的調整
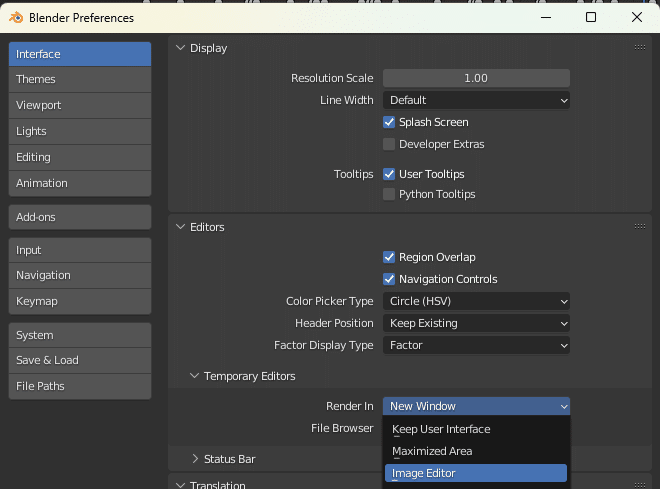
可以到使用者設定把預覽圖片改成Image Editor
在做後製調整時,就可以在Image Editor 模式下邊確認預覽圖邊做調整了