9/15blender 鏡頭基本設定

▲進入鏡頭畫面
兩種方式
1、數字鍵0
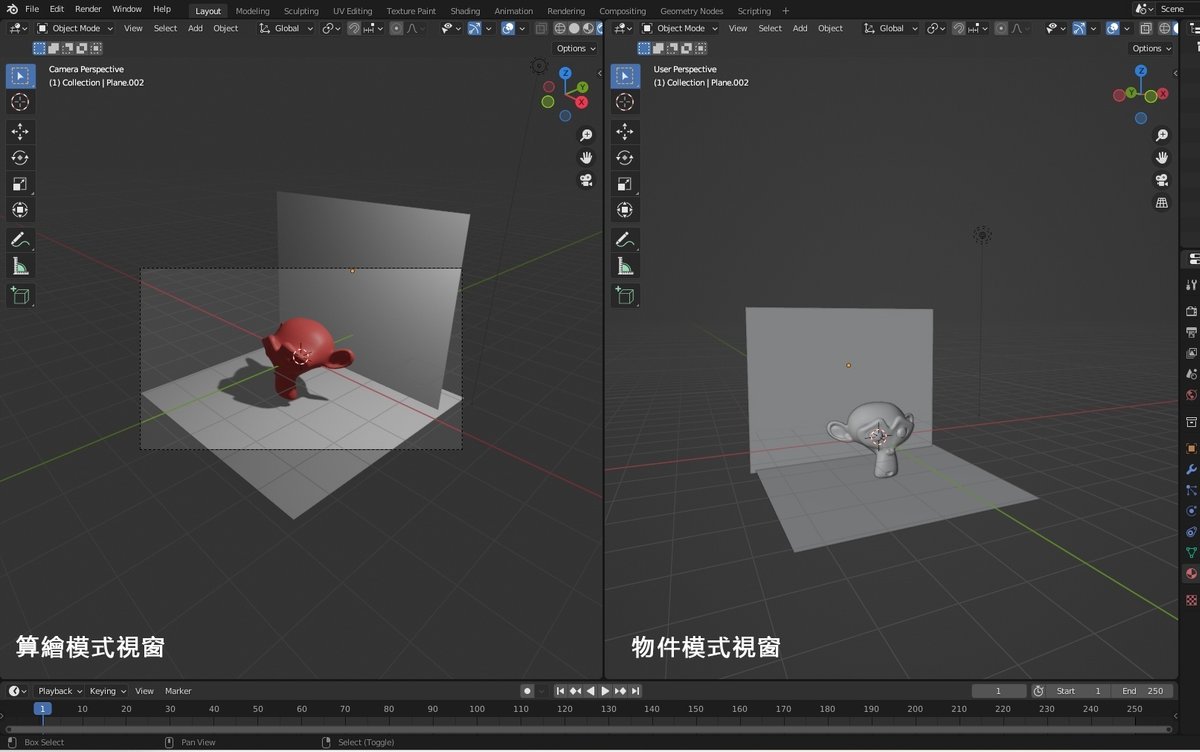
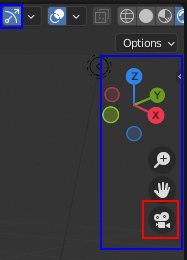
2、攝影機點下去(紅框)
●弓箭圖示點下去的話,藍框圈起來的地方可隱藏
●Ctrl+Alt+0 / 自己決定鏡頭的角度
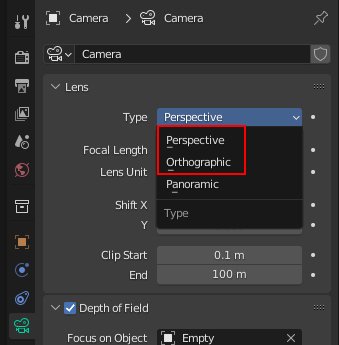
▲鏡頭模式
Perspective / 透視的鏡頭
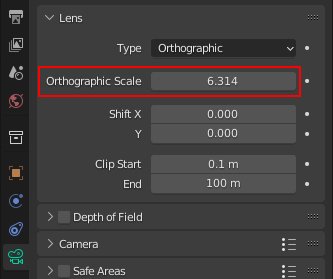
Orthographic / 正視鏡頭
◎調整鏡頭的遠近、移動
●Perspective
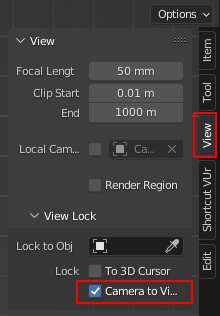
到右邊的視窗(N)>View>Camera to View
●Orthographic / 調整Scale的數值
▲景深
新增一個空物件Plain Axes
空物件代表一個指示的物件,在算繪的時候不會被算出來,
(Shift+A>Empty>Plain Axes)

選擇鏡頭,勾選Detph of Fidld,選擇鏡頭,用滴管吸取空物件,就會得到景深效果了
*空物件在這裡的作用是鏡頭對焦位子,所以看鏡頭是要對焦哪,就把空物件移動到那
*F-Stop可以調整景深強度
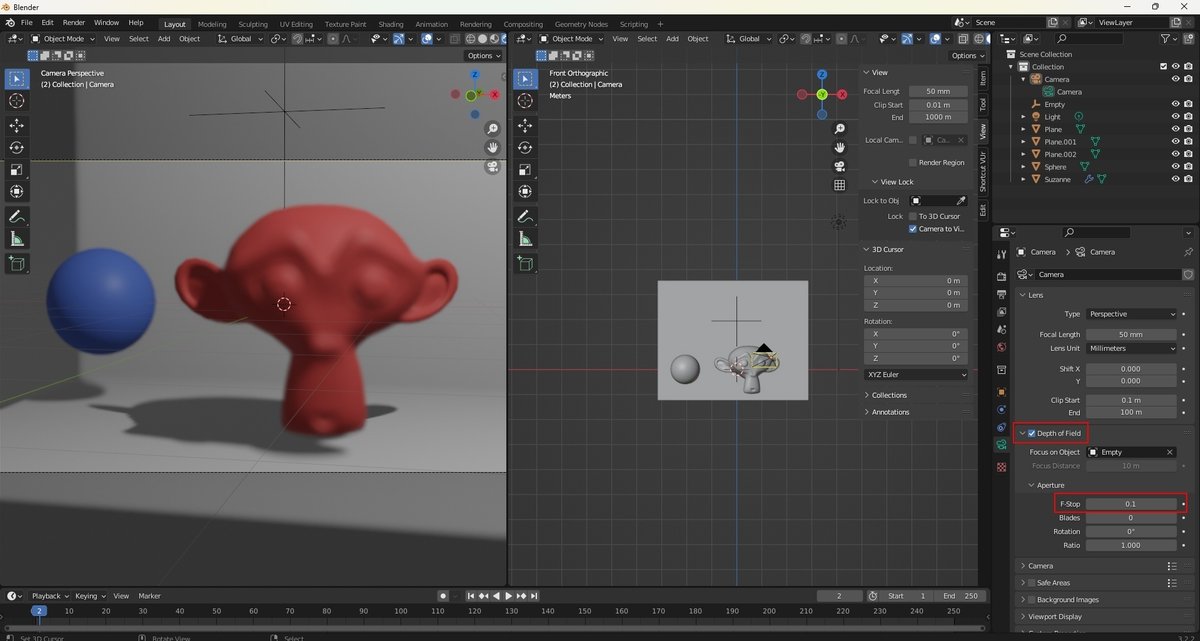
看要達成怎樣的景深效果,去適當調整空物件的位子
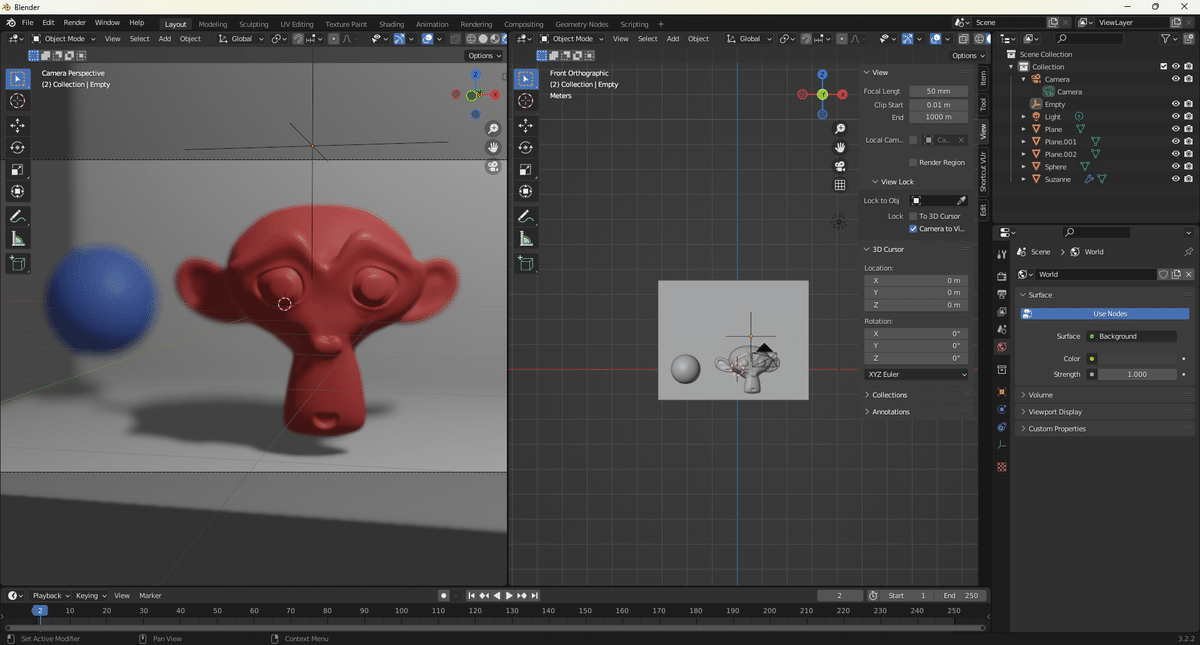
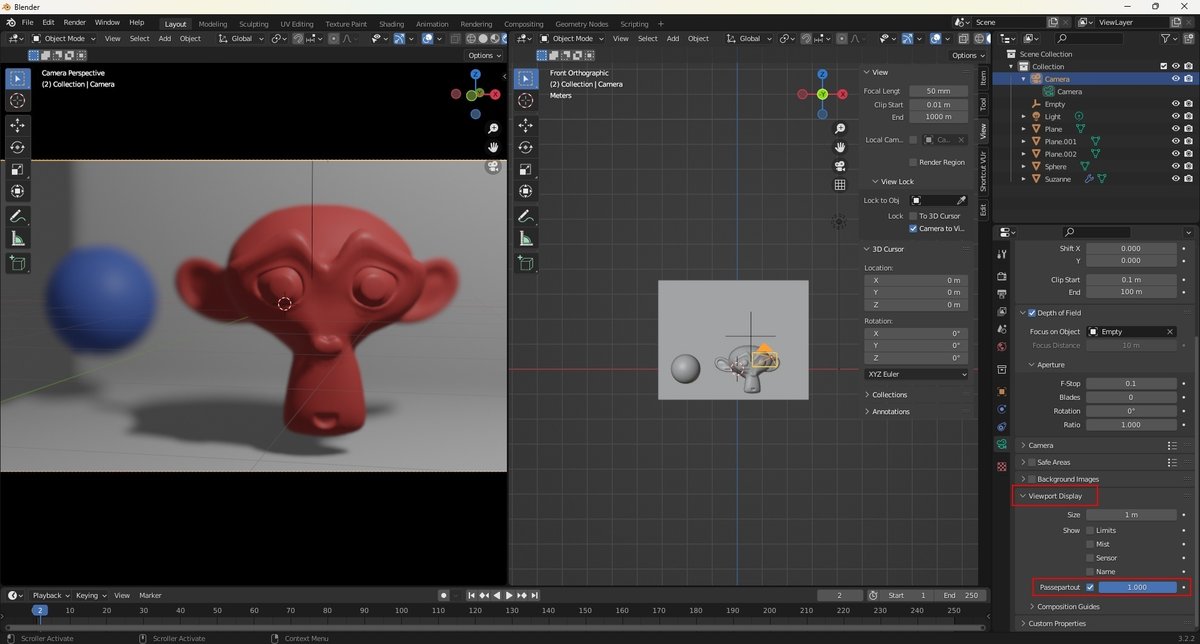
▲只留鏡頭內的資訊
選擇Viewport Display
把Passepartout的數值調到最大
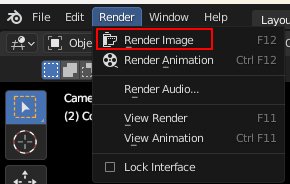
▲算繪圖
Render>Render Image
(快捷鍵F12)