![見出し画像](https://assets.st-note.com/production/uploads/images/139284040/rectangle_large_type_2_3419de431a1f16efa2c563ff11e538d0.png?width=1200)
スザニの刺し方(ステッチ)〜ユルマ応用編2
前回は予告編でした。今回は紙にサンプルステッチを刺してみます。
糸2本を針1本に通して、しましまユルマ(チェーン・ステッチ)を刺すことができます。
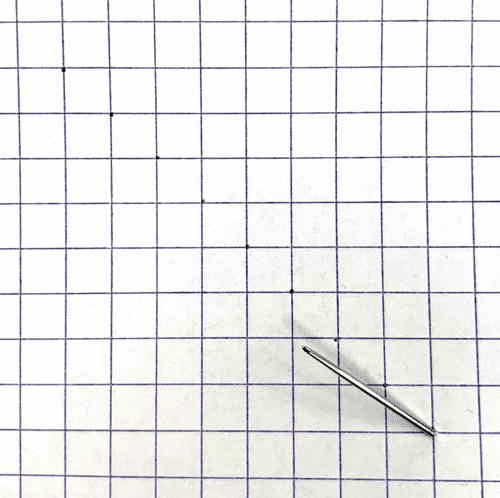
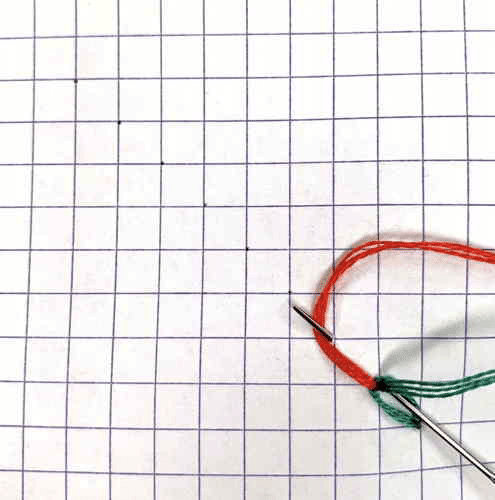
針と糸の準備
![](https://assets.st-note.com/production/uploads/images/139183991/picture_pc_3de7a22e9a5861af94f66abbe92f7d17.png)
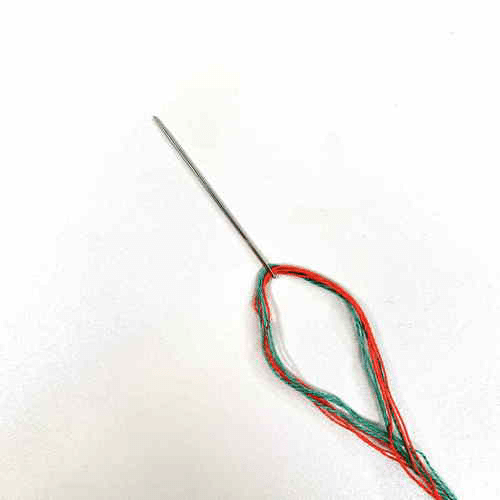
針に2色の刺繍糸を通します。上の写真では25番刺繍糸を3本どり×2色を通しました。なお、このサンプルの糸はスザニに使われる絹糸ではありません。
刺してみます
ここでは布ではなく紙に刺しています。
![](https://assets.st-note.com/production/uploads/images/139184007/picture_pc_70bdbe7d32b379f417d7ffde399a34ec.png)
![](https://assets.st-note.com/production/uploads/images/139184047/picture_pc_6bdd0a07faa0fa7e9e743dc34a3f6524.png)
![](https://assets.st-note.com/production/uploads/images/139184129/picture_pc_588d57cbf5bafe790f8f08d9cd2ecfc2.png)
![](https://assets.st-note.com/production/uploads/images/139184127/picture_pc_99b98726344f0236502dc122cd4fcd2a.png)
![](https://assets.st-note.com/production/uploads/images/139184131/picture_pc_78cf828e8d0aaf40e6f891288ad5c30c.png)
![](https://assets.st-note.com/production/uploads/images/139184133/picture_pc_2d28a9db499896a45dac164da141a040.png)
![](https://assets.st-note.com/production/uploads/images/139184139/picture_pc_2ad82c0cb7d562f1365fa588535b6f9c.png)
![](https://assets.st-note.com/production/uploads/images/139184136/picture_pc_69559461fe0fd314786a01d982e04423.png)
![](https://assets.st-note.com/production/uploads/images/139184138/picture_pc_466a6ec489da2b6610cdd04490f2b208.png)
![](https://assets.st-note.com/production/uploads/images/139184135/picture_pc_5763911a15e6867bdc2fdf228f92748c.png)
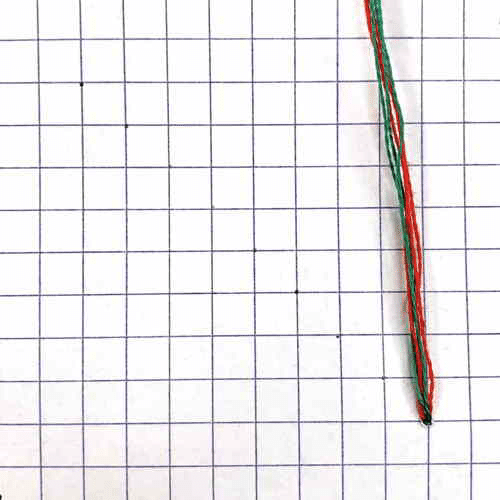
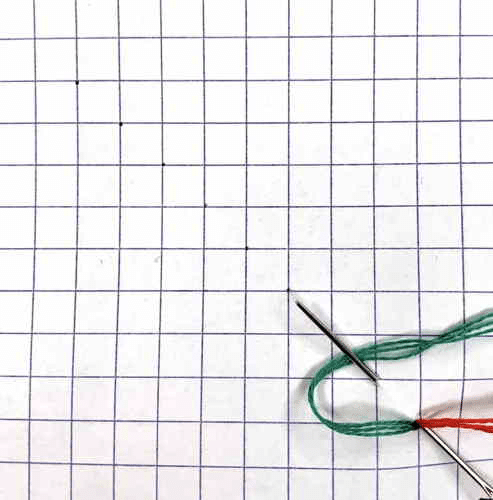
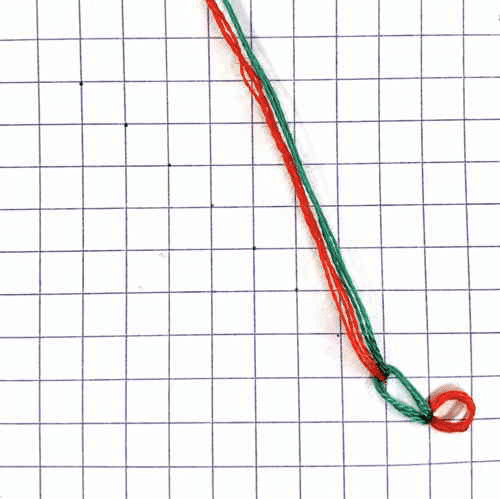
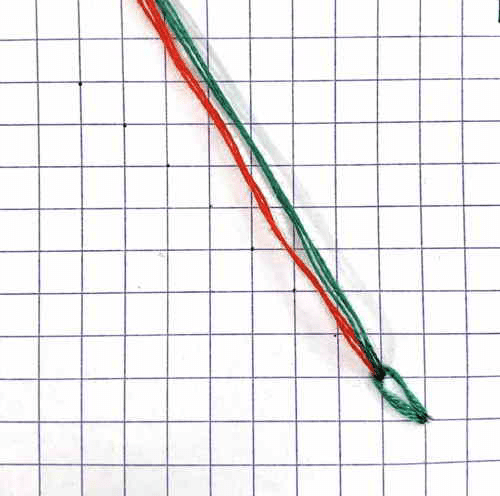
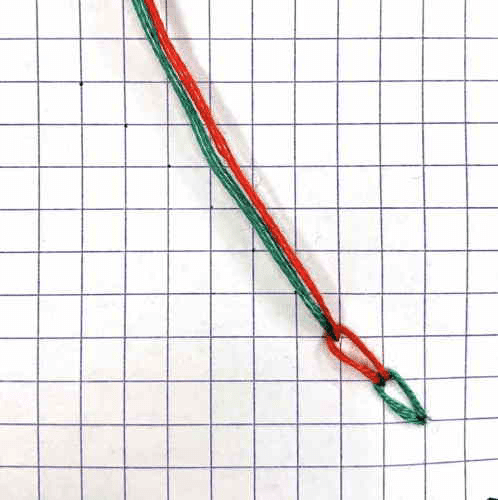
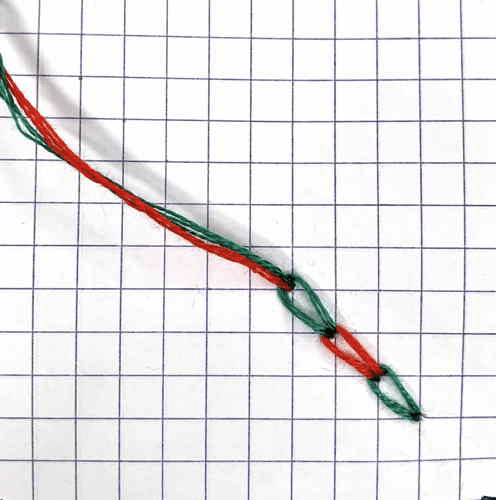
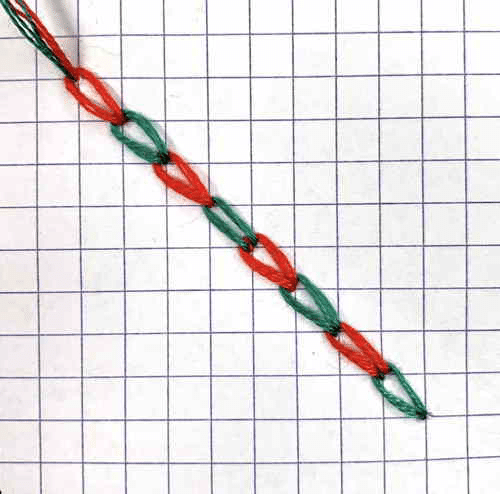
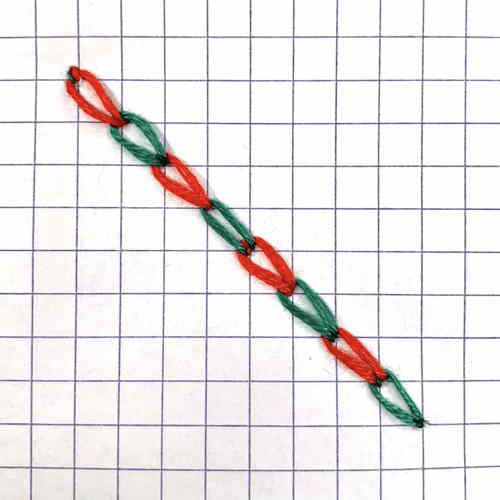
サンプルでは緑と赤をひと目ずつ交互に刺しましたが、ふた目ずつやランダムに刺すこともできます。
なお、英語では、magic chain stitchやcheckered chain stitchと呼ばれています。
お試しあれ。
ではまた次回。