
OpenHands(旧OpenDevin)使ってみる

AIエージェントのDevin使ってみたいけど有料で月7.5万円もします。
米国で世界初の自律型AIソフトウェアエンジニア「Devin」が発表され、衝撃を生んでいる。人間の指示に応えてタスクをサポートする従来型のAIアシスタントとは異なり、Devinはコーディングから実装までの開発プロセス全体を自ら行える、いわゆる自律型の「AIエージェント」だからだ。同ツールは「(サポート型の)Github Copilotなどとはユーザー体験が大きく異なる」という。Devinの登場により、人間のITエンジニアが職を奪われる時代が到来してしまうのか。その具体的な実力とともに解説する。
とても趣味では使えないので諦めていましたが、Devinのオープンソース版のOpenHandsというのがあると聞いて試して見ることにしました。
インストール方法は良くわからなかったのでChatGPT 4oに聞きます。
Win11のWSL2にDockerを入れます。
sudo apt-get update
sudo apt-get install \
  ca-certificates \
  curl \
  gnupg \
  lsb-release
sudo mkdir -p /etc/apt/keyrings
curl -fsSL https://download.docker.com/linux/ubuntu/gpg | sudo gpg --dearmor -o /etc/apt/keyrings/docker.gpg
echo \
  "deb [arch=$(dpkg --print-architecture) signed-by=/etc/apt/keyrings/docker.gpg] https://download.docker.com/linux/ubuntu \
  $(lsb_release -cs) stable" | sudo tee /etc/apt/sources.list.d/docker.list > /dev/null
sudo apt-get update
sudo apt-get install docker-ce docker-ce-cli containerd.io docker-compose-plugin
sudo systemctl start docker
sudo usermod -aG docker $USER
newgrp docker
OpenHandsを入れるため以下を実行します。
export WORKSPACE_BASE=~/OpenHands
docker pull docker.all-hands.dev/all-hands-ai/runtime:0.20-nikolaik
docker run -it --rm --pull=always \
  -e SANDBOX_RUNTIME_CONTAINER_IMAGE=docker.all-hands.dev/all-hands-ai/runtime:0.20-nikolaik \
  -e LOG_ALL_EVENTS=true \
  -v /var/run/docker.sock:/var/run/docker.sock \
  -v ~/.openhands-state:/.openhands-state \
  -p 3000:3000 \
  --add-host host.docker.internal:host-gateway \
  --name openhands-app \
  docker.all-hands.dev/all-hands-ai/openhands:0.20
終ったらこんな感じになります。
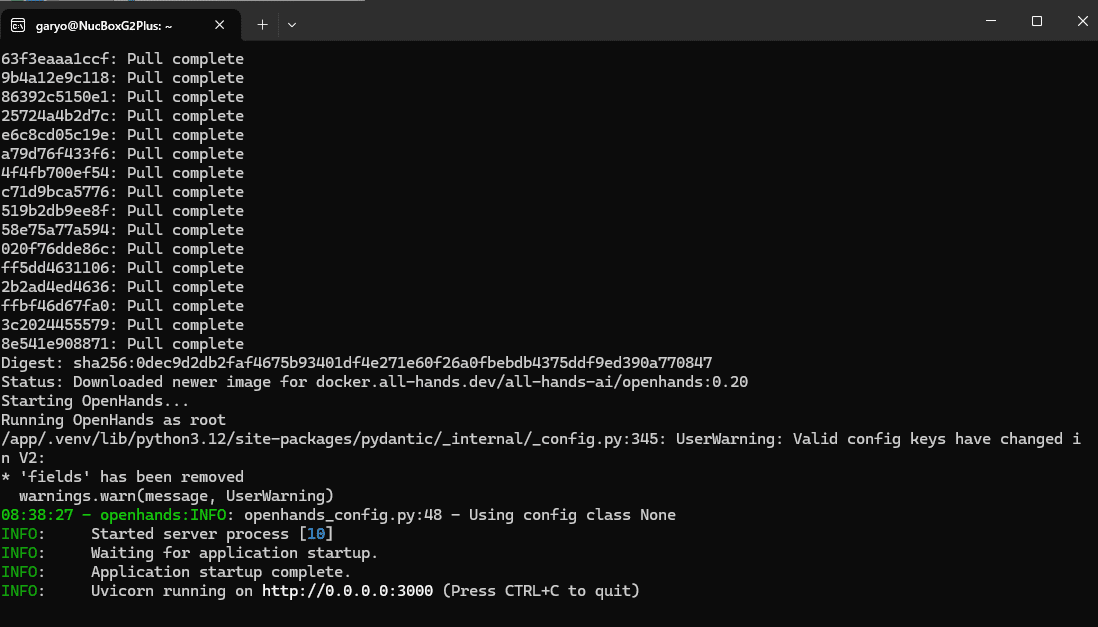
http://0.0.0.0:3000をブラウザで開いてもダメでした。
http://127.0.0.1:3000/ で開けました。
APIキーを入れる画面になります。
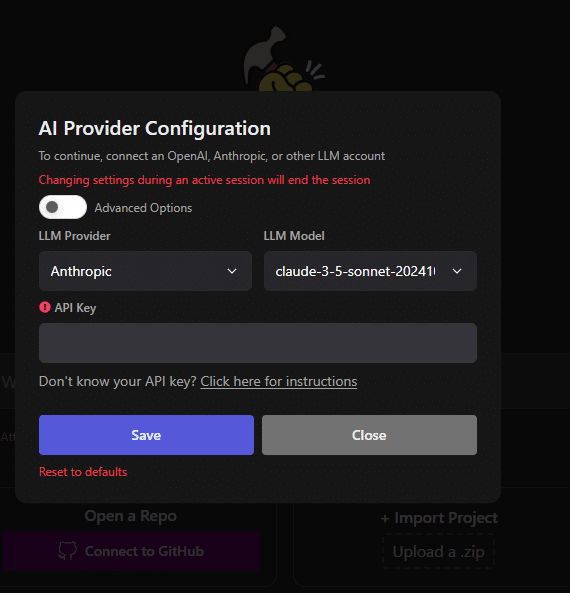
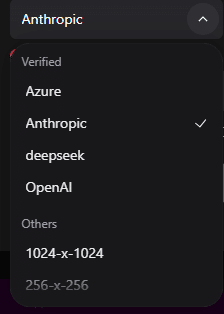
色々選べますが、deepseekが安いので選びます。
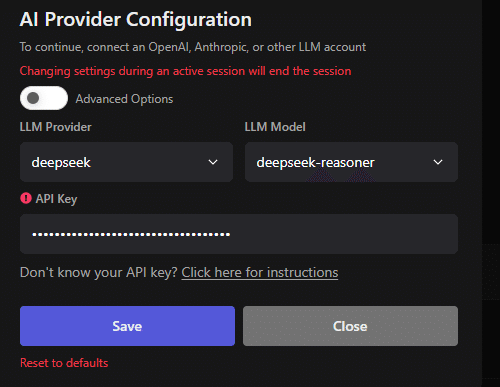
LLM Providerを「deepseek」LLM Modelを「deepseek-reasoner」にしてAPI Keyを入れます。
API KEYの入手方法は以下を読んでください。
https://note.com/hantani/n/n20c65055a320
「Save」を押します。
起動したみたいです。

簡単な投稿ができるブログを作ってもらいます。
Create a simple website where you can post blog articles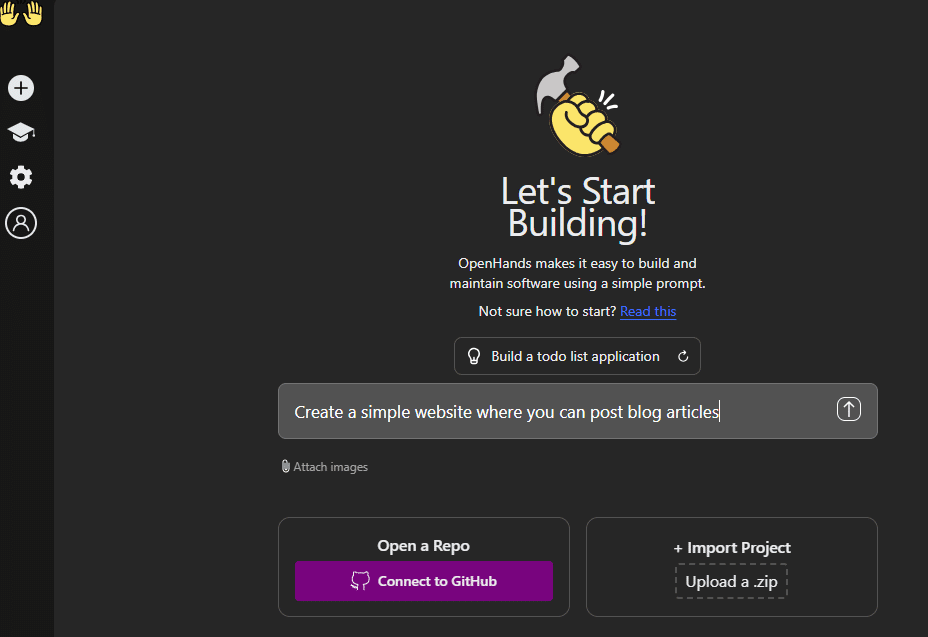
画面が切り替わりました。
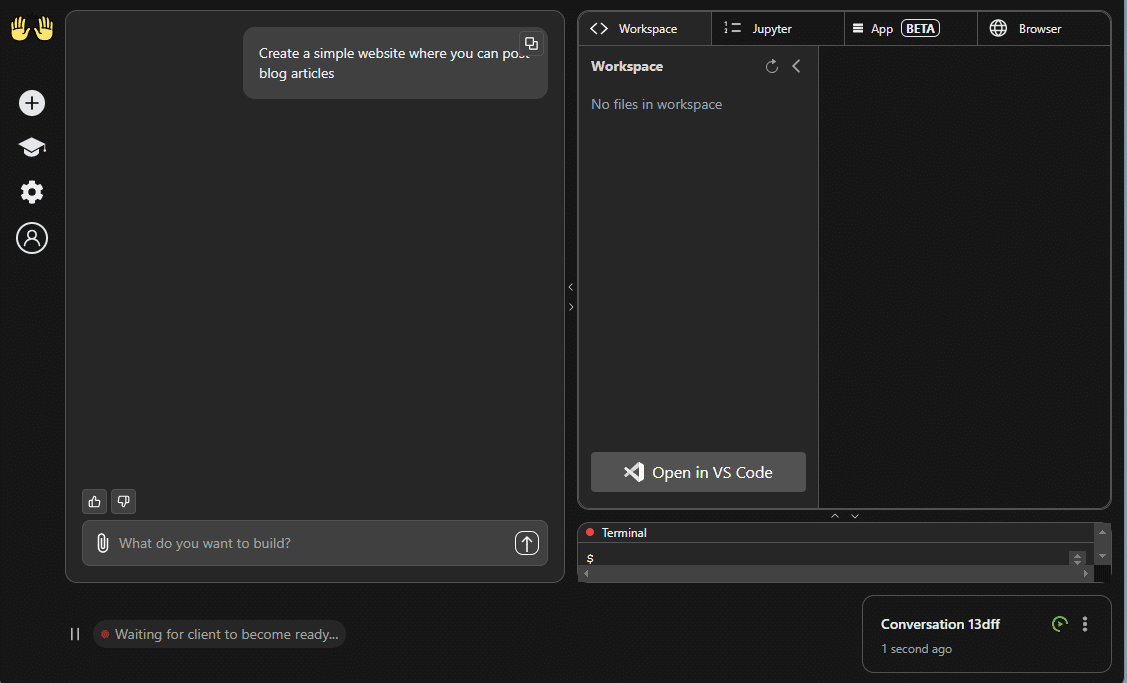
なんか作ってくれたようです。

言われた通りに「http://localhost:53296/」を開いてみると

ブログが出来ていました。パチパチ。
ここまでただ見てるだけです。
「Download file」をクリックするとフォルダ選択になり、出来たファイルをダウンロードできます。
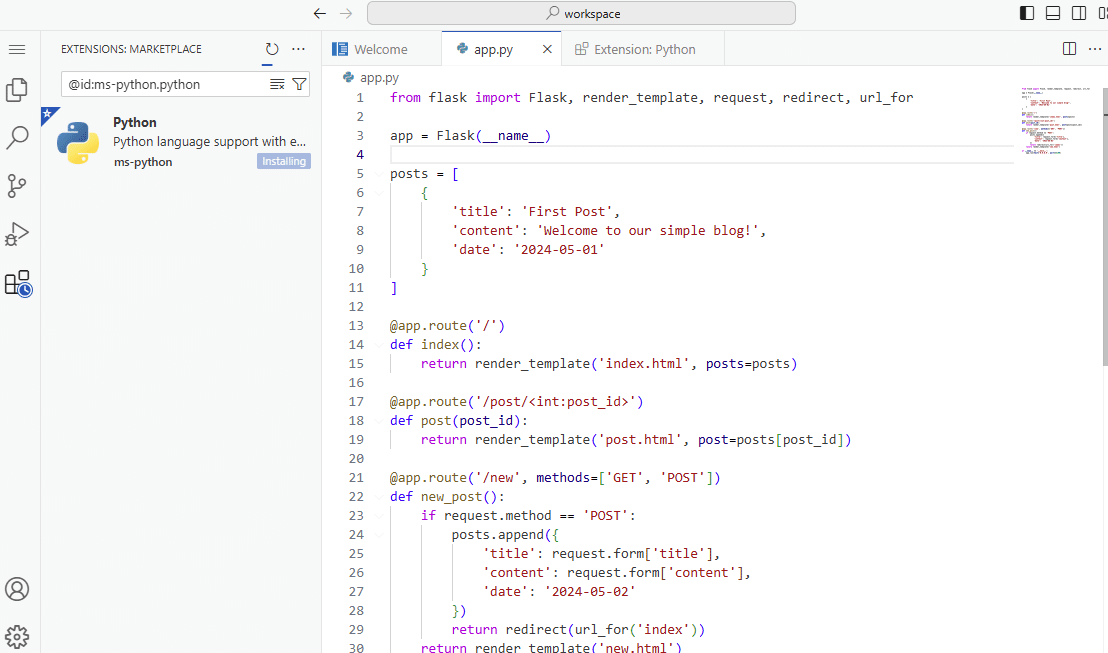
こんな感じのソースが出来ていました。
PythonでFlask使ってますね。最近Roo Clineで遊んで勉強してたので判ります。
from flask import Flask, render_template, request, redirect, url_for

app = Flask(__name__)

posts = [
    {
        'title': 'First Post',
        'content': 'Welcome to our simple blog!',
        'date': '2024-05-01'
    }
]

@app.route('/')
def index():
    return render_template('index.html', posts=posts)

@app.route('/post/<int:post_id>')
def post(post_id):
    return render_template('post.html', post=posts[post_id])

@app.route('/new', methods=['GET', 'POST'])
def new_post():
    if request.method == 'POST':
        posts.append({
            'title': request.form['title'],
            'content': request.form['content'],
            'date': '2024-05-02'
        })
        return redirect(url_for('index'))
    return render_template('new.html')

if __name__ == '__main__':
    app.run(host='0.0.0.0', port=53296)
後はtemplatesフォルダにhtmlファイルが出来ています。
「open in VS Code」をクリックするとWEB版のVS Codeが起動しました。
日本語で試してみました。
メモ帳アプリを作ってください
機能: メモの追加、編集、削除
学べること: CRUD操作、SQLiteデータベース、テンプレートエンジン(Jinja2)
主な技術: Flask, Flask-SQLAlchemy, Bootstrap
普通に作ってくれました。

