
Playwrightに挑戦 【第4回】運用編

前回のPlaywright実行の続きとなります。
本記事ではJenkinsから自動テストを実行し、テスト結果のレポート出力を確認します。
Homebrewのインストール
ターミナルで公式サイトに掲載されているコマンドを実行する
$ /bin/bash -c "$(curl -fsSL https://raw.githubusercontent.com/Homebrew/install/HEAD/install.sh)"以下のメッセージが表示されたらEnterキーを押し、「Installation successful!」が表示されたらインストール完了となる
Press RETURN/ENTER to continue or any other key to abort:案内に従い以下のコマンドを実行し、パスを通す
% (echo; echo 'eval "$(/opt/homebrew/bin/brew shellenv)"') >> /Users/{Macのユーザー名}/.zprofile% eval "$(/opt/homebrew/bin/brew shellenv)"Homebrewのバージョンが表示されることを確認する
% brew -vJenkinsの設定
Jenkinsのインストール
以下のコマンドを実行するとインストールが開始される
$ brew install jenkinsJenkinsの起動と初期設定
以下のコマンドを実行後、ブラウザから「localhost:8080」にアクセスする
※Jenkins再起動のコマンドも掲載しておきます
// Jenkinsの起動
$ brew services start jenkins

// Jenkinsの再起動
$ brew services restart jenkins
Jenkinsのロック解除画面で「initialAdminPassword」に記載されているパスワードを入力し、「Continue」を選択する

パスワードは以下のコマンドで確認することもできる
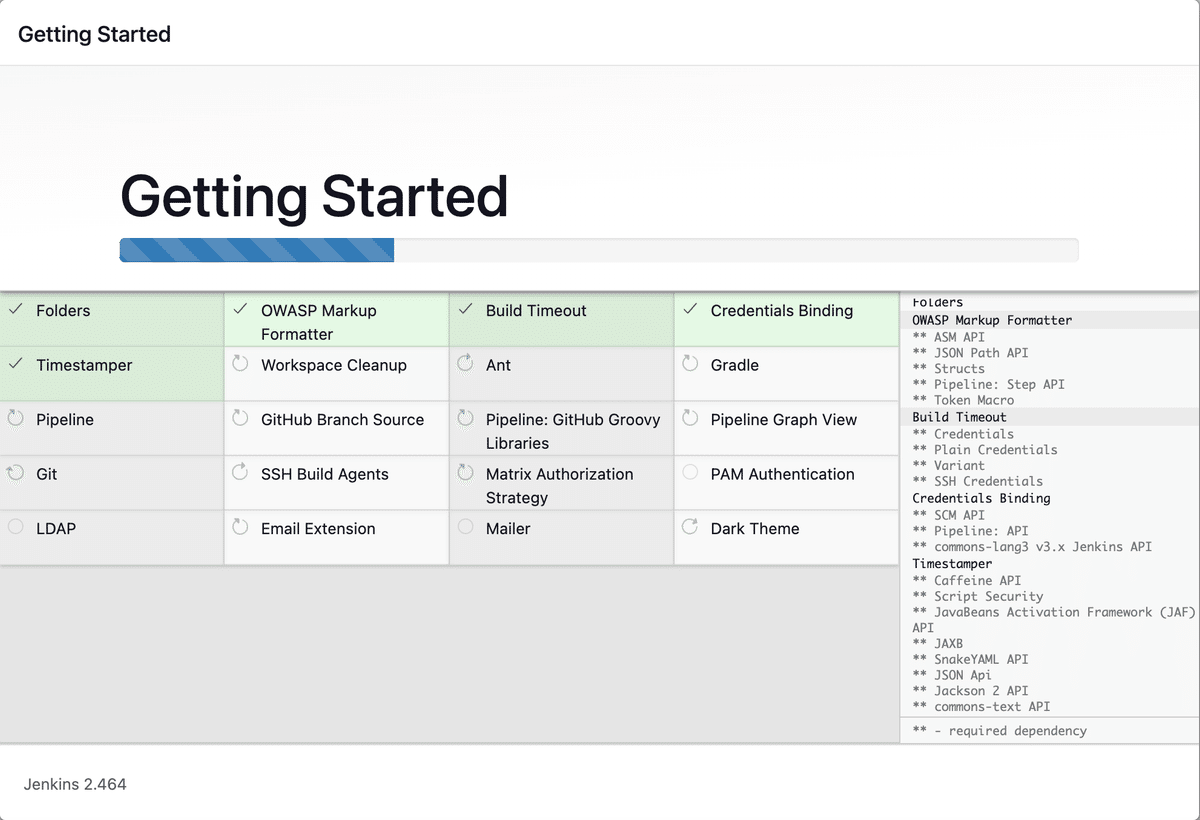
cat ~/.jenkins/secrets/initialAdminPasswordCustomize Jenkinsで「Install suggested plugins」を選択する

Getting Startedでプラグインのインストールが開始される
Create First Admin Userで管理ユーザーを設定し、「Save and Continue」を選択する

Instance ConfigurationでJenkinsのURLを設定し、「Save and Finish」を選択する(今回は初期値のまま)

Jenkins is ready!画面が表示されたら初期設定完了となる
「Start using Jenkins」を選択する

Jenkinsのダッシュボードが表示される

NodeJSプラグインのインストール
以下はJenkinsのビルドでnpxが見つからないと言われて参考した記事
Jenkinsからプラグインをインストールする

JenkinsのTool設定
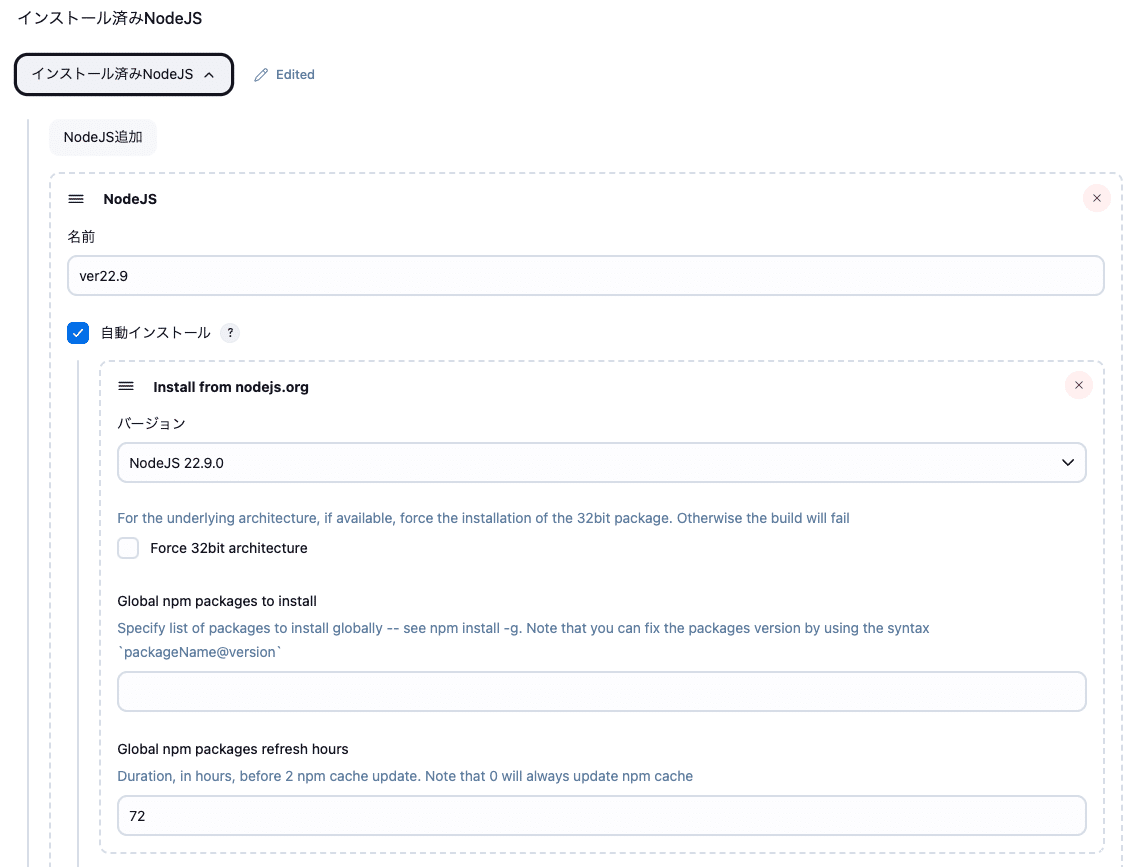
Jenkinsの管理からToolsを選択し、「インストール済みNodeJS」を以下のように設定する
※名前を設定するだけでOK
ジョブの作成
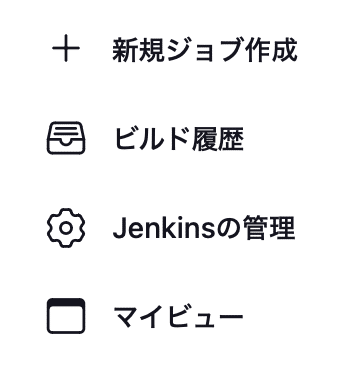
ダッシュボードで「新規ジョブ作成」を選択する
新規ジョブ作成で以下を設定後、「OK」を選択する
・ジョブ名入力でジョブ名を入力する
・フリースタイル・プロジェクトのビルドを選択する

ビルド環境で「Provide Node & npm bin/ folder to PATH」にチェックを入れる
※設定はデフォルトのまま

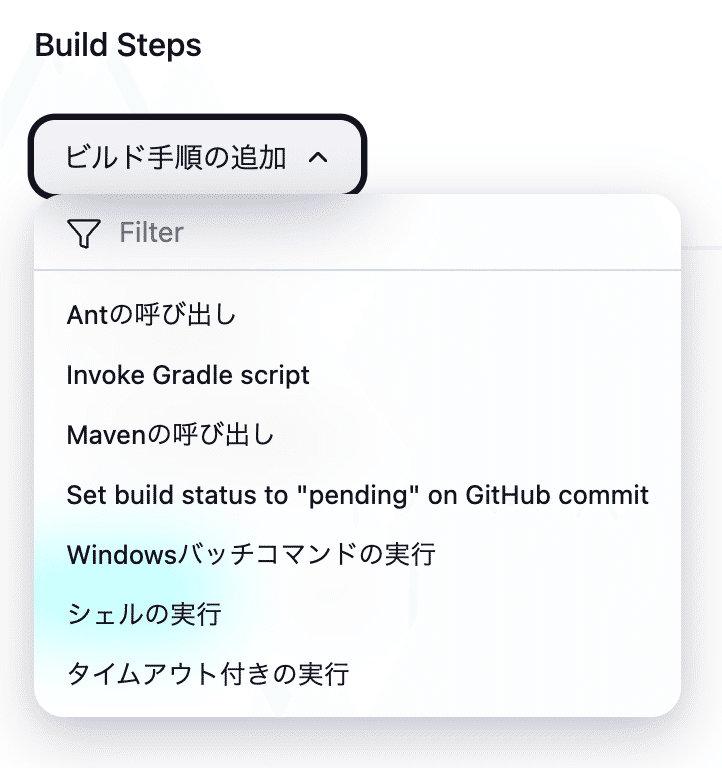
Build Stepsでプルダウンから「シェルの実行」を選択する
Playwrightの自動テストを実行するシェルスクリプトを入力し、ジョブを保存する

// ディレクトリを変更する
cd /Users/{Macのユーザー名}/autotest/playwright

// 自動テストを指定して実行する
npx playwright test tests/login.spec.js
ジョブの詳細画面で「ビルド実行」を選択する

ジョブの定期実行
ジョブの詳細画面から設定を選択する
Generalのビルド・トリガで「定期的に実行」にチェックを入れ、日時を指定する
cronの書き方は下記の記事を参考にしました

Allureレポートの設定
Allure(アリュー)と読みます。見た目がイケてるテストレポートのフレームワークです。環境設定は以下のブログを参考にさせていただきました
allure-playwrightのインストール
ターミナルでPlaywrightのプロジェクトに移動し、以下のコマンドを実行する
※初回のみ実施
npm i -D allure-playwright成功すると以下のような内容が出力される
added 7 packages, and audited 14 packages in 3s
found 0 vulnerabilities
allure-playwrightでテスト実行
ターミナルで以下のコマンドを実行する
npx playwright test --reporter=line,allure-playwright成功すると以下のような内容が出力される
Running 15 tests using 4 workers
15 passed (16.6s)
playwrightのプロジェクト配下に「allure-results」フォルダが作成されていることを確認する

allure-commandlineのインストール
ターミナルで以下のコマンドを実行する
※初回のみ実施
npm i -D allure-commandline成功すると以下のような内容が出力される
added 1 package, and audited 15 packages in 2s
found 0 vulnerabilities
Javaのインストール
次工程のテストレポート作成でJavaが必要になり、HomebrewからJavaをインストールします。以下のブログを参考にさせていただきました
ターミナルで以下のコマンドを実行し、インストール可能なOpenJDKを確認する
brew search openjdkターミナルで以下のコマンドを実行し、OpenJDKをインストールする
brew install openjdk@21途中で出力内容の指示に従い、以下のコマンドを順に実行する
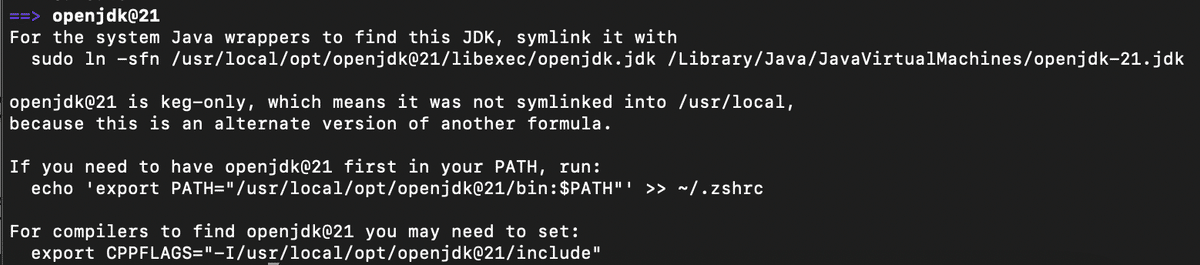
// 1つ目 ※ログインパスワードの入力が必要
sudo ln -sfn /usr/local/opt/openjdk@21/libexec/openjdk.jdk /Library/Java/JavaVirtualMachines/openjdk-21.jdk

// 2つ目
echo 'export PATH="/usr/local/opt/openjdk@21/bin:$PATH"' >> ~/.zshrc

// 3つ目
export CPPFLAGS="-I/usr/local/opt/openjdk@21/include"
ターミナルで以下のコマンドを実行して、Javaのインストールを確認する
java -version
allure-resultsでテストレポートの作成
ターミナルで以下のコマンドを実行する
npx allure generate ./allure-results --clean成功すると以下のような内容が出力される
Report successfully generated to allure-reportplaywrightのプロジェクト配下に「allure-report」フォルダが作成されていることを確認する

allureレポートの表示
ターミナルで以下のコマンドを実行する
npx allure open ./allure-reportレポート表示用のウインドウが立ち上がる

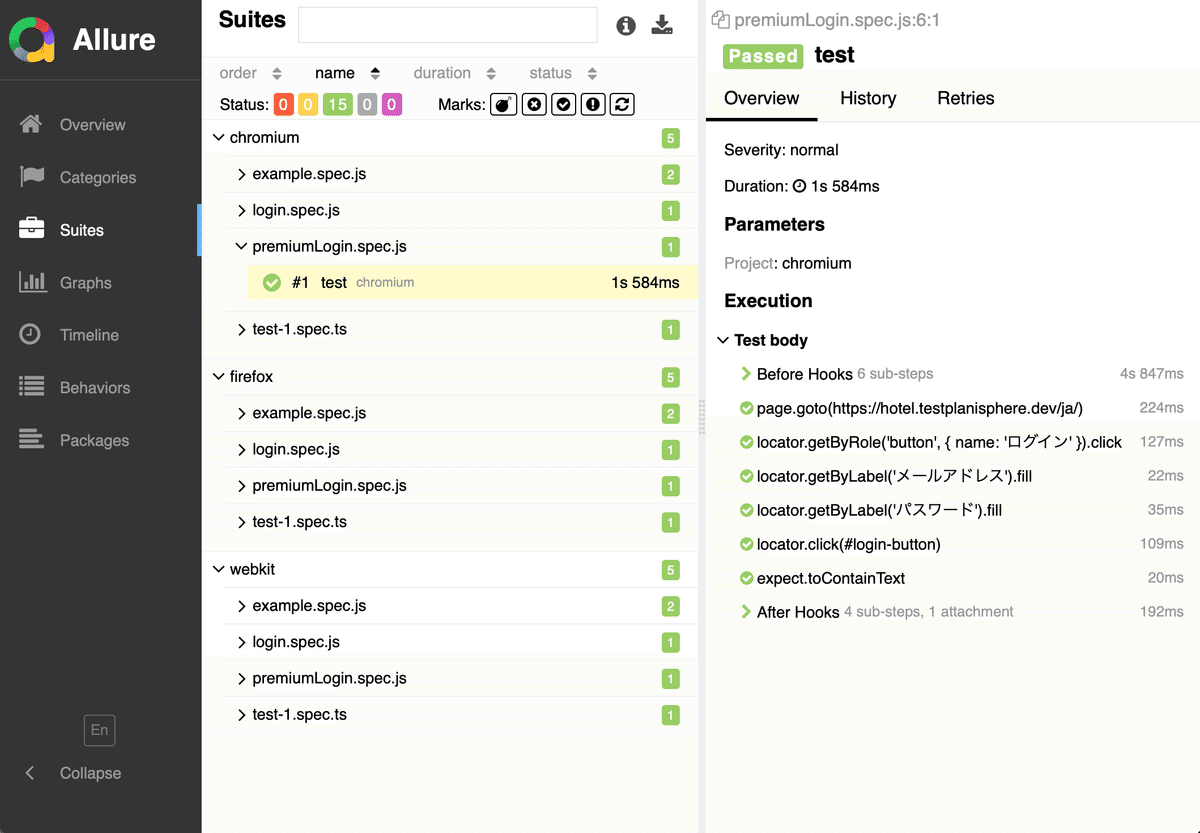


allureレポートの注意点
レポートに以前実行したテストの結果が残っていたり、testsフォルダにテストケースを追加した後などは「allure-results」「allure-report」フォルダを削除したのちにテスト実行することを推奨します
AllureレポートのJenkins設定
Allureプラグインのインストール
Jenkinsからプラグインをインストールする

JenkinsのTool設定
Jenkinsの管理からToolsを選択し、インストール済みAllure Commandlineを以下のように設定する
※名前を設定するだけでOK

ジョブの作成
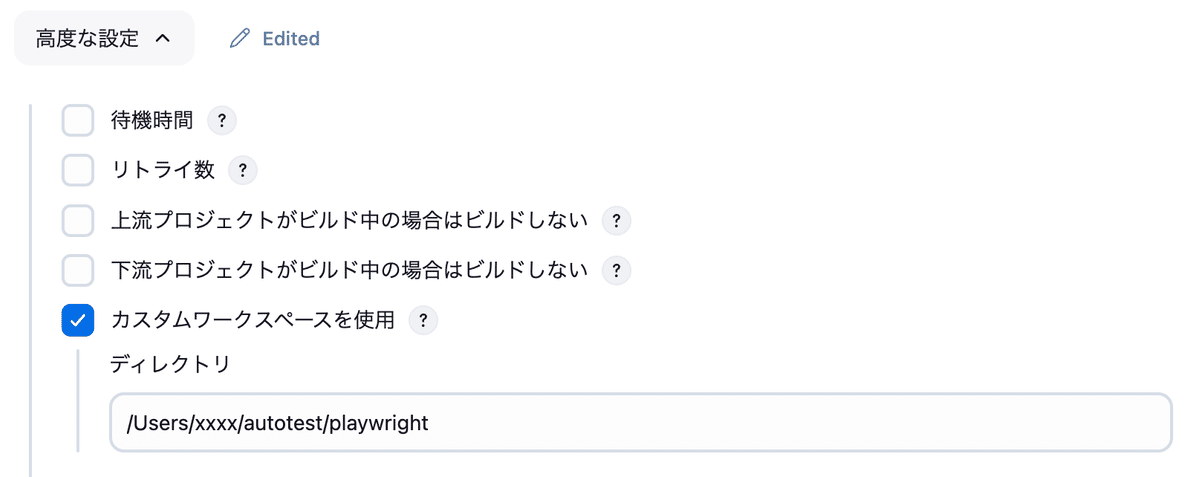
フリースタイルのジョブ設定で「高度な設定」を選択する
「カスタムワークスペースを使用」にチェックを入れ、「ディレクトリ」にPlaywrightのプロジェクトフォルダを入力する
ビルド環境で「Provide Node & npm bin/ folder to PATH」にチェックを入れる
※設定はデフォルトのまま
Build Stepsでプルダウンから「シェルの実行」を選択し、以下のコマンドを入力する
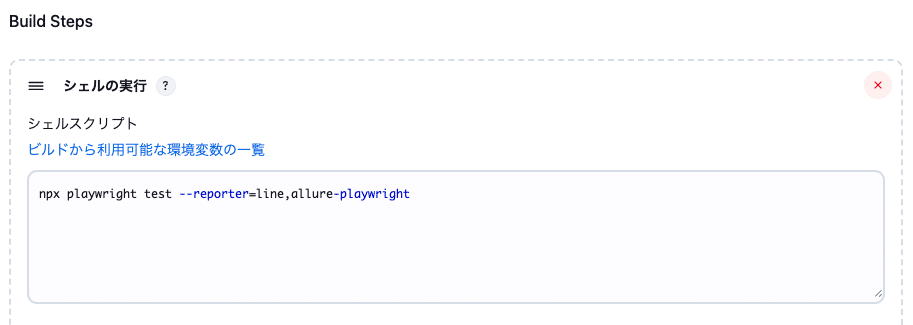
// testフォルダを指定する場合
npx playwright test --reporter=line,allure-playwright
// testファイルを個別に指定する場合
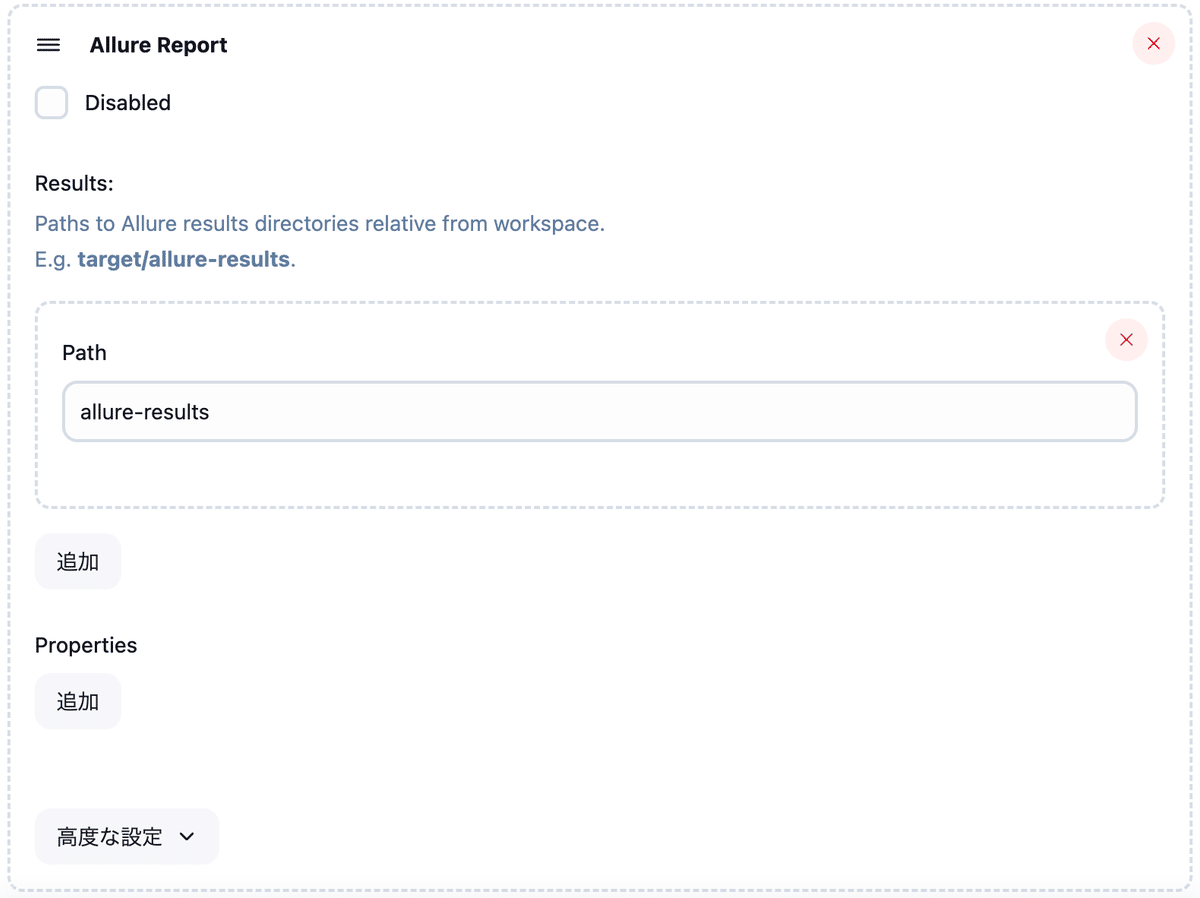
npx playwright test xxxx.spec.js --reporter=line,allure-playwrightビルド後の処理の追加プルダウンから「Allure Report」を選択する
こちらの設定は変更せずにジョブを保存する
ジョブの実行
ジョブを実行後、成功したビルドから「Allure Report」のリンクを選択する
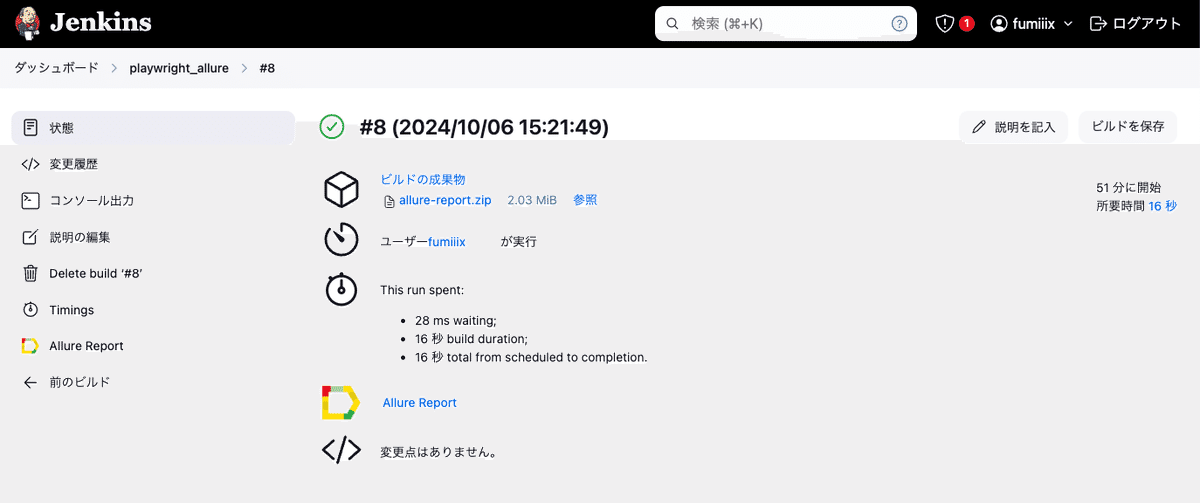
Allureレポートが表示されれば成功です

最後に
第4回まで続いたPlaywrightの記事は今回で最終回となります。
終わってみれば以前業務で触ったSeleniumよりテスト自動化のハードルは低かったですが、必要な情報を取捨選択しながら試すのは時間を無限に吸い取られて手強かったです…。
また、本記事を執筆する少し前から数ヶ月間フル出社&片道100分通勤があまりにも辛すぎてプライベートの時間を十分に確保できなかったり、最後のAllureとJenkins周りでジョブが永遠に失敗する問題の解決に3週間かかるなど心が折れたタイミングもありましたが、区切りの良いところまでできたのではないかと思います。
次はmablの認定資格を勉強しようかとぼんやり考えていますが、仕事の様子を見ながらマイペースでやっていきます。