カラオケ(歌詞)動画作り方

簡単にカラオケの歌詞のアニメーションを作る方法を紹介します。
Fusionを使いますが、それほど難しくないのと、作業効率が上がるため是非最後までごらんください。
テキスト+の配置とデザイン変更
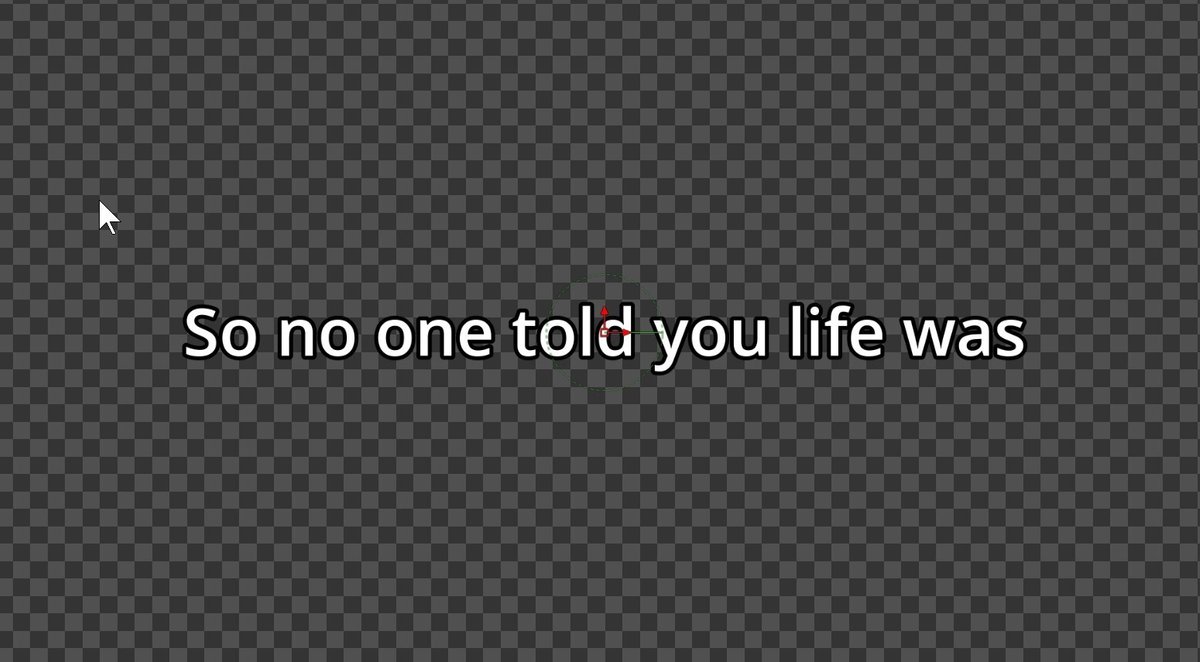
歌詞表示のためのテキスト+をタイムラインに配置します。

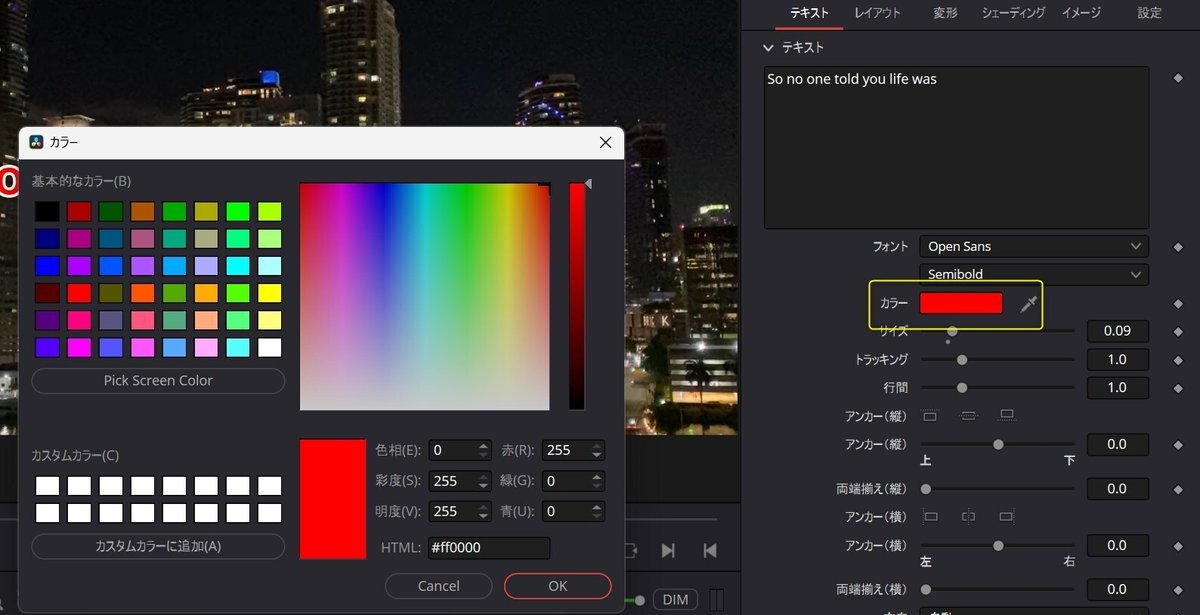
テキストに歌詞を入れ、フォントとサイズを変更します。
今回はOpen Sansのまま使いたいと思います。
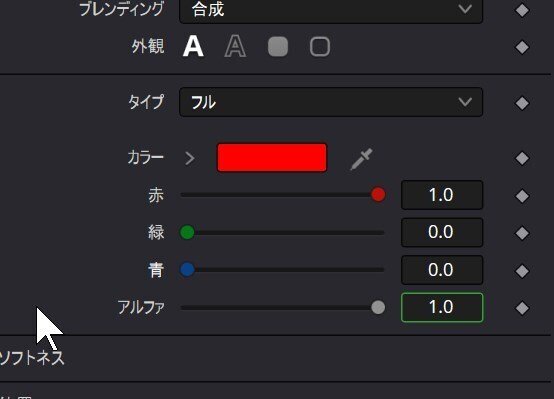
フォントの色を赤にし、白色の縁取りを付けます。
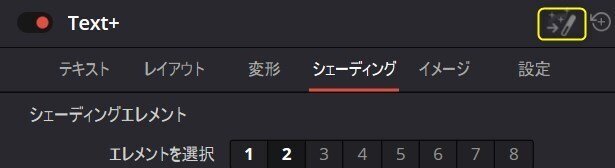
縁取りはシェーディングタブを選び、エレメント2を有効にして白の縁取りを追加します。

このように赤い文字で白の縁取りがつきます。

赤文字追加
インスペクターにあるテキスト+のFusion編集ボタンをクリックし、Fusion編集ページへ移動します。
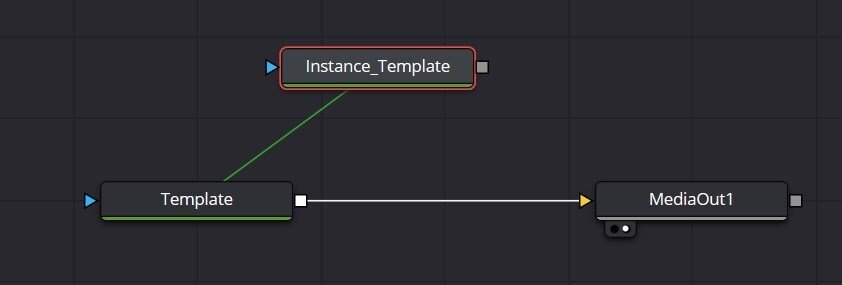
Templateを選択し右クリックでポップアップメニューを出しコピーします。

選択を解除し、ノードエディタ上で右クリックで「インスタンスをペースト」を選びTemplateのインスタンスを生成します。
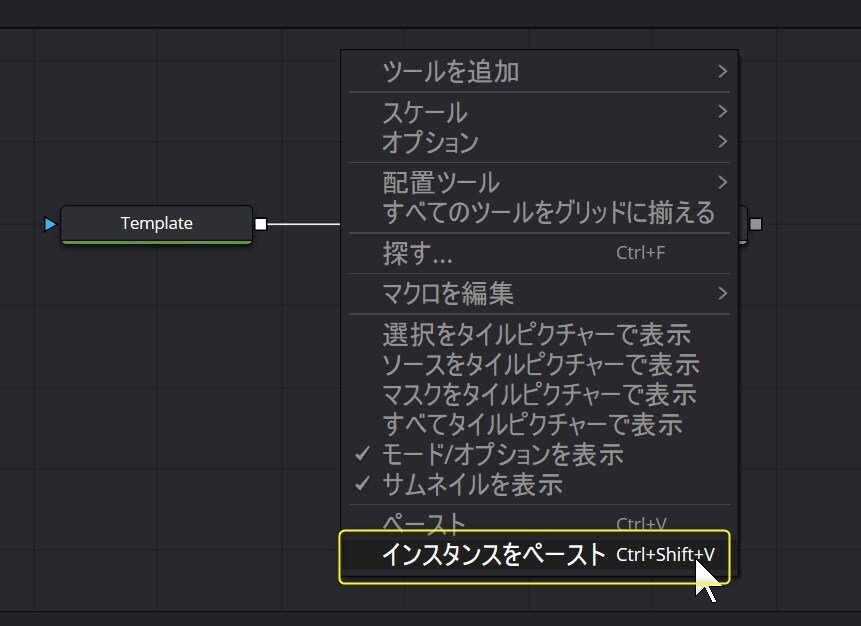
インスタンスとはTemplateと全く同じ双子のノードです。パラメータを変更すると両者とも値が変わります。下記のように緑色の線で繋がっています。
今回、フォントと縁取りの色、そして表示する範囲のパラメータを独立して変えたいため、一部のパラメータのインスタンスを解除します。
Instance_Templateを選び、シェーディングタブのエレメント1を表示させます。
エレメント1は文字の色になります。
「赤」「緑」「青」のパラメータのところで右クリックし、「インスタンス解除」を選択します。そうすると、このパラメータは独立して値を変更することができます。
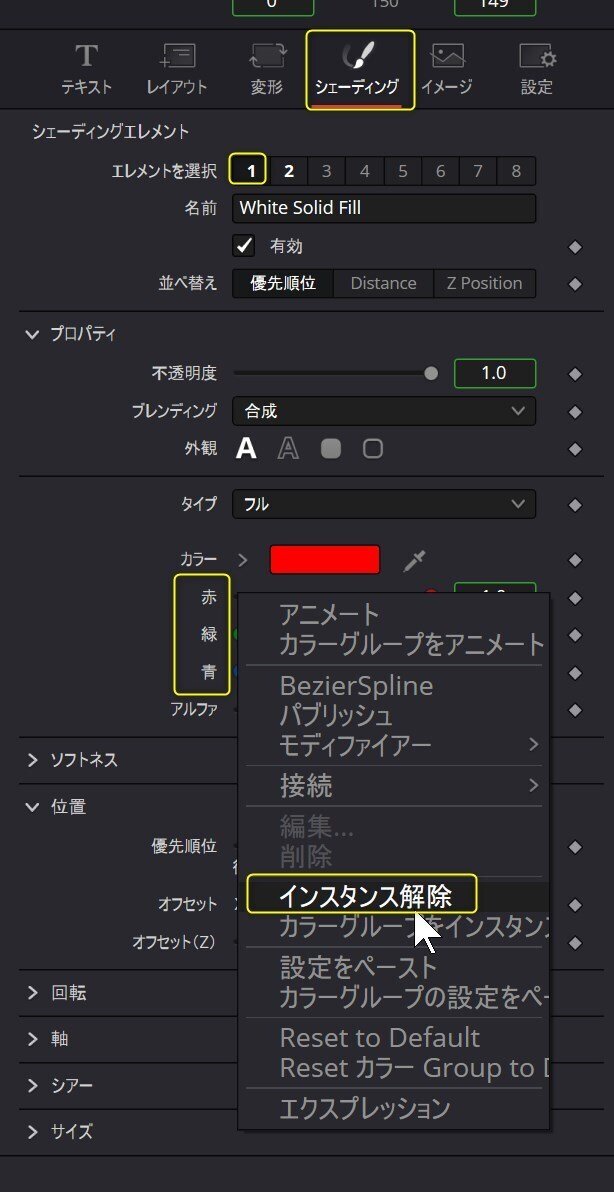
インスタンスを解除すると、緑の枠が外れます。
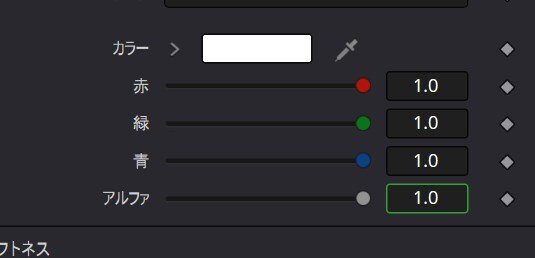
そして色を白にします。
エレメント2を選び同様に「赤」「緑」「青」のインスタンスを解除し、色を黒色にします。

Instance_Templateは下記のデザインになります。
最後にテキストタブに戻り「端から表示」もインスタンスを解除します。今パラメータを変えると表示する文字を変更できます。

合成を変更
下記のようにMergeノードを使ってTemplateとInstance_Templateを重ねます。Templateを前景、Instance_Templateを背景につないでください。

アニメーションの追加
エディットページへ戻り、テキストプラスの「端から表示」にキーフレームを設定し、音楽に合わせて表示アニメーションを入れてきます。

あとはタイミングみながら終点位置を調整しながらキーフレームを追加するだけです。

いいなと思ったら応援しよう!