
Boto3とDynamoDBの初期導入 2023/07/22

只今時刻 18:37
前回導入したBoto3とDynamoDBの初期導入を記事の参照ではなく
自分の文章でドキュメント化してみました。
LambdaにBoto3を導入
LambdaにBoto3を導入する手順
①ローカルにboto3を落とす
↓
②落としたboto3をzipで固める
↓
③固めたzipファイルをレイヤー追加する
↓
④Lambda関数と紐付ける
↓
⑤import boto3 と書く
①ローカルにboto3を落とす
まず、任意のフォルダにpyhtonというフォルダを作る。
mkdir pythonpythonフォルダへ移動→boto3インストール
cd python
pip install boto3
これで最新版のboto3がinstall出来るはず。
終わったら階層戻る
cd ..②落としたboto3をzipで固める
zip -r boto3.zip python/これでpythonフォルダをboto3.zipに圧縮できます。
大事なのはzipの名前ではなくpythonというフォルダ名です。
Lambdaでpythonを使っている場合は、必ず圧縮するフォルダの名前は
pythonでなくてはなりません。
そうしないとモジュールエラーになります。
③固めたzipファイルをレイヤー追加する
AWS Lambda→レイヤーをクリック


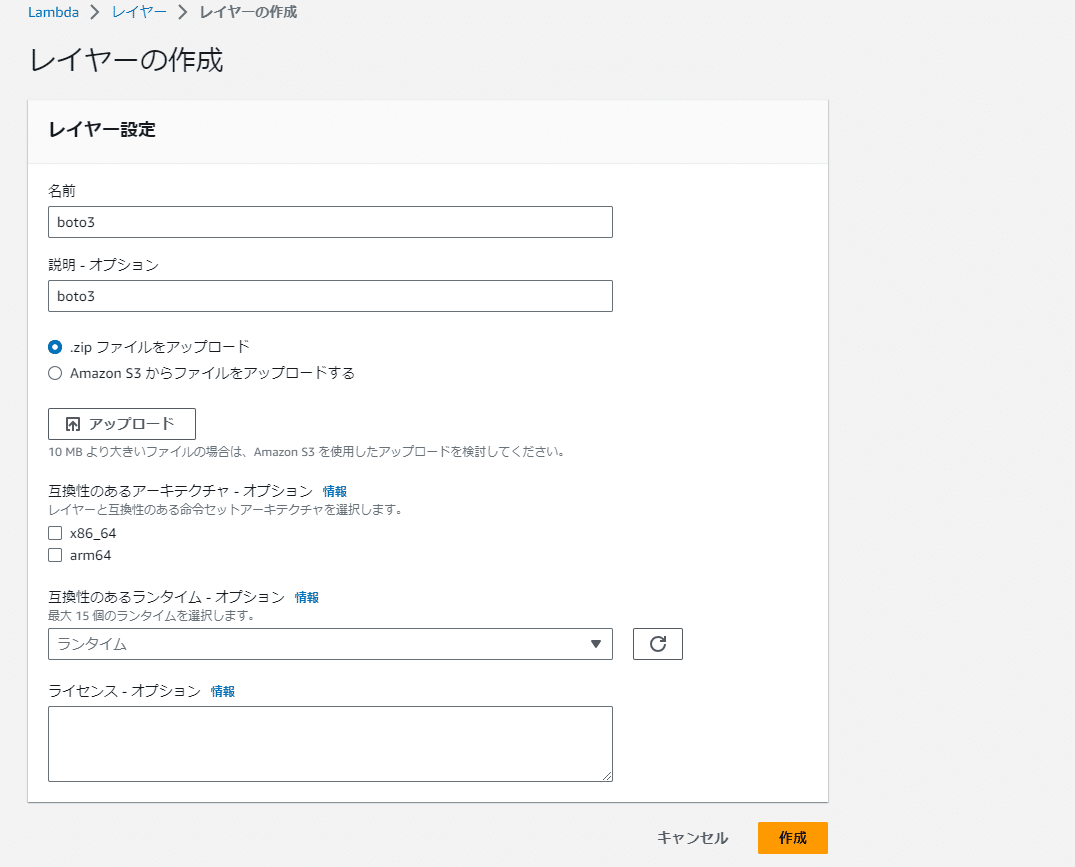
zipファイルをアップロードで先ほどzipに固めたboto3.zipをアップしよう。
互換性のあるアーキテクチャとランタイムはそれぞれの環境によるが
僕はx86_64
ランタイムはPython3.10を選択。
④Lambda関数と紐付ける
レイヤーを追加したいLambda関数を選択。
選択したらずーっと下までいって・・・

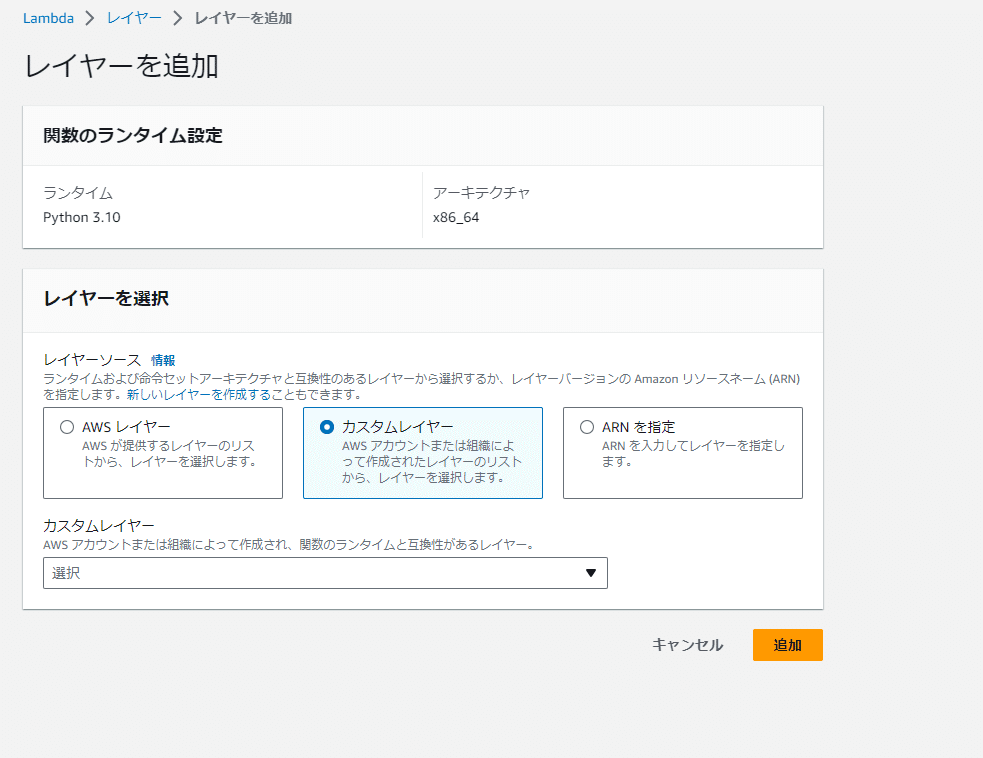
先ほど追加したレイヤーが現れる。
レイヤーを選択して追加を押下。
これで関数とレイヤーの紐づけは完了。
⑤import boto3 と書く
ソースコードの中で
import boto3と書く事でレイヤー追加したboto3のライブラリが使えます。
※後で知りましたがPython3.11だとboto3がランタイムに最初から入っているっぽいです。
DynamoDBの初期導入
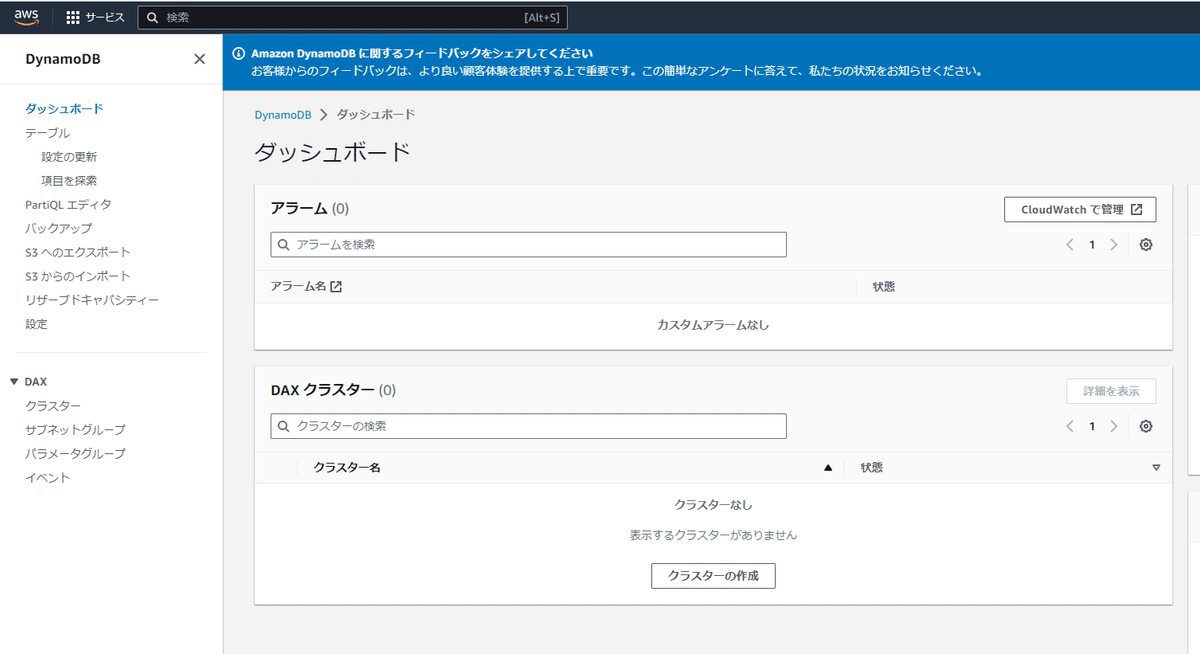
①テーブル作成
DynamoDBに実際にテーブルを作ってみましょう。
AWSのダッシュボードからDynamoDBへ…

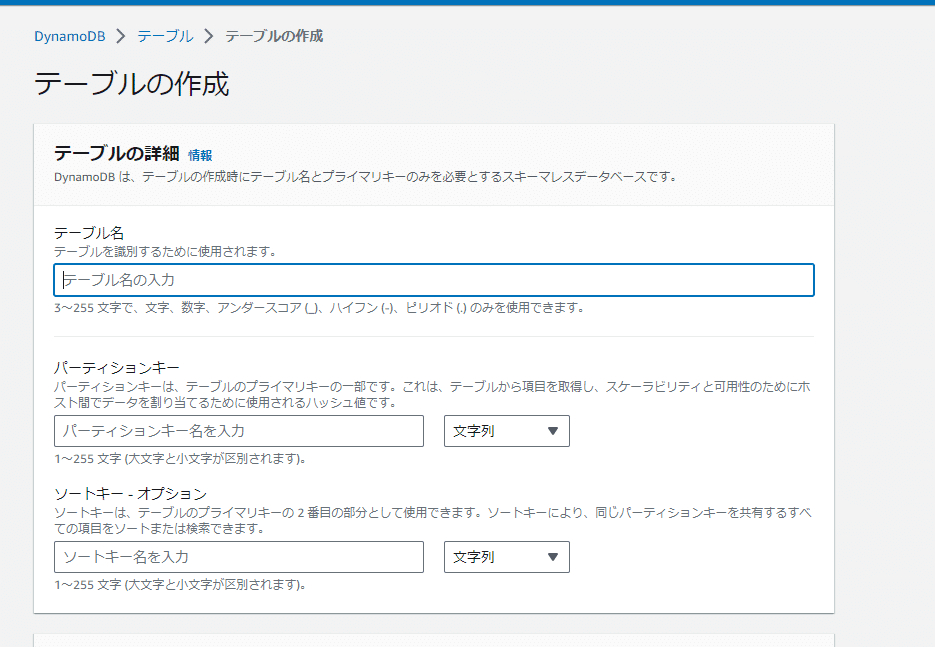
パーティションキーはuserIdを格納したいので
idで文字列
ソートキーは設定してません
※有料記事から飛んだ方はここはuser_info
パーテーションキーはuser_idでお願いします
ソートキーは不要です
それ以外の設定はデフォルトでテーブルの作成を押下。


②プロパティ作成
項目を探索を押下→項目を作成
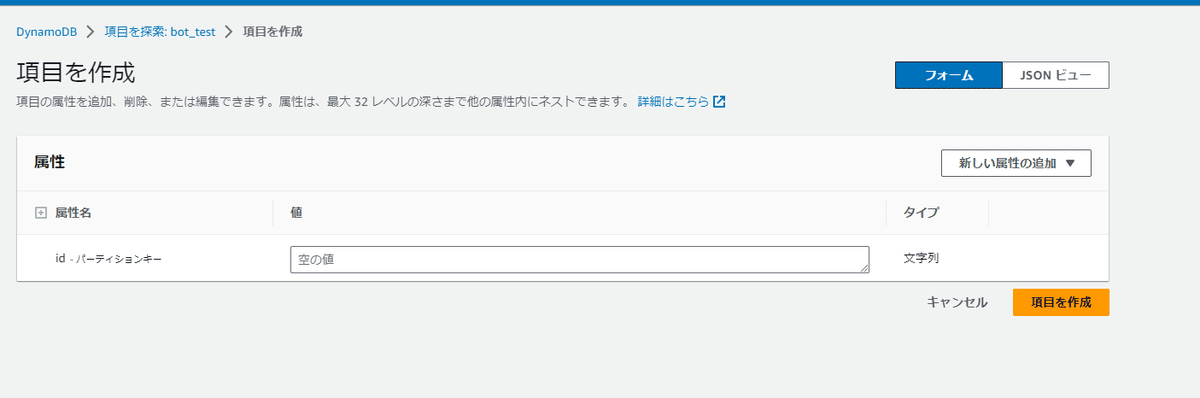
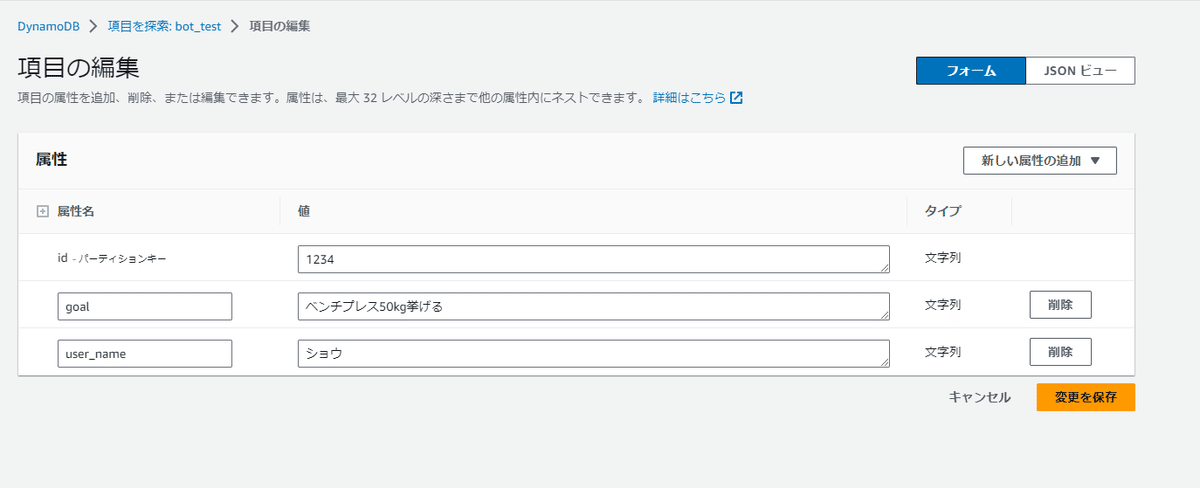
idはとりあえず適当に。
goalはユーザーの目標。
user_nameはユーザーの名前。
型は全て文字列。
項目を保存します。
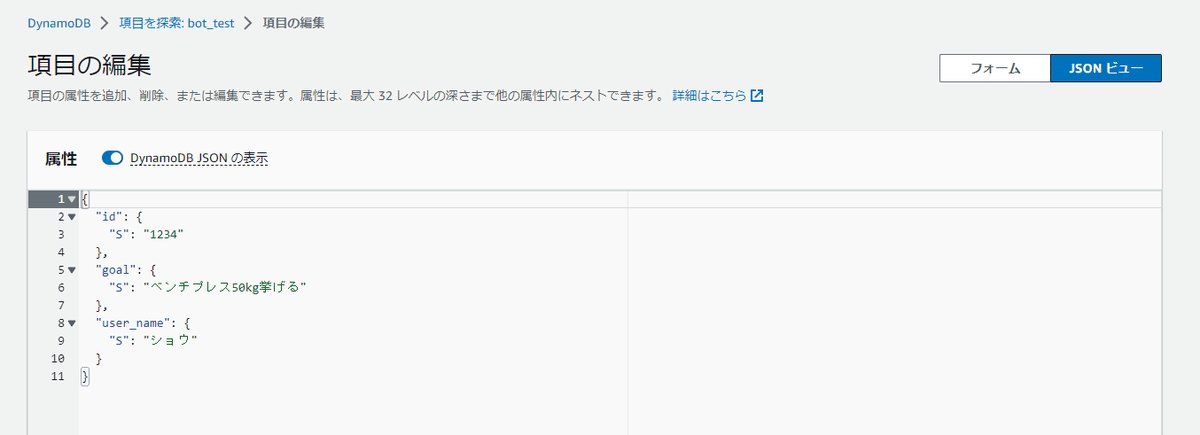
③ソースコードの中でデータを呼び出す
ソースコードの中でこのデータを呼びだすには…
import boto3

dynamodb = boto3.resource('dynamodb')
table = dynamodb.Table('bot_test')
dbselect = table.get_item(Key={    'id': '1234'})
items = dbselect['Item']
id= items['id']
print(id)
これで先ほどDynamoDBに格納したidの値が参照できます。